Looking for a recipe tiramisu that tastes classic, this one delivers the real coffee-and-mascarpone win—rich, creamy, and properly balanced. Expect clear steps for making the custard base, soaking the ladyfingers without turning them soggy, and assembling clean layers for maximum flavor in every bite. If you want the best-tasting traditional version, this is the version to follow.
Tiramisu is best made by building distinct, well-defined layers—quickly soaked ladyfingers plus a smooth mascarpone cream—then chilling it long enough to fully set. In this guide, you’ll learn how to prepare a classic, no-bake mascarpone filling, control the coffee soak so the texture stays intact, and assemble layers that slice cleanly after refrigeration.
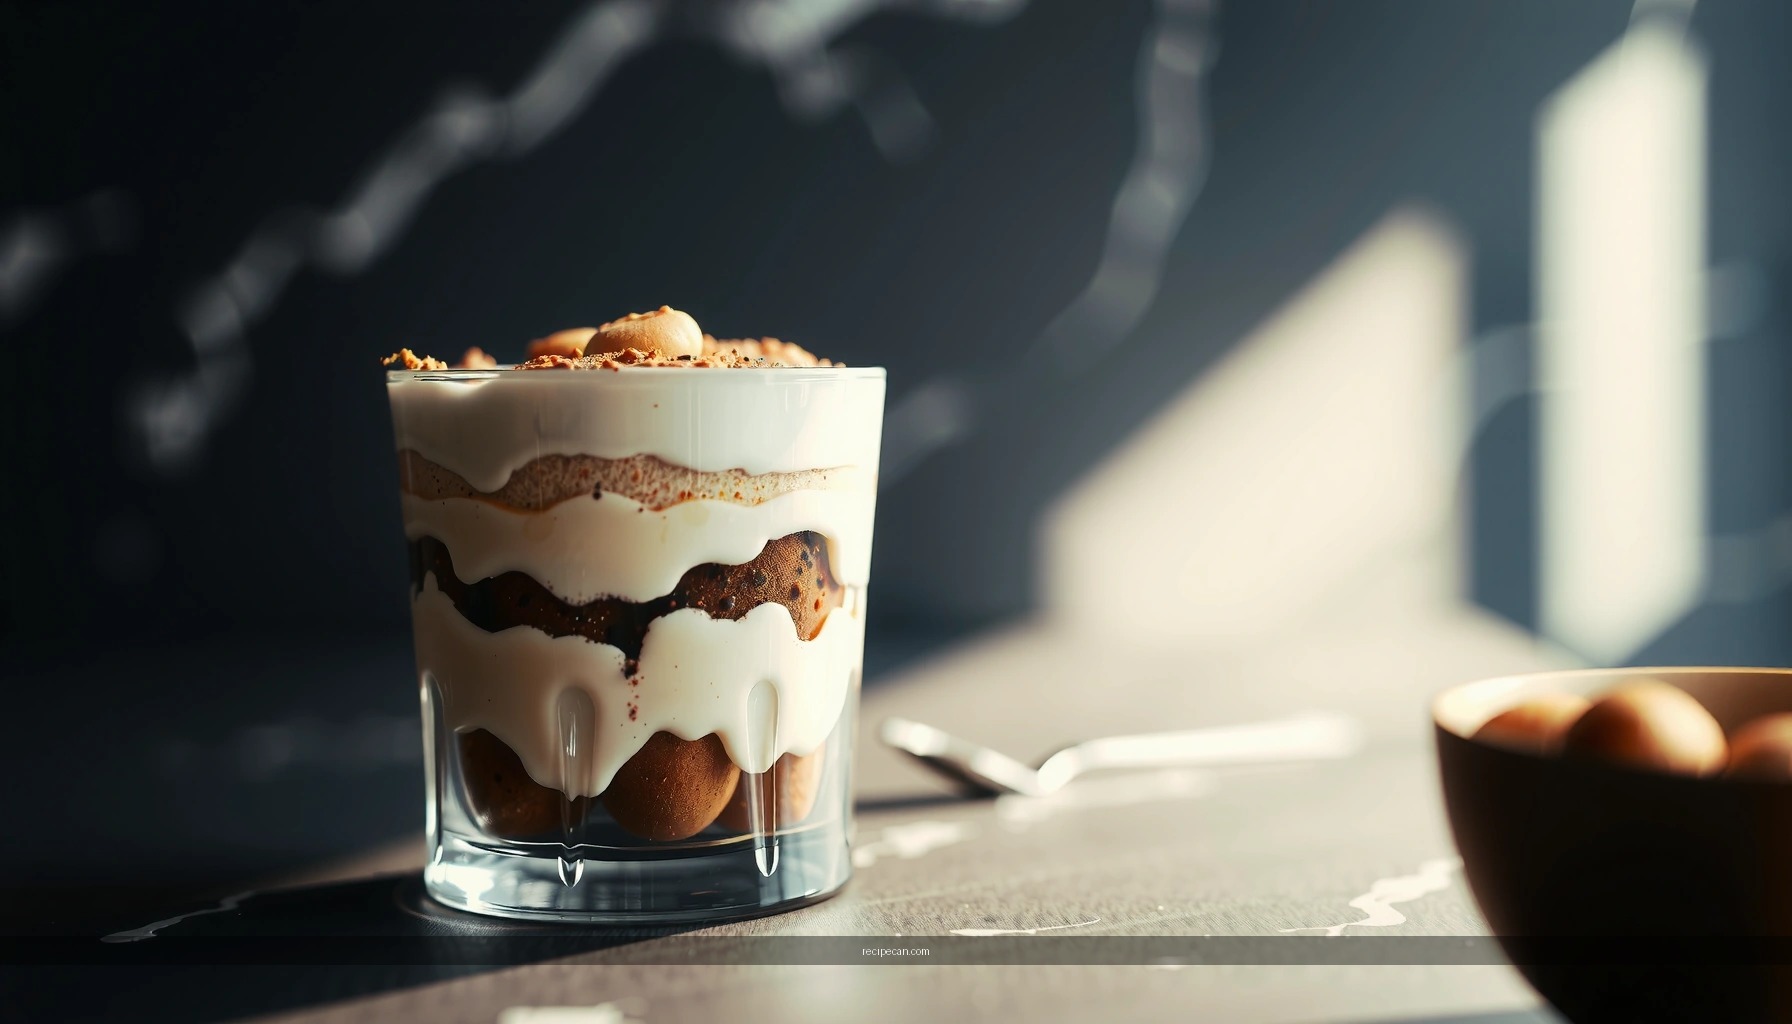
Ingredients for Recipe Tiramisu

A classic tiramisu balances three functional components: (1) a rich mascarpone cream that holds structure, (2) coffee flavor that penetrates without turning the base into mush, and (3) cocoa powder that delivers aroma and visual contrast at serving.
For a reliable homemade version, think in terms of ingredient roles—not just names:
– Mascarpone, eggs, sugar, and vanilla for the creamy base
Mascarpone supplies the signature dense, creamy body; sugar sweetens while helping balance the bitterness of coffee; vanilla adds warm depth.
– Espresso or strong coffee plus ladyfingers for soaking
The coffee provides acidity and aroma; ladyfingers act as the absorbent “layering” material that traps flavor inside the dessert.
– Cocoa powder for finishing and flavor
Use cocoa powder for the classic bitter-chocolate top note; it also helps prevent the surface from looking overly wet or glossy.
Classic Tiramisu Batch Targets (10 servings)
| # | Component | Typical Amount | Use Window | Primary Job | Reliability |
|---|---|---|---|---|---|
| 1 | Mascarpone | 500 g | Chilled | Body & cream stability | ★★★★☆ |
| 2 | Egg yolks | 4 large | Whisk 2–4 min | Silky thickening | ★★★★☆ |
| 3 | Egg whites | 4 large | Beat to soft peaks | Fluff & aeration | ★★★☆☆ |
| 4 | Granulated sugar | 120 g | Dissolve fully | Sweetness & texture | ★★★★☆ |
| 5 | Strong coffee (espresso) | 250–300 ml | Cool to warm | Aroma & bitterness | ★★★★☆ |
| 6 | Ladyfingers | 18–24 pieces | Dip 1–2 sec | Layer structure | ★★★★☆ |
| 7 | Unsweetened cocoa powder | 8–12 g | Dust just before serving | Finish & aroma | ★★★★★ |
Make the Mascarpone Cream

The cream is where tiramisu’s “luxury” texture is won or lost. The goal is a smooth, cohesive mascarpone mixture with enough aeration to feel light, while remaining stable enough to hold layers after chilling.
– Whisk yolks and sugar until smooth, then fold in mascarpone
Start by whisking yolks with sugar until the mixture looks paler and glossy, indicating the sugar is dissolving. Then fold in mascarpone gently. If you aggressively whisk mascarpone at this stage, you can incorporate too much air too fast and create separation or a grainy look.
– Beat whites (or use a safe alternative method) and gently combine for fluffiness
Beating egg whites creates a lighter cream texture. Beat to soft peaks—the mixture should hold shape but still look silky, not dry. Fold the whites into the mascarpone base gradually so you keep the air pockets that give tiramisu its signature melt.
– Mix until creamy and lump-free without overworking
When combining components, use a technique more like “folding” than “stirring.” Stop as soon as the cream is uniform. Overworking tends to deflate the mixture and can make the final cream feel heavy or unstable.
Actionable quality control: If your mascarpone looks slightly firm when first combined, leave it at cool room temperature for 10–15 minutes before mixing. This simple step helps prevent lumps without requiring excessive mixing.
Prepare Coffee Soak for Ladyfingers

Coffee soak is not just about flavor—it’s a texture management problem. Too much liquid contact turns ladyfingers into mush; too little leaves the dessert tasting “cream-forward” instead of balanced.
– Brew strong espresso and let it cool slightly
Brew espresso (or a very strong coffee) and cool it to warm, not hot. Hot coffee can soften ladyfingers instantly and can also slightly affect the cream when layering.
– Dip ladyfingers quickly—aim for flavor without sogginess
Dip each ladyfinger for roughly 1–2 seconds per side, or until it darkens but still feels structurally intact. In practice, it’s faster to work in small batches: dip, drain briefly, then place into the dish.
– Keep layers even for the best texture
Consistency matters. Try to keep ladyfinger thickness and placement aligned so every bite has similar coffee absorption and cream-to-cookie ratio.
Practical tip: If you want a more controlled soak, you can use a spoon to drizzle coffee over ladyfingers while still assembling, instead of fully dipping. This is especially helpful for thick packaged ladyfingers.
Assemble Your Recipe Tiramisu Layers
Layering is the moment your tiramisu becomes a finished product rather than a set of components. Even distribution affects both taste and sliceability.
– Spread a layer of cream, then add soaked ladyfingers
Place a thin cream base first to prevent the bottom cookies from sticking or absorbing coffee too aggressively.
– Repeat layers until you reach the top of your dish
Usually, two to three cream-and-ladyfinger layers are ideal for most home dishes. Repeat with the same rhythm: cream → ladyfingers → cream. Keep the top layer cream-thick enough to seal in moisture.
– Finish with a thick dusting of cocoa powder
Dust cocoa powder at the end for the classic bitter aroma and clean visual finish. If you dust too early, cocoa can absorb moisture and look muted by serving time.
Analytical viewpoint (why it works): Cocoa powder acts like a surface “flavor cap” that contrasts with the creamy interior. When applied just before chilling or serving, it stays aromatic and avoids clumping into the cream.
Chill and Serve for the Best Texture
Tiramisu is a no-bake dessert, but it’s not an “instant” dessert. Chilling is when the cookie fully hydrates, flavors integrate, and the cream firms up for clean slicing.
– Refrigerate at least 4 hours (overnight is even better)
Four hours is a minimum for many home fridges; overnight typically yields more cohesive layers and smoother coffee flavor diffusion.
– Slice with a clean knife for neat layers
Use a sharp knife and wipe it clean between cuts. Cold cream can stick slightly; wiping reduces smearing and preserves distinct layers.
– Serve cold for the signature tiramisu bite
Tiramisu’s best texture is firm yet creamy. Serving cold also helps the cocoa finish remain crisp-looking.
Serving strategy for gatherings: If you’re bringing tiramisu to an event, slice portions shortly before serving but keep the remainder covered and refrigerated. This keeps the cocoa top fresh.
Common Mistakes (and How to Avoid Them)
Even classic tiramisu recipes can drift off-quality due to a few predictable errors. The fixes are straightforward when you know what to watch.
– Over-soaking ladyfingers leads to mushy layers
If cookies collapse when lifted, the soak was too long or the coffee was too hot. Dip faster, cool the coffee more, and ensure ladyfingers are placed immediately after dipping.
– Skipping chilling prevents the dessert from setting properly
Without enough refrigeration time, the cream can feel loose and the layers won’t “lock.” Plan for at least 4 hours, and aim for overnight for best slicing.
– Rough mixing can cause a grainy or broken cream—fold gently
Graininess often comes from overmixing mascarpone or insufficiently dissolving sugar earlier. Mix just until uniform and fold whites carefully to maintain structure.
Quality diagnostic: If the cream appears separated, the mixture may have been overmixed, warmed too much, or folded aggressively. Gentle handling and keeping ingredients properly chilled are your best safeguards.
Tiramisu comes together by building layered coffee-and-ladyfingers with a smooth mascarpone cream, then chilling until it sets. Follow the steps above—especially quick soaking and proper refrigeration—then make your first batch today and serve it chilled with a fresh cocoa finish.
In short: control the coffee contact time, fold your mascarpone cream gently, and give the dessert enough chill time to fully develop its classic, sliceable texture.
Frequently Asked Questions
What is the best way to make classic tiramisu without eggs?
You can make egg-free tiramisu by using stabilized mascarpone alternatives or a cooked-thick base like pastry cream or cornstarch-thickened milk before folding into mascarpone. Another popular approach is to use whipped cream to lighten mascarpone and combine it with coffee-soaked ladyfingers for that classic tiramisu texture. This keeps the dessert rich and creamy while avoiding raw eggs.
How do you prevent tiramisu from becoming runny or watery?
Runny tiramisu usually happens when the ladyfingers soak too long or when the coffee mixture is too thin. Dip ladyfingers quickly—just 1–2 seconds per side—so they absorb flavor without collapsing. Also, chill the tiramisu for at least 4–6 hours (or overnight) to let the mascarpone filling set properly.
Why does tiramisu need to rest in the fridge before serving?
Tiramisu tastes better after resting because the ladyfingers continue to absorb coffee and soften into a cohesive layer. The flavors also meld, so the espresso, mascarpone cream, and cocoa develop a smoother, more balanced taste. Chilling helps the filling firm up, improving sliceability and overall tiramisu structure.
Which coffee is best for tiramisu flavor—espresso or instant?
Espresso gives the most intense, authentic tiramisu flavor, with less added water and stronger bitterness to balance sweet mascarpone. Instant coffee can work well too—use it dissolved in hot water and let it cool—so you get a consistent coffee concentration. For best results, choose a coffee that isn’t overly acidic and aim for a bold, espresso-like taste.
How do you assemble tiramisu layers so it looks and tastes perfect?
Start with a thin layer of mascarpone cream, then arrange a single layer of coffee-soaked ladyfingers, followed by more mascarpone filling. Keep each layer even and avoid over-soaking the biscuits to prevent soggy tiramisu. Finish with a generous dusting of cocoa powder, and let it chill so you get clean layers and a professional presentation.
References
- Tiramisu
https://en.wikipedia.org/wiki/Tiramisu - Tiramisù
https://it.wikipedia.org/wiki/Tiramisu - https://www.britannica.com/food/tiramisu
https://www.britannica.com/food/tiramisu - Cookbook:Tiramisù – Wikibooks, open books for an open world
https://en.wikibooks.org/wiki/Cookbook:Tiramisu - Google Scholar Google Scholar
https://scholar.google.com/scholar?q=Tiramisu+recipe+mascarpone+egg+coffee+cocoa - Google Scholar Google Scholar
https://scholar.google.com/scholar?q=tiramisu+coffee+extraction+food+chemistry - Google Scholar Google Scholar
https://scholar.google.com/scholar?q=tiramisu+formulation+quality+microstructure+sensory+study - https://pubmed.ncbi.nlm.nih.gov/?term=tiramisu
https://pubmed.ncbi.nlm.nih.gov/?term=tiramisu - tiramisu – Search Results – PMC
https://www.ncbi.nlm.nih.gov/pmc/?term=tiramisu - https://www.sciencedirect.com/search?qs=tiramisu&show=25
https://www.sciencedirect.com/search?qs=tiramisu&show=25


