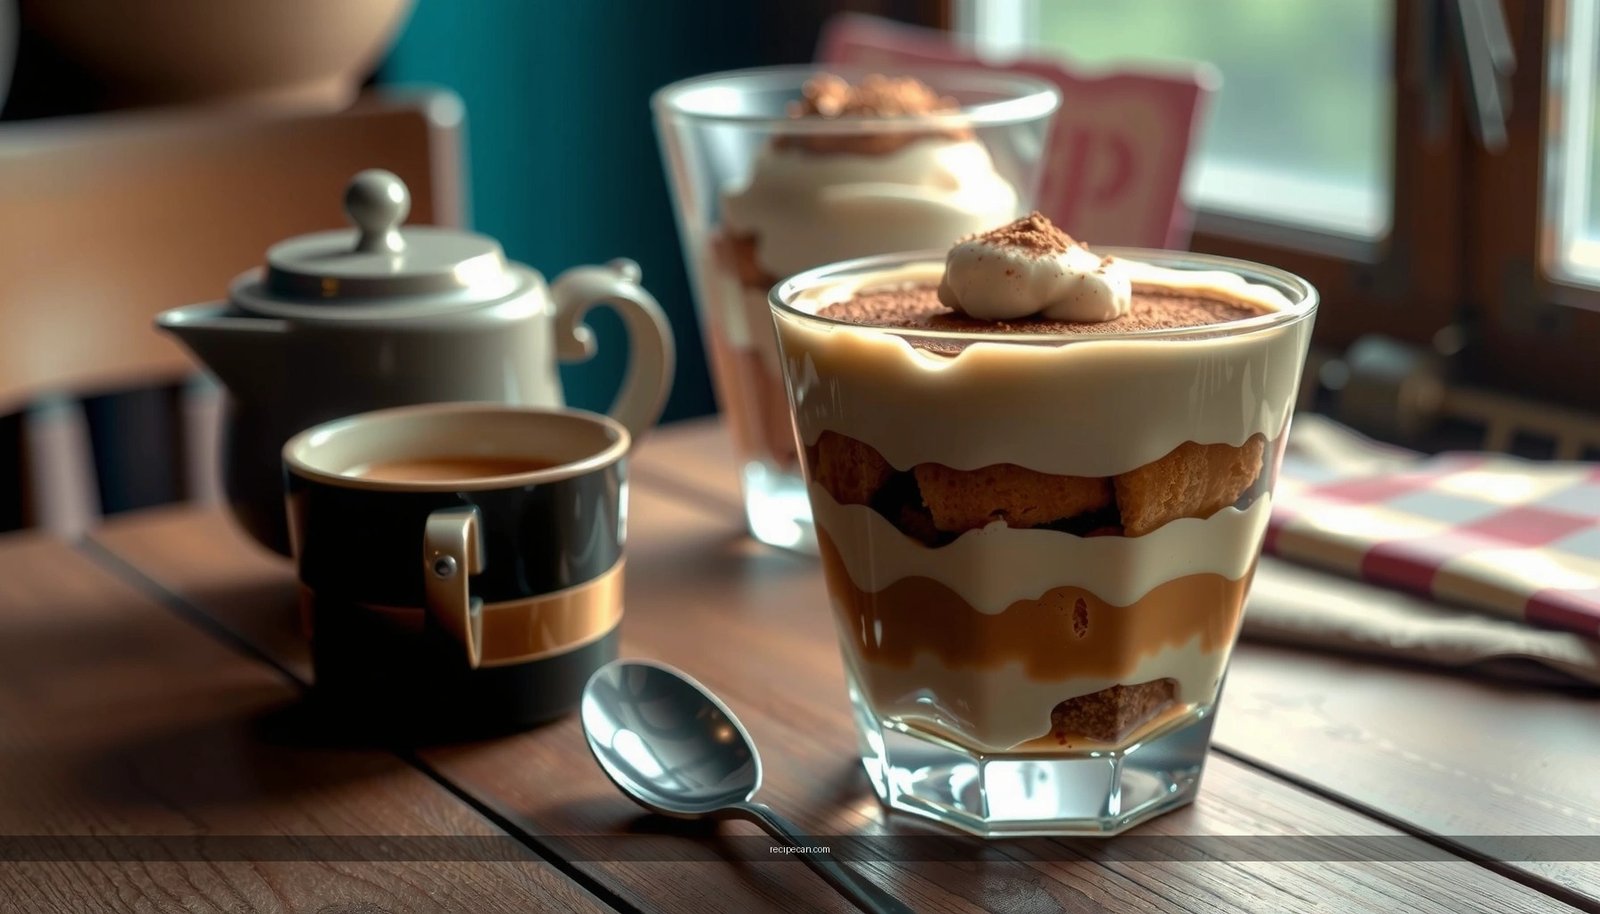
This tiramisu recipe with cream cheese delivers the classic, creamy texture you want without fuss, using simple steps and readily available ingredients. It answers whether cream cheese can replace traditional mascarpone while still producing a smooth filling that sets beautifully and tastes like tiramisu. If you need a reliable dessert for weeknights or gatherings, this is the no-stress version that wins.
Yes—this tiramisu recipe with cream cheese delivers a rich, tangy filling that slices cleanly and tastes like a bakery-style classic. By whipping a stable cream-cheese layer and pairing it with quick coffee-soaked ladyfingers, you get that signature tiramisu texture—creamy, airy, and never watery—without complicated techniques.
Ingredients for Tiramisu Recipe with Cream Cheese

– Gather cream cheese, mascarpone (optional), heavy cream, sugar, espresso/coffee, and ladyfingers
– Use cocoa powder and vanilla for flavor balance
– Optional add-ins: rum/amaretto and a pinch of salt for depth
To keep this no-fuss tiramisu recipe reliable every time, it helps to think in “functions” rather than just shopping lists. Cream cheese provides structure and tang, mascarpone (optional) brings classic richness, and whipped heavy cream lightens the mixture so it doesn’t feel dense. Espresso or strong coffee supplies the deep bitterness that balances the sweetness and creamy dairy. Cocoa powder finishes the flavor with a slightly chocolatey, slightly dry top note.
For best results, choose:
– Full-fat cream cheese (so the filling stays smooth and thick)
– Fresh heavy cream (so it whips reliably)
– Strong espresso or very bold coffee (weak coffee can make the dessert taste flat)
Make the Cream Cheese Filling

– Beat cream cheese until smooth, then mix in sugar and vanilla
– Fold in whipped cream (and mascarpone if using) for a light, creamy texture
– Chill the filling briefly so it thickens for easier layering
This cream cheese layer is the core of a “clean-slice” tiramisu. Start by softening cream cheese first—if it’s cold or lumpy, you’ll fight texture all the way through assembly. Beat it until silky, then add sugar and vanilla. The goal is a smooth base that dissolves the sweetness and creates a uniform flavor.
Next, whip your heavy cream to soft peaks. Soft peaks matter: you want lift, but not stiffness. If the cream becomes too stiff, folding can lead to a grainy or over-structured filling. When you fold the whipped cream into the cream cheese mixture, keep the motion gentle and consistent—think “fold and rotate,” not aggressive stirring.
If you’re using mascarpone, add it during the mixing stage with the cream cheese, then smooth everything before folding in whipped cream. Mascarpone can help you get closer to the classic Italian profile, but the cream cheese ensures stability even if you don’t use it.
Why chill? A short chill (about 20–30 minutes) thickens the filling enough to spread cleanly and hold layers without collapsing. It also slows the filling’s interaction with coffee-soaked ladyfingers, helping prevent sogginess.
Prepare the Coffee Soak

– Brew strong espresso or coffee and let it cool slightly
– Mix with a little sugar (optional) and alcohol (optional)
– Dip ladyfingers quickly to avoid oversaturating
For tiramisu texture, coffee matters as much as dairy. Brew espresso or strong coffee, then let it cool to warm or room temperature (hot liquid can melt your filling and soften ladyfingers too quickly). If the coffee is extremely bitter, add a small amount of sugar to round it out—this keeps the dessert balanced rather than harsh.
If you want an adult bakery-style finish, add a small splash of rum or amaretto. Alcohol isn’t mandatory, but it can add depth and aroma, especially when paired with cocoa. Keep the ratio modest; the goal is flavor, not soaking dryness.
Dip technique is everything. Dip ladyfingers quickly—roughly 1–2 seconds per side—then place immediately into the baking dish. You’re coating the surface, not bathing the cookie. If your ladyfingers are particularly absorbent, reduce dip time further. The dessert will still develop that coffee flavor during chilling because the filling also hydrates slightly over time.
> Practical tip: If your ladyfingers soften too fast during dipping, chill the coffee mixture slightly and consider dipping in thinner intervals (short dip, set, repeat) to maintain control.
Key Decisions That Improve Cream-Cheese Tiramisu Texture
| # | Step / Variable | Best Target | Why It Matters | Impact |
|---|---|---|---|---|
| 1 | Cream cheese softness | Room temp | Prevents lumps; ensures smooth filling | ★ ★ ★ ★ ★ |
| 2 | Heavy cream peak level | Soft peaks | Light texture without graininess | ★ ★ ★ ★ ★ |
| 3 | Coffee temperature | Warm/room temp | Keeps filling stable during assembly | ★ ★ ★ ★ |
| 4 | Ladyfinger dip time | 1–2 seconds/side | Coffee flavor without soggy layers | ★ ★ ★ ★ ★ |
| 5 | Filling chill before spreading | 20–30 minutes | More control; cleaner edges | ★ ★ ★ ★ |
| 6 | Chill time (minimum) | 4–6 hours | Texture sets; flavors meld | ★ ★ ★ ★ |
| 7 | Cocoa timing | Right before serving | Prevents top from turning muddy | ★ ★ ★ ★ |
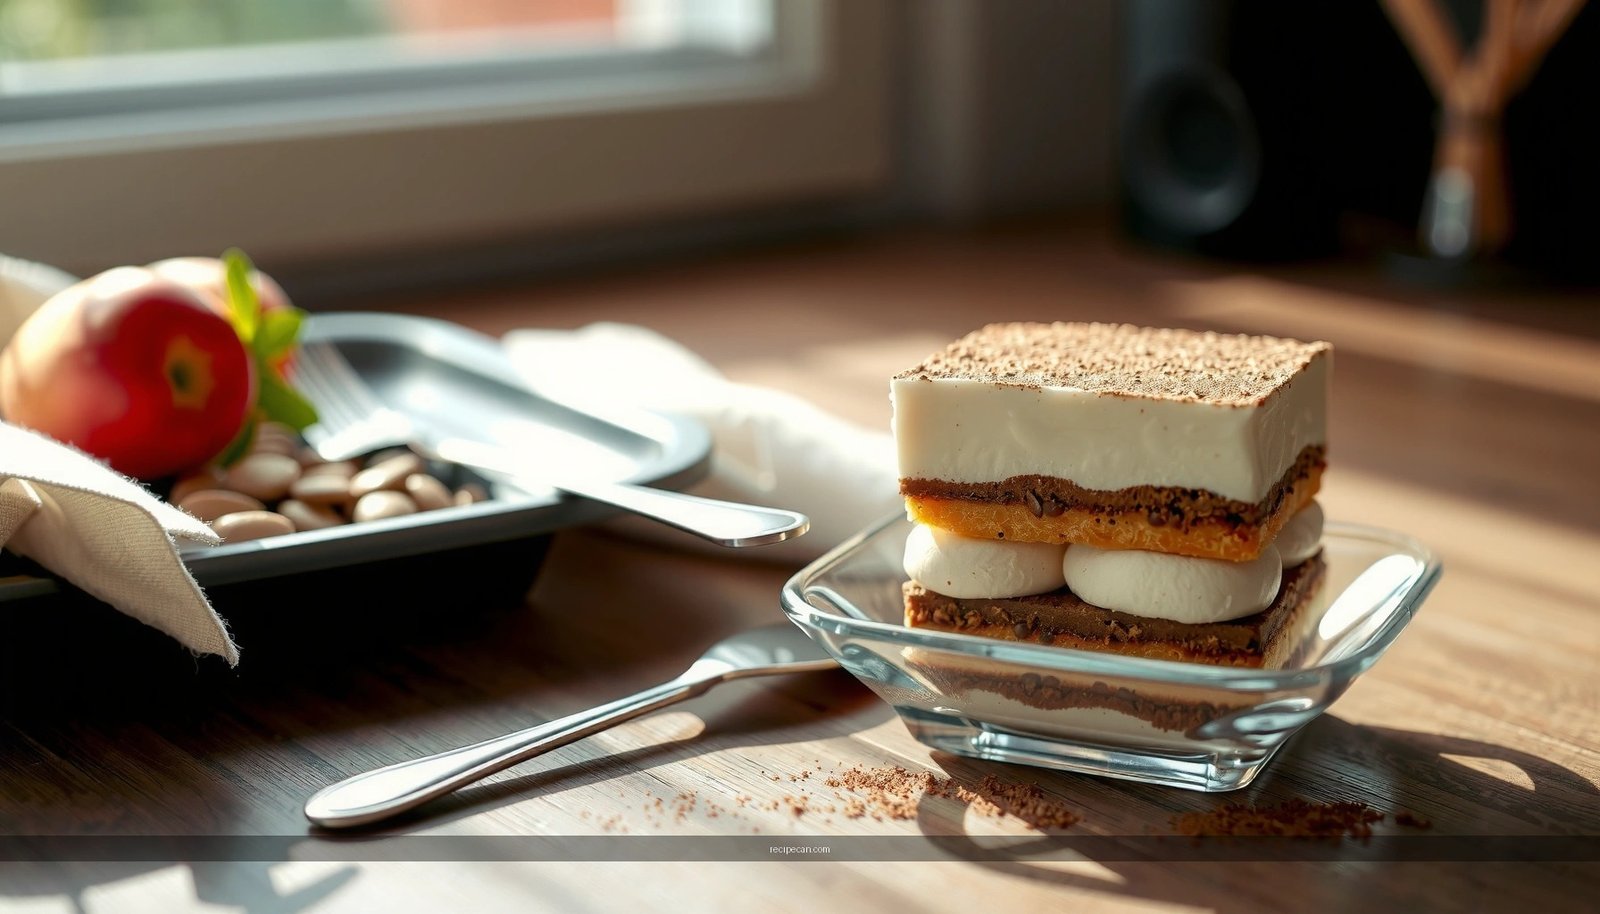
Assemble the Tiramisu Layers
– Layer soaked ladyfingers, then spread the cream cheese mixture evenly
– Repeat for a second layer, finishing with a creamy top layer
– Tap the dish gently to settle layers before chilling
Assembly is straightforward, but it’s where many tiramisu recipes go wrong. The objective is even coverage so every bite gets coffee, cream, and cocoa in balanced proportion.
1. Choose your dish size. A standard square baking dish (or similar container) works well for classic “tiramisu squares.”
2. First layer: Arrange quick-dipped ladyfingers in a single layer, covering the bottom without gaps.
3. Cream layer: Spread the cream cheese mixture evenly. An offset spatula makes this clean and fast.
4. Second layer: Repeat the ladyfingers and cream until you’re finished, typically with cream on top.
Before chilling, tap the dish gently on the counter. This helps settle the layers, eliminates air pockets, and improves the slice structure. If you skip this, your squares can look uneven and cut less cleanly.
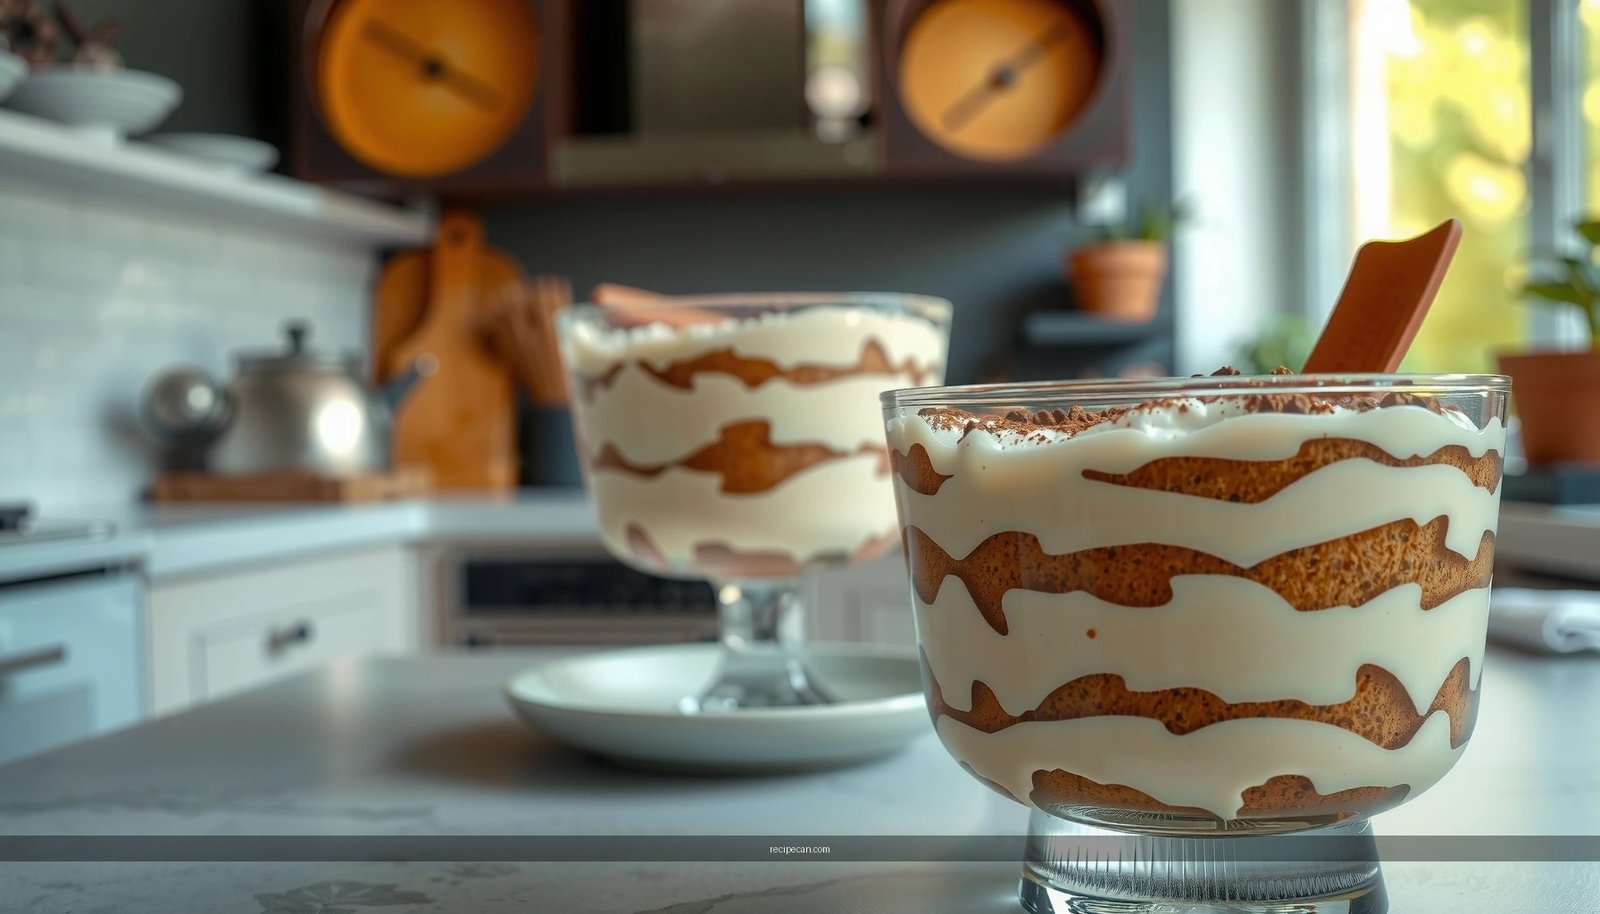
Chill for Best Texture
– Refrigerate at least 4–6 hours (overnight is best)
– Keep it covered to prevent drying out
– Let it sit 5–10 minutes before serving for softer slices
Chilling is not optional—it’s what turns assembled layers into the signature tiramisu bite. During refrigeration, the coffee flavors distribute, and the cream sets into a stable texture. Because this version uses cream cheese, the filling holds its shape particularly well, but you still need time for proper hydration and flavor melding.
For best results:
– Minimum: 4–6 hours in the fridge
– Best: overnight (12–24 hours)
Cover the dish to prevent the top from drying out or absorbing fridge odors. When you’re ready to serve, let it sit at 5–10 minutes at cool room temperature. That short rest softens the cream slightly and makes slicing more pleasant.
Serving Tips and Storage
– Dust generously with cocoa powder right before serving
– Slice with a warm knife for cleaner edges
– Store covered in the fridge up to 2–3 days; freeze only if needed
Finish matters. Cocoa powder should go on right before serving so it stays dark and fragrant rather than dissolving into the top layer. If you like extra visual drama, sift cocoa in a fine mesh for an even coating.
For cleaner edges:
– Use a knife dipped in hot water and wiped between cuts.
– Cut confidently with minimal sawing to keep layers intact.
Storage: Keep the tiramisu covered in the fridge for up to 2–3 days. After that, the texture can loosen as the ladyfingers continue to hydrate. Freezing is not ideal for the best “bakery slice” experience, but if you must freeze, wrap tightly and thaw in the refrigerator overnight—expect some softening.
Quick troubleshooting (common issues)
– Soggy tiramisu: You likely dipped ladyfingers too long or used coffee that was too hot.
– Runny filling: Cream cheese may have been too warm during mixing, or heavy cream wasn’t whipped to soft peaks.
– Dry top: The dish wasn’t covered during chilling, or cocoa was applied too early.
Tiramisu recipe with cream cheese is all about a smooth, tangy filling and quick ladyfinger dipping for the perfect texture. Follow the steps for the filling, coffee soak, and proper chilling time, then dust with cocoa and serve chilled—make it once, and you’ll want to repeat it. Try this version today and share your favorite variation (espresso strength or optional rum).
Frequently Asked Questions
What’s the best tiramisu recipe with cream cheese?
A classic tiramisu with cream cheese uses mascarpone-style richness but swaps in cream cheese for a tangier, denser filling. Whisk cream cheese with sugar and a splash of vanilla, then fold in whipped cream (or whipped egg whites) for a lighter texture. Layer the filling with espresso-soaked ladyfingers and cocoa powder, then chill at least 4–6 hours so the flavors meld.
How do you make tiramisu with cream cheese not runny or grainy?
Use softened cream cheese and beat it until smooth before mixing, which helps prevent lumps and grainy cream. If your mixture seems loose, chill it briefly before layering, and fold in whipped cream gently rather than overmixing. Also avoid oversoaking the ladyfingers—briefly dip them in espresso so they absorb flavor without turning the dessert watery.
Why does cream cheese tiramisu taste different from traditional mascarpone tiramisu?
Cream cheese has a tangier flavor and a different fat/protein structure than mascarpone, so the filling is more “cheesecake-like” than buttery-smooth. Adjust sweetness upward and consider adding vanilla or a small amount of lemon zest to balance the tang. For a closer traditional taste, you can blend cream cheese with a little mascarpone or Greek yogurt, depending on what you have.
Which espresso and soaking method works best for tiramisu with cream cheese?
Use freshly brewed espresso or strong coffee (such as dark roast) for a bold, balanced flavor against the creamy cream cheese filling. To avoid soggy layers, dip ladyfingers quickly—usually 1–2 seconds per side—so they absorb espresso without falling apart. If you like a stronger kick, you can add a teaspoon of coffee liqueur or espresso concentrate to the soaking mixture.
How long should you chill a tiramisu recipe with cream cheese before serving?
Chill the tiramisu for at least 4 hours, but overnight is even better because the cream cheese filling thickens slightly and the ladyfingers fully hydrate. Keep it covered in the refrigerator to prevent the top from drying out. For best texture, serve cold and dust generously with cocoa powder right before serving to maintain a fresh, rich finish.
References
- Google Scholar Google Scholar
https://scholar.google.com/scholar?q=tiramisu+cream+cheese+recipe - Google Scholar Google Scholar
https://scholar.google.com/scholar?q=tiramisu+mascarpone+egg+yolk+cocoa - Google Scholar Google Scholar
https://scholar.google.com/scholar?q=cream+cheese+substitute+mascarpone - https://pubmed.ncbi.nlm.nih.gov/?term=tiramisu
https://pubmed.ncbi.nlm.nih.gov/?term=tiramisu - https://pubmed.ncbi.nlm.nih.gov/?term=mascarpone
https://pubmed.ncbi.nlm.nih.gov/?term=mascarpone - https://pubmed.ncbi.nlm.nih.gov/?term=cream+cheese
https://pubmed.ncbi.nlm.nih.gov/?term=cream+cheese - Tiramisu
https://en.wikipedia.org/wiki/Tiramisu - Mascarpone
https://en.wikipedia.org/wiki/Mascarpone - Cream cheese
https://en.wikipedia.org/wiki/Cream_cheese - Tiramisu | Meaning, Ingredients, Origin, Desserts, & Taste | Britannica
https://www.britannica.com/topic/tiramisu