Get a cannoli cheesecake bars recipe that delivers easy, creamy, dessert-ready results with minimal fuss. This straightforward method answers whether you can achieve that classic cannoli-inspired flavor—without complicated piping or a fussy water bath. In one bake, you’ll land perfectly set bars with a sweet ricotta filling and the right crunch from crushed cookies.
Make cannoli cheesecake bars by baking a creamy cheesecake filling over a simple crust, then finishing with classic cannoli flavor (ricotta, cinnamon, and chocolate chips) plus optional powdered sugar. This recipe gives you the exact steps, bake time guidance, and cooling method so your bars slice cleanly every time—no special equipment required.
Choose Your Ingredients for Cannoli-Style Flavor

Cannoli cheesecake bars succeed when the ingredient list hits three goals: creamy structure, classic cannoli aromatics, and balanced sweetness. The base is a cheesecake-style custard, so dairy quality and moisture control matter.
– Use ricotta (and optional cream cheese) for a rich, creamy texture
Ricotta provides that unmistakable cannoli tang and grain-free creaminess when properly prepared. If your ricotta is watery, drain it in a fine-mesh sieve for 10–20 minutes before mixing. For an extra “restaurant” texture, incorporate a small amount of cream cheese: it firms the filling and reduces the risk of a soft, unstable center.
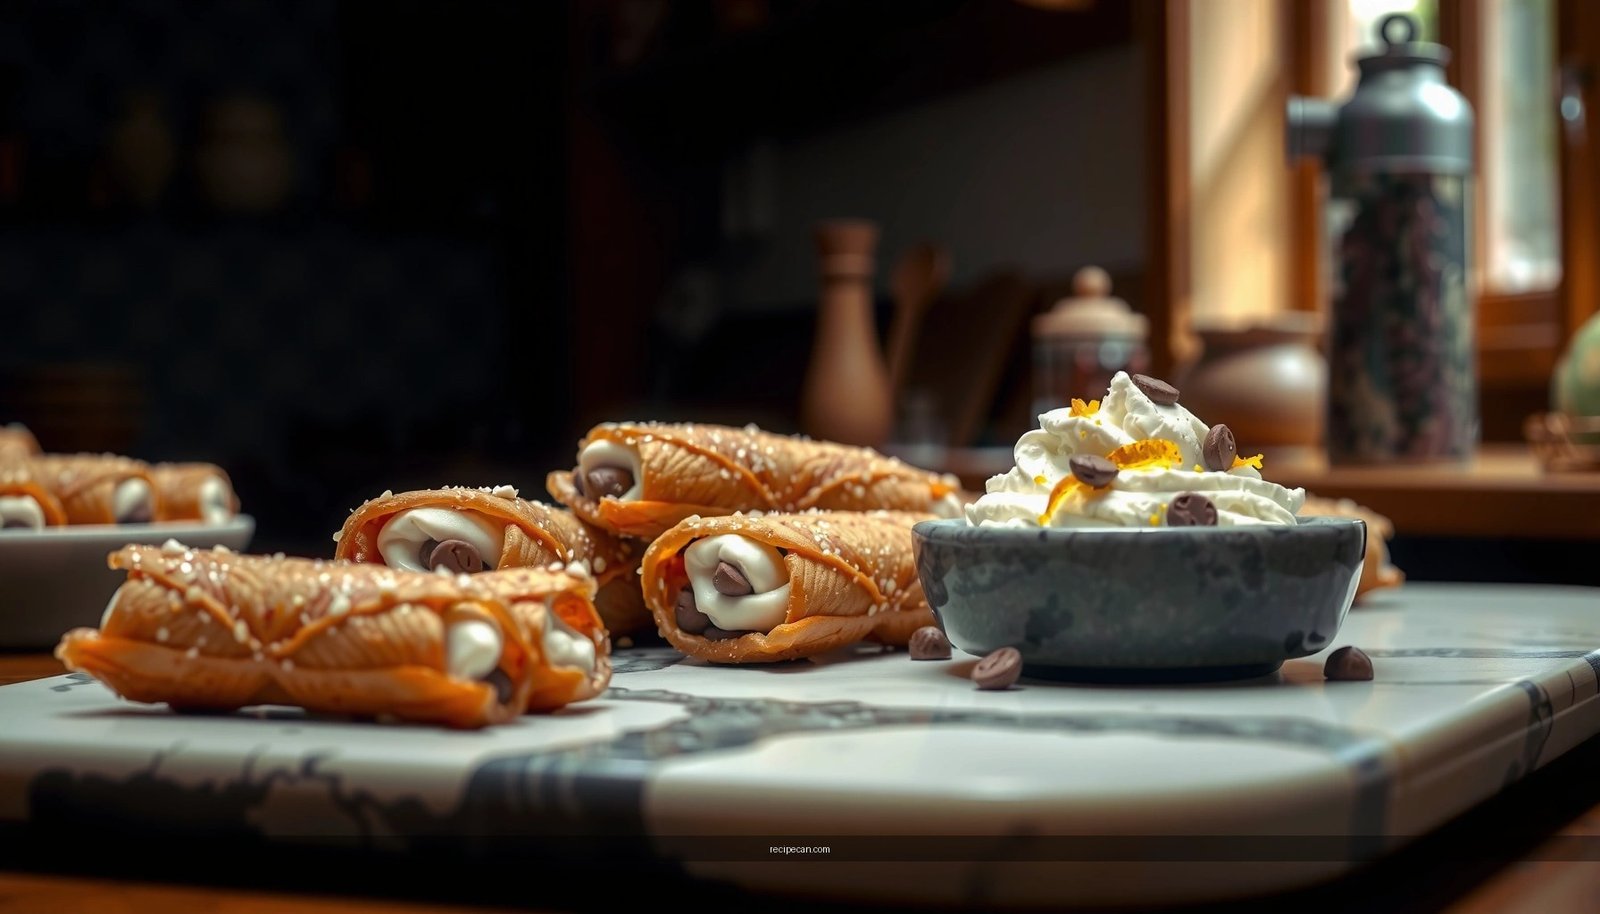
– Add mini chocolate chips, cinnamon, and vanilla for classic cannoli taste
Mini chocolate chips disperse more evenly than regular chips and prevent large pockets of chocolate that can interfere with clean slicing. Cinnamon adds warmth, while vanilla rounds out the flavor so the ricotta tastes sweet instead of sharp.
Practical ingredient picks (texture-first):
– Ricotta: whole-milk ricotta for best flavor; low-fat can work but may taste thinner.
– Cream cheese (optional): use full-fat and bring it to room temperature for a smooth mix.
– Eggs: room temperature helps the batter blend without overmixing.
– Sour cream (optional but recommended): adds tang and a silkier set.
– Sweetener: granulated sugar is simple and predictable in a baked cheesecake bar.
– Crust: classic graham crackers or vanilla wafer crumbs both work—graham is more traditional, wafers are sweeter and softer.
To make the recipe truly “cannoli,” don’t skip the cinnamon + vanilla combo, and do plan for at least one chocolate component in the filling (chips) and one in the finishing (extra chips or a light dusting effect with cocoa powder—optional).
Typical Texture Targets When Baking Cheesecake Bars (Oven-Ready Benchmarks)
| # | Stage Check | Target Appearance | How to Verify | Result vs. Goal |
|---|---|---|---|---|
| 1 | Crust Bake (initial) | Lightly golden | Edges set, center not glossy | More sturdy slices |
| 2 | Filling Consistency | Smooth, ribbon-like pour | No ricotta lumps visible | Fewer slice disruptions |
| 3 | Mid-Bake Observation | Filling slightly puffed | Center surface still glossy | Undercook prevention |
| 4 | Doneness (Best Target) | Edges set, center jiggly | Pan gently wiggled: 2–3 in. ripple | Creamy set, clean cuts |
| 5 | Immediate Cooling | No cracking | Surface remains smooth after 10–15 minutes | Better slice integrity |
| 6 | Chill Time for Serving | Firm enough to lift cleanly | Knife inserted: minimal smearing | Neat bar edges |
| 7 | Overbake Risk | Center fully firm, dull texture | Wiggle test: no ripple at all | Less creamy, harder cuts |
Make the Crust and Prep the Pan

A sturdy crust is the foundation for cleanly cut cannoli cheesecake bars. Because the filling is creamy, the crust must be properly baked and firmly pressed so it doesn’t crumble when you slice.
– Mix and press the crust firmly for sturdy, easy-to-cut bars
Combine crumbs (graham crackers or vanilla wafers) with sugar (optional) and melted butter. Press the mixture into the lined pan with the back of a measuring cup to compact it. More compression = fewer crumbs at the edges.
– Line the pan and preheat so baking goes smoothly
Line with parchment paper, leaving overhang for easy lifting. Preheat fully before baking to avoid uneven crust setting and filling bake times.
Recommended pan size for consistent results:
A standard 8×8-inch square pan yields bars with ideal thickness for slicing. If you use 9×13-inch, expect a thinner set and a shorter bake time.
Crust technique that matters:
1. Press evenly to the corners.
2. Bake until the crust looks slightly golden.
3. Let it cool for 5 minutes before adding filling (this prevents the crust from melting into the batter).
Mix and Spread the Cannoli Cheesecake Filling

This is where you lock in the cannoli identity and the cheesecake texture. The key is smooth batter and even spreading so the bars bake uniformly from edge to center.
– Whisk until smooth to avoid lumps in the cheesecake layer
Ricotta can introduce graininess if not mixed well. Use a whisk or beat gently, just until smooth. If lumps persist, press ricotta through a sieve once before mixing.
– Spread evenly so the bars bake uniformly
Pour the batter over the crust and use a spatula to level it. Uneven thickness can cause some sections to overbake while others remain under-set.
Mixing approach (professional reliability):
– Beat cream cheese (if using) until creamy, then add ricotta.
– Add sugar, then mix to dissolve.
– Add vanilla and cinnamon.
– Add eggs last, one at a time, mixing just enough to incorporate.
– Fold in mini chocolate chips at the end so they don’t sink or clump.
Why bake as bars (not a whole cake)?
Bars are more forgiving: the smaller surface area and straightforward slicing reduce presentation risk, making them ideal for events, office gatherings, and meal-prep desserts.
Bake Until Set, Then Cool Properly
Cannoli cheesecake bars are all about the right doneness window. Overbaking produces a dry, dense filling; underbaking leaves the center too soft. Use both the look and the wiggle test for control.
– Bake just until the center is set but still slightly jiggly
The edges should look set, and the center should jiggle like gelatin when you gently move the pan. It will finish setting as it cools.
– Cool completely (or chill) for the best texture and clean slices
If you cut warm bars, the filling will smear. A slow cool, then a full chill, produces the firm-but-creamy texture that holds clean lines.
Cooling method that prevents cracking and crumbling:
1. Turn off the oven and leave the bars inside with the door cracked for 10 minutes (optional, but helpful).
2. Remove and cool at room temperature until no longer warm.
3. Chill at least 4–6 hours, ideally overnight.
Serve readiness:
For the cleanest slices, chill until the bars are firm, then use a sharp knife warmed under hot water and wiped dry between cuts.
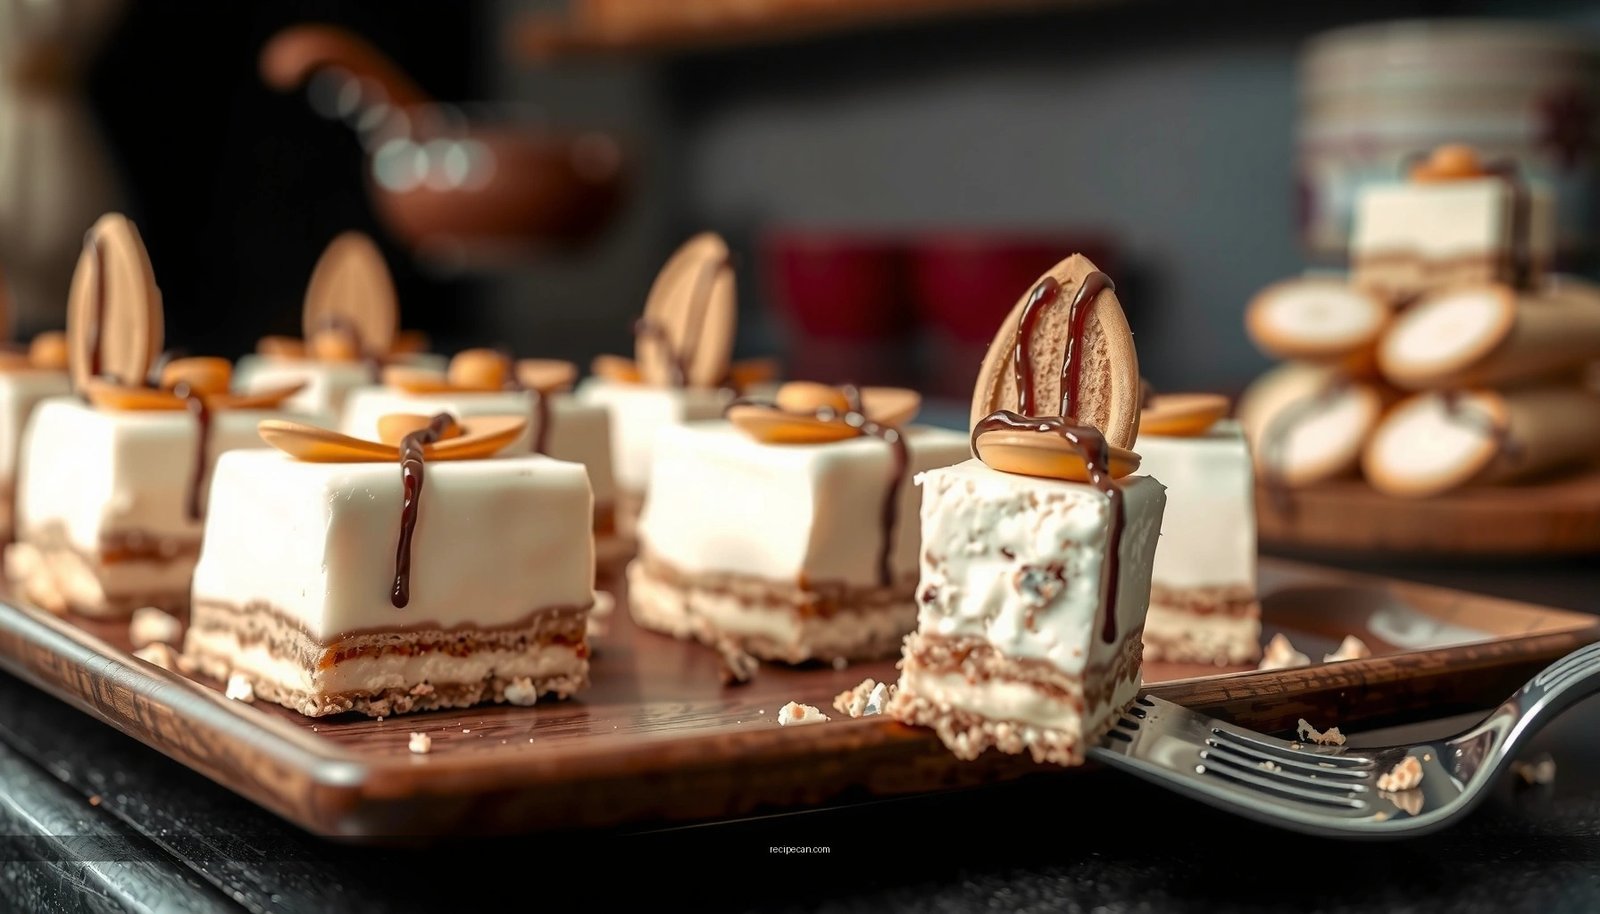
Add the Finishing Touches
Finishing touches are where you signal “cannoli” at first glance—especially in a business setting where presentation influences perceived quality.
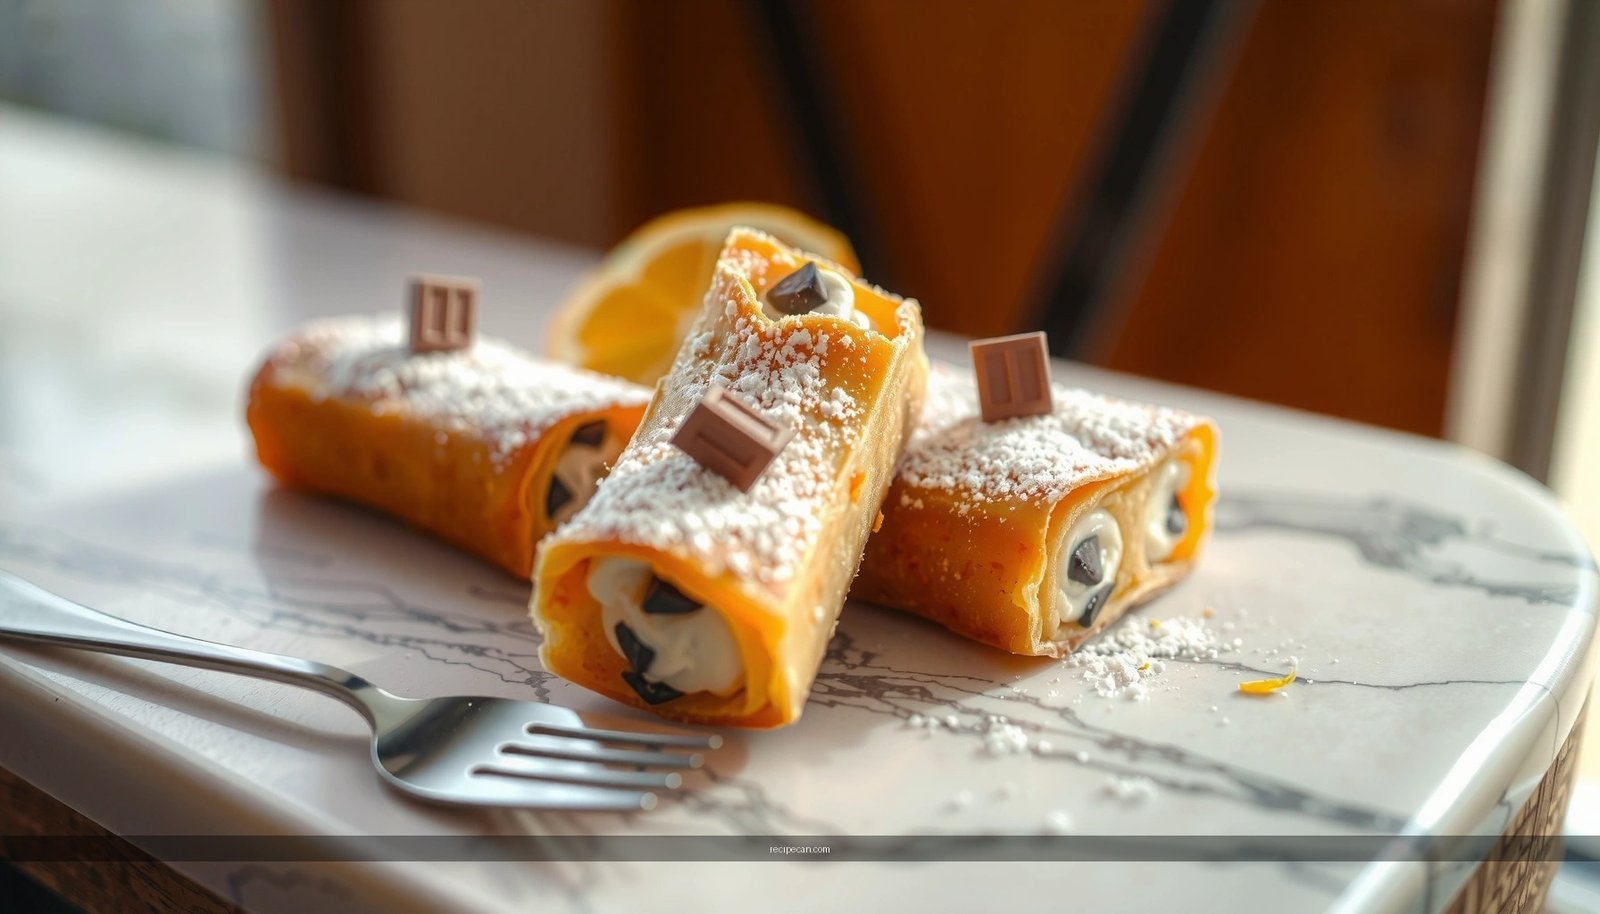
– Sprinkle powdered sugar and more chocolate chips if desired
A light dusting of powdered sugar enhances the classic cannoli look without overpowering sweetness. Add a few extra chips to create visible pockets of chocolate.
– Optional: top with a light drizzle of honey or extra cinnamon
Honey is particularly effective when paired with cinnamon because it heightens aroma. Keep it subtle—think “accent,” not dessert syrup.
Design tip for consistent presentation:
If you’re serving a crowd, slice first and garnish each plate right before serving. That preserves the crisp contrast of powdered sugar on the creamy surface.
Storage and Make-Ahead Tips
Cannoli cheesecake bars are excellent for planning because cheesecake flavors often improve after chilling. Proper storage also protects texture and prevents the crust from softening too quickly.
– Refrigerate covered for best freshness and flavor
Store in an airtight container or cover tightly with plastic wrap. Refrigerated bars generally hold well for **3–5 days**.– Chill ahead of time for firmer bars that cut neatly
For clean edges, bake a day ahead. The chilled set improves slice stability because the cheesecake filling firms up uniformly.
Freezing (optional, but useful):
– Freeze bars in a single layer until firm, then transfer to a freezer-safe bag or container.
– Thaw overnight in the refrigerator for the best texture.
Best practice for slicing leftovers:
Cut only what you need, then re-cover immediately. This reduces exposure and helps maintain crust integrity.
Cannoli cheesecake bars come together fast once you bake a set filling on a sturdy crust and chill thoroughly before slicing. Follow the ingredient notes, bake until just set (with a slightly jiggly center), and use controlled cooling for the cleanest cuts—then serve right away for maximum creaminess or make them ahead for an easy, crowd-pleasing dessert.
If you want, tell me your pan size (8×8, 9×9, or 9×13) and whether you prefer a more classic tang or a sweeter “cannoli shell” vibe, and I’ll tailor the ingredient ratios and bake time more precisely.
Frequently Asked Questions
What are cannoli cheesecake bars and how are they different from traditional cannoli?
Cannoli cheesecake bars combine the creamy, tangy filling of cheesecake with classic cannoli flavors like ricotta and hints of citrus. Instead of using a fried cannoli shell, the dessert is baked as bar cookies with a cheesecake filling on a crust. This makes cannoli cheesecake bars easier to slice, serve, and share while keeping the same nostalgic taste.
How do I make cannoli cheesecake bars with a smooth ricotta filling?
Use room-temperature ricotta and beat it until smooth before mixing in sugar and other ingredients to prevent lumps. If your ricotta is watery, drain it briefly in a fine-mesh strainer to keep the bars from becoming loose. Fold in mini chocolate chips gently so the cheesecake batter stays creamy and bakes evenly.
Which crust works best for cannoli cheesecake bars—graham cracker, cookie, or something else?
A graham cracker crust is the most common choice because it complements the sweet ricotta and mild vanilla notes. For a richer, dessert-cookie taste, crushed Italian cookies (or even vanilla wafer crumbs) can create a more indulgent crust that still holds up well. Whichever you choose, bake the crust briefly and press it firmly so it doesn’t crumble when you slice the cannoli cheesecake bars.
Why do my cannoli cheesecake bars crack or turn out too soft, and how can I fix it?
Cracking usually happens from overmixing or baking too hot—mix just until combined and avoid aggressive beating once eggs are added. If the bars are too soft, they likely need more baking time or proper chilling; cheesecake sets best after refrigeration. Let them cool fully, then chill at least a few hours (or overnight) for clean cuts and a firmer cannoli cheesecake bar texture.
Best tips for chilling and slicing cannoli cheesecake bars without ruining the pieces?
Chill the pan until the bars are fully set, then lift them out using foil overhang and slice with a warm, clean knife. Wipe the knife between cuts to keep edges sharp and prevent the creamy filling from smearing. If you want bakery-style results, chill overnight and cut the following day—your cannoli cheesecake bars will hold their shape beautifully.
References
- Cannoli
https://en.wikipedia.org/wiki/Cannoli - Cheesecake
https://en.wikipedia.org/wiki/Cheesecake - Ricotta
https://en.wikipedia.org/wiki/Ricotta - Baking
https://en.wikipedia.org/wiki/Baking - https://www.britannica.com/topic/cannoli
https://www.britannica.com/topic/cannoli - Cheesecake | Dessert, Cream Cheese, Graham Cracker | Britannica
https://www.britannica.com/topic/cheesecake - Ricotta | Cheese, Whey, & Production | Britannica
https://www.britannica.com/topic/ricotta - Google Scholar Google Scholar
https://scholar.google.com/scholar?q=cannoli+cheesecake+bars+recipe - Google Scholar Google Scholar
https://scholar.google.com/scholar?q=cannoli+ricotta+filling+cheesecake+bars - Google Scholar Google Scholar
https://scholar.google.com/scholar?q=cheesecake+bars+recipe+ricotta+technique