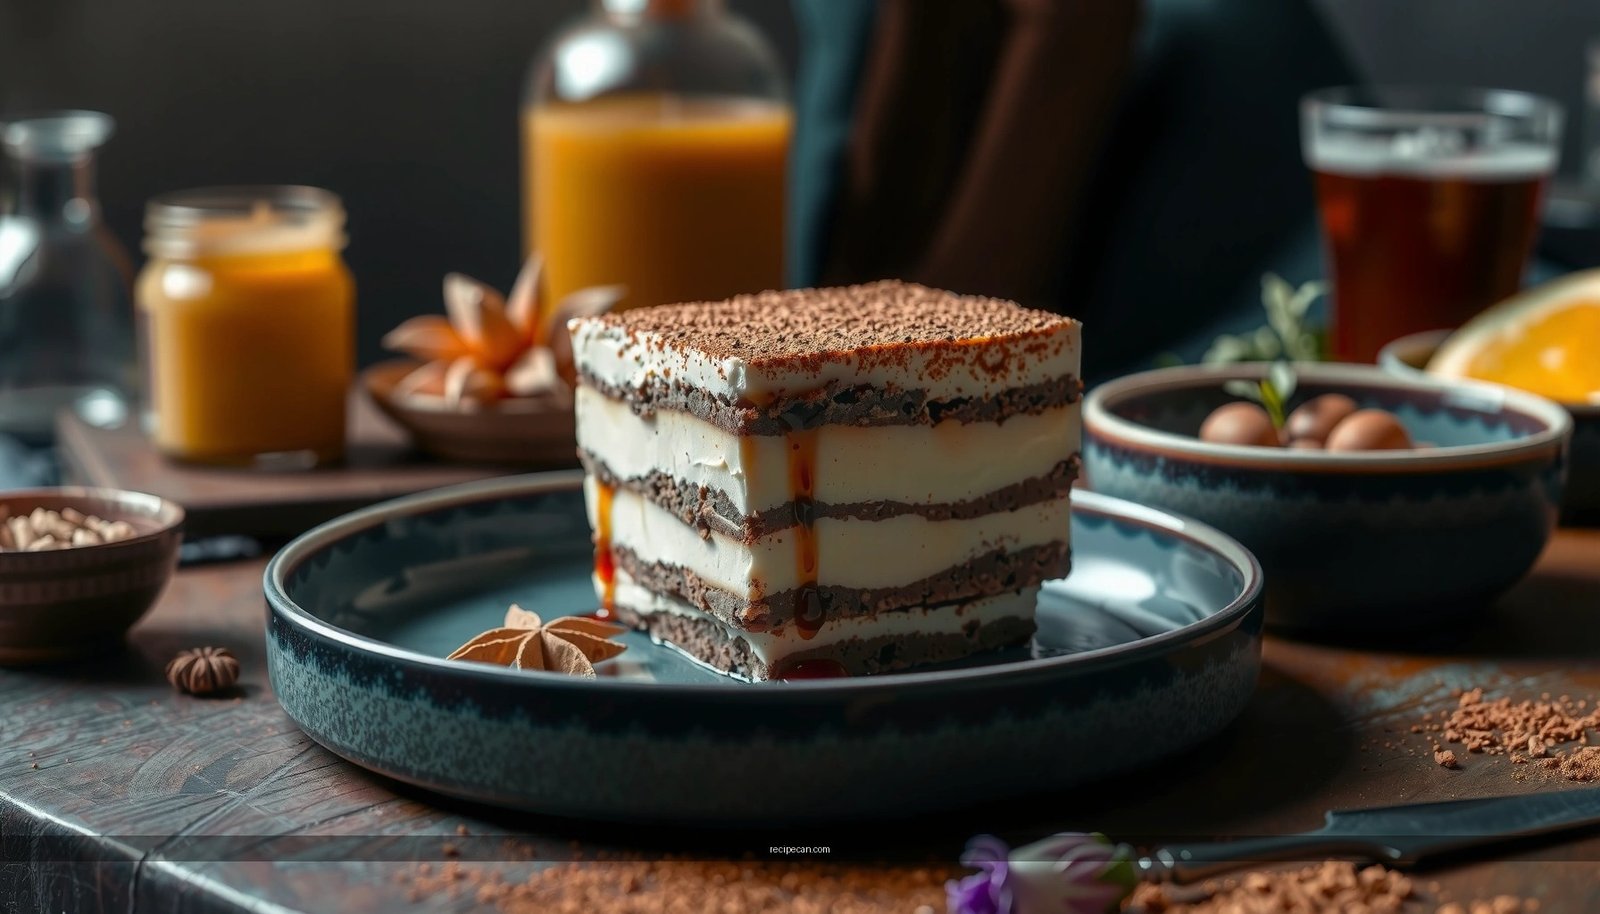
Get a creamy tiramisu recipe that turns out rich, silky, and stable every time, with clear steps from soaked ladyfingers to glossy mascarpone layers. This recipe delivers the best texture when you chill long enough for the flavors to meld and the cream to set. If you want tiramisu that’s indulgent but still straightforward to make, this is the one worth following.
A creamy tiramisu is all about smooth mascarpone and quick espresso-soaked ladyfingers layered for clean, sliceable results—follow the steps below and you’ll get a rich, classic-style dessert with minimal fuss. This method focuses on temperature control, gentle mixing, and correct soaking time so your tiramisu sets beautifully in the fridge while staying silky rather than grainy or watery.
In Italian-American home kitchens, tiramisu often goes wrong for two predictable reasons: the mascarpone base breaks (from overmixing or wrong temperature) or the ladyfingers turn to mush (from soaking too long). By using a controlled whipping/folding approach, pairing it with espresso that’s strong and correctly cooled, and layering with even coverage, you’ll consistently produce the signature creamy tiramisu texture—rich, airy, and spoonable.
Gather Ingredients for Creamy Tiramisu

Before you start, assemble your ingredients so you can move quickly during the soaking and layering steps. A creamy tiramisu recipe is deceptively simple, but the quality of the base matters: mascarpone should be fresh and soft (not cold-stiff), espresso should be bold, and ladyfingers should be dry enough to hold shape.
– Use mascarpone, eggs, espresso, sugar, and ladyfingers as the base
– Mascarpone provides the creamy body.
– Eggs (typically yolks, sometimes whites) contribute richness and a light, mousse-like set.
– Choose strong brewed espresso (or espresso coffee) for bold flavor
– The dessert is built around coffee intensity—weak coffee usually becomes “sweetened milk” in flavor once layered.
– Add cocoa powder for the signature finish
– Use unsweetened cocoa powder for the classic bitterness-to-sweetness balance and for a clean top finish right before serving.
Ingredient ratios (for an 8×8-inch / ~20×20 cm pan, about 8–10 servings):
– Mascarpone: 16 oz (454 g)
– Eggs: 3 large (separate yolks and whites if using whites)
– Granulated sugar: 1/2 cup (100 g)
– Espresso: 1 to 1 1/2 cups (240–360 ml), freshly brewed
– Ladyfingers: about 24–32 pieces (depending on thickness)
– Unsweetened cocoa powder: 2–3 tbsp for topping
Pro tip for Italian-style accuracy: If you want maximum authenticity, use traditional savoiardi (ladyfingers) and brew espresso strong enough that it tastes pleasantly bitter on its own—tiramisu will soften it, not amplify it.
Typical Coffee Strength Used for Tiramisu Soaking (Practical Range)
| # | Brew/Format | Water-to-Coffee | Approx. Brew Strength | Tiramisu Fit |
|---|---|---|---|---|
| 1 | Espresso (single shot) | ~1:2 | Very strong | ★ Best |
| 2 | Espresso (double shot) | ~1:2 | Very strong | ★ Best |
| 3 | Moka pot (strong setting) | ~1:6–1:7 | Strong | ★ Excellent |
| 4 | Aeropress (fine grind) | ~1:10 | Strong | ★ Excellent |
| 5 | Stovetop/“strong coffee” filter | ~1:14 | Medium-strong | ★ Good |
| 6 | Standard drip (typical) | ~1:17–1:18 | Medium | ★ Risky |
| 7 | Caffeinated but weak decaf | ~1:18+ | Light | ★ Avoid |
Make the Creamy Mascarpone Mixture

The mascarpone mixture is the backbone of a creamy tiramisu recipe. To keep it rich and silky (not grainy), focus on texture: room-temperature mascarpone, gentle mixing, and careful folding.
– Whip mascarpone until smooth and lump-free
– Start by softening mascarpone slightly at room temperature so it blends without forcing air or creating pockets.
– Fold in egg yolks (and whites if using) gently for a light, creamy texture
– Yolks add depth and stability.
– If you whip egg whites to soft peaks, fold them in last for lift and a mousse-like mouthfeel.
– Sweeten to taste while keeping the dessert balanced
– Sugar should enhance espresso bitterness and cocoa—not mute it.
Recommended method (reliable and “set-friendly”):
1. Separate eggs. Whip yolks with sugar until glossy and slightly thickened (about 2–3 minutes).
2. Stir/whip mascarpone just until smooth, then mix into yolk mixture on low speed.
3. (Optional but excellent) Whip whites to soft peaks; fold gently in batches.
4. Taste for sweetness: it should be slightly less sweet than you’d want the final dessert, because espresso and cocoa add their own intensity once layered.
Common failure points to avoid:
– Overwhipping mascarpone: it can become dense and less silky.
– Mixing aggressively after adding whites: you’ll deflate the mixture and lose that airy creaminess.
– Using very cold mascarpone: it often leads to lumps that don’t fully incorporate.
Brew and Soak the Ladyfingers

Soaking is where most tiramisu quality is decided. Espresso-soaked ladyfingers should be pliable and fragrant, but never saturated. The goal is a controlled transfer of coffee flavor while preserving structure for slicing.
– Dip ladyfingers quickly in espresso so they’re soaked but not mushy
– Aim for about 1–2 seconds per side (or a brief dip plus a quick touch).
– Layer evenly to prevent dry spots and ensure consistent flavor
– Gaps let cream pool; heavy spots create uneven thickness.
– Work in batches if the ladyfingers soften fast
– If your kitchen is warm or ladyfingers are unusually delicate, soak just one layer worth at a time.
Practical soaking guidance:
– Use espresso that’s cooled to lukewarm or room temperature. Hot espresso can soften faster than you expect and may slightly thin the cream after chilling.
– If using boxed ladyfingers, check package dryness. Some brands are more absorbent—reduce dip time accordingly.
Tip for a “professional” texture: If you see cracks on the edges after dipping, you’re soaking too long. Reduce time, and ensure your espresso isn’t overly hot.
Assemble the Tiramisu Layers
A classic creamy tiramisu pattern makes structure and flavor predictable. The layering technique matters because it controls moisture migration—enough to soak flavor into the crumb, but not enough to collapse the base.
– Spread a cream layer first, then add a ladyfinger layer, then cream again
– A cream “starter” layer prevents ladyfingers from sticking and helps create clean slices.
– Repeat until you reach your desired height (often 2–3 layers)
– Two layers are often perfect for an 8×8-inch pan; three layers can be used if you have enough ladyfingers and want a taller presentation.
– Smooth the top layer so it chills evenly
– Use an offset spatula or back of a spoon to level the surface for even setting.
Layering workflow (efficient and low-stress):
1. Spread a thin cream layer in the bottom of your dish.
2. Arrange dipped ladyfingers in a single layer, trimming if necessary.
3. Cover with cream, smoothing to the edges.
4. Repeat until you reach your preferred height.
5. Cover and refrigerate—don’t cocoa yet.
Quality check: When you run a spoon through the top cream before chilling, it should hold a neat groove rather than immediately collapsing. That’s your signal the mixture is properly aerated and thick enough.
Chill for the Best Creamy Texture
Chilling is not optional for creamy tiramisu—it’s how the dessert becomes sliceable and silky. Heat and timing directly influence whether the cream sets smoothly or stays loose.
– Refrigerate at least 4–6 hours (overnight is even better)
– Overnight allows espresso flavor to fully integrate.
– Chill uncovered briefly, then cover to prevent odor absorption
– If your fridge is busy, leaving it uncovered too long can pick up strong food odors.
– Add cocoa right before serving to keep it fresh-looking
– Cocoa can absorb moisture and darken if applied too early.
Best practice schedule (works well for entertaining):
– 1–2 hours prep + assembly
– Chill uncovered 30–60 minutes (helps surface set)
– Cover and refrigerate until serving (minimum 4–6 hours)
Serving temperature matters: Serve cold. When tiramisu sits at room temperature too long, the cream can soften and the layers blur.
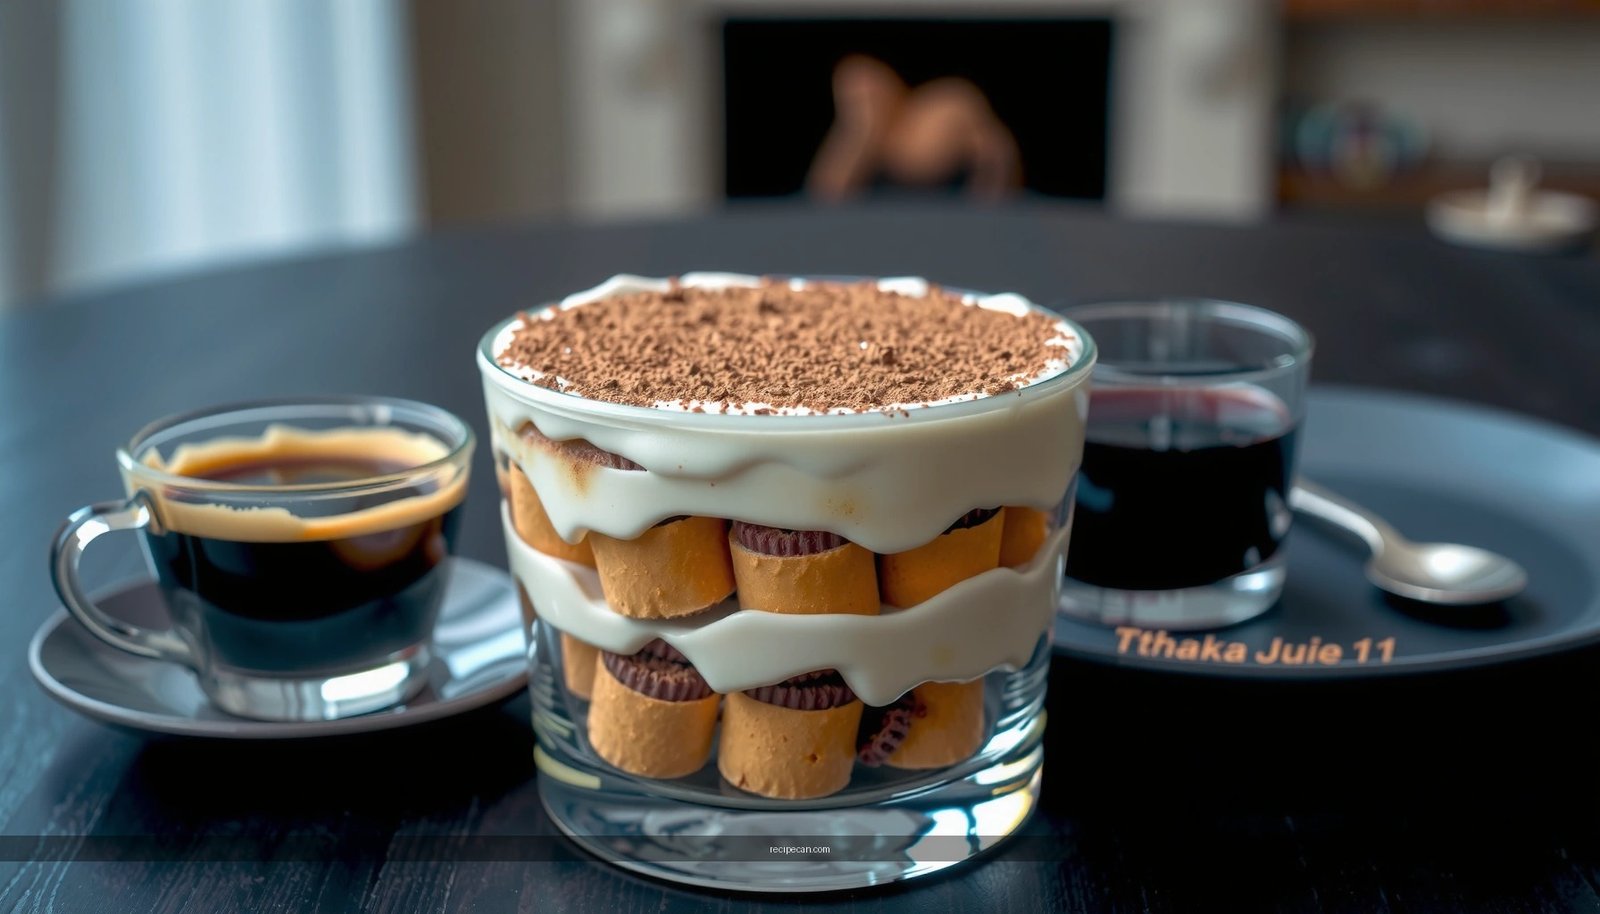
Serve and Store Your Creamy Tiramisu
Once chilled, slice cleanly and store correctly to maintain the rich, silky mouthfeel. This is where you protect both texture and flavor.
– Slice with a clean spoon/knife for neat portions
– Wipe the blade between cuts for crisp edges.
– Serve cold for the most stable creamy texture
– Cold temperature supports the mousse-like mascarpone base.
– Store covered in the fridge for 2–3 days for best flavor
– Flavor remains excellent for a couple of days; texture is best within that window.
Storage recommendations:
– Cover tightly to minimize drying and odor absorption.
– If you’re preparing ahead for an event, cocoa the day-of (or right before serving) for the most vibrant finish.
Food-safety note (professional best practice):
If your recipe uses raw or lightly cooked eggs, keep the tiramisu refrigerated at all times. For events, ensure it stays cold during setup and serving.
Creamy Tiramisu: Ingredient vs. Texture Outcomes (Quick Decision Guide)
If you’re troubleshooting or scaling the recipe, it helps to understand how each component influences the final result—especially texture and set.
What Changes in Texture When You Adjust Key Inputs
| # | Input Change | Expected Texture Shift | Best Fix |
|---|---|---|---|
| 1 | Mascarpone too cold | Lumps, uneven cream | Warm 15–25 min |
| 2 | Overmix after adding whites | Dense, less airy set | Fold gently, low batches |
| 3 | Espresso too hot | Faster breakdown of ladyfingers | Cool to lukewarm |
| 4 | Ladyfingers soaked too long | Soggy layers, messy slices | Dip 1–2 sec/side |
| 5 | Cream too loose | Layers blur before set | Chill longer, avoid overwhip |
| 6 | No starter cream layer | Ladyfingers stick, uneven bottom | Add thin cream base |
| 7 | Cocoa added too early | Dull top, absorbed moisture | Cocoa right before serving |
A creamy tiramisu is ultimately about controlled technique: smooth mascarpone, gentle folding, quick espresso soaking, and adequate chilling to lock in structure. If you follow the process—especially dip time and refrigeration—you’ll achieve that signature rich, silky texture that looks as classic as it tastes.
In short, gather high-quality mascarpone and strong espresso, whip and fold the base without overmixing, soak ladyfingers only briefly, assemble with even layers, then chill until set. Serve cold with cocoa added at the last moment, and your tiramisu will slice neatly, hold its creamy form, and deliver the balanced espresso-and-cocoa flavor that defines an authentic Italian dessert.
Frequently Asked Questions
What is the best creamy tiramisu recipe that doesn’t turn out runny?
For a creamy tiramisu that holds its shape, use room-temperature mascarpone and beat it just until smooth—overmixing can loosen the texture. Whip the egg yolks with sugar until pale and thick, then gently fold in mascarpone and whipped egg whites (or whipped cream) for a stable, creamy tiramisu filling. Also let the assembled dessert chill at least 6 hours (overnight is best) so the layers set and the mascarpone cream firms up.
How do you make a creamy tiramisu without eggs?
You can make an egg-free creamy tiramisu by using mascarpone plus a stabilized base like whipped cream and sweetened vanilla. Combine mascarpone with sugar and vanilla, then fold in whipped heavy cream until fluffy and thick, which mimics the airy texture of classic tiramisu cream. Dip ladyfingers briefly in coffee (and a splash of liqueur if desired) so they soften without turning the dessert watery, then chill until set.
Why does my tiramisu taste bitter or the coffee layers get too watery?
Bitter flavor usually comes from overly strong coffee, under-diluted espresso, or coffee that’s dipped too long. Use freshly brewed coffee (or espresso) and dilute slightly with water if needed, then quick-dip the ladyfingers—about 1–2 seconds per side. For watery layers, reduce soaking time and ensure the mascarpone cream is thick before assembling; the chill time also helps absorb excess moisture.
Which mascarpone brands or substitutes work best for a creamy tiramisu?
Look for high-fat mascarpone with a smooth, thick consistency for the creamiest tiramisu filling; brands labeled “mascarpone” rather than “tiramisu cream” blends typically melt better into a silky texture. If you can’t find mascarpone, use full-fat cream cheese as a substitute, but blend it until very smooth first and slightly reduce added liquid so your creamy tiramisu doesn’t become grainy. For best results, use cold ingredients consistently and taste the filling before layering.
How long should you chill a creamy tiramisu before serving?
Chill your creamy tiramisu for at least 6 hours so the mascarpone cream thickens and the ladyfingers fully soften without becoming mushy. Overnight chilling often improves flavor because the coffee and cream meld, creating a richer tiramisu experience. If you’re short on time, aim for a minimum of 4 hours, but expect a slightly less set texture.
References
- Tiramisu
https://en.wikipedia.org/wiki/Tiramisu - Tiramisu | Meaning, Ingredients, Origin, Desserts, & Taste | Britannica
https://www.britannica.com/topic/tiramisu - https://www.nytimes.com/search?query=tiramisu%20recipe
https://www.nytimes.com/search?query=tiramisu%20recipe - https://www.theguardian.com/search?q=tiramisu%20recipe
https://www.theguardian.com/search?q=tiramisu%20recipe - Search recipes – BBC Food
https://www.bbc.co.uk/food/search?q=tiramisu%20recipe - Google Scholar Google Scholar
https://scholar.google.com/scholar?q=creamy+tiramisu+recipe+mascarpone - Google Scholar Google Scholar
https://scholar.google.com/scholar?q=tiramisu+recipe+egg+whites+raw+pasteurized - Google Scholar Google Scholar
https://scholar.google.com/scholar?q=tiramisu+recipe+coffee+savoiardi+technique - https://pubmed.ncbi.nlm.nih.gov/?term=tiramisu
https://pubmed.ncbi.nlm.nih.gov/?term=tiramisu - Google Scholar Google Scholar
https://scholar.google.com/scholar?q=mascarpone+cream+texture+emulsion+stability+food