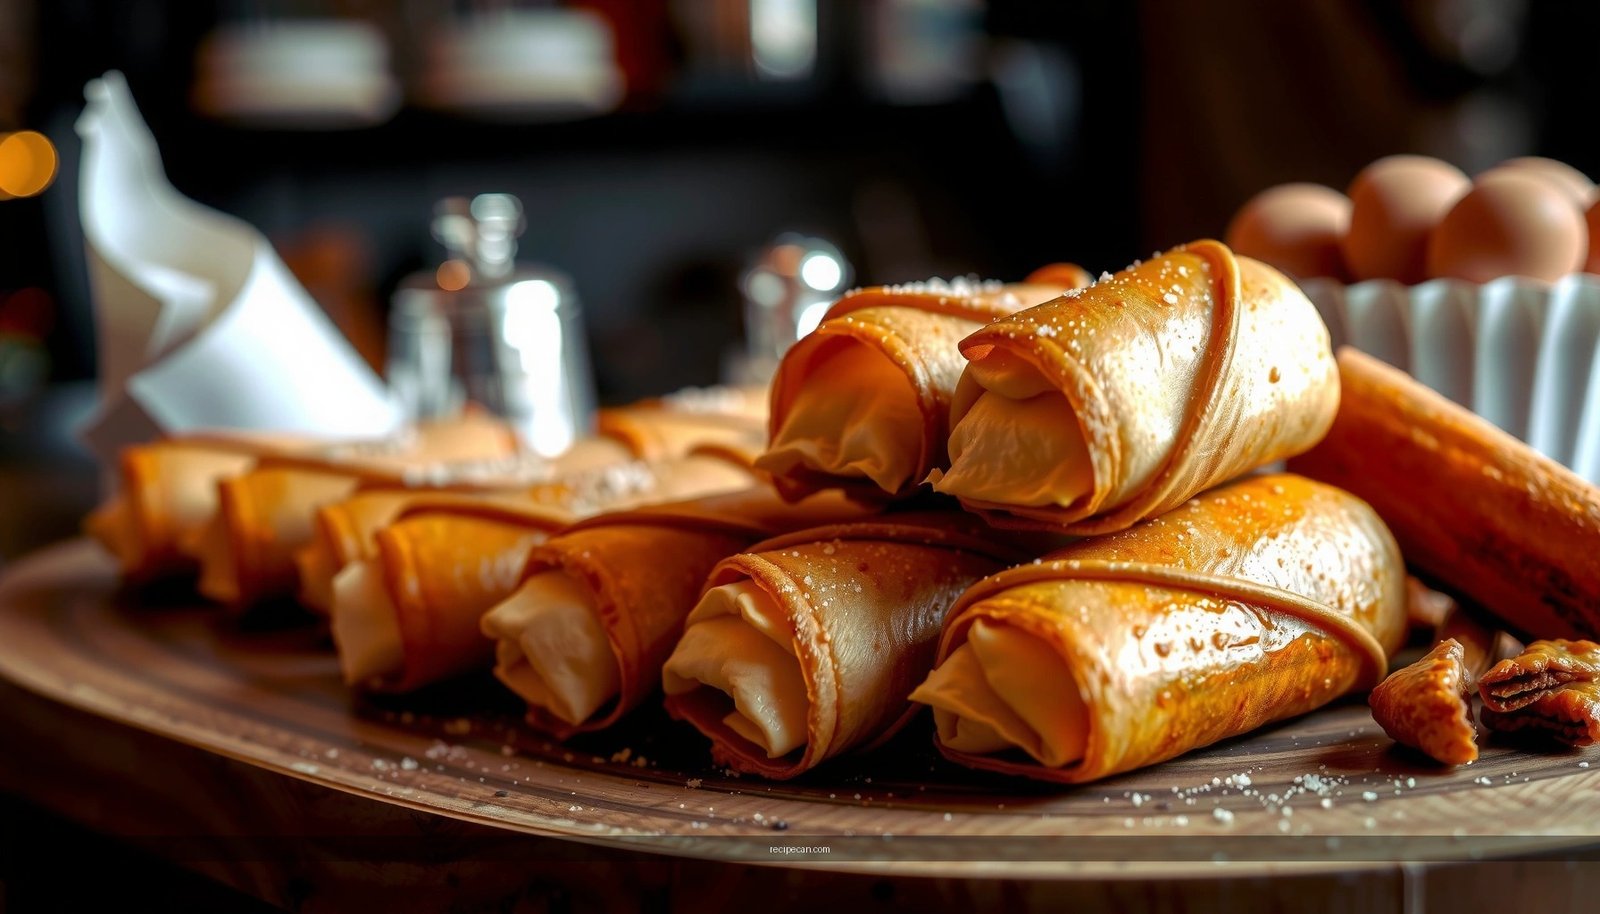
Get a reliable cannoli bars recipe that delivers the real draw—easy assembly and crispy, sweet cannoli-style squares—every time. This method answers the key question: how to bake cannoli bars with a crunchy bite and a creamy, ricotta-filled center without complicated rolling or frying. If you want dessert that looks like bakery cannoli but takes far less effort, this is the winner.
Make cannoli bars at home by layering a tender bar base with a creamy ricotta filling and classic cannoli flavors—no pastry rolling required. This recipe shows you how to prep, assemble, and bake so you get bold cannoli-style taste in a convenient bar form, with the right balance of crisp edges, creamy center, and clean slices.
To recreate classic cannoli character, you’ll focus on three technical points: (1) a short, sturdy bar base that bakes through without becoming dry, (2) a ricotta filling that’s smooth and thick enough to hold shape, and (3) controlled baking time so the filling sets rather than weeps. The result is a dessert that reads “cannoli” immediately—vanilla-ricotta sweetness with chocolate chips—while remaining easy to portion for parties, bake sales, or dessert night.
What You Need for Cannoli Bars

Cannoli bars are straightforward, but the “right” ingredients determine your texture more than most people expect. You’re building a bar crust/base to contrast the creamy filling, so choose items that give structure, richness, and flavor without making the filling watery.
– Ricotta (whole-milk preferred): The core of the creamy cannoli-style filling. Whole-milk ricotta gives a richer mouthfeel and typically bakes better than low-fat.
– Sugar (granulated): Sweetens the filling and lightly sweetens the base. Use a consistent granulation so it dissolves evenly.
– Vanilla extract: Classic cannoli aroma—adds depth beyond “just sweet.”
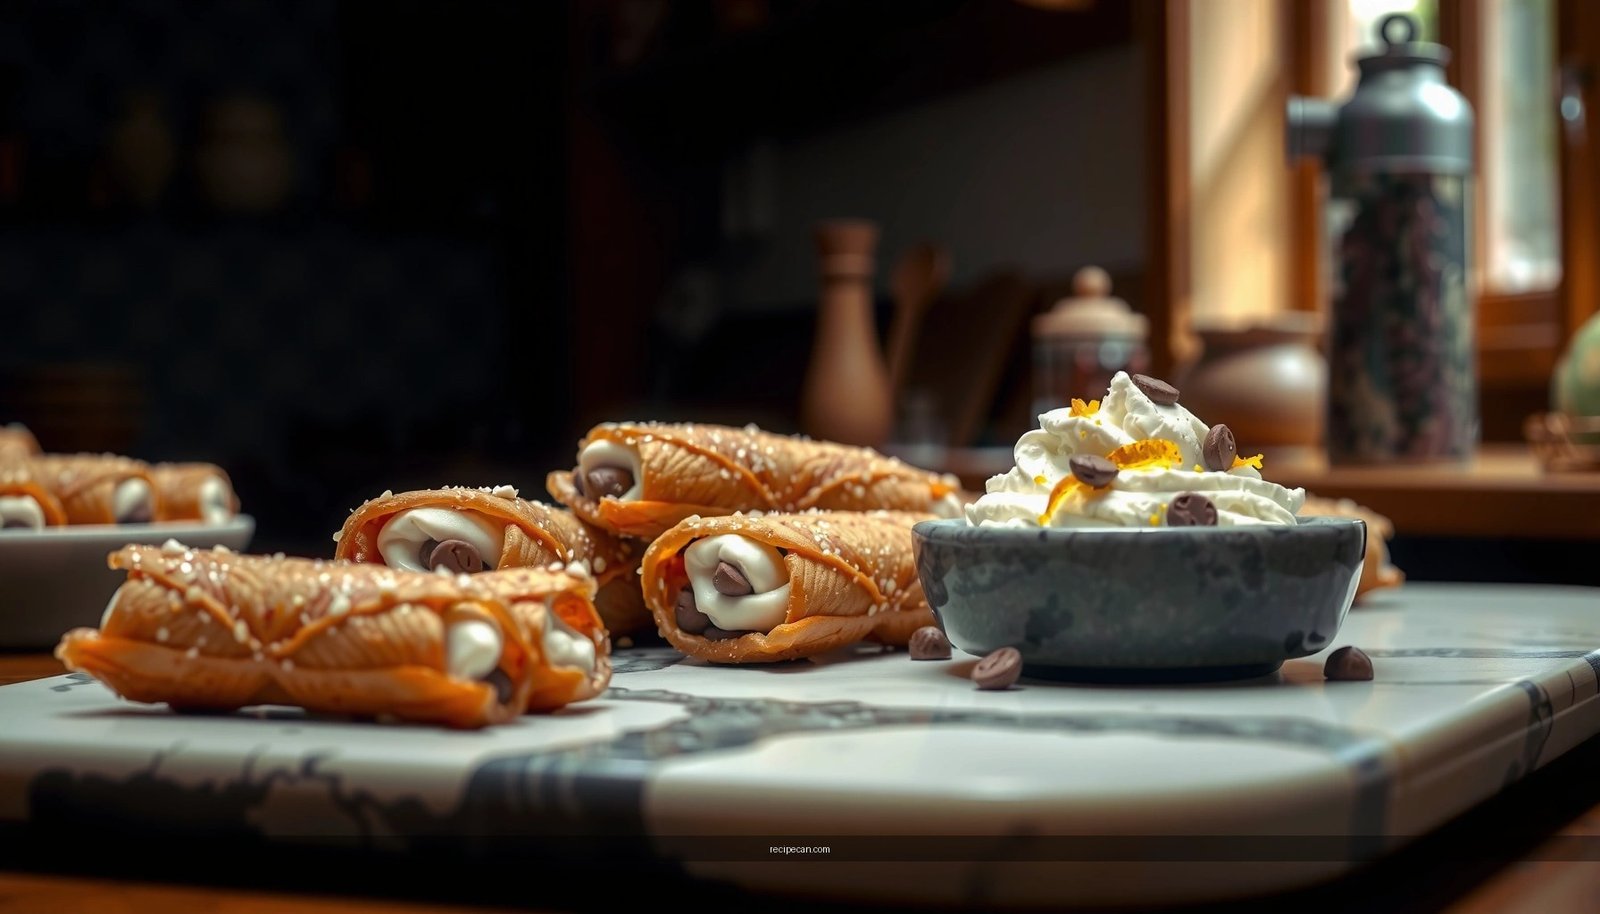
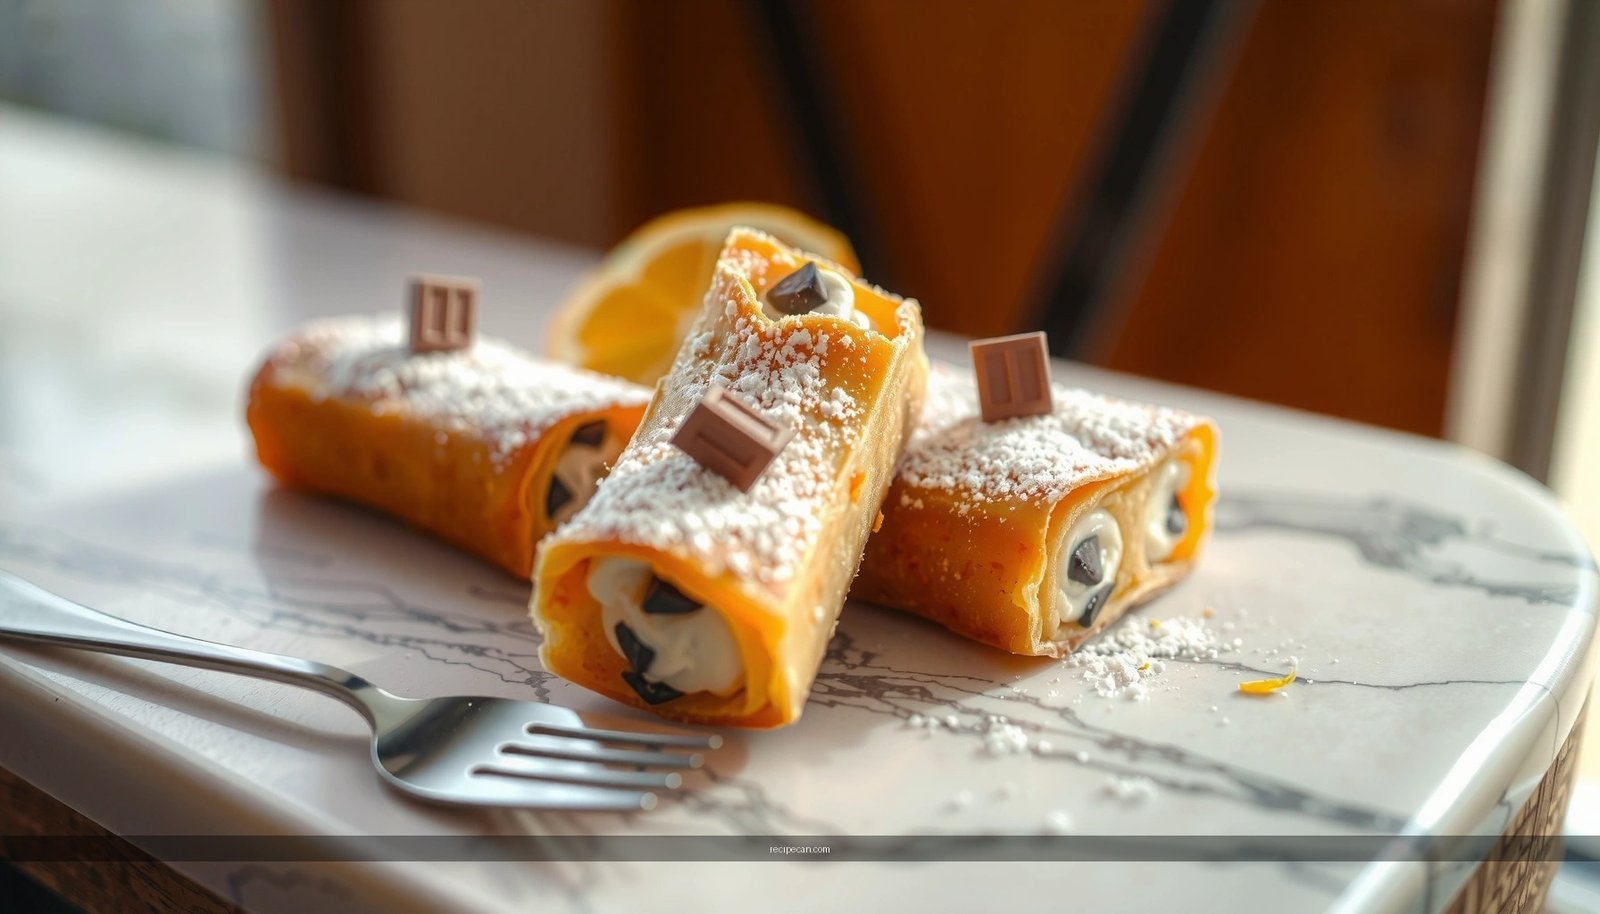
– Mini chocolate chips: The signature cannoli “click” of chocolate in every bite. Mini chips distribute well through the filling.
– Egg (optional, but recommended for set): Helps the filling firm up so it slices cleanly.
– Flour, butter, and salt for the base: Butter provides tenderness; flour provides structure; salt sharpens flavor.
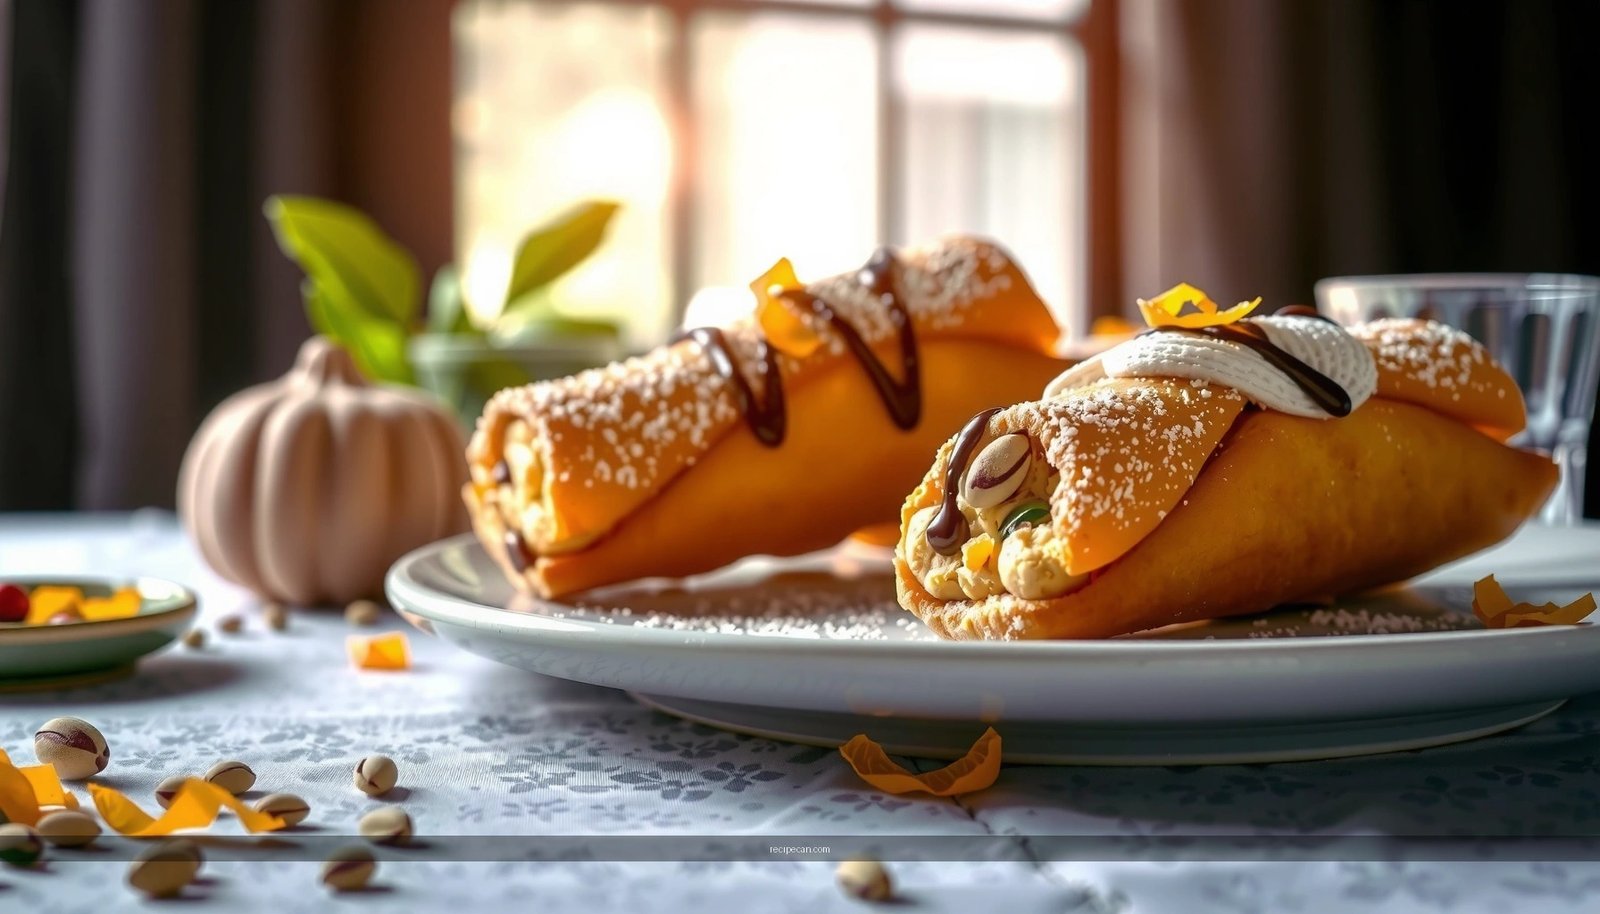
– Optional citrus zest (orange or lemon): Many cannoli recipes use a bright note—zest boosts the ricotta without tasting like “citrus candy.”
– Toppings: Powdered sugar, extra mini chocolate chips, or chopped pistachios/almonds for a classic look.
Ricotta Moisture vs. Cannoli Bar Texture (Baking Outcome Guide)
| # | Ricotta Moisture Profile | Estimated Bake Behavior | Recommended Adjustment | Best For |
|---|---|---|---|---|
| 1 | Low-moisture whole-milk ricotta | Sets firmly; slices clean | Drain 2–4 hrs, mix gently | ★ ★ ★ ★ ★ Texture-first bakers |
| 2 | Standard grocery ricotta | Good set with proper baking | Drain 1–2 hrs or blot | ★ ★ ★ ★ Reliable everyday results |
| 3 | High-moisture ricotta (fresh) | Filling may soften if underbaked | Drain 4–8 hrs; bake to “just set” | ★ ★ ★ ★ ★ Hosting-friendly make-ahead |
| 4 | Low-fat ricotta | May feel looser, less silky | Drain longer + add 1 extra egg yolk | ★ ★ ★ Best if you prioritize lighter dairy |
| 5 | Ricotta with added water (drained only lightly) | Higher risk of weeping after baking | Drain 6+ hrs; consider 1 tbsp cornstarch | ★ ★ ★ Only if you can drain thoroughly |
| 6 | Fresh ricotta, not drained | Soft center; may not slice clean | Always drain; skip overbaking as a fix | ★ ★ Not ideal for “clean-square” bars |
| 7 | Ricotta blended too aggressively | Can get airy/loose; uneven set | Mix just until smooth; avoid whipping | ★ ★ ★ Avoidable, but fixable by chilling |
Best Cannoli Bar Dough/Base Tips

The bar base is what delivers the “cannoli bar” contrast: crisp edges, a tender bite, and support for the creamy layer. This is where many cannoli bar recipes go wrong—either the base is underbaked and turns soggy, or it’s overmixed and becomes tough.
– Mix just until combined to keep the base tender and not tough. Flour develops gluten; more mixing can make the base chewy instead of crisp-tender.
– Use cold butter (or at least properly creamed). Cold butter helps the dough bake into lighter, crisper textures. If you cream butter and sugar, do it briefly and don’t push for a super-fluffy mixture.
– Bake until lightly golden. A lightly golden base indicates enough browning to set structure. If you only “warm it,” the filling’s moisture can soften it later.
– Don’t skip a full cooling period before cutting. Even after the bake time, the filling needs internal set. Cutting early creates smear and uneven squares.
– Press the base evenly. If the base is too thick in one area, it can bake unevenly—leading to “burnt corners, underdone center.”
Practical benchmark: when you remove the pan, the base layer should look set and slightly firm to the touch, with no raw floury spots. Then you’ll bake again after filling, but you’ll do it for the filling’s set—not for drying it out.
Ricotta Filling: How to Get It Smooth

Cannoli filling is creamy, not grainy—and it should hold together like a custard. Achieving that balance depends on ricotta preparation and mixing method more than any single ingredient.
– Drain ricotta (if needed) for a thicker, scoopable consistency. If your ricotta seems loose, drain it in a fine-mesh strainer. For faster results, line with paper towels and check every 30 minutes.
– Blend gently to avoid grainy filling—keep it smooth. You want a uniform texture, but you don’t want to whip in air. Air can make the filling puff and then collapse into a watery layer.
– Stir in chocolate chips and optional citrus zest for authentic flavor. Mini chocolate chips distribute more evenly and keep every bite from tasting “all chocolate” or “all ricotta.”
Flavor architecture matters here:
– Vanilla rounds the dairy sweetness.
– Citrus zest (orange is especially classic) makes the ricotta taste brighter rather than merely sugary.
– Chocolate chips add contrast so the dessert doesn’t read as one-note cream.
If you’re sensitive to a “watery ricotta” taste, don’t solve it by baking longer. Overbaking can cause the filling edges to tighten and the center to turn dry instead of creamy.
Assembling Your Cannoli Bars
Assembly is where you control final texture. The goal is an even layer that bakes uniformly and chills into clean slices.
– Spread filling evenly over the baked base layer. Uneven thickness means uneven set: thinner sections firm up faster, while thicker spots remain soft.
– Add topping elements (chips, chopped nuts, or cinnamon) for crunch. Traditional cannoli sometimes includes chopped pistachios or almonds. A light sprinkle on top or mixed through adds texture without overwhelming the creamy profile.
– Chill briefly so the bars set and slice cleanly. A short chill (often 1–2 hours) firms the filling and improves slice integrity. For best results, refrigerate fully before portioning.
Work efficiently:
1. Bake the base until lightly golden.
2. Cool briefly just enough to stop the filling from melting into hot crumbs.
3. Spread the filling evenly.
4. Bake until the top is set but the center still jiggles slightly (think “set with movement,” not “fully rigid”).
That “slight jiggle” stage is one of the most reliable cannoli bar cues—because the filling continues to set as it cools.
Baking & Finishing for the Perfect Texture
Baking cannoli-style bars is less about forcing the filling to cook hard and more about getting it to set gently.
– Bake just until the top is set—don’t overbake the filling. Overbaking can make the filling dry or develop a custard-like rubbery edge.
– Let bars cool fully, then refrigerate for easier cutting. Cooling allows carryover cooking to complete the set without additional browning.
– Serve with extra chocolate chips or a dusting of powdered sugar. A final dusting adds a bakery-style finish and boosts perceived sweetness without extra sugar in the batter.
For a professional, consistent finish, aim for:
– Base: baked-through, lightly browned, not crumbly.
– Filling: glossy-smooth on top when warm; creamy and sliceable when cold.
– Texture contrast: crispy edges + tender center.
If you want extra crunch, toast chopped nuts lightly (2–3 minutes in a hot oven or skillet) before adding them—this improves flavor and prevents stale-tasting topping.
Baking-Time Targets for Cannoli-Style Bars
| # | Stage | Time Range | Target Visual Cue |
|---|---|---|---|
| 1 | Bake crust/base (pre-fill) | 12–16 min | Lightly golden, edges set |
| 2 | Bake after adding filling | 22–28 min | Top set; center jiggle |
| 3 | Cool at room temp | 45–60 min | No wobble at edges |
| 4 | Refrigerate for slicing | 2–4 hrs | Filling firm, clean knife drag |
| 5 | Serve window after chilling | 10–15 min | Cream softens slightly |
Storage & Make-Ahead Notes
Cannoli bars are ideal for planning ahead because chilling improves slice quality and flavor melds over time.
– Store covered in the fridge for a few days for best freshness. Keep in an airtight container to prevent the base from drying out.
– Freeze bars if you want to prep ahead—thaw in the fridge overnight. Freezing works best when bars are already fully chilled and portioned.
– Refresh texture by letting chilled bars sit a few minutes before serving. This takes the chill off the ricotta so the flavor blooms.
If you’re serving to a group, you can streamline logistics:
– Bake a day ahead and slice the day of for the neatest presentation.
– Add powdered sugar and final chocolate topping right before serving so they look fresh instead of melting into the filling.
Cannoli bars are an easy way to get classic cannoli flavor—crispy, creamy, and sweet—in a simple slice-and-serve format. Follow the base/baking tips, smooth the ricotta properly, and chill before cutting for the best results. Try the recipe today, then make a batch for your next gathering or dessert night.
Crafted with the right technique—proper ricotta drainage, gentle mixing, and controlled baking—you’ll consistently get bakery-style cannoli bar squares with a dependable set and irresistible flavor.
Frequently Asked Questions
What ingredients do I need for a cannoli bars recipe?
For cannoli bars, you typically need a buttery cookie crust (like flour, sugar, butter, and baking powder) and a creamy filling made with ricotta, powdered sugar, vanilla, mini chocolate chips, and sometimes a pinch of salt. Many recipes also add cinnamon and orange zest for a classic cannoli flavor. For the topping, use extra chocolate chips or a light drizzle of chocolate for an easy finishing touch.
How do I make sure the ricotta filling doesn’t turn watery in cannoli bars?
To prevent a runny cannoli filling, use well-drained ricotta and gently press it with paper towels or a fine-mesh sieve before mixing. If your ricotta seems especially wet, let it drain in the fridge for a few hours. Mix just until combined so the cannoli bars set properly and slice cleanly after baking.
Why do cannoli bars sometimes taste like “just cheesecake” instead of classic cannoli?
Classic cannoli flavor comes from the right balance of sweetness plus distinct cannoli aromatics like vanilla, cinnamon, and often orange zest. If you skip these, your cannoli bars can lean toward a plain cheesecake profile. Also, using mini chocolate chips in the filling helps mimic the traditional cannoli contrast of creamy ricotta and chocolate.
What’s the best way to bake cannoli bars so they slice neatly?
Bake cannoli bars until the edges are set and the center looks slightly jiggly, because they will continue to firm up as they cool. Let the bars cool completely before cutting, then chill for at least 2–4 hours for the best texture. For neat squares, use a sharp knife and wipe it clean between cuts.
Which crust style works best for a cannoli bars recipe—cookie crust or cake-like base?
A cookie-crumble crust (shortbread or buttery sugar cookie style) is usually the most popular for cannoli bars because it adds crunch against the creamy ricotta filling. However, if you prefer a softer bite, a cake-like base can work, though it will be less crisp. Choose a cookie crust when you want more traditional “cannoli shell” texture in bar form.
References
- Cannoli
https://en.wikipedia.org/wiki/Cannoli - Cookie
https://en.wikipedia.org/wiki/Cookie_bar - Ricotta
https://en.wikipedia.org/wiki/Ricotta - https://www.britannica.com/topic/cannoli
https://www.britannica.com/topic/cannoli - Cannoli recipe | Good Food
https://www.bbcgoodfood.com/recipes/cannoli - Google Scholar Google Scholar
https://scholar.google.com/scholar?q=cannoli+recipe - Google Scholar Google Scholar
https://scholar.google.com/scholar?q=cannoli+bar+recipe - Google Scholar Google Scholar
https://scholar.google.com/scholar?q=ricotta+sugar+chocolate+dessert+bars - https://pubmed.ncbi.nlm.nih.gov/?term=cannoli
https://pubmed.ncbi.nlm.nih.gov/?term=cannoli - Google Scholar Google Scholar
https://scholar.google.com/scholar?q=Italian+desserts+cannoli+similar+desserts