Tiramisu cake recipes that actually deliver the classic coffee-and-mascarpone flavor are the clear win when you want a no-fuss dessert with bakery-style results. This guide picks the best classic, easy, and variation options and tells you exactly which one to bake based on your time and equipment. If your question is which tiramisu cake recipe will taste most “real” and come together most reliably, you’ll get the answer here.
Tiramisu cake recipes are an easy, reliable way to deliver the classic coffee-and-cream experience in a sliceable form, as long as you nail two fundamentals: a strong coffee soak and a properly whipped mascarpone layer. This guide gives you a foolproof base method, practical ingredient swaps, layering logic that prevents sogginess, and several popular variations you can rotate depending on what you have on hand.
Classic Tiramisu Cake Base

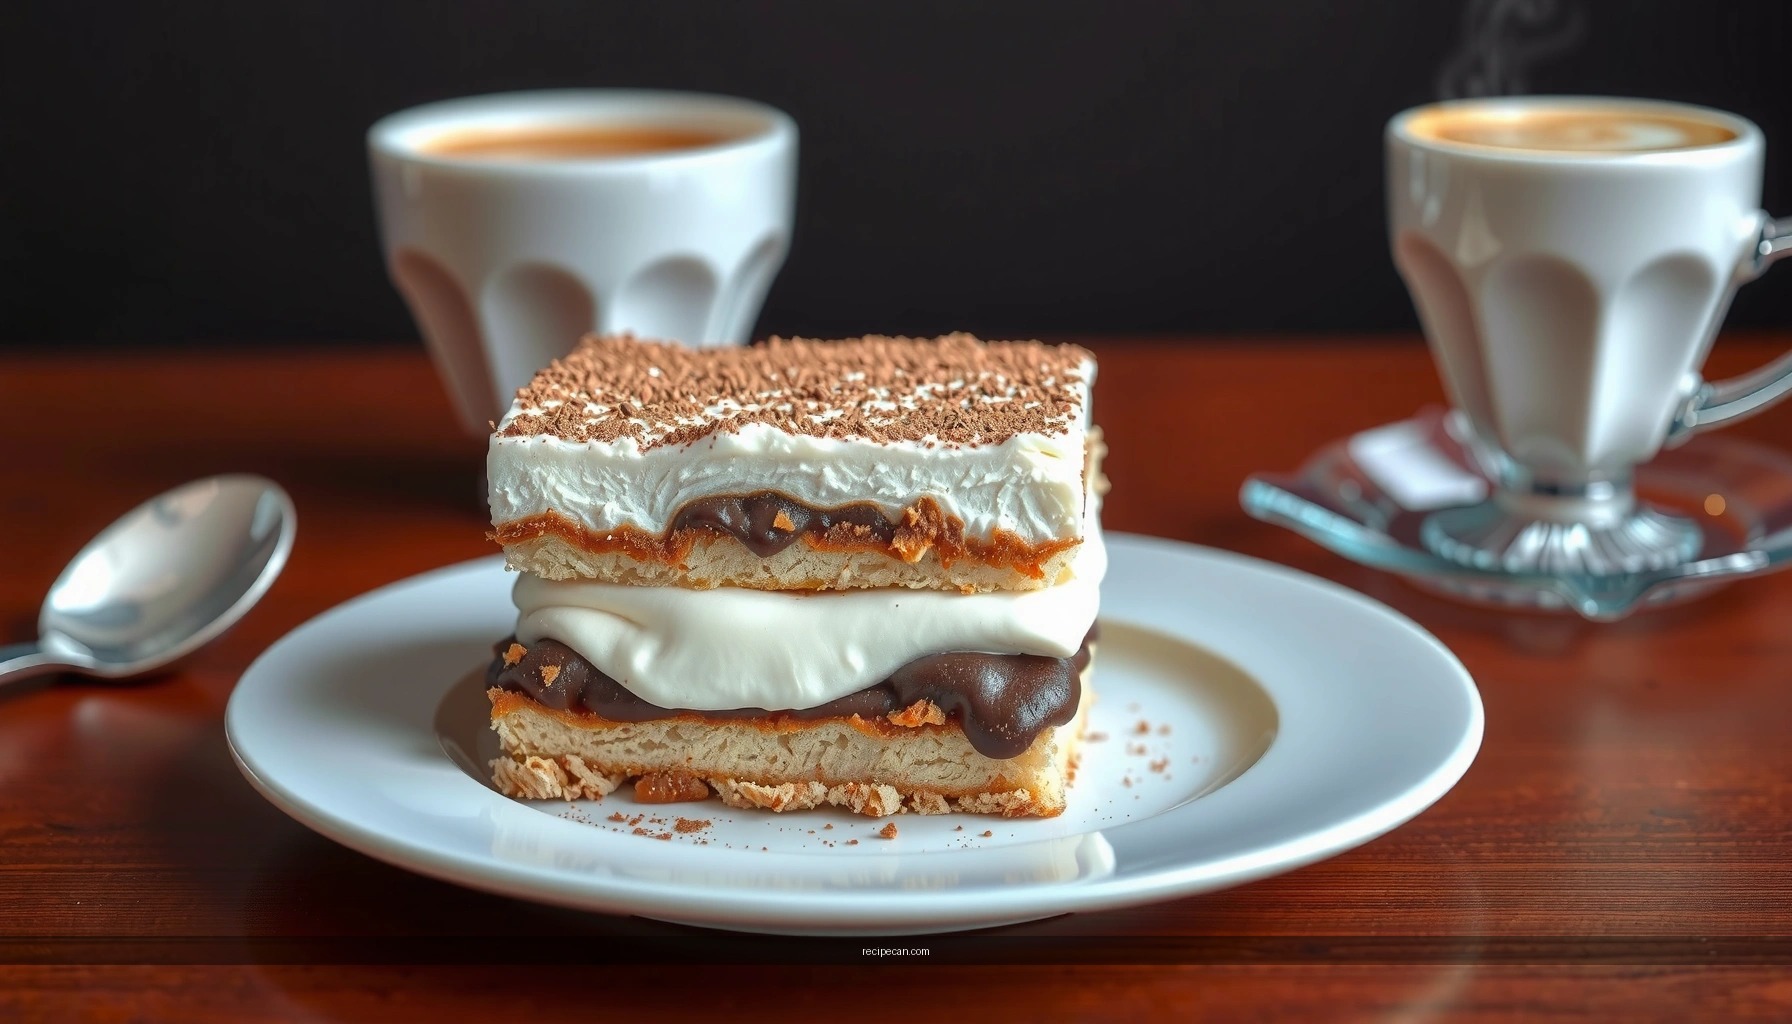
A “classic” tiramisu cake is essentially the familiar tiramisu flavor profile—espresso, mascarpone cream, and cocoa—converted into a format that holds shape when sliced. The foundation is a structured sponge base (or ladyfingers) paired with a mascarpone cream that is light but stable. Think of it as a two-part system: the base carries coffee flavor, while the cream provides the signature richness and buffering sweetness.
Layer sponge (or ladyfingers) with coffee soak for bold flavor
Ladyfingers are traditional because their texture absorbs without collapsing; sponge cake works similarly if it’s not too airy. The key is controlled soaking: you want the coffee to permeate and perfume, but not pool. If you oversoak, the cake turns gummy and loses clean slices.
Build a smooth mascarpone cream using stable, whipped structure
Mascarpone is fatty and delicate. When whipped correctly (usually with a stabilizing component like whipped cream or careful folding), it creates a silky mousse-like body that firms up in the fridge. For most home cooks, the most consistent approach is to whip mascarpone until smooth, then fold in either whipped cream or whipped egg whites depending on your preference. Either method can work—what matters is the final texture: it should hold ridges briefly and look spoonable, not liquid.
Practical build target (so your cake slices cleanly):
– Base thickness: ~1/3 of the total height (enough structure)
– Cream thickness per layer: ~1/4–1/3 of total height (enough flavor)
– Total chill time: at least 6 hours (ideally overnight)
Coffee Soak and Flavor Tips

Coffee is the “engine” of tiramisu. Many tiramisu cake recipes end up tasting flat because the coffee is weak, diluted, or oversweetened. The correct strategy is intensity plus balance: strong extraction paired with sugar tuning.
Brew strong coffee or espresso for the best tiramisu taste
Use espresso if you have it, or brew a concentrated strong coffee (e.g., smaller water-to-coffee ratio) so the soak tastes like coffee, not like sweet cream after dilution. Since your cream layer is rich, the soak should taste slightly more intense than you’d normally drink.
Balance sweetness by adjusting sugar in both cream and soaking liquid
Sugar doesn’t just sweeten—it also softens bitterness. If your coffee is naturally bitter, reduce bitterness with a touch more sugar in the soak or choose a slightly smoother roast. If your coffee is mild, you may need extra sweetness in the cream to achieve the classic dessert profile. The professional rule of thumb is to taste the coffee soak before assembling: it should be distinctly coffee-forward, with sweetness that feels like dessert, not syrup.
Suggested tuning checks (quick and actionable):
– If the coffee tastes “too sharp” in the cup: add 1–2 teaspoons sugar to the soak and rest 5 minutes.
– If the coffee tastes “too mild”: shorten soak time or strengthen the brew; don’t simply add sugar.
– If the final cake tastes “one-note”: increase espresso intensity slightly, or add a pinch of salt to the cream to sharpen flavor.
Coffee Intensity & Expected Flavor Outcome (Practical Guide)
Coffee Soak Strength vs. Tiramisu Flavor Intensity
| # | Brew Method (Home Equivalent) | Target Strength | Soak Time (Ladyfingers) | Expected Coffee Flavor |
|---|---|---|---|---|
| 1 | Espresso (single shot) | 1.0x | 2–3 sec dip | ★★★★☆ |
| 2 | Strong drip: 1:10 coffee:water | 0.85x | 3–4 sec dip | ★★★★☆ |
| 3 | Regular drip: 1:15 coffee:water | 0.65x | 4–5 sec dip | ★★★☆☆ |
| 4 | Instant coffee, concentrated: 2 tsp/60 ml | 0.75x | 3–4 sec dip | ★★★☆☆ |
| 5 | Espresso + a splash of water (1:1) | 0.50x | 5–6 sec dip | ★★☆☆☆ |
| 6 | Cold brew, straight (unsweetened) | 0.95x | 3–4 sec dip | ★★★★☆ |
| 7 | Decaf (same ratios as above) | 0.70x | 4–5 sec dip | ★★★☆☆ |
Easy Assembly and Layering Steps

Even experienced bakers can struggle with tiramisu cake assembly because the structure is sensitive: the base absorbs moisture; the cream must be stable; and the layers must be even enough to set uniformly. If you follow a disciplined build process, the result is predictable.
Alternate layers evenly to avoid dry spots or uneven cream
A clean slice depends on consistent layer thickness. Start by preparing your pan or springform with a base layer that’s level. Then repeat: sponge/ladyfingers → coffee soak → mascarpone cream. Use an offset spatula to spread cream to the edges without pushing too hard (which can create gaps or disturb sponge texture).
Chill long enough so the cake sets and flavors meld
Chilling is not optional for tiramisu cake recipes. Cold time firms the mascarpone cream and allows the coffee to integrate into the crumb. For best results:
– Minimum: 6 hours (flavors will be present but texture may be slightly softer)
– Best: 8–12 hours (overnight is ideal)
– After baking-sponge: ensure sponge is fully cooled before soaking and layering
Layering “do’s” that prevent common failures
– Soak ladyfingers quickly—think “dip and lift,” not “soak and submerge.”
– Keep cream at the right temperature: cold ingredients whip better and hold structure longer.
– Spread cream in layers thin enough to reach edges without overworking.
Popular Tiramisu Cake Variations
Once you have the base method down, variations become a controlled exercise in flavor design. The goal is to keep the core balance—coffee intensity, dairy richness, and cocoa bitterness—while adding one “signature” element.
Add chocolate chips or cocoa dusting for extra richness
Chocolate chips introduce little pockets of melty sweetness, while cocoa dusting emphasizes the classic finish. If adding chips, mix a portion into the cream for distribution and reserve a little for the top to control intensity. For cocoa dusting, use a fine sieve so the top looks elegant and avoids clumps.
Try amaretto or flavored coffee to boost aroma and depth
Amaretto brings almond-like notes that complement coffee without overpowering it. Flavored coffee (vanilla, hazelnut, or spiced profiles) can also work, but choose carefully: many flavored coffees have added sugar, which can skew the dessert and dull the classic balance. When using flavored coffee, reduce added sugar in your soaking liquid and taste before assembling.
Other high-performing variation ideas:
– Tiramisu mocha cake: Add a teaspoon of cocoa to the sponge and use espresso for a deeper “chocolate-coffee” profile.
– Citrus-tinged tiramisu: Add a small amount of orange zest to the cream; use sparingly to avoid fighting coffee.
– Nutty tiramisu: Fold chopped toasted hazelnuts into cream for a crisp contrast against the silky texture.
Troubleshooting Common Issues
Tiramisu cake recipes are forgiving—until they aren’t. Most problems come from two areas: layer stability (slipping, sogginess) and cream texture (runny, grainy, or collapsing). Use these diagnostics to correct quickly.
If layers slip, chill longer and use firmer sponge/ladyfingers
Slippage typically means the base hasn’t had time to absorb, or the cream is too warm and too soft. Fixes:
– Chill longer before slicing—often an extra 2–4 hours is enough.
– Use firmer sponge: slightly underbake sponge by a minute if you’re confident, or select a denser cake texture.
– Ensure ladyfingers aren’t oversoaked; quick dips reduce structural damage.
If cream is runny, ensure mascarpone is cold and whipped to the right texture
Runny cream can result from warm mascarpone, under-whipping, or incorrect folding (overmixing breaks structure). Corrective steps:
– Chill the bowl and whisk attachments briefly, then whip again.
– Whip until you see thickened ridges, then fold gently—stop before the mixture becomes glossy and loose.
– If using a dairy add-in (like whipped cream), make sure it’s whipped to medium peaks, not soft.
Quick self-check before assembly:
– Lift a spoonful of cream: it should hold for a few seconds.
– When spread, it should maintain a smooth layer without immediately sliding off a spatula.
Make-Ahead, Storage, and Serving
Tiramisu cake recipes are well-suited for planning ahead because resting time improves both texture and flavor. Proper storage also protects the layers from drying or absorbing fridge odors.
Make ahead and refrigerate to improve texture and flavor
Prepare the cake up to 24 hours in advance. The coffee soak equilibrates through the crumb, and the cream continues to firm. If you’re serving for an event, assemble the night before so you can focus on finishing touches the following day.
Store covered in the fridge and serve slightly chilled for best results
Cover tightly to prevent moisture loss and odor pickup. When serving, remove from the fridge 10–15 minutes prior for easier cutting and a more aromatic coffee profile—especially if you’re using espresso or flavored coffee.
Serving best practices
– Dust cocoa just before serving for a clean, fresh look.
– Use a hot, clean knife (wipe and reheat between cuts) for sharp edges.
– If making a large cake, let it thaw slightly at the cut temperature; fully cold cakes can crumble more easily.
Choose the Right Tiramisu Variation for Your Goal
| # | Variation | Effort Level | Best For |
|---|---|---|---|
| 1 | Classic Cocoa & Espresso | Low | Traditionalists |
| 2 | Chocolate Chip Tiramisu | Low–Med | Crowd-pleasers |
| 3 | Amaretto-Soaked Tiramisu | Med | Adult gatherings |
| 4 | Hazelnut or Vanilla Coffee Version | Low | Flavor-friendly options |
| 5 | Mocha Cocoa Sponge Tiramisu | Med | More “chocolate-forward” desserts |
| 6 | Decaf Tiramisu (Night-friendly) | Low | After-dinner service |
| 7 | Orange-Zest Tiramisu (Zesty Twist) | Med | For mild coffee palettes |
Tiramisu cake recipes come down to three wins: a great coffee soak, a properly whipped mascarpone cream, and enough chilling time so the layers set and meld. Start with the classic base, use the troubleshooting tips to protect structure, then swap in one variation at a time—chocolate chips, amaretto, or flavored coffee—until you find your signature version. Make a batch this week, slice cleanly, and finish with a generous dusting of cocoa for that unmistakable, professional-looking tiramisu presentation.
Frequently Asked Questions
What’s the best way to make tiramisu cake that doesn’t turn out soggy?
Use a firm sponge base (or bake a sturdy cake layer) and let it cool completely before assembling. Dip or brush ladyfingers/sponge lightly with espresso—avoid soaking—then spread mascarpone filling in even layers. Chill the tiramisu cake for at least 4–6 hours (or overnight) so the layers set and slice cleanly.
How do you layer a tiramisu cake for clean slices and even flavor?
Start with a level cake layer, then apply a thin, even espresso-mascarpone layer using a pastry brush or spoon. Add mascarpone filling, then repeat layers, finishing with a mascarpone layer and cocoa powder. Use an offset spatula to smooth the top, and refrigerate before slicing with a sharp knife wiped clean between cuts.
Why is my tiramisu filling runny, and how can I fix it?
Runny tiramisu cake filling usually comes from mascarpone that’s too warm, over-whipped cream, or under-measured ingredients. Chill the mascarpone before mixing and whip cream to soft peaks, then fold gently to keep the structure. If it’s already runny, chill it briefly to firm up, and in some cases fold in a small amount of extra whipped cream or a stabilizer like gelatin (only if your recipe allows).
Which espresso should you use for tiramisu cake—strong coffee or instant?
For the classic tiramisu flavor, use strong brewed coffee or espresso, because it provides the bitterness that balances the sweetness of mascarpone. Instant espresso can work well if it’s dissolved completely, but choose a quality brand and use the right strength. Taste the mixture—if it’s too mild, the cake may taste less “tiramisu” even with plenty of cocoa.
How can I make a no-bake tiramisu cake version, and what’s the key step?
For a no-bake tiramisu cake, you can layer soaked ladyfingers or cake crumbs with mascarpone filling in a springform pan. The key is to avoid over-soaking—lightly dip each layer and press gently so the layers hold together. Refrigerate long enough to set (often overnight) and dust with cocoa right before serving for best texture and appearance.
References
- Tiramisu
https://en.wikipedia.org/wiki/Tiramisu - Mascarpone
https://en.wikipedia.org/wiki/Mascarpone - Lady finger
https://en.wikipedia.org/wiki/Ladyfinger - Espresso
https://en.wikipedia.org/wiki/Espresso - Cocoa powder
https://en.wikipedia.org/wiki/Cocoa_powder - Marsala
https://en.wikipedia.org/wiki/Marsala - Coffee cake
https://en.wikipedia.org/wiki/Coffee_cake - Google Scholar Google Scholar
https://scholar.google.com/scholar?q=tiramisu+recipe+mascarpone+ladyfingers - Google Scholar Google Scholar
https://scholar.google.com/scholar?q=tiramisu+cake+recipe+coffee+cocoa+technique - Google Scholar Google Scholar
https://scholar.google.com/scholar?q=food+science+tiramisu+structure+sensory+evaluation


