Get the classic homemade tiramisu dessert recipe that delivers the real coffee-and-cocoa flavor with a creamy, spoonable mascarpone filling. This guide answers the key question—how to make tiramisu at home that sets properly and tastes like the best Italian version. Follow the steps and you’ll know exactly how to assemble, chill, and finish it for clean layers and bold espresso depth.
Yes—you can make classic homemade tiramisu with restaurant-level texture by mastering three variables: a tight coffee soak (quick dip, no sogginess), a stable mascarpone cream, and enough chilling time to set the layers. In this tiramisu dessert recipe, you’ll learn the exact ingredients to use, how to layer confidently, and the practical timing and texture checks that keep your mascarpone fluffy and your ladyfingers perfectly coffee-soaked.
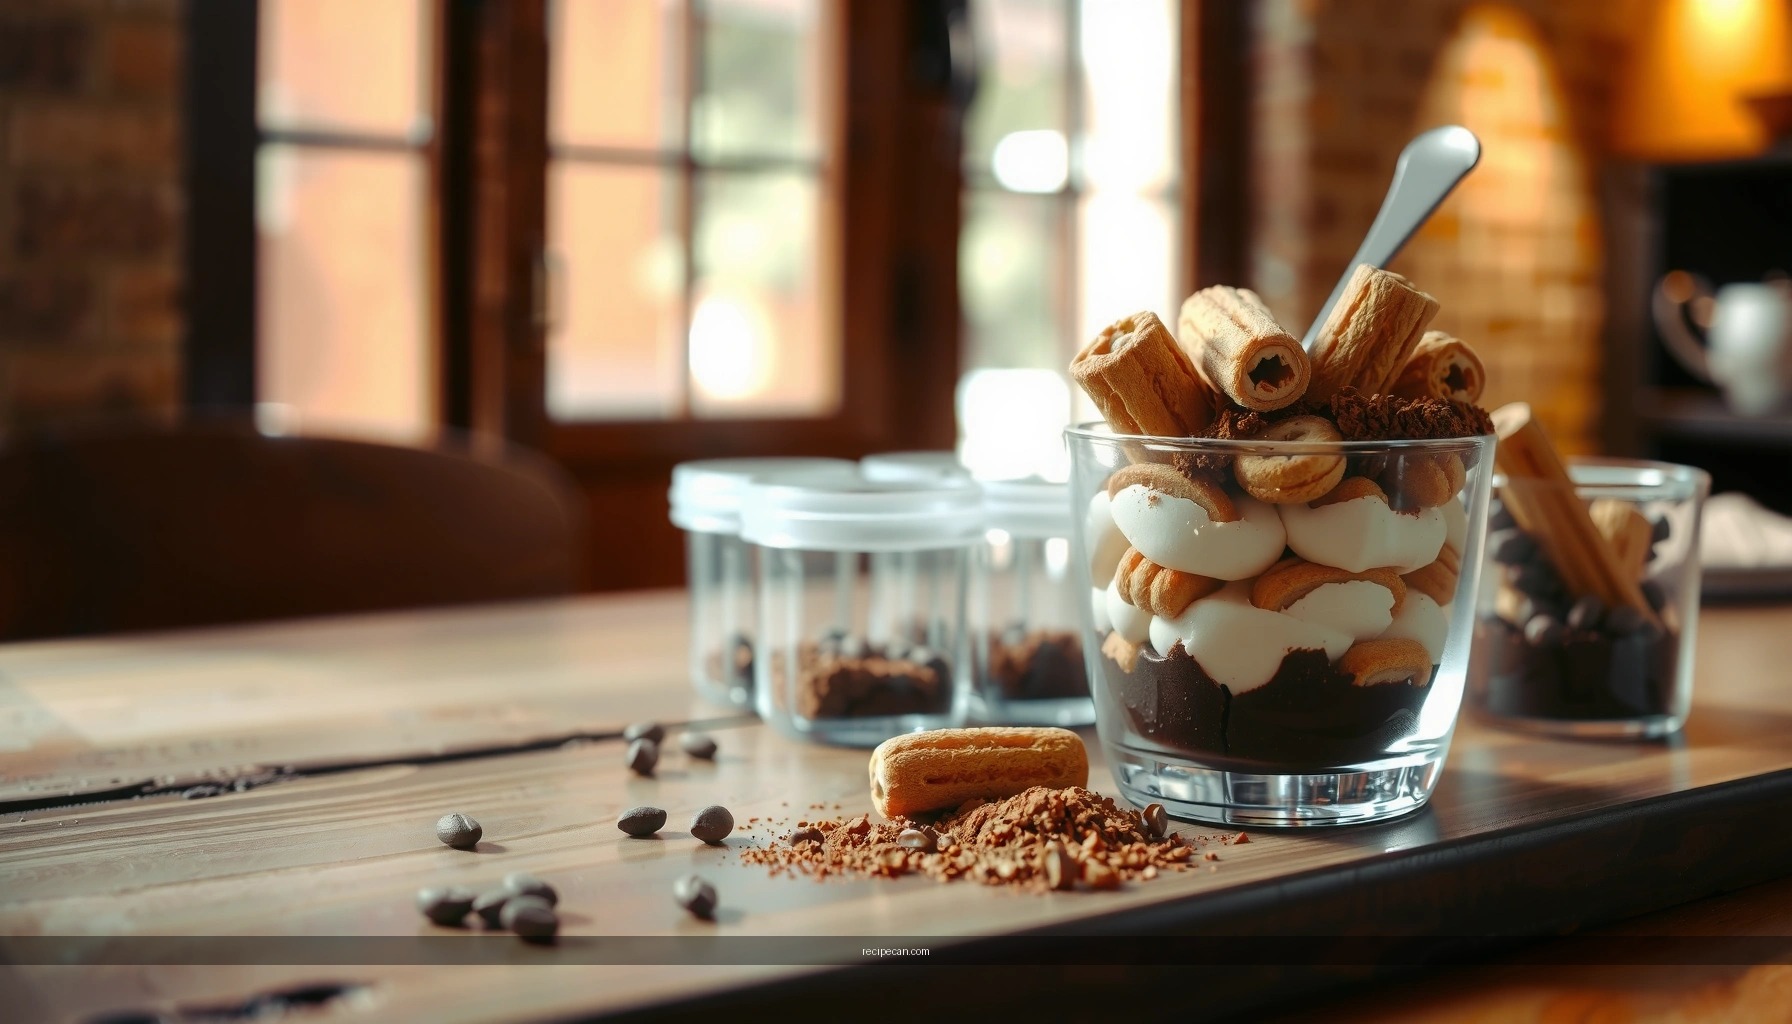
Gather Your Tiramisu Ingredients

– Mascarpone, eggs, sugar, and coffee are the core building blocks
– Use ladyfingers and cocoa powder for the classic texture and finish
A classic tiramisu is only “easy” if you use the right components for each function: mascarpone provides body and richness, eggs and sugar create a creamy emulsion, coffee delivers bitterness and aroma, and ladyfingers (savoiardi) give structure that softens into a tender layer. Finally, cocoa powder adds the signature bittersweet finish.
Core ingredients (and what to look for):
– Mascarpone (full-fat recommended): Choose a fresh, high-fat mascarpone (commonly 40%+ fat in many markets). Lower-fat versions are looser and can lead to a cream that doesn’t hold well.
– Eggs (fresh, separated): You’ll separate yolks and whites. Fresh eggs whip more predictably and produce a lighter, airier mascarpone cream.
– Sugar: Used for sweetness and to help stabilize the yolk mixture. In practice, granulated sugar dissolves best when mixed vigorously with yolks.
– Coffee: Strong brewed coffee or espresso. The goal is bold flavor that stands up to dairy. Let it cool slightly so it doesn’t melt or curdle the cream.
– Ladyfingers: Look for savoiardi that are crisp and uniform. Stale ladyfingers behave differently: they may absorb too much liquid and turn gummy.
– Cocoa powder: Use unsweetened cocoa powder for a classic bittersweet top. If you can, choose a Dutch-process or high-quality cocoa for deeper chocolate notes.
Below is a practical “quality targets” table showing measurable goals for the key preparation steps—these targets are what separate a soggy tiramisu from one with clean, sliceable layers.
Homemade Tiramisu Quality Targets (Classic Method)
| # | Tiramisu Step | Target | Why It Matters | Success Impact |
|---|---|---|---|---|
| 1 | Coffee strength | ~1:8 to 1:12 coffee:water | Flavor survives dairy dilution | ★★★★★ |
| 2 | Coffee temperature | ~30–35°C (86–95°F) | Cools cream, prevents heat shock | ★★★★☆ |
| 3 | Ladyfinger dip time | 1–2 seconds per side | Absorb flavor without dissolving | ★★★★★ |
| 4 | Whipped white stiffness | Soft peaks → hold shape | Light texture without graininess | ★★★★☆ |
| 5 | Cream thickness after mixing | Spoonable, holds ridges | Prevents layer collapse | ★★★★☆ |
| 6 | Chill time for set | 4–6 hours minimum | Cream firms and flavors meld | ★★★★★ |
| 7 | Cocoa dusting timing | Right before serving | Prevents cocoa from dissolving | ★★★★☆ |
Make the Creamy Mascarpone Mixture

– Whip or beat yolks with sugar, then fold in mascarpone
– Fold in whipped whites for a light, airy cream
The mascarpone mixture is the structural and sensory heart of your tiramisu. Two emulsions must work together: (1) a smooth yolk–sugar base and (2) an aerated egg white component that provides lift and a creamy mouthfeel.
Step approach for stability
1. Beat yolks with sugar until the mixture looks lighter and smoother. This step dissolves sugar and improves texture, reducing graininess in the final cream.
2. Add mascarpone and mix only until combined. Overmixing mascarpone can slightly tighten the mixture. The goal is “smooth and uniform,” not “beat it to death.”
3. Whip egg whites to soft peaks, then fold them into the mascarpone base. Folding is critical: you want to preserve air bubbles so the cream remains airy. If you stir aggressively, the cream can deflate and taste denser.
Multiple-perspective note: raw eggs vs. cooked yolk methods
Classic tiramisu methods differ by region and preference. Some recipes use raw eggs, while others gently cook the yolk mixture (similar in concept to zabaglione/creme) to reduce raw-egg concerns. Either approach can yield great results, but the texture targets above (light, spoonable cream) remain the same—don’t abandon the folding technique just because the eggs are treated differently.
Troubleshooting (quick diagnostic logic):
– Cream looks grainy: sugar may not have fully dissolved; beat yolk–sugar longer next time.
– Cream seems watery: mascarpone was warm or eggs were not whipped well; chill mascarpone before mixing and whip whites to soft peaks.
– Cream won’t hold ridges: under-whipped whites or over-folding; whip whites to a bit more volume and fold gently.
Prepare the Coffee Soak

– Brew strong coffee and let it cool slightly
– Dip ladyfingers quickly so they’re soaked but not soggy
The coffee soak is where most homemade tiramisu fails—usually because people treat soaking like a bath rather than a quick flavor transfer. The correct method is controlled absorption.
How to nail the soak
1. Brew strong coffee (or espresso) so it has enough intensity to cut through dairy richness.
2. Cool slightly. Hot coffee can affect cream texture and can melt the fat structure of the mascarpone.
3. Dip ladyfingers quickly—typically 1–2 seconds per side—just long enough to coat and allow absorption.
Practical technique tips
– Work in small batches: dip a few ladyfingers, then layer immediately.
– Use a shallow dish for dipping; it keeps the process fast and consistent.
– If your ladyfingers soften too much, reduce dip time and ensure your coffee is not too hot.
Optional flavor considerations
If you want a more complex profile, you can add a small splash of alcohol (such as coffee liqueur) to the coffee. Keep it restrained: tiramisu should feel balanced, not boozy. For an alcohol-free version, a touch of vanilla extract in the cream or cocoa can still enhance aroma.
Assemble the Tiramisu Layers
– Layer soaked ladyfingers with mascarpone cream in a baking dish
– Repeat layers and smooth the top for even coverage
Layering is not just aesthetics—it affects how your tiramisu slices. Clean layers rely on even cream distribution and consistent ladyfinger placement.
Assembly method (classic logic)
1. Choose a baking dish or pan that fits your ladyfingers snugly. Loose-fitting pans lead to uneven thickness and harder slicing.
2. Create the first layer: line the dish with lightly coffee-soaked ladyfingers.
3. Spread mascarpone cream evenly over the ladyfingers. Use an offset spatula or the back of a spoon to smooth.
4. Repeat: ladyfingers, then cream, until you reach your desired height.
5. Finish by smoothing the top layer for an even surface—this makes cocoa dusting look professional and ensures consistent texture across servings.
Food engineering perspective: why smoothing matters
If the cream is uneven, coffee will migrate differently during chilling. Smooth coverage helps create a uniform moisture gradient, so each bite has the right balance of coffee bitterness and creamy richness.
Visual and quality cues during assembly
– The top should look level, not rippled.
– Cream should not “break” around the edges—if it does, your cream may be too soft or the dish too warm.
– Avoid pressing ladyfingers down aggressively; gentle placement is enough.
Chill for Best Texture
– Refrigerate at least 4–6 hours (overnight is best)
– Wait to dust with cocoa powder until right before serving
Chilling is where tiramisu becomes tiramisu. During refrigeration, the coffee continues to hydrate the ladyfingers while the mascarpone cream firms up, creating defined layers and a cohesive slice.
Timing guidance
– Minimum: 4–6 hours for noticeable set.
– Best results: overnight. Flavor development and layer stabilization are more consistent after longer chilling.
Cocoa timing
Dusting cocoa too early can cause it to absorb moisture and turn muddy. For the classic finish—dry, aromatic cocoa that contrasts the creamy top—dust right before serving.
Storage-aware chilling
If you’re preparing for an event, refrigerate covered to prevent the top from drying. When you’re ready to serve, uncover briefly to dust and return to cold storage only if needed.
Serve and Store Tips
– Slice with a clean knife and wipe between cuts if needed
– Store covered in the fridge for up to 2–3 days
A perfect slice depends on temperature and cleanliness. Tiramisu is dense and creamy; if the knife drags, layers can smear.
Serving best practices
– Use a clean, sharp knife and wipe between cuts if your knife picks up cream.
– If possible, keep the dessert chilled until right before cutting.
– Portion size matters: thinner slices can show more coffee intensity, while thicker slices emphasize mascarpone richness.
Storage
Store your homemade tiramisu covered in the refrigerator for up to 2–3 days. Beyond that, ladyfingers may over-hydrate and the top can lose its cocoa texture. If you anticipate leftovers, plan to dust cocoa only on the servings you plan to eat immediately—this keeps the presentation sharp.
Quality-preserving handling
– Keep the dish covered to reduce moisture loss.
– Avoid freezing: the cream structure can break, and the ladyfingers’ texture often changes significantly.
Tiramisu is all about the balance: quick coffee dipping, fluffy mascarpone cream, and enough chilling time to set the layers. Follow this tiramisu dessert recipe step-by-step, chill it well, and finish with cocoa for a classic, creamy treat—then make your next batch for friends or family.
Frequently Asked Questions
What is the best tiramisu dessert recipe for beginners?
A beginner-friendly tiramisu dessert recipe uses store-bought espresso or strong coffee, mascarpone, eggs (or pasteurized egg alternatives), ladyfingers, and cocoa powder. Choose an assembly method that doesn’t overcomplicate steps: dip ladyfingers briefly, layer mascarpone mixture, then chill until set. This helps prevent soggy tiramisu while still delivering a creamy texture and classic flavor.
How do you prevent tiramisu from becoming watery or soggy?
The key is quick dipping—coat each ladyfinger in coffee just long enough to soften the surface, not soak through. Use strong, cooled espresso instead of watery coffee, and drain or blot extra liquid if needed. For the mascarpone layer, ensure the mixture is well-whipped and thick enough to hold shape, then chill tiramisu for several hours so the layers firm up.
Why does tiramisu taste better after chilling, and how long should you wait?
Tiramisu gets better as it chills because the coffee and ladyfingers absorb moisture and soften evenly, while the mascarpone mixture firms up and flavors meld. Most recipes recommend refrigerating at least 4–6 hours, but overnight is often best for deeper tiramisu flavor and smoother texture. If you serve too soon, you may notice a looser structure and less cohesive taste.
Which coffee should you use for tiramisu—espresso, cold brew, or instant?
Espresso is the classic choice because it’s concentrated and delivers a bold tiramisu coffee flavor without extra water. Cold brew can work well too, but keep the concentration strong and avoid diluted versions. Instant coffee is convenient—just dissolve thoroughly in hot water, then cool completely before using, so the tiramisu layers don’t become runny.
How can you make a no-egg or safer tiramisu recipe?
For a safer tiramisu dessert recipe, consider using pasteurized eggs or a no-egg method that replaces the egg component with stabilized mascarpone and whipped cream. You can also use egg alternatives like pasteurized yolks if the recipe calls for separating eggs. Keep in mind that chilling time is still important, because refrigeration helps the tiramisu set properly and keeps the texture creamy rather than runny.
References
- Tiramisu
https://en.wikipedia.org/wiki/Tiramisu - Tiramisu | Meaning, Ingredients, Origin, Desserts, & Taste | Britannica
https://www.britannica.com/topic/tiramisu - Mascarpone
https://en.wikipedia.org/wiki/Mascarpone - Lady finger
https://en.wikipedia.org/wiki/Ladyfinger - Espresso
https://en.wikipedia.org/wiki/Espresso - Marsala
https://en.wikipedia.org/wiki/Marsala - Cocoa
https://en.wikipedia.org/wiki/Cocoa - Google Scholar Google Scholar
https://scholar.google.com/scholar?q=tiramisu+recipe - Google Scholar Google Scholar
https://scholar.google.com/scholar?q=tiramisu+ingredients+mascarpone+ladyfingers - Google Scholar Google Scholar
https://scholar.google.com/scholar?q=tiramisu+food+science+emulsion+coffee+alcohol


