Want the best chocolate milkshake recipe using chocolate ice cream? This guide tells you exactly how to blend it into a thick, silky shake with the right sweetness, ratio, and pour-ready consistency. If you follow these steps, you’ll get a true chocolate milkshake—not a watery imitation—every time.
Make a thick, creamy chocolate milkshake by blending chocolate ice cream with milk at the right ratio, then fine-tuning thickness with small adjustments. This recipe is built for rich, even flavor with simple, reliable steps—so you get a smooth result every time, whether you prefer a spoonable shake or a more pourable drink.
Ingredients You’ll Need

– Chocolate ice cream as the main base
Choose a chocolate ice cream with a dependable fat and cocoa profile (often “chocolate” or “premium” styles). Higher-fat ice cream generally yields a thicker mouthfeel and slower melting—key factors for that classic milkshake texture.
– Milk for blending and creaminess
Use cold milk to help your milkshake hold its structure longer. Whole milk is the most forgiving for creaminess, while 2% can work if you’re aiming for slightly less richness. Oat milk can also blend well, but it may change flavor and viscosity.
– Optional add-ins like chocolate syrup or cocoa powder
Use these to control intensity and sweetness without overhauling the recipe. Cocoa powder deepens the chocolate flavor but can slightly dry the texture if you add too much—syrup is sweeter and usually keeps the shake smoother.
Recommended “baseline” amounts (adjust later):
– 3–4 large scoops (about 2 cups) chocolate ice cream
– 1/2 cup milk to start (about 120 ml)
If you’re serving 2 people or want a big, thick glass, treat this as your starting point and adjust from there.
Chocolate Milkshake Thickness Targets (Chocolate Ice Cream + Milk)
| # | Milk Amount (per ~2 cups ice cream) | Texture Result | Estimated Blend Time | Satisfaction Score | Best For |
|---|---|---|---|---|---|
| 1 | 2 tbsp (30 ml) | Very thick, spoonable | 35–45 sec | ★★★★★ | Classic “thick & rich” |
| 2 | 1/4 cup (60 ml) | Thick but drinkable | 30–40 sec | ★★★★★ | Sundae-style milkshake |
| 3 | 1/3 cup (80 ml) | Balanced, creamy density | 25–35 sec | ★★★★☆ | Most home preferences |
| 4 | 1/2 cup (120 ml) | Classic, pourable shake | 20–30 sec | ★★★★☆ | Family-style servings |
| 5 | 2/3 cup (160 ml) | Lighter, thinner mouthfeel | 18–25 sec | ★★★☆☆ | Coffee-shop style “sip” |
| 6 | 3/4 cup (180 ml) | Mostly drinkable, less body | 15–22 sec | ★★☆☆☆ | When you want less ice cream |
| 7 | 1 cup (240 ml) | Drinkable but watery risk | 12–18 sec | ★☆☆☆☆ | Not ideal for “classic shake” |
Chocolate Milkshake Recipe Steps

– Scoop chocolate ice cream into a blender
Start with cold ice cream to reduce melting and keep the shake thick. If your ice cream is very soft, scoop it into the blender and chill it for 5 minutes to re-firm before blending.
– Add milk and blend until smooth
Begin with 1/2 cup milk for a classic thickness, then adjust based on your preferred texture. Blend in short pulses (10 seconds, rest, then 10 seconds) for consistent emulsification—especially if your blender is smaller or the ice cream is dense.
– Taste and adjust sweetness or thickness
Taste before serving because sweetness perception changes with dilution. If it needs more chocolate intensity, add a small amount of cocoa or syrup; if it needs more body, add ice cream. Adjust slowly—milkshakes are easy to “overcorrect” if changes are large.
Process timing matters: most thick chocolate milkshakes hit their best texture after about 20–35 seconds of total blending time (depending on ice cream hardness). More blending can warm the mix and reduce thickness.
Getting the Best Texture (Thick vs. Thin)

Texture is the defining feature of a great chocolate milkshake, and it’s controlled by a simple, predictable variable: the ice cream-to-milk ratio.
– Use less milk for a thicker milkshake
If you want that spoon-stays-standing quality, start closer to 2–4 tablespoons milk per ~2 cups of ice cream. This also enhances chocolate perception because the shake is less diluted.
– Use more milk for a lighter, pourable consistency
Move toward 1/3 to 2/3 cup milk per ~2 cups ice cream for a classic “sip” experience. This is often preferred by diners who want flavor without the heavy mouthfeel.
– Blend longer for a smoother result
If your milkshake looks grainy or uneven, blending longer helps emulsify fat and cocoa solids. But keep an eye on temperature—too much blending can thin the shake by warming it.
Practical benchmark:
If the mixture stalls at the bottom of the blender, add milk by the smallest increment (1 tablespoon). If it flows like a beverage, correct by adding ice cream in small scoops (about 1/4 cup at a time), then blend again briefly.
Flavor Boosters and Variations

A chocolate milkshake is more than “sweet + cold.” The best versions balance cocoa depth, fat richness, and controlled sweetness.
– Add a spoon of chocolate syrup for deeper chocolate flavor
Chocolate syrup adds both flavor and sweetness, which can “round out” the taste if your ice cream is slightly mild. Add 1 tablespoon at a time and blend 10–15 seconds to integrate.
– Mix in a pinch of salt to enhance cocoa richness
Salt is a powerful flavor enhancer because it reduces the perception of bitterness while elevating chocolate notes. Start with a tiny pinch—you should not taste salt, only improved chocolate complexity.
– Try a splash of vanilla for extra sweetness and aroma
Vanilla doesn’t just taste good; it can make chocolate seem more aromatic. Use 1/4 to 1/2 teaspoon vanilla extract to avoid turning the shake into “vanilla-flavored dessert.”
Business-style insight: think of add-ins as “levers,” not ingredients. One change should be made at a time so you can learn what your customers (or family) actually prefer—especially when consistency is important for repeat servings.
Serving Tips and Toppings
A great shake deserves a presentation that reinforces the texture you worked for.
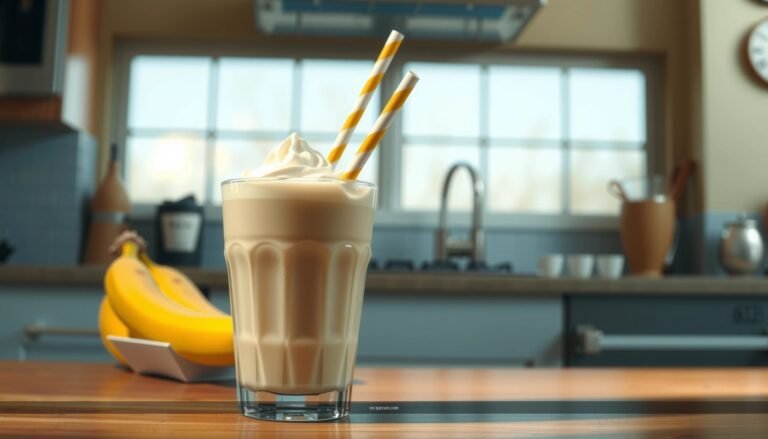
– Pour into a chilled glass for a colder shake
A chilled glass slows melting and helps maintain thickness for longer. If you’re serving multiple people, chill glasses in advance so each milkshake stays at its best.
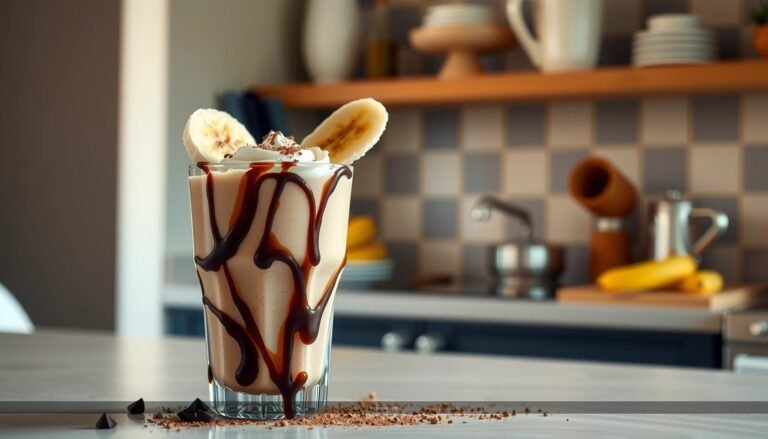
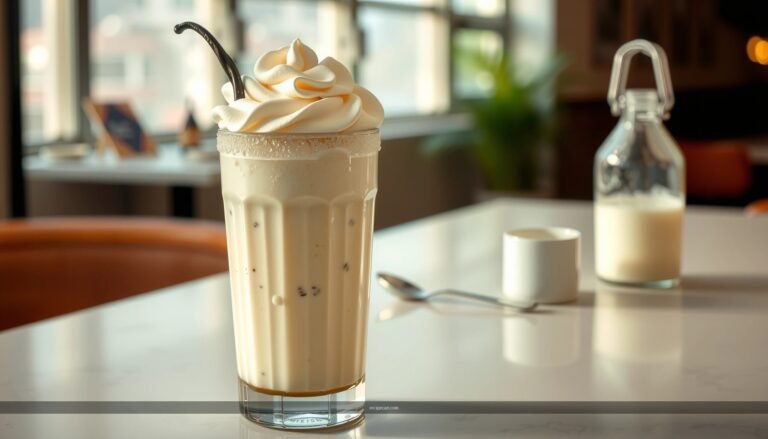
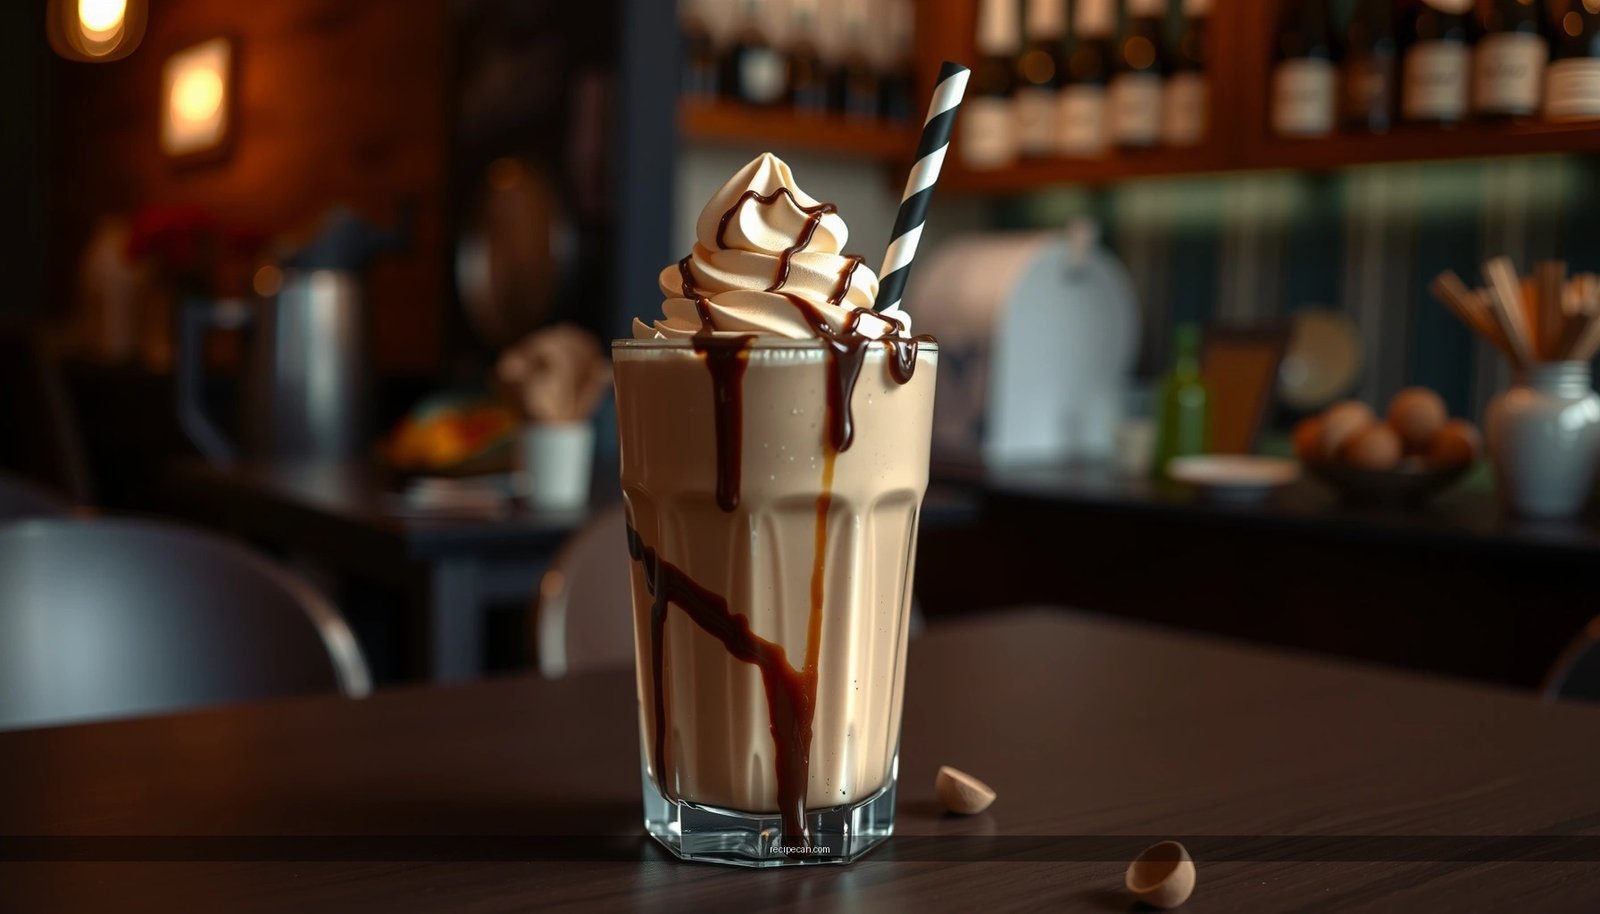
– Top with whipped cream or chocolate shavings
Whipped cream adds aeration and contrast; chocolate shavings reinforce aroma and visual appeal. For a more premium look, add shavings right before serving so they don’t melt.
– Finish with a drizzle of syrup for a classic look
A thin drizzle creates a “restaurant-style” finish and provides bursts of concentrated chocolate flavor in every few sips.
Serving rhythm tip: blend, taste, adjust, pour—then top. Delaying too long after blending can soften the texture.
Quick Troubleshooting
Even with a great baseline ratio, home conditions vary (blender power, ice cream hardness, room temperature). Use these fast fixes:
– If it’s too thick, add milk 1 tablespoon at a time
Add gradually, blend briefly between additions, and stop once the shake flows smoothly from the blender.
– If it’s too thin, add more ice cream and blend again
Add in small scoops so the blender can re-freeze and thicken evenly. Avoid adding a lot at once—it can create uneven texture.
– If it tastes bland, add cocoa or syrup gradually
Cocoa powder boosts chocolate intensity but can slightly dry the texture if overused. Syrup increases sweetness and richness faster—use it when you want a classic dessert profile.
If your blender struggles: pulse rather than run continuously. Pulsing helps break up frozen ice cream without over-warming the mixture.
Chocolate milkshakes are at their best when the ratio is intentional: chocolate ice cream provides the fat and body, milk brings smoothness, and targeted add-ins dial in intensity. Start with the recommended baseline, blend until fully smooth, and then adjust thickness and sweetness in small, measurable steps. Make it today, try one variation you like, and refine the ratio until it matches your ideal—thick, rich, and reliably creamy every time.
References
- Google Scholar Google Scholar
https://scholar.google.com/scholar?q=chocolate+milkshake+recipe+chocolate+ice+cream - Google Scholar Google Scholar
https://scholar.google.com/scholar?q=milkshake+preparation+ice+cream+milk+blending - Google Scholar Google Scholar
https://scholar.google.com/scholar?q=chocolate+milkshake+dairy+emulsion+stabilization+recipe - Milkshake
https://en.wikipedia.org/wiki/Milkshake - Chocolate milk
https://en.wikipedia.org/wiki/Chocolate_milk - Ice cream
https://en.wikipedia.org/wiki/Ice_cream - https://en.wikipedia.org/wiki/List_of_milk-based_dishes
https://en.wikipedia.org/wiki/List_of_milk-based_dishes - List of desserts
https://en.wikipedia.org/wiki/List_of_desserts - Chocolate syrup
https://en.wikipedia.org/wiki/Chocolate_sauce - https://www.britannica.com/food/milkshake
https://www.britannica.com/food/milkshake