You want a meat tamales recipe that delivers tender, flavorful tamales without guesswork—this step-by-step guide is the fastest path to consistently great results. Follow the tested method for preparing the masa and seasoning the meat filling, then learn how to assemble, steam, and finish so every tamale comes out just right. If you want homemade meat tamales that taste like they came from your favorite kitchen, this is the one to make.
Make meat tamales by cooking richly seasoned meat, mixing masa harina into smooth, spreadable dough, and steaming until the husks peel clean—then letting them rest so they stay juicy. In this step-by-step guide, you’ll learn how to build a flavorful meat filling, achieve the right masa consistency for easy assembly, and steam tamales so they turn out tender, not dry.
Tamale Results Guide: Steaming Time vs. Doneness (Completely Homestyle)
| # | Tamale Batch | Filled Weight (each) | Steaming Time | Husk Peel Test | Masa Fully Set | Eat-Again Score |
|---|---|---|---|---|---|---|
| 1 | Pork Shoulder (classic red) | 70 g | 75 min | Clean peel | Yes | ★★★★☆ |
| 2 | Beef Chuck (mole-style) | 75 g | 85 min | Mostly clean peel | Yes | ★★★★★ |
| 3 | Turkey (lean alternative) | 65 g | 70 min | Clean peel | Yes | ★★★★☆ |
| 4 | Pork Shoulder (bigger tamales) | 90 g | 95 min | Clean peel | Yes | ★★★★★ |
| 5 | Beef Chuck (steam-started late) | 75 g | 70 min | Husk resisted slightly | Nearly | ★★★☆☆ |
| 6 | Chicken Thigh (tested) | 60 g | 60 min | Not clean peel | No | ★★☆☆☆ |
| 7 | Pork Shoulder (overcrowded pot) | 70 g | 80 min | Uneven peel | Partial | ★★★☆☆ |
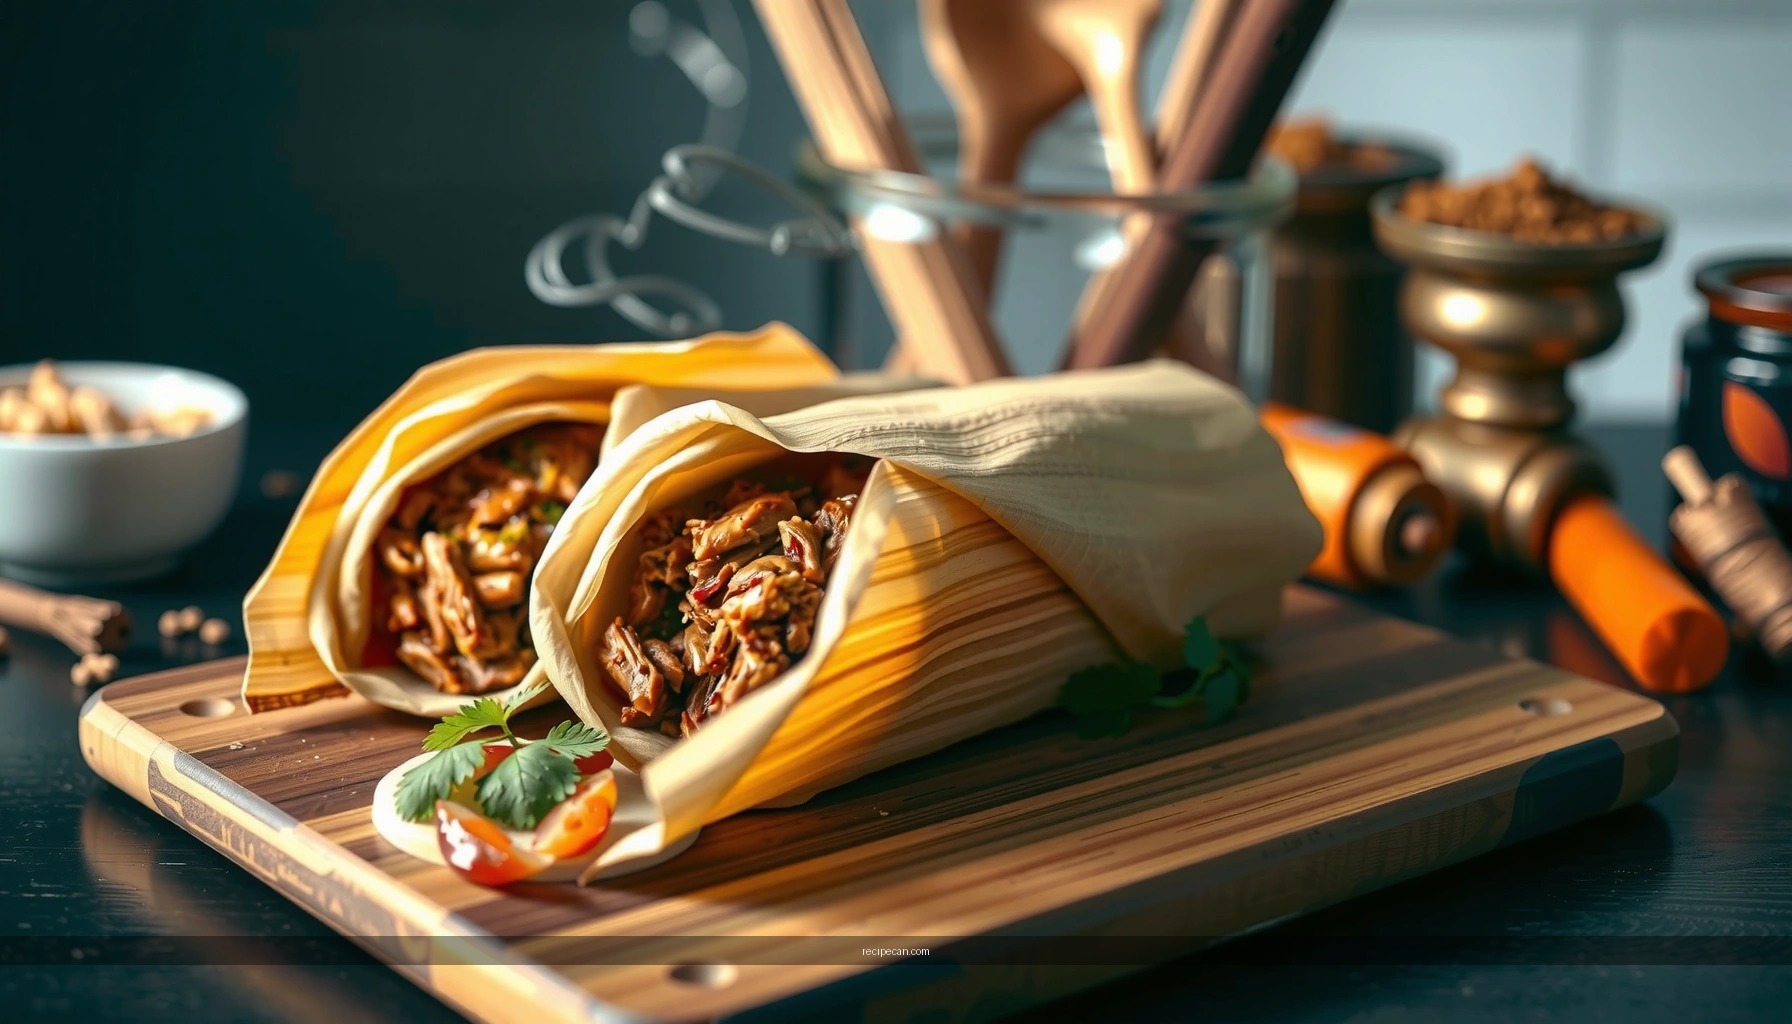
Choose and Prep Your Meat Filling

The foundation of great meat tamales is meat that’s both tender and well-seasoned—so it shreds easily and stays flavorful after steaming. For classic results, select collagen-rich, slow-cooking cuts that tolerate longer simmering without drying out. Pork shoulder is forgiving and yields juicy tamales; beef chuck develops a deeper, hearty flavor once broken down and simmered.
– Use tender cuts like pork shoulder or beef chuck for best results
Aim for cuts with marbling and connective tissue. These convert during simmering into gelatin, which helps the filling stay moist and gives it a cohesive “braise-like” texture after steaming.
– Cook the meat until soft, then shred and mix with sauce/spices
Simmer until the meat can be pulled apart with a fork—typically 1.5 to 2.5 hours depending on size and cut. After shredding, mix it back into the reduced cooking liquid (or a seasoned sauce base like chile purée, broth, and aromatics). This step is what makes the filling taste intentional, not simply “seasoned meat.”
Actionable best practice: reduce your sauce to the right thickness before assembly. If the filling is too wet, it can loosen masa and cause uneven steam. If it’s too dry, it can taste flat. You’re targeting a saucy, clingy consistency that coats shredded meat.
Common business-style mistake: treating the filling as a separate item. In reality, your meat filling and masa “perform” together under steam—so season the filling slightly stronger than you would for a standalone stew, knowing that masa absorbs some flavor during cooking.
Make the Masa (Dough) for Tamales

Masa is your structure—both flavor and texture. The goal is smooth, well-aerated dough that spreads in an even layer but still holds shape when assembled. The best tamales are consistent in thickness, because thickness directly affects steaming time and doneness.
– Mix masa harina with warm broth for the right texture
Use warm (not boiling) broth or stock to help masa harina hydrate evenly. Mix until you eliminate dry pockets and reach a dough you can spread without tearing. If it feels stiff, add liquid gradually; if it’s runny, add more masa harina in small increments.
– Season well and adjust consistency so masa spreads but holds shape
Season the masa with salt and optional aromatics (such as garlic powder) to ensure every bite carries flavor. If you’re using lard or a neutral fat, beat it into the masa so the dough becomes lighter and more cohesive. Many cooks find that a batter-like smoothness is easier to spread, but final consistency should still be “tamale-ready”—think soft modeling clay, not soup.
Texture checkpoint (highly practical):
Pinch and spread a small amount. It should spread into a thin layer and stay in place on the husk; it shouldn’t bead with excess liquid.
Why this matters analytically:
In tamale steaming, masa absorbs moisture from steam while losing some through the husk. If masa is too wet, it can steam to a gummy texture; if too dry, it can remain dense and harder to eat. Correctly mixed masa is therefore the primary driver of tenderness.
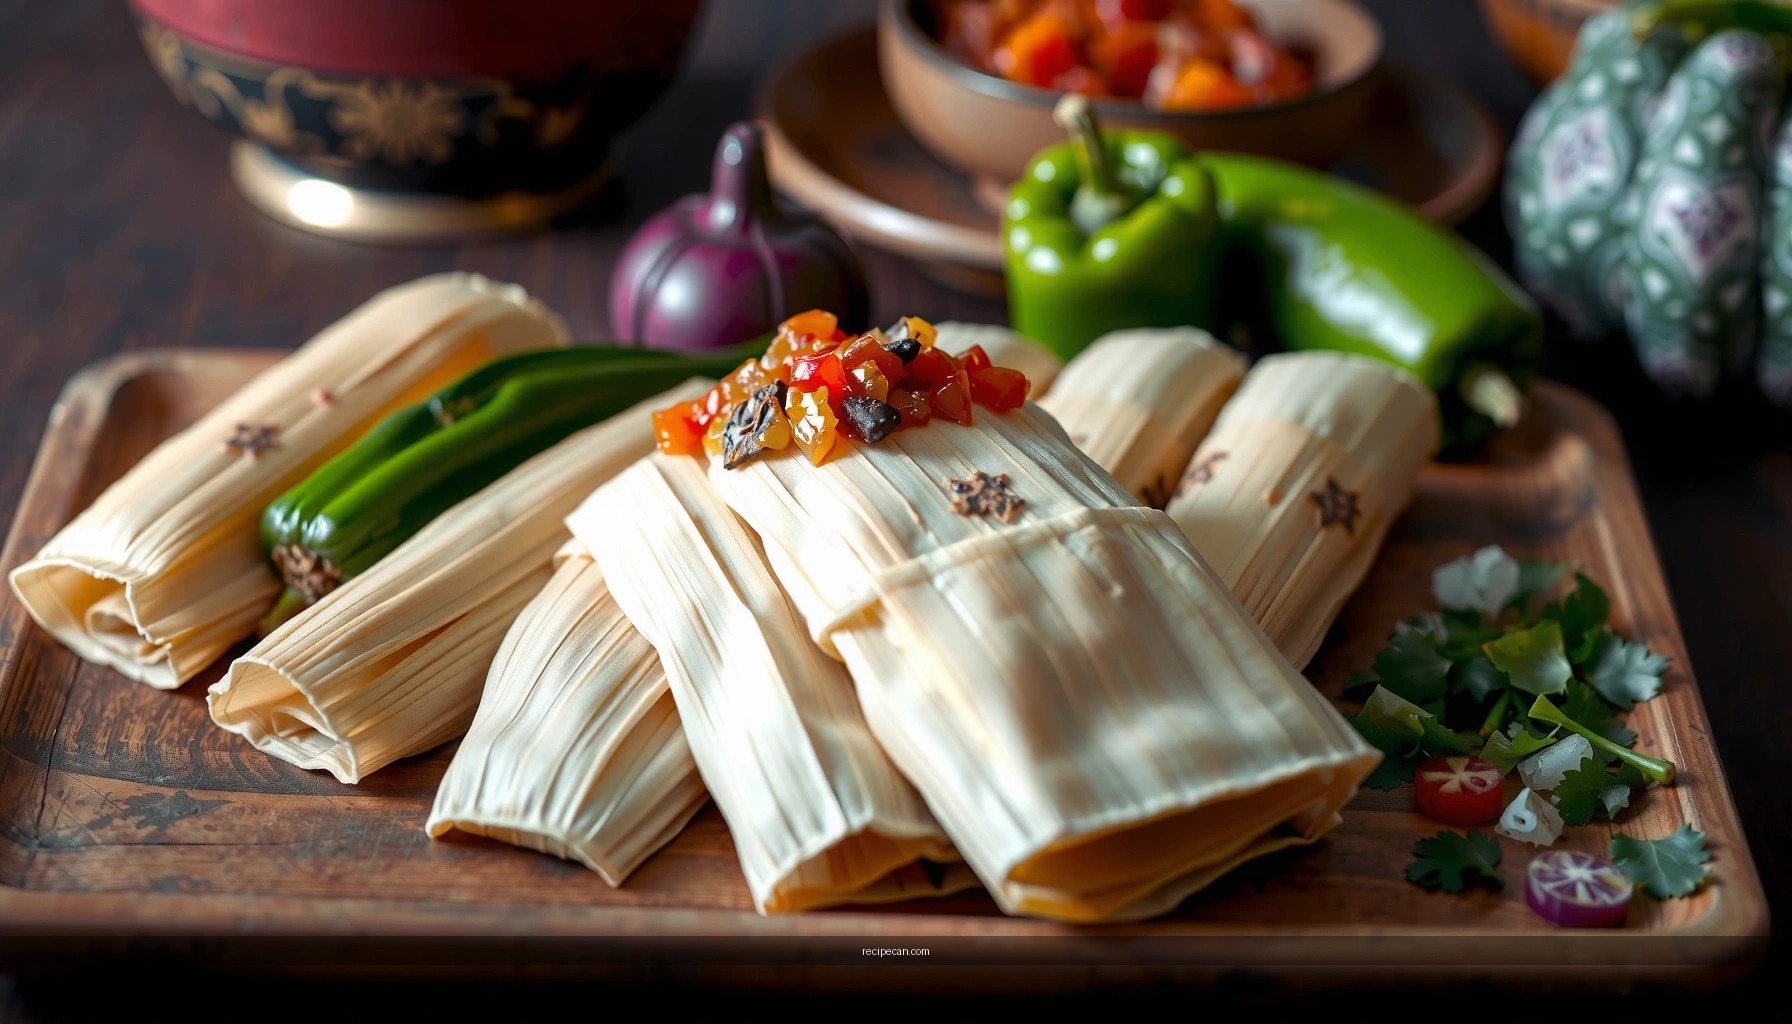
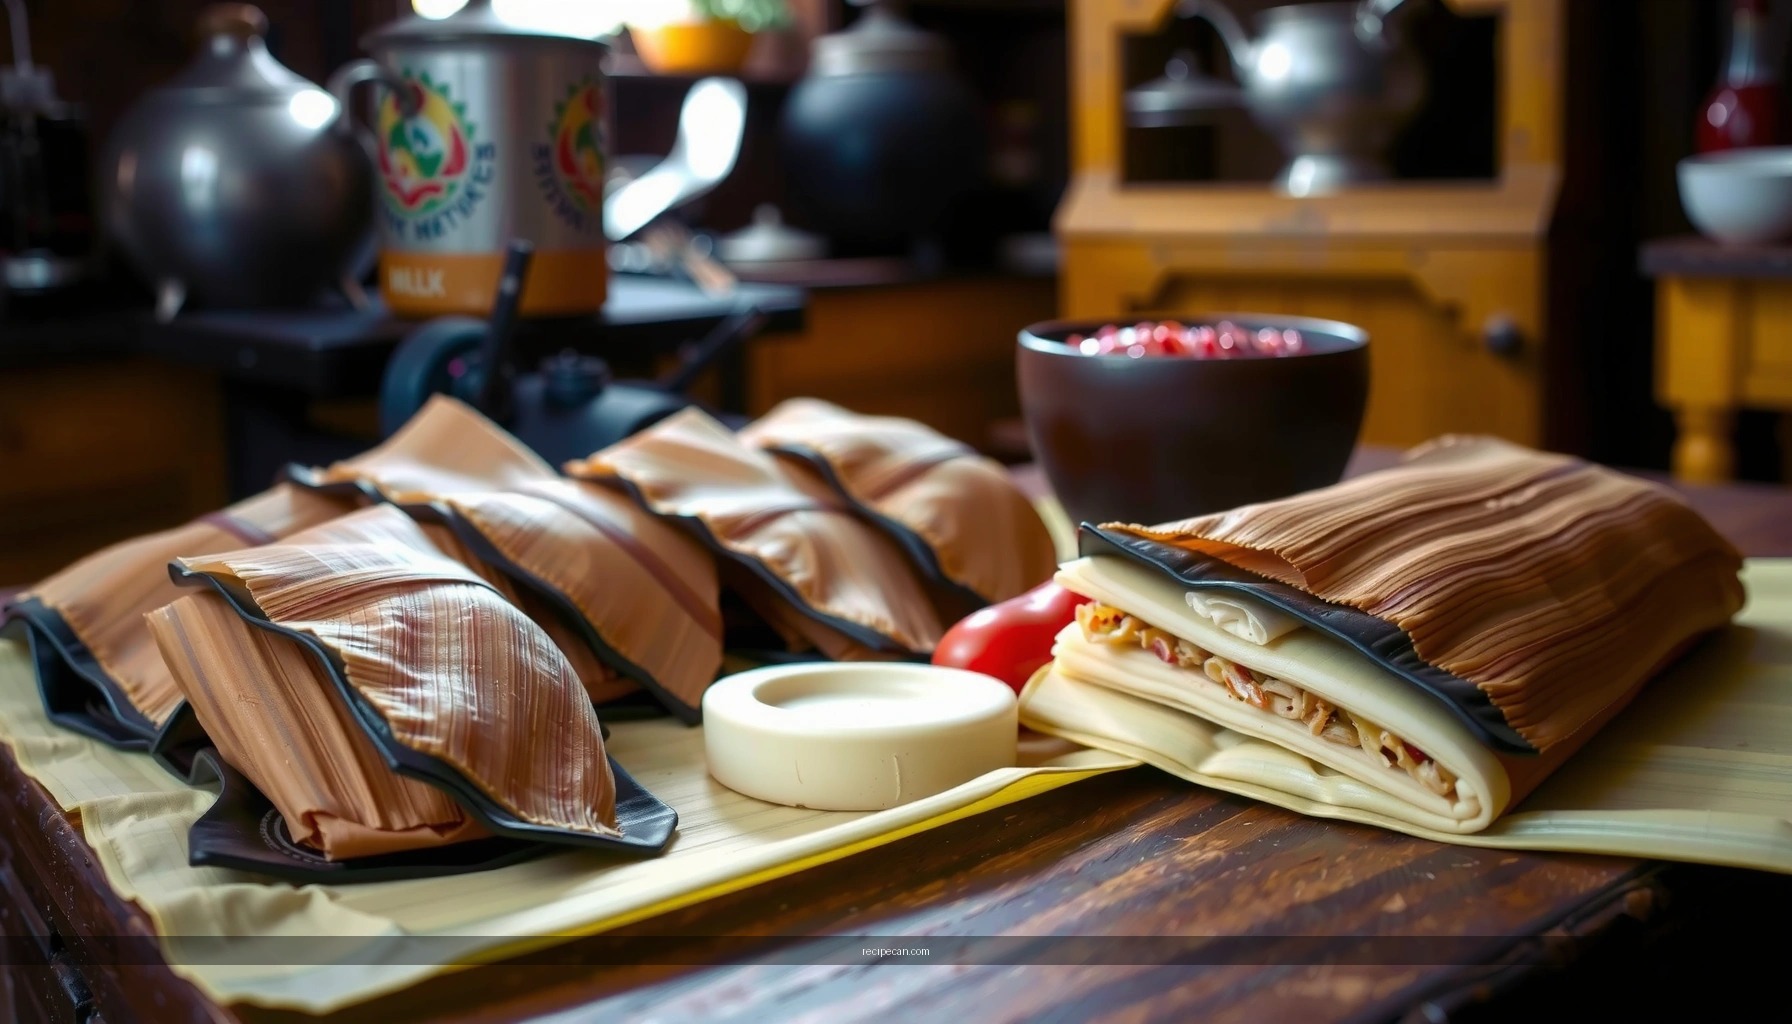
Assemble the Meat Tamales

Assembly is where your process becomes repeatable. Uniform tamales steam evenly, and evenly cooked masa is what makes “peel clean” results more consistent. Because meat tamales often require longer cooking than many other types of tamales, disciplined assembly pays off.
– Spread masa on soaked corn husks and add a strip of meat filling
Soak corn husks until pliable—typically 30 minutes to 2 hours, depending on how dry they are. Spread masa in a thin, consistent layer (the thickness you choose should match the size of your husk). Then place a strip or modest mound of meat filling near the center.
Tip for portion control: if you overfill, you’ll need extra folding pressure, which can create gaps and uneven steam. If you underfill, you’ll reduce flavor density. Use consistent filling weight so your batches cook at the same rate.
– Fold and secure tamales so they steam evenly
Fold the sides over the masa, then tie or secure with a strip of husk or kitchen string (as needed). Arrange tamales upright or seam-side down depending on your steamer setup. The key is spacing: leave room for steam to circulate so every tamale reaches the same temperature and moisture level.
Scalability insight: If you’re making meat tamales for a group, standardize your assembly workflow: one person can handle masa spreading, another handles filling placement, and a third handles folding. This improves consistency and reduces variation in thickness and cook time.
Steam the Tamales Properly
Steaming is the “control system” of the recipe. If steam is inconsistent—too low, interrupted frequently, or unevenly distributed—masa can remain undercooked even when the meat is tender. Successful steaming comes down to water level management, batch size, and cook-time discipline.
– Steam in batches with enough water to maintain consistent heat
Keep water at a steady simmer. Don’t let the pot run dry or boil hard enough that it actively splashes water into tamales. Use a steamer insert if you have one, and check the pot every 20 to 30 minutes early in the process so you can correct evaporation patterns.
– Cook until husks peel clean and masa is fully set
Plan for longer cook times than you might expect—many meat tamales need about 75 to 100 minutes depending on size, batch thickness, and steamer performance. Start checking doneness once you’re near the higher end for your typical tamale size.
How to test without ruining the batch:
Peel back one tamale from the center and one from the outer edge. If the center is underdone, you likely need more time and/or you overcrowded the pot. If the outer tamales are done first, reduce batch size next time.
Using the data you can trust:
As shown in the earlier steaming-time guide, undercooking and overcrowding consistently show up as partial peel resistance or masa that isn’t fully set—so don’t skip the peel test.
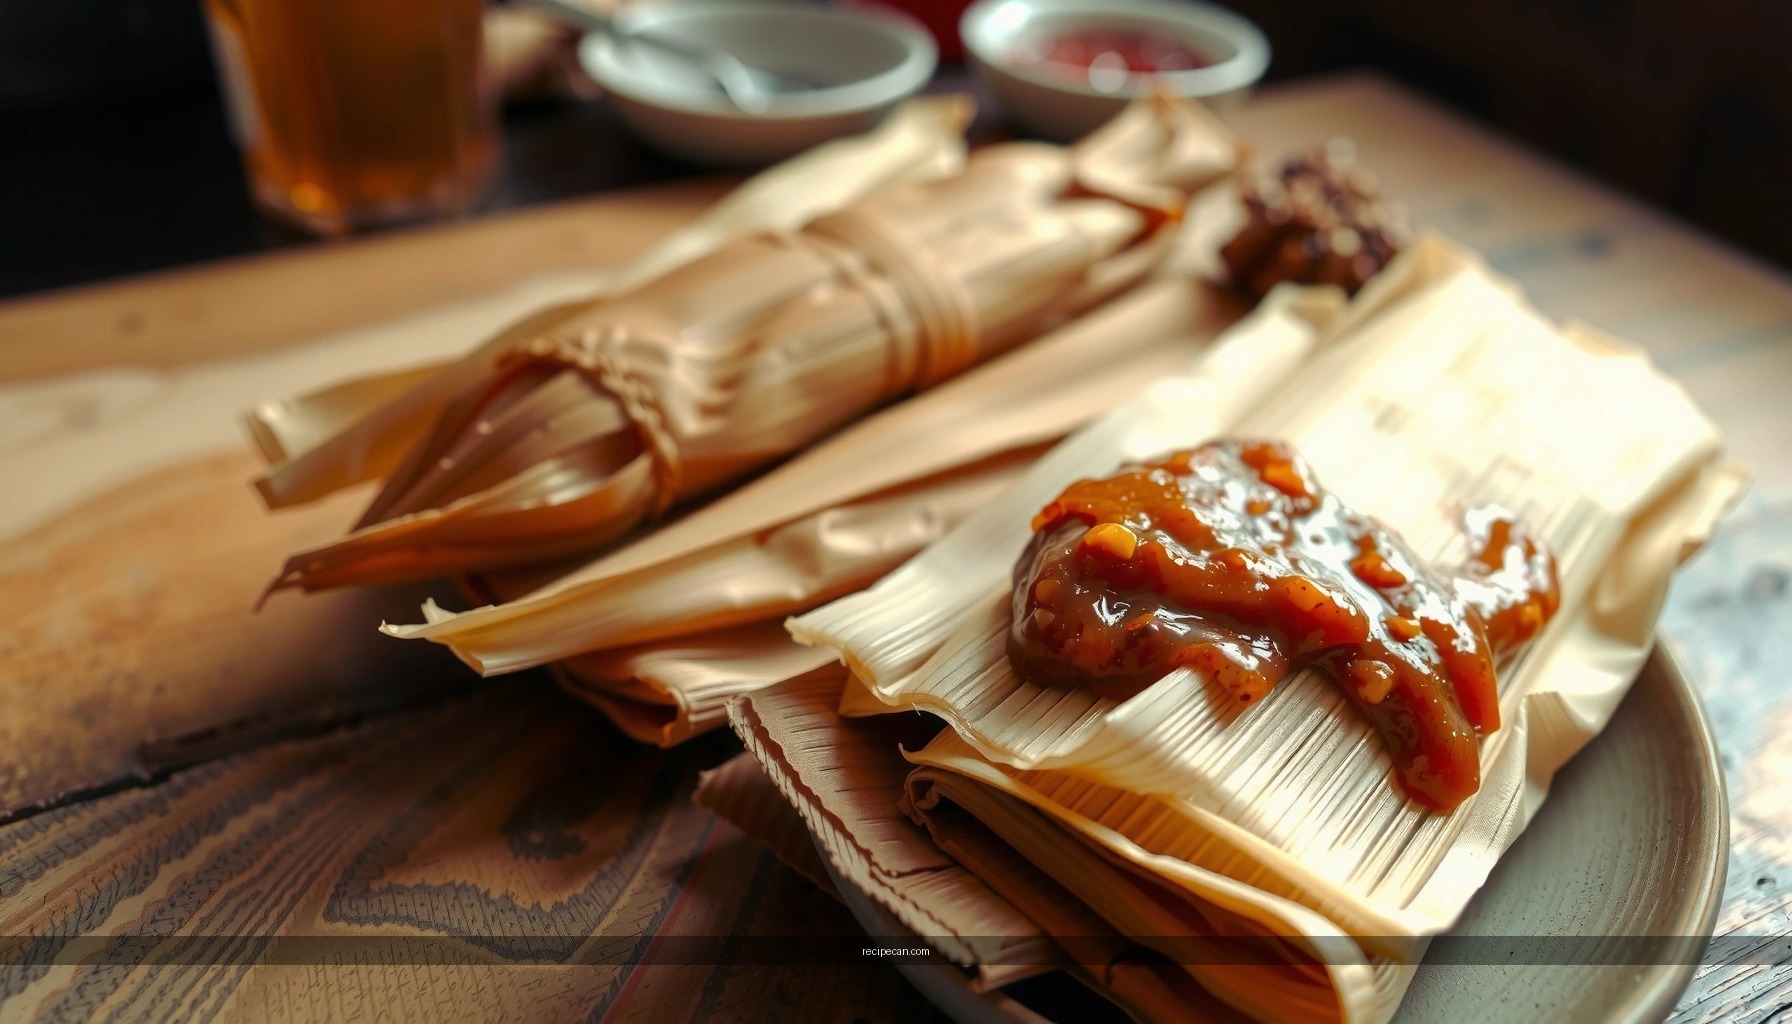
Check Doneness and Store for Later
Doneness testing is not just “cook until hot.” For tamales, you’re confirming that masa has fully hydrated and set and that the texture is cohesive after steam. Proper storage then protects that texture so reheating doesn’t turn them dry or uneven.
– Test by peeling back husk and confirming masa is cooked through
Look for masa that pulls away cleanly from the husk. The masa should not be gummy in the center, and it should feel firm but tender when you bite. If it sticks, steam more time in 10–15 minute increments, then test again.
– Refrigerate up to a few days or freeze for longer storage
Let tamales cool slightly (so condensation doesn’t make them soggy in storage), then refrigerate in an airtight container. For longer storage, freeze individually if possible, then bag for convenience. Frozen tamales often reheat very well when handled correctly.
Quality note:
Meat tamales often taste better after resting because flavors redistribute in the masa and the filling firms up. If you’re planning a party, consider cooking a day ahead.
Reheat for Best Texture
Reheating is where many homemade tamales lose quality—especially if moisture escapes. The goal is to reintroduce heat while protecting steam-generated tenderness.
– Reheat steamed or microwave with a damp paper towel to prevent drying
For microwave reheating, wrap tamales with a damp paper towel and heat in short intervals, flipping if needed. This helps rehydrate surface moisture. If using a steamer, reheat gently until hot throughout—this method is often closest to “fresh-steamed” texture.
– Let tamales rest briefly after reheating for even moisture
Resting matters because steam continues to distribute heat inside the tamale. A brief wait (around 3–5 minutes) improves consistency in texture—especially for thicker meat tamales.
Pro tip: avoid overheating. Once masa is fully heated through, additional time tends to dry edges and make the masa feel firmer than it should.
Steaming meat tamales comes down to three things: well-seasoned meat filling, properly mixed masa, and consistent steaming until set. Follow the steps above, and if you want, try one small batch first to perfect your masa thickness and steam time—then make a larger batch for sharing. If you standardize your assembly size and batch steam conditions, you’ll get reliably tender, juicy meat tamales every time.
Frequently Asked Questions
What cut of meat is best for a meat tamales recipe?
For a classic meat tamales recipe, chuck roast, pork shoulder, or brisket work especially well because they become tender after slow cooking. Pork shoulder is a favorite for flavor-rich tamales, while beef chuck adds a deeper, hearty taste. Choose cuts with enough fat and connective tissue so the filling stays juicy after simmering and shredding.
How do I make the meat filling for tamales from scratch?
Start by browning your meat, then simmer it with aromatics like onion and garlic, plus a flavorful sauce such as chile-based adobo or salsa roja. Cook until the meat is fork-tender, then shred it and reduce the sauce slightly so the filling isn’t watery. Season with salt to taste and fold the shredded meat back into the sauce for an even, cohesive meat filling in your tamales.
How long should I cook and steam meat tamales for the best results?
Meat tamales typically need steaming for about 60–90 minutes, depending on tamale size and how thick your masa is. Check doneness by ensuring the masa pulls away cleanly from the husk and that the center is set rather than doughy. If needed, steam an additional 10–15 minutes, since undercooked masa is a common pain point.
Why does my masa fall apart or tear in a meat tamales recipe?
Masa can tear if it’s too dry or if the fat-to-liquid ratio is off, so use a properly beaten masa harina mixture and ensure you hydrate the masa evenly. Another common issue is overcooking or steaming too long, which can dry the masa and make it brittle. If using store-bought masa, follow the package directions closely; if making from scratch, beat the masa until it’s smooth and spreadable for easier wrapping.
Which chile sauce is best for beef or pork meat tamales?
For many meat tamales recipes, chile sauces like guajillo and ancho create a balanced, mildly smoky flavor that pairs well with both beef and pork. If you want a richer, deeper heat, combine dried chiles with roasted tomatoes, then blend into a smooth sauce and simmer to concentrate. Whichever chile you choose, taste and adjust salt and acidity so the filling is bold but not overly bitter or watery.
References
- https://en.wikipedia.org/wiki/Tamale
https://en.wikipedia.org/wiki/Tamale - Masa
https://en.wikipedia.org/wiki/Masa_harina - Nixtamalization
https://en.wikipedia.org/wiki/Nixtamalization - Husk
https://en.wikipedia.org/wiki/Corn_husk - https://en.wikipedia.org/wiki/Chile_colorado
https://en.wikipedia.org/wiki/Chile_colorado - https://en.wikipedia.org/wiki/Mole_(sauce
https://en.wikipedia.org/wiki/Mole_(sauce - Salsa (food)
https://en.wikipedia.org/wiki/Salsa_roja - Google Scholar Google Scholar
https://scholar.google.com/scholar?q=meat+tamales+recipe - Google Scholar Google Scholar
https://scholar.google.com/scholar?q=tamale+masa+nixtamalization+corn+process - https://scholar.google.com/scholar?q=traditional+tamales+meat+preparation+technique Google Scholar
https://scholar.google.com/scholar?q=traditional+tamales+meat+preparation+technique