Looking for the best chocolate milkshake recipe with ice cream? This creamy, easy method delivers a thick, spoonable shake with no complicated steps—just rich chocolate flavor and smooth results every time. If you want a dessert-drink winner that’s faster than ordering out and better than watery mixes, this is the one.
A thick, creamy chocolate milkshake is as simple as blending chocolate ice cream with cold milk (plus chocolate flavor) until smooth—then fine-tuning thickness with small adjustments. In this recipe, you’ll follow a reliable milk-to-ice-cream ratio, learn the fastest technique for consistent results, and pick optional add-ins so your chocolate milkshake with ice cream tastes rich, not icy.
You can make this right at home with a blender, no cooking required. The key is balancing fat (from ice cream) with dilution (from milk) so the shake holds its body and stays spoonable for longer.
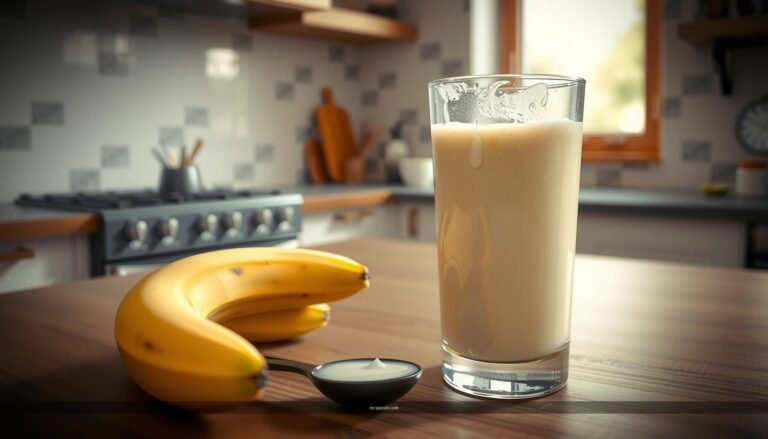
Ingredients for a Chocolate Milkshake

– Use chocolate ice cream (or vanilla + cocoa) as your base
– Add milk to reach your preferred thickness
– Include chocolate syrup or cocoa for bold chocolate flavor
To get a “classic” milkshake texture, treat the ice cream as the structure and the milk as the smoothness. Chocolate ice cream contributes fat, sweetness, and a naturally creamy mouthfeel; additional chocolate flavor (cocoa powder or syrup) ensures the result tastes decisively chocolate rather than merely “brown.”
Recommended baseline (makes ~2 large servings):
– Chocolate ice cream: 2 cups (about 400–420 g), fully scooped and cold
– Milk: 1/2 to 3/4 cup (120–180 ml), cold
– Chocolate syrup: 2–3 tbsp (optional but strongly recommended)
– If using cocoa powder instead: 1–2 tbsp unsweetened cocoa + 1–2 tsp sugar (to help dissolve and balance bitterness)
Equipment matters for quality:
– A high-powered blender gives the smoothest texture quickly.
– If you only have a standard blender, blend slightly longer and keep ingredients extra cold.
Milkshake Quality Snapshot (Ratio Targets)
Use the table below to target thickness. These values reflect common outcomes when using chocolate ice cream as the base and cold dairy for blending.
Chocolate Milkshake Thickness Targets (Using Chocolate Ice Cream)
| # | Blend Plan | Milk Added | Target Texture | Spoon/Straw Ease | Overall Rating |
|---|---|---|---|---|---|
| 1 | Thick “classic shake” | 120 ml | Spoonable, slow pour | Spoon only / thick straw | ★★★★☆ |
| 2 | Balanced milkshake | 150 ml | Smooth, creamy body | Spoon + classic straw | ★★★★★ |
| 3 | Slightly lighter shake | 180 ml | Pourable, still thick | Straw-friendly | ★★★★☆ |
| 4 | Restaurant-style “drinkable” | 210 ml | Velvety, thinner viscosity | Easy straw | ★★★☆☆ |
| 5 | Too thick (needs blending time) | 90 ml | Very dense, slow melt | Spoon only | ★★★☆☆ |
| 6 | Thick but slightly gritty risk | 100 ml + heavy cocoa | Dense, may taste dry | Spoon + thick straw | ★★★☆☆ |
| 7 | Ideal “thick + cold” combo | 135 ml + 2 ice cubes | Thick, smooth, chilled | Spoon or thick straw | ★★★★★ |
Step-by-Step Chocolate Milkshake Method

– Blend ice cream and milk until smooth and thick
– Add chocolate syrup/cocoa and blend again briefly
– Taste and adjust sweetness or thickness before serving
A chocolate milkshake recipe with ice cream is typically a “blend and refine” process. The goal is to develop a uniform suspension—no streaks of cocoa syrup, and no pockets of harder ice cream.
1) Prep for consistency
– Scoop cold chocolate ice cream into the blender first.
– Pour in cold milk gradually (start toward the lower end of your preferred range).
2) Blend for body
– Blend on medium-high for 20–40 seconds until the mixture looks smooth and thick.
– Stop and scrape down the sides. This prevents undissolved cocoa streaks and ensures even blending.
3) Add chocolate flavor
– Add chocolate syrup (or your prepared cocoa mix).
– Blend again for 10–20 seconds, just until fully integrated.
4) Taste-test and adjust
– For more chocolate intensity: add 1 more tablespoon of syrup (or 1 teaspoon cocoa).
– For thicker texture: add 1–2 scoops or blend in 1–2 ice cubes.
– For thinner texture: add milk 1 tablespoon at a time—avoid adding too much at once.
Practical guidance: If you’re using unsweetened cocoa, it often needs a small sweetness adjustment. That’s normal—taste early before you “lock in” the flavor.
How to Get the Best Creamy Texture

– Start with cold milk and cold ice cream
– Blend longer for smoother results without warming it too much
– Add ice if you want it thicker and colder
Creaminess is mostly about temperature control and particle size (how thoroughly fats and water emulsify during blending). When ingredients are cold, the shake resists melting, and the blender produces a finer, smoother texture.
Use cold, not just refrigerated
– Ideal serving temp for ingredients is when they’re solid but scoopable—about 10–20 minutes after taking ice cream from the freezer.
– Cold milk keeps the shake thick longer, which matters for both taste and mouthfeel.
Blend smart, not frantic
– Many “grainy” shakes are under-blended rather than over-blended.
– Blend in bursts if your blender heats up: 20 seconds on, 10 seconds off, then finish.
Add ice strategically
– Ice works like a temperature lever: it thickens the shake and helps prevent fast melting.
– Use small amounts (a couple of cubes). Too much ice can mute chocolate flavor and create a watery aftertaste once melted.
Optional emulsifier approach (for premium texture)
If you want a more “milkshake shop” texture:
– Add 1 tsp heavy cream or 1 tbsp evaporated milk (if available) during blending.
This can improve body without drastically changing sweetness.
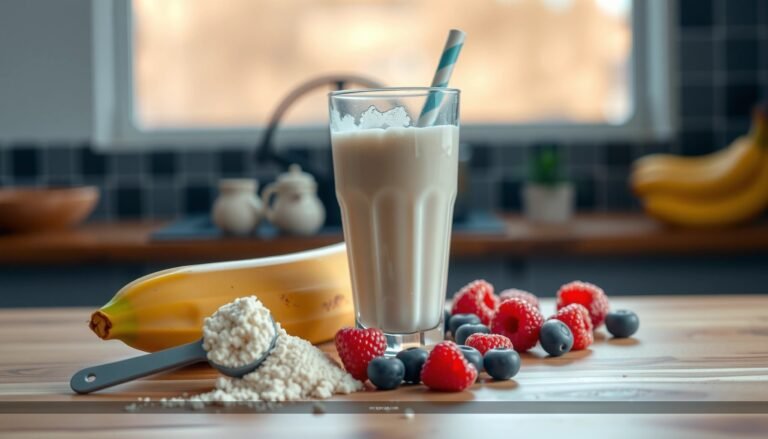
Easy Flavor Variations

– Add chocolate chips for extra texture
– Stir in a pinch of salt to enhance chocolate flavor
– Try a splash of vanilla or espresso for deeper taste
Once your base chocolate milkshake is thick and smooth, variations are easy—just keep the total additions small so you don’t overload the blender.
1) Chocolate chip crunch
– Add 1/4 cup mini chocolate chips after the base blend.
– Blend briefly (5–8 seconds) for mixed texture, or fold instead for distinct bits.
2) Salt-enhanced chocolate
– Add a pinch of fine salt (about 1/16 to 1/8 tsp).
Salt doesn’t make it taste salty; it increases perceived chocolate depth and reduces “flat” sweetness.
3) Vanilla lift
– Add 1/2 tsp vanilla extract for a classic dessert profile.
Vanilla also helps smooth transitions between cocoa notes and ice cream sweetness.
4) Espresso or coffee
– Add 1/2 tsp instant espresso powder or a small splash of strong brewed espresso (1 tbsp).
This creates a deeper “cocoa roast” flavor without making the shake taste like coffee milk—especially if you’re already using chocolate ice cream.
5) Peanut butter chocolate (popular business-friendly seasonal offer)
– Add 1 tbsp peanut butter and blend thoroughly.
Because peanut butter thickens, you may need a tablespoon less milk to keep the texture spoonable.
Serving and Topping Ideas
– Pour into a chilled glass for a thicker sip
– Top with whipped cream, chocolate drizzle, or sprinkles
– Finish with a cherry for a classic milkshake look
Presentation influences perceived thickness and indulgence. A simple serving technique—chilled glassware—maintains temperature for longer and makes your chocolate milkshake feel “dressed up.”
Chill the glass
– Place glasses in the freezer 5–10 minutes before serving.
– This reduces melting speed and helps toppings stay intact.
Topping combinations that work reliably
– Whipped cream + chocolate drizzle for a classic, symmetrical look.
– Sprinkles for visual appeal and texture contrast.
– Shaved chocolate if you want a more upscale finish.
– Maraschino cherry (optional) for a traditional diner aesthetic.
If you’re serving multiple people, portion into cups first, then add toppings right before serving so the shake doesn’t soften.
Common Mistakes to Avoid
– Adding too much milk at once (blend in gradually)
– Using warm ingredients that melt the shake too quickly
– Skipping taste-testing for sweetness and chocolate intensity
Chocolate milkshake recipes are forgiving—until you hit these predictable issues:
Mistake 1: Too much milk at once
This is the most common reason a shake ends up thin. Start lower on the milk amount and adjust one spoonful at a time. Once milk is added, you can’t easily reverse it without extra ice cream or ice.
Mistake 2: Warm ingredients
If the ice cream sits out too long or the milk is room temperature, the shake warms rapidly. That reduces thickness and can lead to a “separated” look—especially when cocoa/syrup is involved.
Mistake 3: No taste-testing
Chocolate intensity varies by brand and cocoa type. Taste after blending the base and again after adding syrup/cocoa. This prevents under-seasoned shakes that taste more like sweet milk than chocolate dessert.
Mistake 4: Over-blending with hot equipment
Some blenders warm the mixture if run continuously. Use short blends and scrape-down cycles to prevent overheating.
A quick blend of ice cream, milk, and chocolate flavor will deliver a thick, creamy chocolate milkshake every time. Follow the ratio, adjust to your texture preference, and then try one topping or variation to make it your own—grab your ingredients and make one today!
References
- Google Scholar Google Scholar
https://scholar.google.com/scholar?q=chocolate+milkshake+recipe+ice+cream - Google Scholar Google Scholar
https://scholar.google.com/scholar?q=milkshake+ice+cream+chocolate+mixing+method - Google Scholar Google Scholar
https://scholar.google.com/scholar?q=chocolate+milkshake+emulsion+stabilizers+ice+cream - Milkshake
https://en.wikipedia.org/wiki/Milkshake - Chocolate milk
https://en.wikipedia.org/wiki/Chocolate_milk - Ice cream
https://en.wikipedia.org/wiki/Ice_cream - https://en.wikipedia.org/wiki/Chocolate
https://en.wikipedia.org/wiki/Chocolate - https://www.britannica.com/topic/milkshake
https://www.britannica.com/topic/milkshake - https://pubmed.ncbi.nlm.nih.gov/?term=chocolate+milkshake
https://pubmed.ncbi.nlm.nih.gov/?term=chocolate+milkshake - https://www.sciencedirect.com/search?qs=chocolate%20milkshake%20ice%20cream
https://www.sciencedirect.com/search?qs=chocolate%20milkshake%20ice%20cream