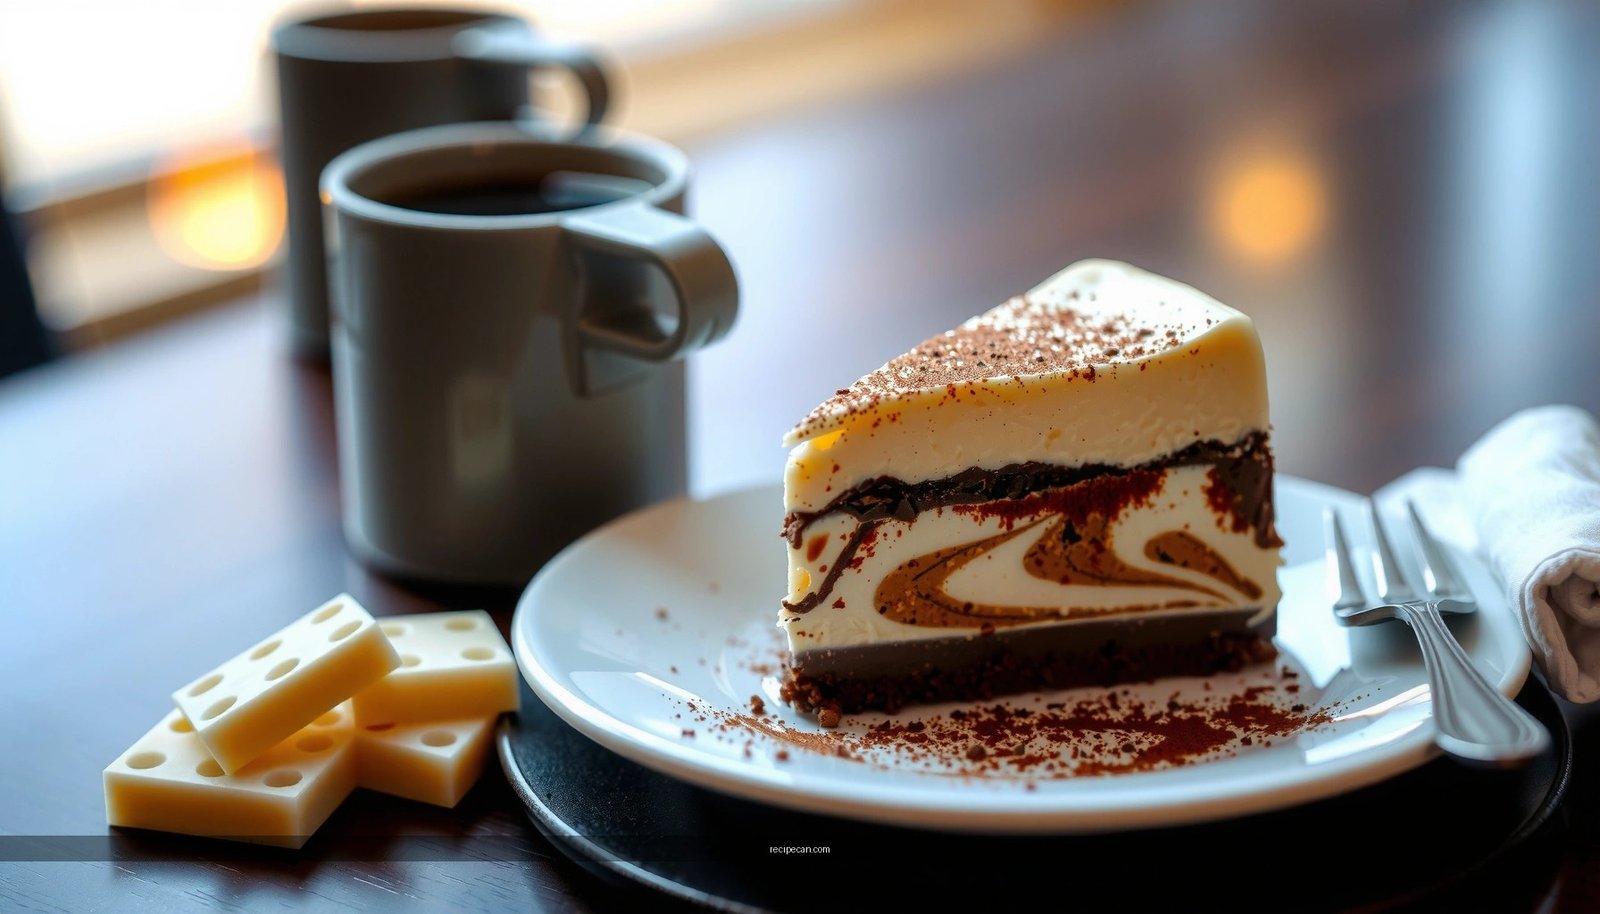
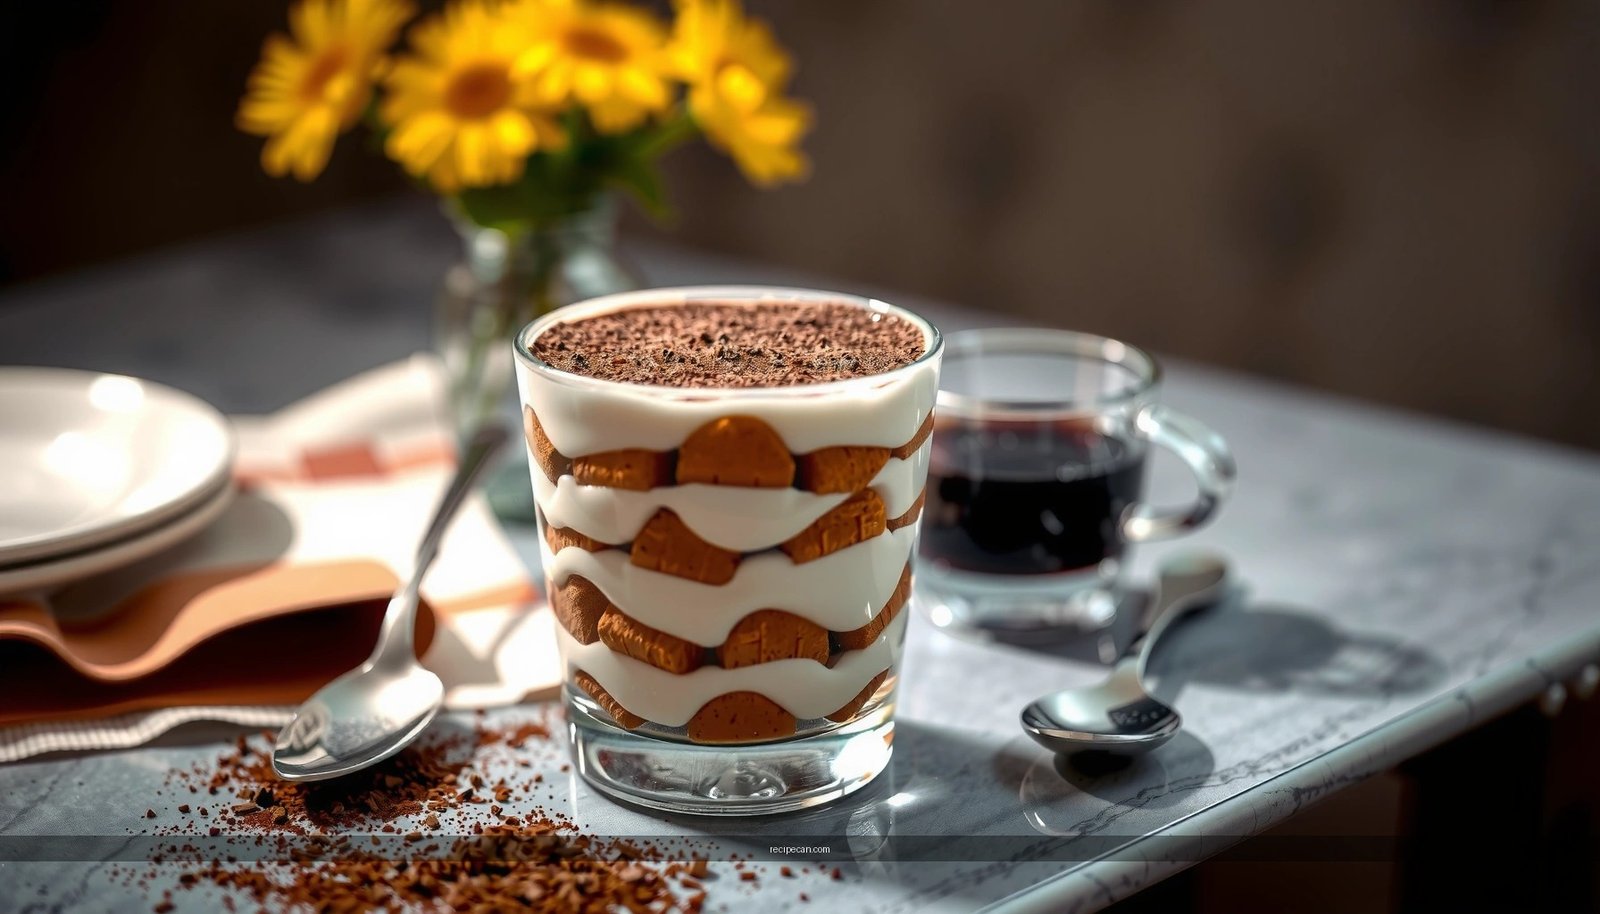
Get the cherry tiramisu recipe you’ll trust for an instantly creamy, spoonable dessert—no baking required and no complicated techniques. This easy method delivers rich mascarpone layers, bright cherry flavor, and a clean finish you can serve for dinner parties, holidays, or weeknight cravings. If your question is which cherry tiramisu recipe actually turns out perfectly every time, this is the one.
This cherry tiramisu recipe delivers a rich, creamy mascarpone filling layered with espresso-soaked ladyfingers and a bright cherry flavor—while staying simple enough for weeknights and polished enough for entertaining. You’ll make the creamy base, cook (or prepare) the cherry layer, assemble neatly, then chill until set for the best texture and clean, sliceable portions.
This dessert is essentially a workflow problem solved: tiramisu shines when the layers hydrate at the right pace. Too wet and the ladyfingers collapse; too dry and the dessert feels separated. By controlling espresso contact time and cooling your cherry sauce before layering, you get a stable, slice-friendly cherry tiramisu that tastes restaurant-level without complicated technique.
Ingredients for Cherry Tiramisu
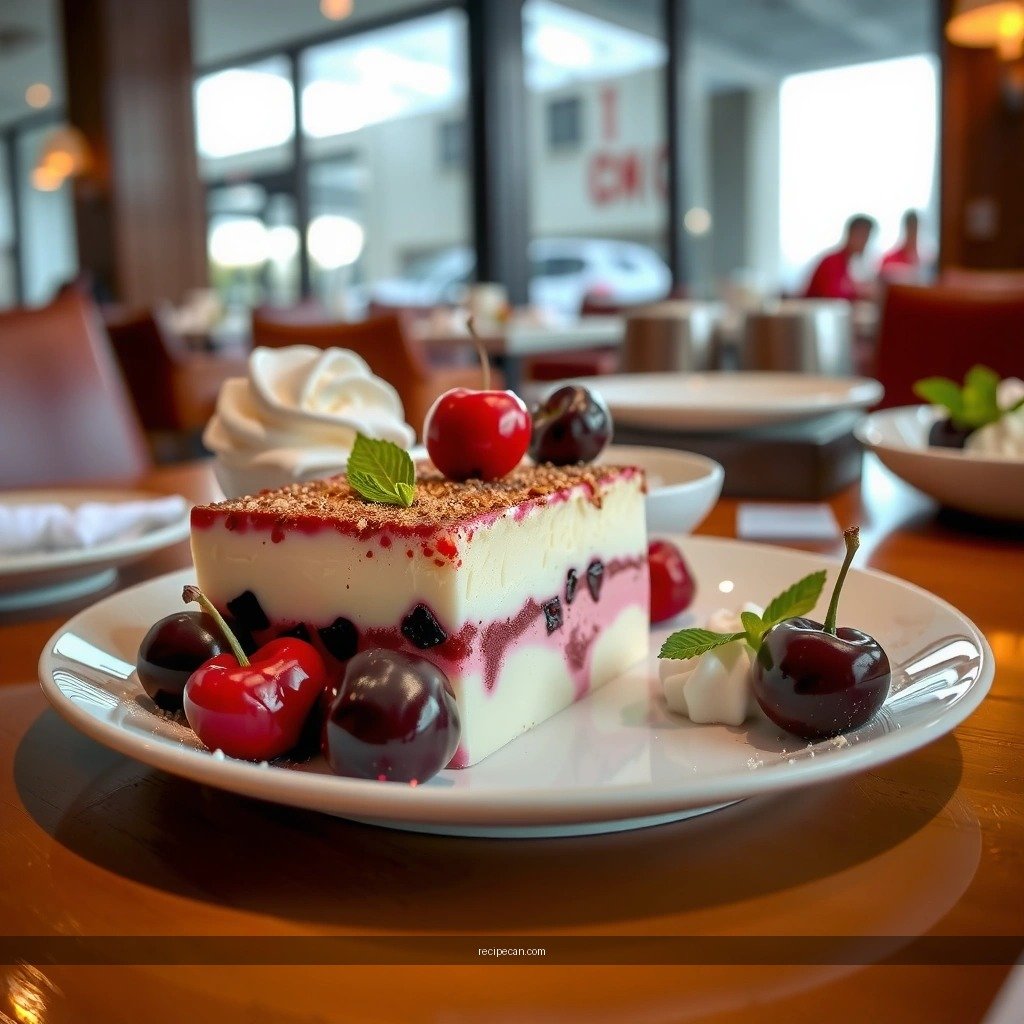
– Gather mascarpone, heavy cream, sugar, eggs (or egg-free option), espresso, ladyfingers, and cherries
– Choose fresh cherries or cherry pie filling for the topping and flavor layer
To set you up for consistency, think in four “functional ingredient groups” rather than a long shopping list:
1) Creamy base (structure + silkiness)
– Mascarpone: the signature tangy, creamy Italian cheese that provides body.
– Heavy cream: whips to create volume and stability, preventing a grainy or overly loose texture.
– Sugar: sweetens gently; keep it balanced so cherry flavor stays prominent.
2) Optional eggs (for classic richness)
– Egg yolks (and/or whole eggs) can be used to create a traditional custard-style tiramisu base.
– If you prefer speed or want to avoid raw egg considerations, you can use an egg-free method (still very creamy) by whipping mascarpone with sugar and folding in stabilized whipped cream.
3) Espresso and soak (the “tiramisu logic”)
– Espresso (or strong brewed coffee): concentrates flavor so the dessert doesn’t taste like “sweet milk and cake.”
– For a cherry tiramisu variation, many home bakers also like to add a small splash of cherry juice—only after the espresso cools—so the soak doesn’t become too watery.
4) Cherries (bright top layer + juicy interior)
– Fresh cherries: best flavor and natural thickness.
– Cherry pie filling: easiest and most reliable when you need a fast, consistent layer.
Quick ingredient selection guidance
– Fresh cherries: look for firm fruit with deep red color; pit them thoroughly so your slices stay elegant.
– Pie filling: choose one with whole cherries if you want visible pieces and a more “topping-like” effect.
– Ladyfingers: use plain savoiardi-style ladyfingers for the classic texture; flavored varieties can overpower cherries and espresso.
Make the Creamy Tiramisu Base
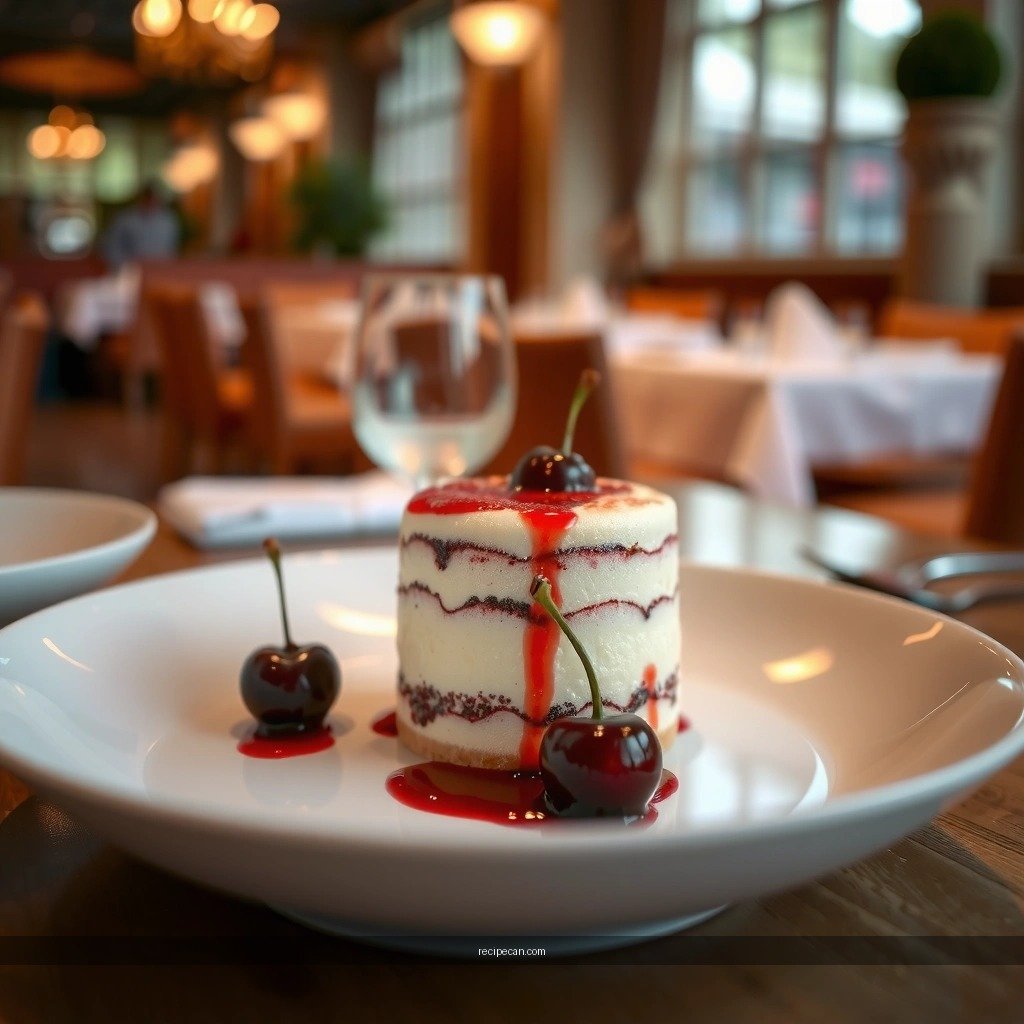
– Whip mascarpone (and eggs if using) until smooth and fluffy
– Fold in whipped cream for a light, stable filling
A creamy tiramisu base isn’t just “mix until smooth”—it’s about achieving the right emulsion and aeration. Here’s how to do it reliably.
Option A: Classic-style with eggs (extra richness)
1. Temper and thicken: If using eggs, gently heat or temper them with sugar so they thicken without scrambling.
2. Whip until pale and thick: The mixture should look lighter and ribbon more slowly off a spoon.
3. Whip mascarpone separately if needed: This prevents lumps and keeps the final cream silky.
4. Combine carefully: Fold egg mixture into mascarpone (or vice versa) until smooth.
Option B: Egg-free base (simpler, very effective)
1. Whip mascarpone with sugar until smooth—aim for a glossy, cohesive cream.
2. Whip heavy cream to medium peaks (not stiff butter-soft peaks).
3. Fold, don’t beat: Fold whipped cream into mascarpone in 2–3 additions so you keep air bubbles for a lighter mouthfeel.
Texture checkpoint (what “done” looks like)
– The cream should be thick enough to hold a spoon line briefly.
– It should not look glossy-watery (overmixed or too-warm cream).
– If your cream softens while assembling, chill it 10–15 minutes so it firms up for clean layering.
Practical timing tip
Mascarpone and cream can soften quickly at room temperature. Plan to assemble within a 20–30 minute window once your cream is mixed, or keep the bowl over an ice bath (without water touching the bowl) to maintain stability.
Prepare the Cherry Layer

– Cook cherries briefly (with a little sugar) or use filling to create a saucy layer
– Cool before layering so the dessert sets properly
The cherry layer controls both flavor intensity and set behavior. If it’s too hot or too thin, it can loosen the filling and make the tiramisu taste “soupy” instead of layered.
Fresh cherry method (best flavor, still easy)
1. Pit and slice cherries (halve if large).
2. Simmer briefly with a small amount of sugar until the juices release and the mixture becomes syrupy.
3. Reduce to saucy thickness: you want it to coat a spoon, not run like water.
4. Cool completely before layering.
If your cherries are especially juicy, reduce a few extra minutes. If they’re very tart, increase sugar slightly to keep the overall dessert balanced against espresso bitterness.
Cherry pie filling method (fastest, consistent)
– Use straight from the can/jar, but stir to loosen.
– If it seems very thick, warm it for 30 seconds to make it spoonable—then cool before layering.
– Pie filling already contains thickening agents, so it typically sets well inside tiramisu.
Make-ahead advantage
Cooked cherry sauce often tastes even better after a short rest because starch/sugar systems settle and the fruit flavor concentrates. You can make the cherry layer up to 2 days ahead and refrigerate in a sealed container.
Assemble the Layers
– Dip ladyfingers quickly in espresso to avoid sogginess
– Layer: ladyfingers → cream → cherries, repeating until filled
Assembly is where your cherry tiramisu becomes either “perfect slices” or “crumbly mess.” The key variable is the soak time for ladyfingers.
How to dip ladyfingers without over-soaking
– Use a shallow dish with cooled espresso.
– Dip ladyfingers 1–2 seconds per side.
– Arrange immediately to prevent pooling.
– If your espresso is warm, cool it first—warm liquid accelerates breakdown.
Layering strategy for stable slices
1. Bottom layer: ladyfingers in the dish, slightly overlapping.
2. First cream layer: spread evenly; tap the pan lightly to settle.
3. Cherry layer: spoon cherries/sauce in an even distribution—avoid piling in one spot.
4. Repeat: ladyfingers → cream → cherries until you reach the top.
Even distribution matters
Cherries tend to release liquid. Spreading them helps the dessert set uniformly and prevents “wet pockets” near the top.
Recommended pan size (to avoid thin layers)
For a classic 3-layer stack, use a pan size that fits your ladyfingers snugly:
– Too small: layers overflow and compress.
– Too large: layers become thin and fragile.
Below is a quick planning table to help you choose the right batch size for your household or event.
Yield Planning for Cherry Tiramisu (Common Pan Sizes)
| # | Pan size | Approx. servings | Ladyfingers needed | Chill time |
|---|---|---|---|---|
| 1 | 8×8 in (20×20 cm) | 9–12 | 22–26 | 6+ hrs |
| 2 | 9×9 in (23×23 cm) | 12–16 | 26–32 | 6–8 hrs |
| 3 | 9×13 in (23×33 cm) | 18–24 | 38–48 | 8–12 hrs |
| 4 | Square 6×6 in (15×15 cm) | 5–7 | 12–16 | 4–6 hrs |
| 5 | Mini loaf (4–5 in) | 3–4 | 8–10 | 4–6 hrs |
| 6 | Individual cups (6 oz) | 6–8 cups | ~12 split pieces | 3–5 hrs |
| 7 | Round 9 in cake pan | 12–15 | 28–34 | 6–10 hrs |
Chill and Set for Best Texture
– Refrigerate at least 4–6 hours (overnight is ideal) to firm up the layers
– Cover tightly to prevent drying or absorbing fridge odors
Chilling isn’t optional for top-tier cherry tiramisu—it’s how the dessert achieves a coherent slice. The cream thickens, ladyfingers fully hydrate, and excess liquid from cherries distributes evenly.
Minimum vs ideal chilling
– 4–6 hours: adequate for smaller pans and single-serve cups.
– Overnight: best for flavor meld and clean, consistent textures.
Covering properly
– Cover tightly with plastic wrap or a lid to prevent drying.
– If your fridge has strong odors (onion, seafood, etc.), use an airtight cover or place a second container around it.
Do not freeze
Freezing damages texture: mascarpone and whipped cream can separate, and ladyfingers rehydrate differently after thawing. Refrigeration maintains the intended creaminess.
Serving readiness test
When you’re ready to serve:
– The center should feel set (not jiggly like mousse).
– Slices should hold their shape after lifting with a spatula.
Serving and Storage Tips
– Garnish with extra cherries and a light dusting of cocoa before serving
– Store covered in the fridge up to 2–3 days for best quality
This is the part where you turn a make-ahead dessert into a memorable presentation.
How to garnish like a pro
– Cocoa dusting: use a fine mesh sieve so it lands evenly without clumps.
– Extra cherries: place a few on top (and a little around the edges) to signal the flavor theme.
– Optional finishing touch: add a few drops of cherry juice to a cherry garnish for extra gloss—use sparingly so it doesn’t re-wet the top layer.
Storage best practices
– Store in the refrigerator up to 2–3 days for optimal flavor and texture.
– Keep it covered tightly; tiramisu tends to absorb fridge odors.
– If you plan to serve on day 3, consider slightly reducing espresso soak next time, since ladyfingers continue hydrating over time.
Practical troubleshooting
– Runny filling: your cherry layer was likely too warm or too thin—next time cool it fully and reduce longer.
– Dry, crumbly texture: ladyfingers may have been under-soaked—shorten assembly gaps and dip consistently.
– Separated cream: the base may have warmed too much—chill the cream while assembling and fold whipped components gently.
Serving approach:
– For clean slices, wipe your knife/spatula between cuts.
– Pull the pan from the fridge 8–10 minutes before serving so flavors bloom slightly and the cream softens enough to be pleasant without melting.
—
This cherry tiramisu recipe is designed for real-world success: it combines a stable mascarpone base, an easy cherry layer, and quick espresso soaking to maintain structure. Cook or prepare your cherries, assemble with controlled dipping, then chill until the layers set for the best texture—then garnish, slice cleanly, and serve with confidence. Whether you’re hosting or planning ahead, this creamy, flavorful cherry tiramisu delivers crowd-pleasing results with minimal stress.
Frequently Asked Questions
What is a cherry tiramisu recipe and what makes it different from classic tiramisu?
A cherry tiramisu recipe is a layered Italian-style dessert that replaces or complements traditional coffee flavors with cherries, often using cherry juice, cherry compote, or cherry liqueur. It typically keeps the classic mascarpone-and-egg cream base and layered ladyfingers, but the fruit adds a bright, tangy sweetness that balances the richness. The result is a cherry-forward tiramisu with a longer “freshness” feel than many coffee-only versions.
How do you make cherry tiramisu step by step without curdling the mascarpone mixture?
Start by whisking egg yolks (or using a no-egg method if preferred) with sugar until smooth, then temper carefully by adding a small amount of warm liquid before combining. Fold mascarpone gently—don’t overmix—so the cream stays silky and thick for clean layers. After assembling with soaked ladyfingers and cherry filling, chill the cherry tiramisu for several hours so it sets properly and the flavors meld.
Which cherries work best for cherry tiramisu—fresh, frozen, or canned?
Frozen cherries are often the easiest choice because they’re consistent year-round and cook down quickly into a flavorful compote. Fresh cherries work well when they’re sweet and ripe, but you’ll need to simmer them to concentrate the flavor and thicken the sauce. Canned cherries can be convenient, but choose one that’s packed in juice and consider reducing the liquid so the layers don’t become watery.
Why does my cherry tiramisu turn watery, and how can I prevent it?
Watery tiramisu is usually caused by overly wet cherry filling or soaking the ladyfingers too long. Reduce your cherry mixture until it’s thick, and strain excess juice if needed before layering. Also dip ladyfingers briefly—just enough to coat—then assemble and chill promptly so the tiramisu sets and the layers hold.
What’s the best way to store cherry tiramisu and how long does it last?
Store cherry tiramisu covered in the refrigerator to keep the mascarpone cream from drying out and to preserve the cherry flavor. Most homemade cherry tiramisu recipes stay best for 2–3 days, after which the texture can soften further as the ladyfingers continue to absorb moisture. For best results, serve cold straight from the fridge and avoid freezing if you want to maintain the creamy tiramisu texture.
References
- Google Scholar Google Scholar
https://scholar.google.com/scholar?q=cherry+tiramisu+recipe - Google Scholar Google Scholar
https://scholar.google.com/scholar?q=cherries+and+tiramisu+mascarpone - Google Scholar Google Scholar
https://scholar.google.com/scholar?q=tiramisu+recipe+ladyfingers+espresso+mascarpone - Tiramisu
https://en.wikipedia.org/wiki/Tiramisu - Mascarpone
https://en.wikipedia.org/wiki/Mascarpone - Lady finger
https://en.wikipedia.org/wiki/Ladyfinger - Cherry
https://en.wikipedia.org/wiki/Cherry - Marsala
https://en.wikipedia.org/wiki/Marsala - Espresso
https://en.wikipedia.org/wiki/Espresso - Tiramisu | Meaning, Ingredients, Origin, Desserts, & Taste | Britannica
https://www.britannica.com/topic/tiramisu