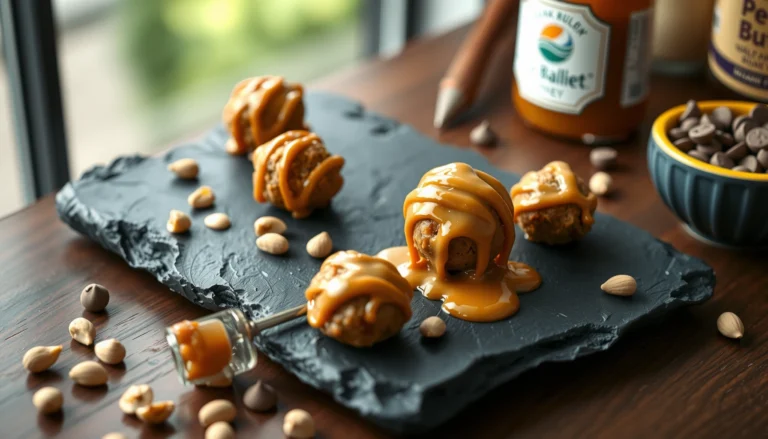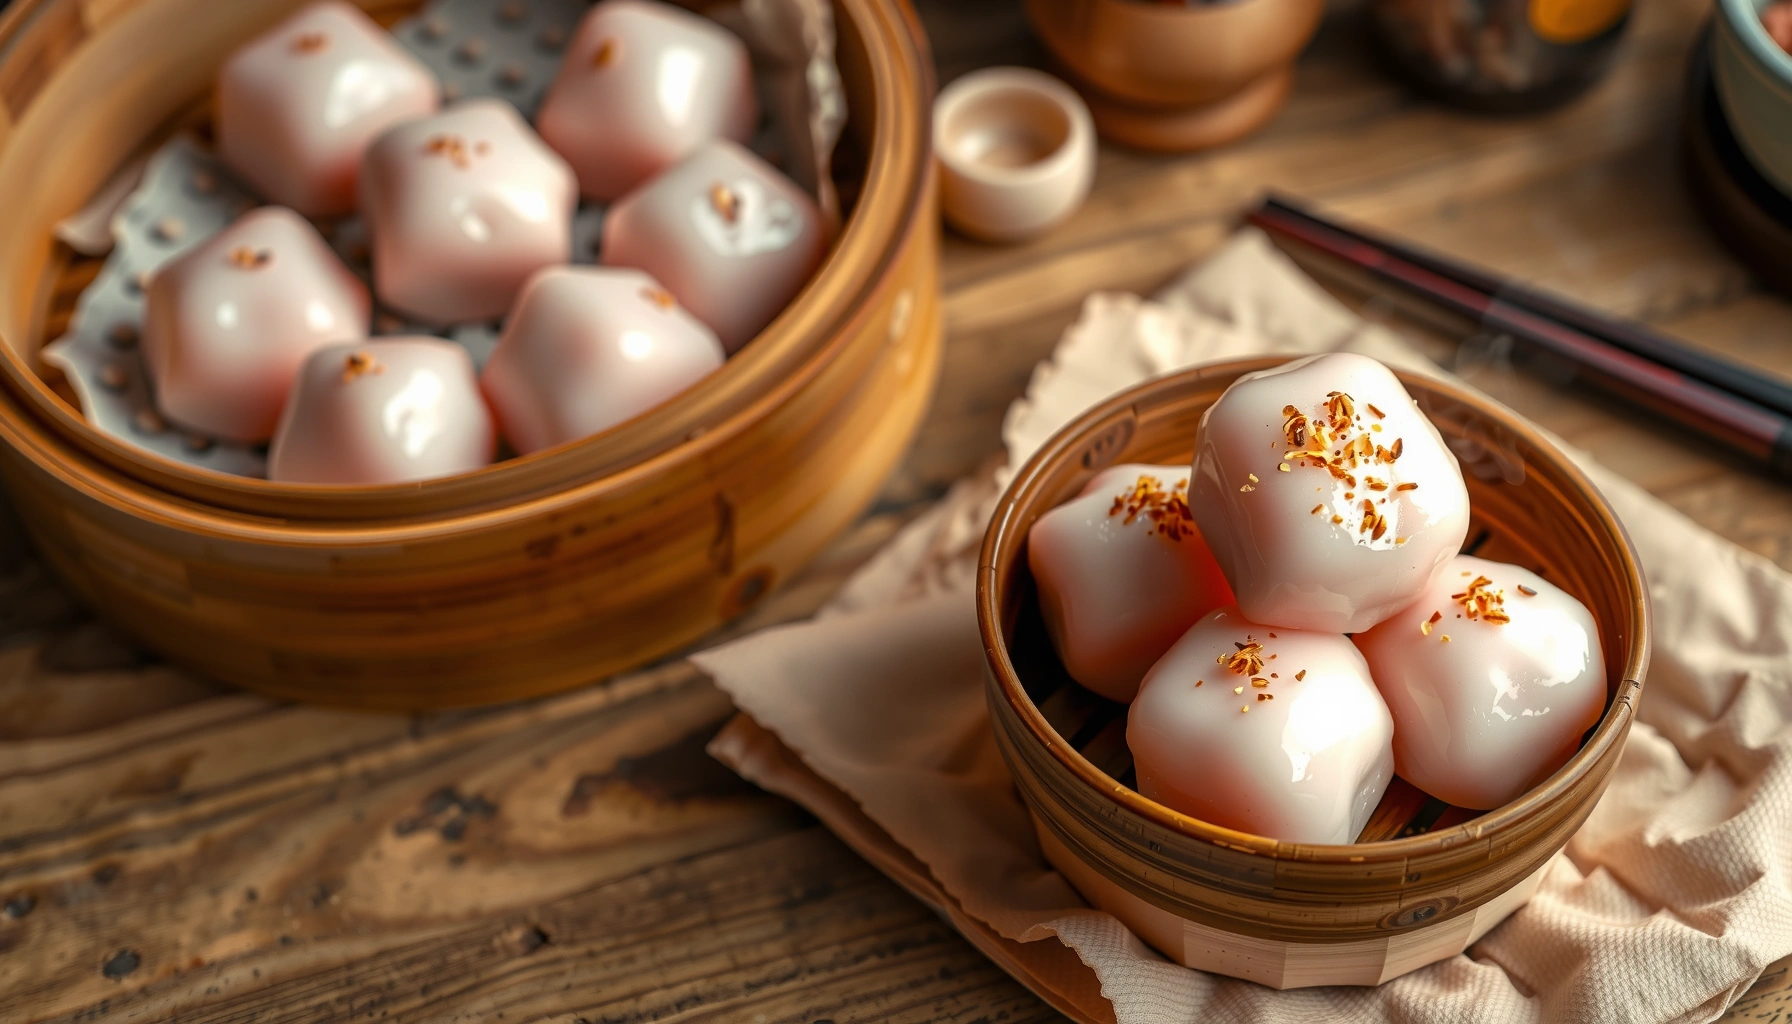
Get a mochi balls recipe you can trust: this easy, step-by-step method delivers chewy homemade mochi balls with the right stretchy texture. If you’ve struggled with dense centers or sticky results, follow these measurements and timing to nail consistency on the first try. You’ll know exactly when to dust, when to knead, and when to serve for the best bite.
Make chewy homemade mochi balls by cooking glutinous rice flour dough until it turns glossy and stretchy, then shaping quickly while it’s still warm. This step-by-step mochi recipe includes exact timing cues and texture fixes so you can reliably get soft, springy mochi every batch.
Ingredients for Mochi Balls
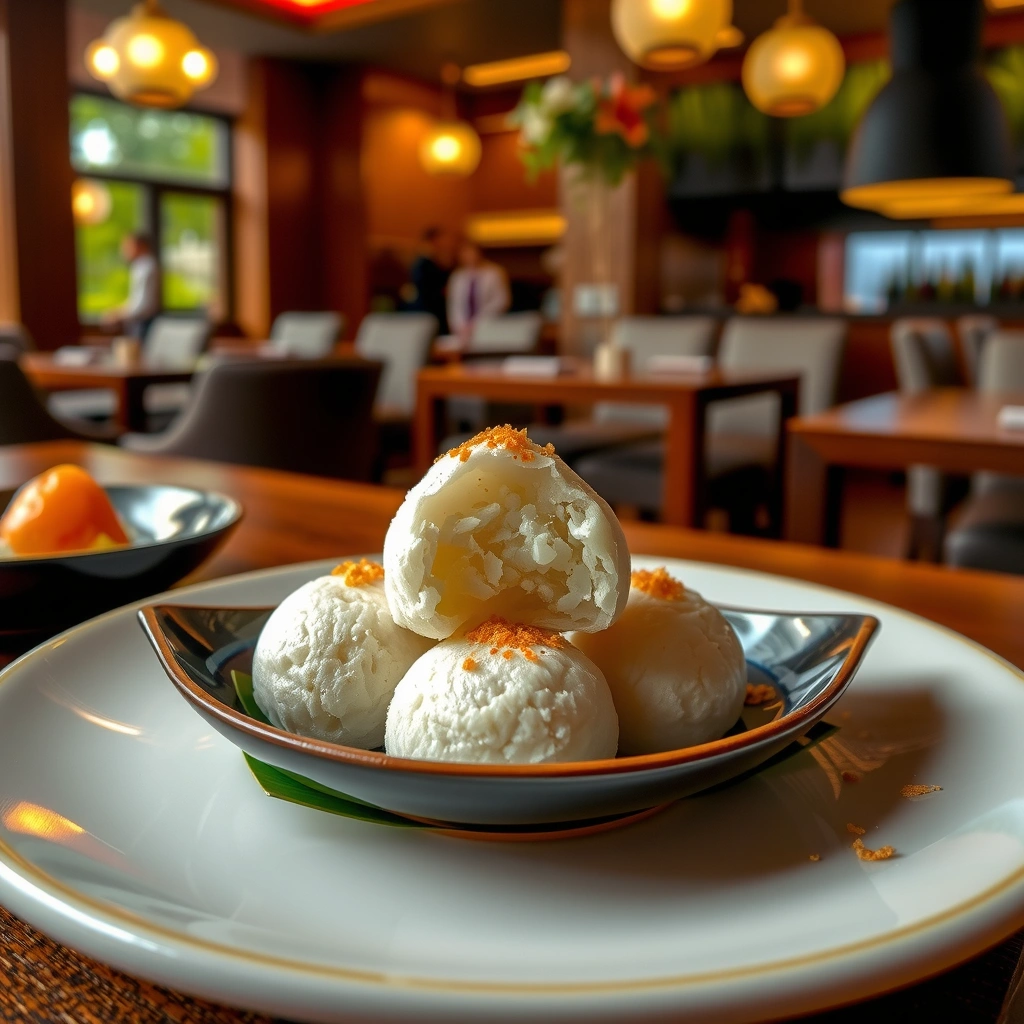
– Glutinous rice flour (mochi flour / sweet rice flour): 200 g (the dough’s structure and chew)
– Sugar: 30–45 g (to taste; mochi’s sweetness level varies by filling and topping)
– Water (room temperature): 240 ml (adjust slightly if your flour brand is very absorbent)
– Cornstarch or potato starch: 20–30 g (for dusting hands and preventing sticking)
– Salt: a small pinch (optional, but helps brighten fillings and coatings)
Optional add-ins for filling (choose one style):
– Sweet red bean paste (anko): 250–300 g, portion into small balls
– Custard filling (including salted egg custard or vanilla custard): 200–240 g, chilled for easier shaping
– Peanut butter filling: 180–220 g, mixed with a little salt and/or sugar; chill to firm
Optional flavor/dough boosters:
– Matcha powder: 1–2 tsp (for green tea mochi dough)
– Vanilla extract: 1 tsp (works best with custard filling)
– Neutral oil (1 tsp): helps prevent sticking if your dough is extra sticky
Ingredient swap notes (so you can adapt confidently):
– If your mochi is too bland, increase sugar by 5 g increments next time (mochi dulls flavor slightly when coated with unsweetened kinako or coconut).
– If your mochi is too sticky, use an extra 1–2 Tbsp starch for dusting rather than adding more flour (too much flour can make mochi tough).
– No glutinous rice flour available? Don’t substitute regular wheat flour—your mochi texture will not become chewy and stretchy. For best results, use glutinous/sweet rice flour marketed for mochi.
Mochi Dough Cooking Targets (Microwave vs. Stovetop)
| # | Method | Total Active Cooking | Best Dough Sign | Reliability Rating |
|---|---|---|---|---|
| 1 | Microwave (600–800W) | 3–5 minutes | Glossy, elastic stretch | ★★★★☆ |
| 2 | Microwave (900–1100W) | 2.5–4 minutes | Pulls into cohesive strands | ★★★★☆ |
| 3 | Stovetop (simmer + stir) | 8–12 minutes | Thick paste with shiny surface | ★★★★★ |
| 4 | Steaming Dough (pre-cook method) | 15–20 minutes | Smooth, no dry flour patches | ★★★★☆ |
| 5 | Overheated Microwave (common error) | >6 minutes | Stiff surface, tears instead of stretch | ★★☆☆☆ |
| 6 | Undercooked Microwave (common error) | <2.5 minutes (high power) | Grainy dough, dull color | ★★★☆☆ |
| 7 | Cooling Too Long Before Shaping | >15 minutes | Dry skin forms, less elasticity | ★★☆☆☆ |
Make the Mochi Dough
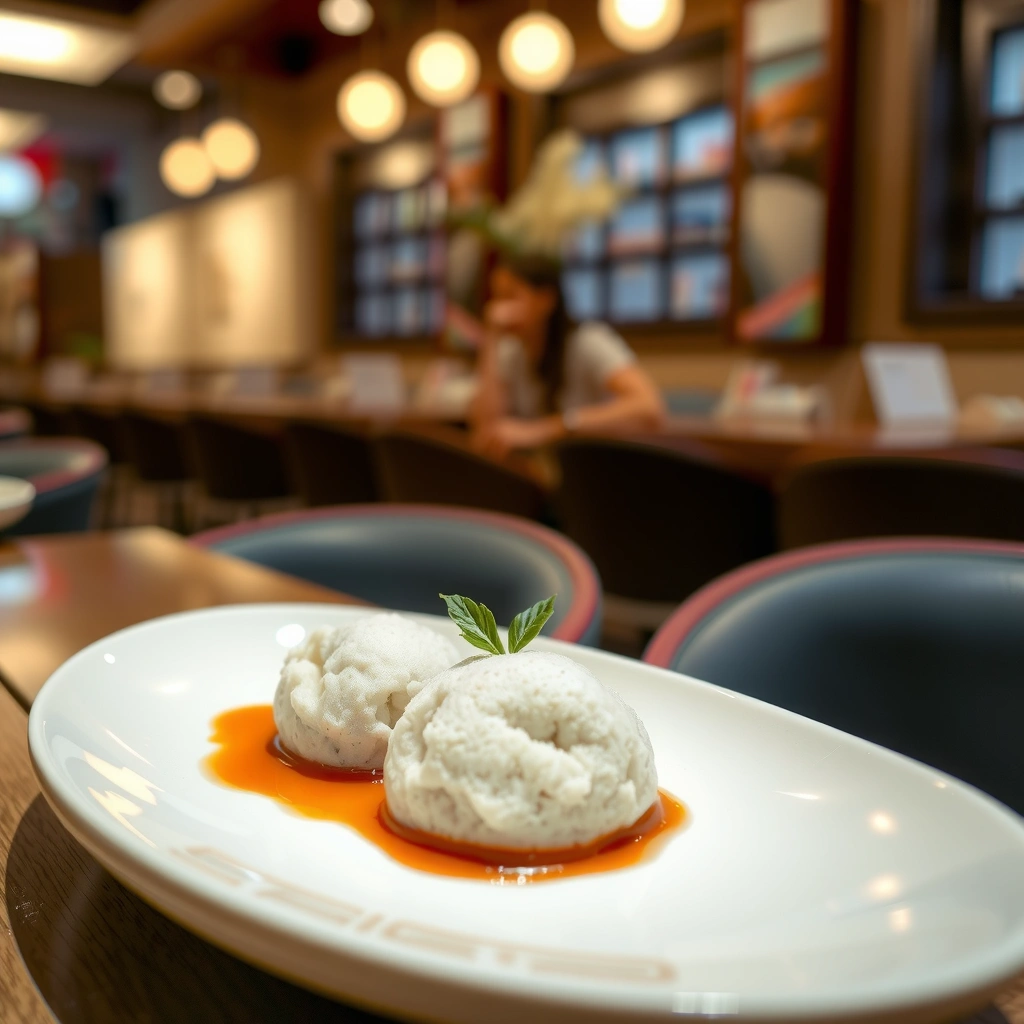
Start with a smooth, lump-free dough—this is the foundation of chewy mochi balls that don’t turn gummy or tough.
1. Mix dry ingredients: In a microwave-safe bowl, whisk glutinous rice flour and sugar together. Add a pinch of salt if using.
2. Add water gradually: Pour in water and whisk until the slurry is uniform. Break up any clumps completely; mochi is unforgiving once cooked.
3. Dough heating (microwave option):
– Microwave in 30–45 second intervals, whisking/stirring each time.
– Expect the mixture to thicken rapidly and become glossy as starch gelatinizes.
4. Dough heating (stovetop option):
– Transfer mixture to a small saucepan over medium heat.
– Stir continuously with a silicone spatula as it thickens (you’ll feel resistance).
– Once it turns glossy, lower heat briefly to prevent scorching, then remove.
5. Signs the dough is ready (use texture, not the clock):
– Glossy surface (not dull or matte)
– Elastic stretch: when you pull a small piece, it stretches without breaking
– Cohesive, smooth mass: no dry flour patches at the bottom
– Minimal stick to the spatula (still sticky overall, but not “wet batter” sticky)
Pro timing cue: Once ready, let the dough rest 30–60 seconds only—warm dough shapes cleanly. If it cools too long, the mochi becomes harder to stretch and more likely to crack when wrapping filling.
Shape and Fill Mochi Balls
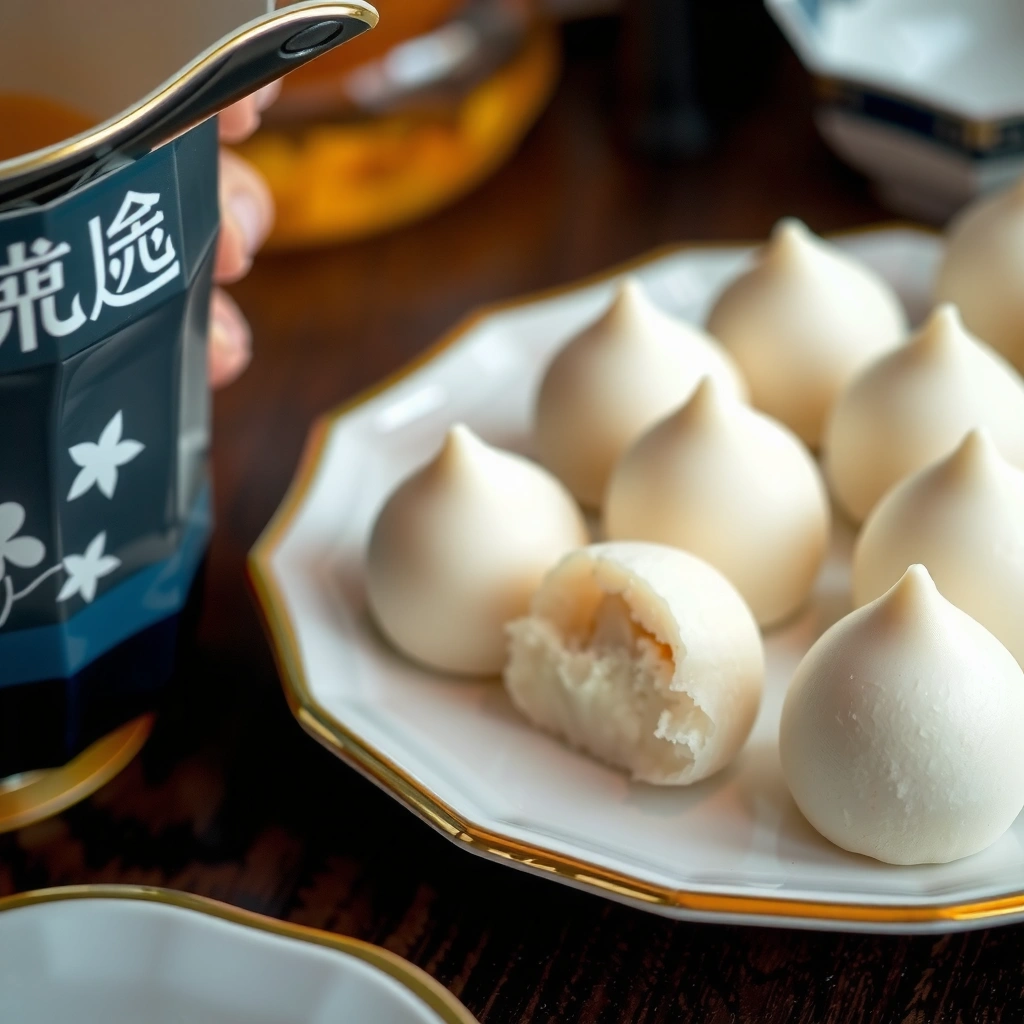
Shaping is where consistency becomes professional: even portions, clean seams, and secure filling.
1. Portion evenly:
– Lightly dust your work surface and hands with cornstarch/potato starch.
– Pinch and roll into ~20–25 g dough pieces (aim for about 22–25 mochi balls from this batch, depending on filling size).
2. Create a pouch for filling:
– Press each dough ball flat in your palm.
– Use your fingers to thin the center while keeping the edges slightly thicker (thin center = easier wrap).
3. Add filling (chilled for better control):
– Portion fillings into ~8–12 g balls (red bean: dry-style anko; custard: chilled; peanut butter: firmed).
– Place filling in the center and gently gather dough around it.
4. Wrap without tearing:
– If dough tears, it’s usually too cool or too dry.
– Fix quickly: warm the remaining dough briefly (microwave 10–15 seconds) and reapply starch sparingly.
5. Seal and smooth:
– Pinch seam tightly, then roll gently to form a uniform sphere.
– Place mochi seam-side down on a lightly dusted tray.
6. Prevent sticking like a pro:
– Keep a starch container within reach.
– Dust hands lightly—over-dusting can leave a chalky coating that reduces “clean chew.”
– Work in small batches; warm dough stays pliable.
Quality note for filling integrity: Don’t overfill. Bursting typically comes from (a) filling not chilled enough to stay cohesive, or (b) dough too thin at the seam.
Coat, Roll, and Set
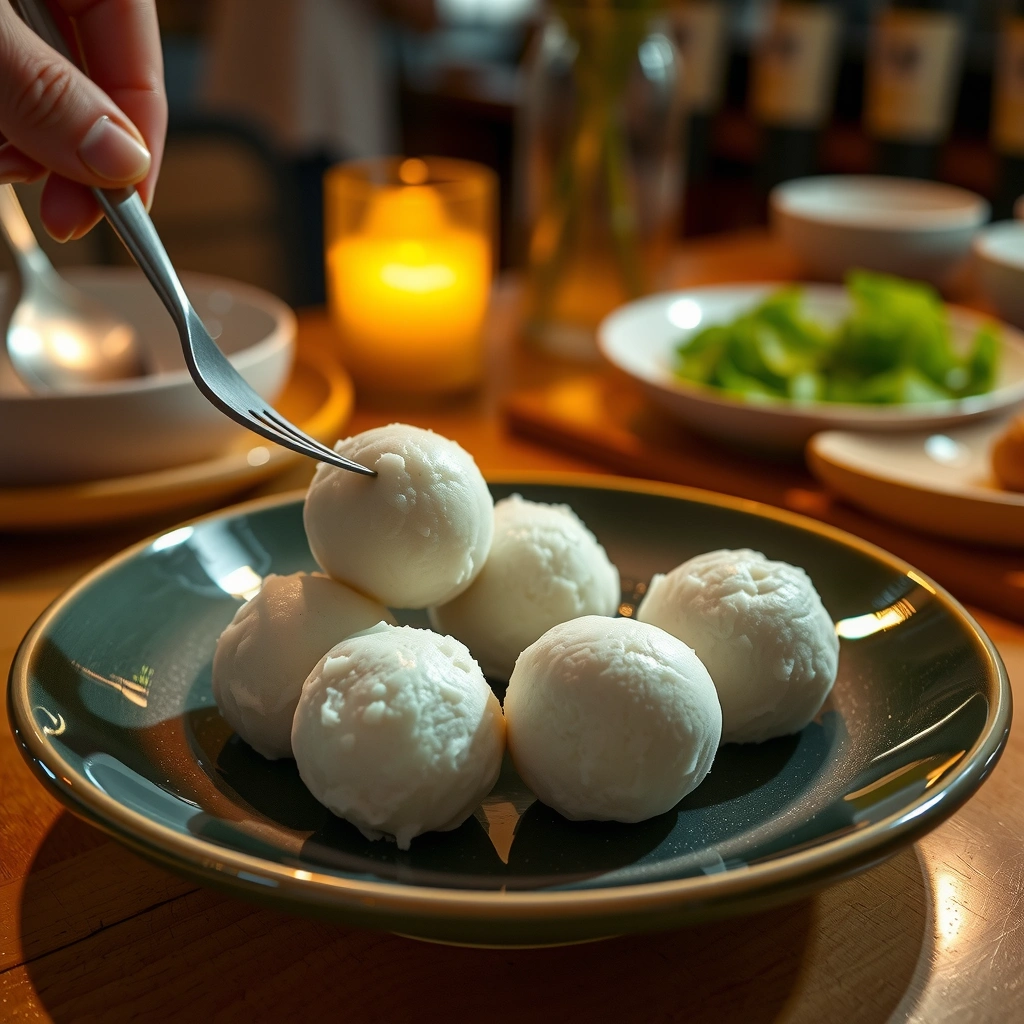
The coating step controls the final sensory experience: sweetness balance, aroma, and surface texture.
Choose one coating strategy:
– Sugar coating: Classic and crowd-friendly.
– Roll mochi balls in a mix of sugar (and optionally a pinch of salt) for bright sweetness.
– Kinako (roasted soybean flour): Nutty, savory-sweet.
– Roll in kinako alone or with a sugar-kinako blend for a bakery-style finish.
– Shredded coconut: Adds texture and helps absorb surface moisture.
– Roll mochi in sweetened or unsweetened coconut (unsweetened for a less sugary profile).
How to prevent dryness while cooling/setting:
– Place shaped mochi on a tray without stacking tightly.
– Cover loosely with a clean, barely damp towel for 5–10 minutes (prevents surface drying while avoiding condensation).
– Avoid plastic wrap directly touching the mochi surface—this can cause sticking and surface “sweating.”
Best resting time before serving:
– 10–20 minutes at room temperature for a stable bite.
– If serving later, rest covered lightly and proceed with coating right before serving for the freshest texture.
Cooking and Texture Tips
Even with the same recipe, small variables—microwave wattage, flour brand, humidity—can shift texture. Use these fixes to keep your mochi balls consistently chewy.
Common issues and solutions
– Problem: Dough is too sticky to handle
– Fix: Dust hands/work surface with starch; do not add extra flour to dough (extra flour can cause toughness).
– Check: If you undercooked, mochi can remain tacky. Add another 15–30 seconds of heating and stir.
– Problem: Tough or rubbery texture
– Fix: Reduce cooking time next batch. Overheating past gelatinization can tighten the starch network.
– Immediate recovery: Reheat dough briefly if you haven’t shaped yet (10–15 seconds); once shaped, texture is harder to restore.
– Problem: Dough cracks while wrapping
– Fix: Dough is too cool or edges are too thin.
– Warm remaining dough and keep a thicker rim when creating the filling pouch.
– Problem: Filling bursts
– Fix: Chill filling longer; keep dough seam thicker; seal firmly.
– Consider slightly reducing filling quantity per ball.
Temperature and timing guidance
– Aim for dough that turns glossy and elastic—that’s the starch gelatinization moment.
– If using microwave: work in intervals and stop when the dough no longer looks like slurry.
– After shaping: rest mochi 10–20 minutes for surface set, then serve.
Storage tips to maintain softness (with reheat method)
– Short-term storage (same day): Keep in an airtight container at room temperature if your kitchen is cool and not humid.
– Refrigeration (best for fillings): Store sealed in the fridge for up to 2–3 days. Mochi can firm slightly, but reheating restores chew.
– Freezing (longer storage):
– Freeze individually on a tray, then transfer to a bag.
– Freeze up to 1–2 months.
– Reheat method (for chewy texture):
– Microwave: 10–20 seconds (start low). Mochi can become chewy again if not overheated.
– Steaming: 30–60 seconds works well and helps rehydrate without drying.
– Let reheated mochi rest 30 seconds before eating to even out texture.
Variations on Mochi Balls Recipe
Once you’ve mastered chewy homemade mochi, variations are mainly about flavor pairing, filling texture, and coating balance.
Classic vs. modern flavor combos
– Classic sweet fillings:
– Red bean paste (anko): reliable, traditional, and forgiving.
– Custard: luxurious, pairs well with kinako or coconut.
– Peanut butter: rich and salty-sweet; excellent with sugar coating.
– Modern flavor combos:
– Matcha mochi dough + red bean or custard: green tea bitterness cuts sweetness for a refined finish.
– Chocolate filling + coconut coating: create a dessert “truffle” profile.
– Fruit-forward options: use thick jam (make sure it’s not overly watery) and dust with extra starch before wrapping.
Dairy-free and gluten-free-friendly adjustments
– Mochi is naturally gluten-free when made with glutinous rice flour (confirm that your brand is certified GF if this matters for your audience).
– For dairy-free fillings:
– Choose plant-based custard or make a peanut butter–based filling.
– For dairy-free coatings:
– Kinako and coconut are typically dairy-free; verify flavor mixes if using pre-sweetened products.
Seasonal ideas for toppings and presentation
– Winter: dust with extra kinako and serve warm (microwave or steam briefly).
– Spring: pair matcha with fruit filling and finish with shredded coconut for a lighter mouthfeel.
– Summer: serve chilled—custard mochi becomes creamy and aromatic after a short fridge rest.
– Holiday styling: add seasonal sprinkles after coating; keep sweetness moderate so the mochi chew remains the star.
Soft, chewy mochi balls are achievable with the right dough consistency, careful shaping, and a quick coating step. Follow this mochi recipe once to lock in the method—then adjust sweetness, fill styles, and coatings to match your taste. Make a batch today, test one variation, and refine your favorite combination with each repeat.
References
- Mochi
https://en.wikipedia.org/wiki/Mochi - Daifuku
https://en.wikipedia.org/wiki/Daifuku - Mochi | Definition, Facts, Japan, New Year, & Rice Cakes | Britannica
https://www.britannica.com/topic/mochi - Google Scholar Google Scholar
https://scholar.google.com/scholar?q=mochi+recipe - Google Scholar Google Scholar
https://scholar.google.com/scholar?q=daifuku+mochi+recipe - Google Scholar Google Scholar
https://scholar.google.com/scholar?q=glutinous+rice+mochi+starch+gelatinization+study - https://pubmed.ncbi.nlm.nih.gov/?term=mochi
https://pubmed.ncbi.nlm.nih.gov/?term=mochi - mochi | Nature Search Results
https://www.nature.com/search?q=mochi - https://www.sciencedirect.com/search?qs=mochi%20rice%20cake
https://www.sciencedirect.com/search?qs=mochi%20rice%20cake - Glutinous rice
https://en.wikipedia.org/wiki/Glutinous_rice