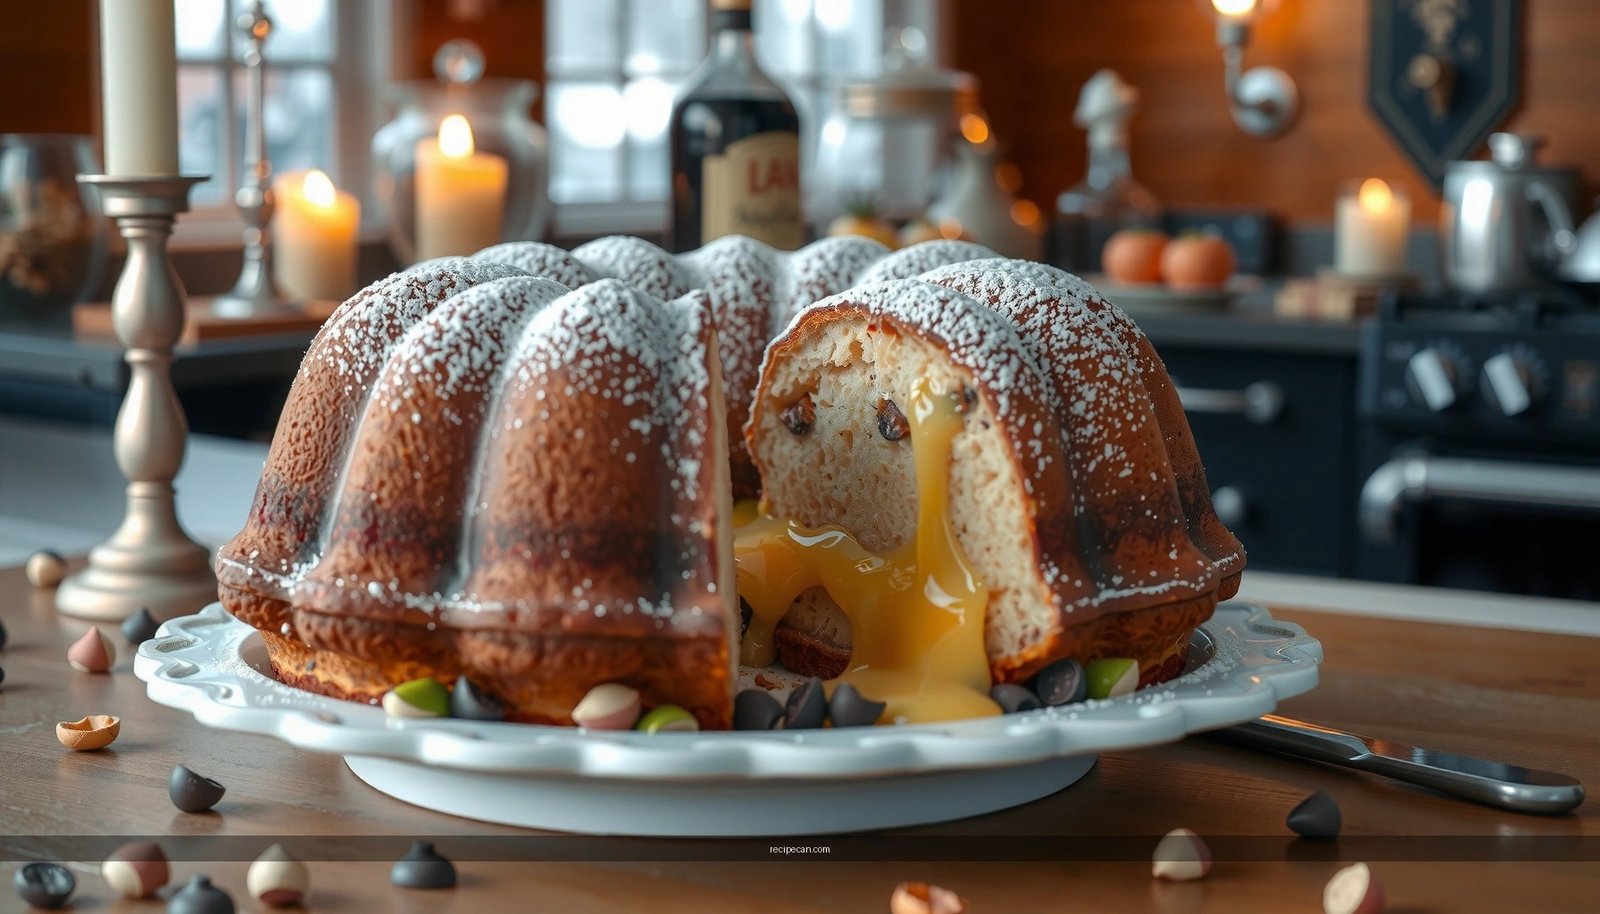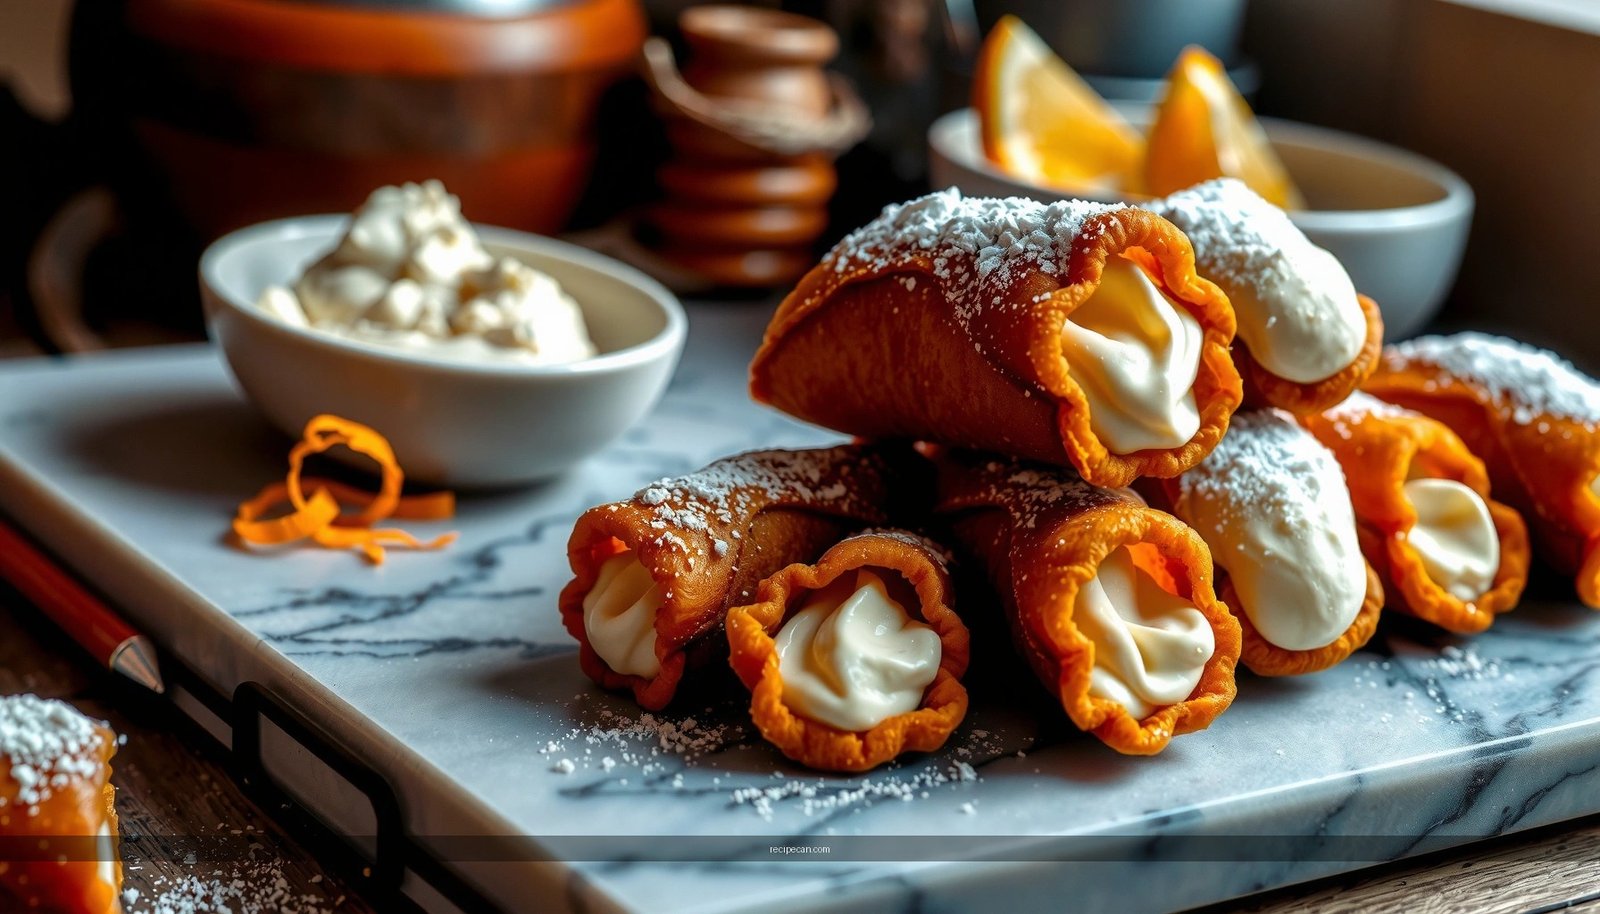
Get the best cannoli ricotta filling recipe for a consistently creamy, classic cannoli in every batch. This guide delivers a foolproof method to sweeten, drain, and flavor ricotta so it pipes thick, stays rich, and tastes unmistakably Italian. If you want the winner for homemade cannoli filling, start here and make it right.
This cannoli ricotta filling recipe delivers a smooth, creamy interior by draining ricotta properly and then mixing it just until silky—no overworking. You’ll get an authentic classic flavor profile by balancing powdered sugar, vanilla, and chocolate chips, then chilling briefly before piping into shells for maximum crispness.
Choose and Drain the Ricotta

The quality of your cannoli ricotta filling starts before mixing—ricotta moisture content is the difference between “restaurant-style” creaminess and a filling that weeps or turns gritty.
– Use high-quality whole milk ricotta for the best creamy consistency
Whole milk ricotta is typically smoother and richer than part-skim versions, which helps you achieve a filling that feels cohesive and luxurious rather than light and watery.
– Drain ricotta (or press it) to prevent a watery filling
Even premium ricotta can hold significant whey. If you skip draining, sugar will draw out more moisture over time, making the filling loose and causing shell sogginess.
Practical methods:
– Fine-mesh strainer: Transfer ricotta to a strainer set over a bowl and refrigerate 30–60 minutes.
– Cheesecloth/clean towel press: Wrap ricotta and gently press; chill while draining.
– Time target: Plan on draining until the ricotta is noticeably thick and scoopable, not damp or pourable.
– Aim for a thick, scoopable texture before mixing
Before you add sugar, the ricotta should be thick enough that it holds shape when stirred. This baseline texture reduces the temptation to “fix” later with extra flour, cornstarch, or additives (which can mask flavor and alter mouthfeel).
Typical Ricotta Moisture Reduction for Cannoli-Ready Texture
| # | Ricotta Type | Initial Drain Time | Moisture Drop | Filling Outcome |
|---|---|---|---|---|
| 1 | Whole milk ricotta (tub) | 45 min | 10–15% | ★★★★★ |
| 2 | Part-skim ricotta | 60 min | 12–18% | ★★★★☆ |
| 3 | Fresh homemade-style ricotta | 30 min | 8–12% | ★★★★★ |
| 4 | Ricotta in whey-heavy tubs | 75–90 min | 15–22% | ★★★★☆ |
| 5 | Store ricotta (opened, refrigerated) | 45–60 min | 9–14% | ★★★☆☆ |
| 6 | Ricotta that looks dry but sits in liquid | 60 min | 11–16% | ★★★★★ |
| 7 | Ricotta left undrained | 0 min | 0–5% | ★☆☆☆☆ |
Mix the Sweet, Vanilla, and Flavor Base
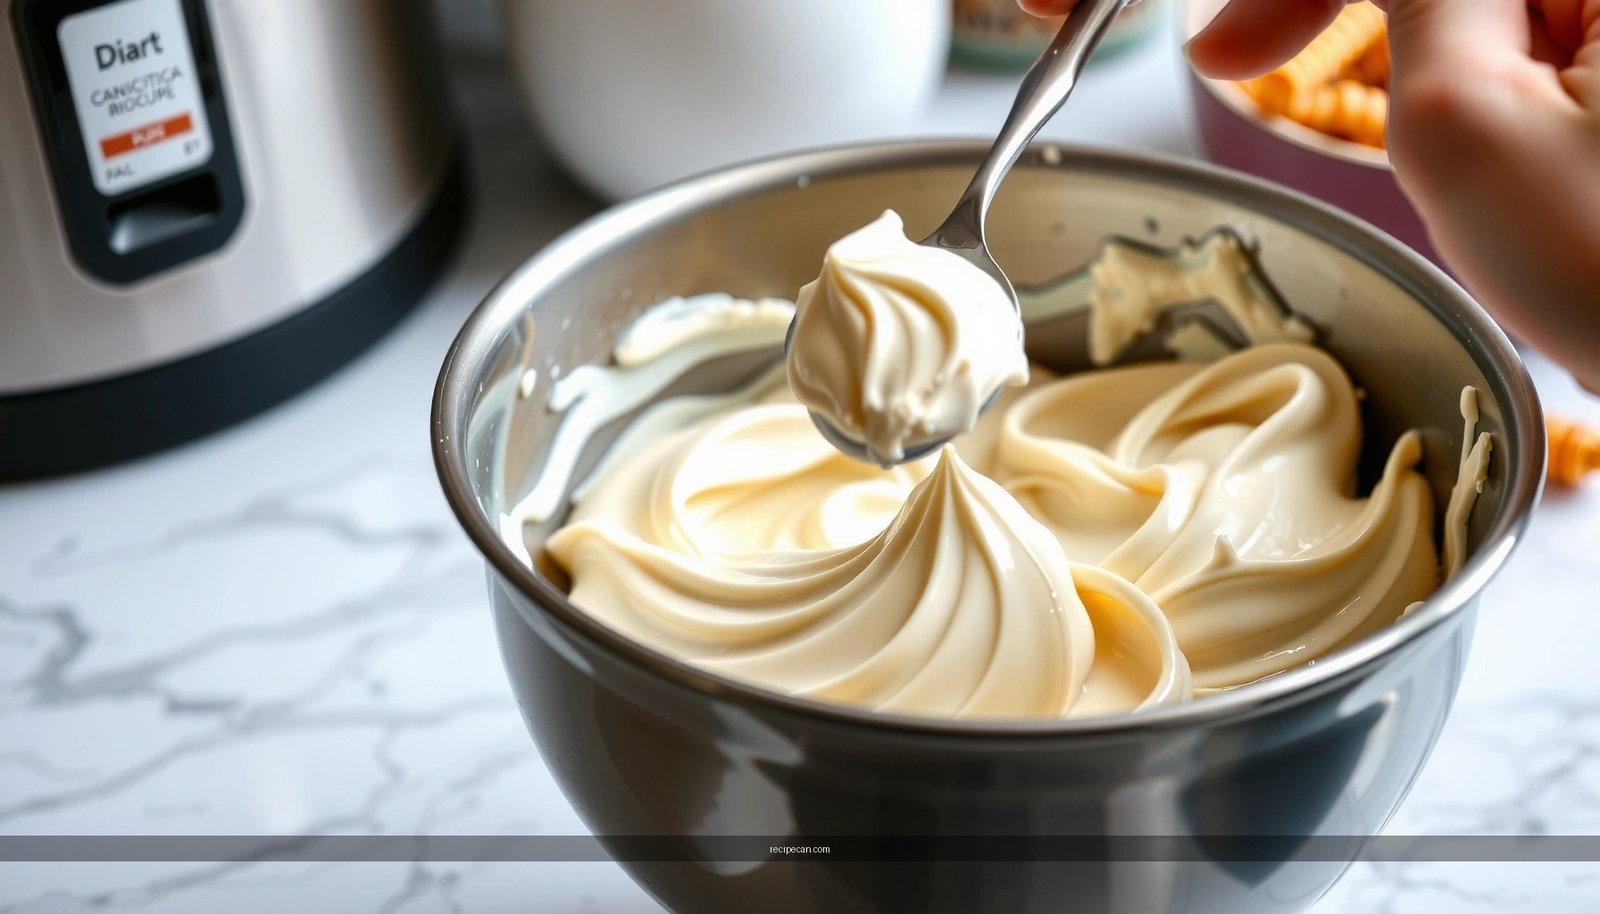
Once your ricotta is drained, the mixing phase is where you preserve smoothness and keep the filling airy. The goal is a uniform, glossy cream—not whipped or overworked.
– Whisk ricotta with powdered sugar until smooth
Use powdered sugar instead of granulated: it dissolves faster and yields a finer texture that aligns with authentic cannoli filling. Start slowly, and mix until there are no visible sugar pockets.
– Add vanilla extract for classic cannoli flavor
Vanilla rounds out the sweetness without competing with the chocolate chips. A teaspoon is typically enough for a classic profile; add less if your chocolate is already bold and sweet.
– Optional: fold in a pinch of salt or citrus zest for extra balance
A tiny pinch of salt can sharpen sweetness and reduce “flat” dairy flavor. Citrus zest (orange or lemon) is especially common in traditional Italian-American cannoli variations—use restraint so it complements, rather than dominates, the ricotta.
Practical flavor control note
If you plan to serve guests at different times, keep the flavor base slightly conservative. Chocolate chips and chill time tend to deepen perceived sweetness, so starting balanced prevents cloying later.
Add Traditional Mix-Ins
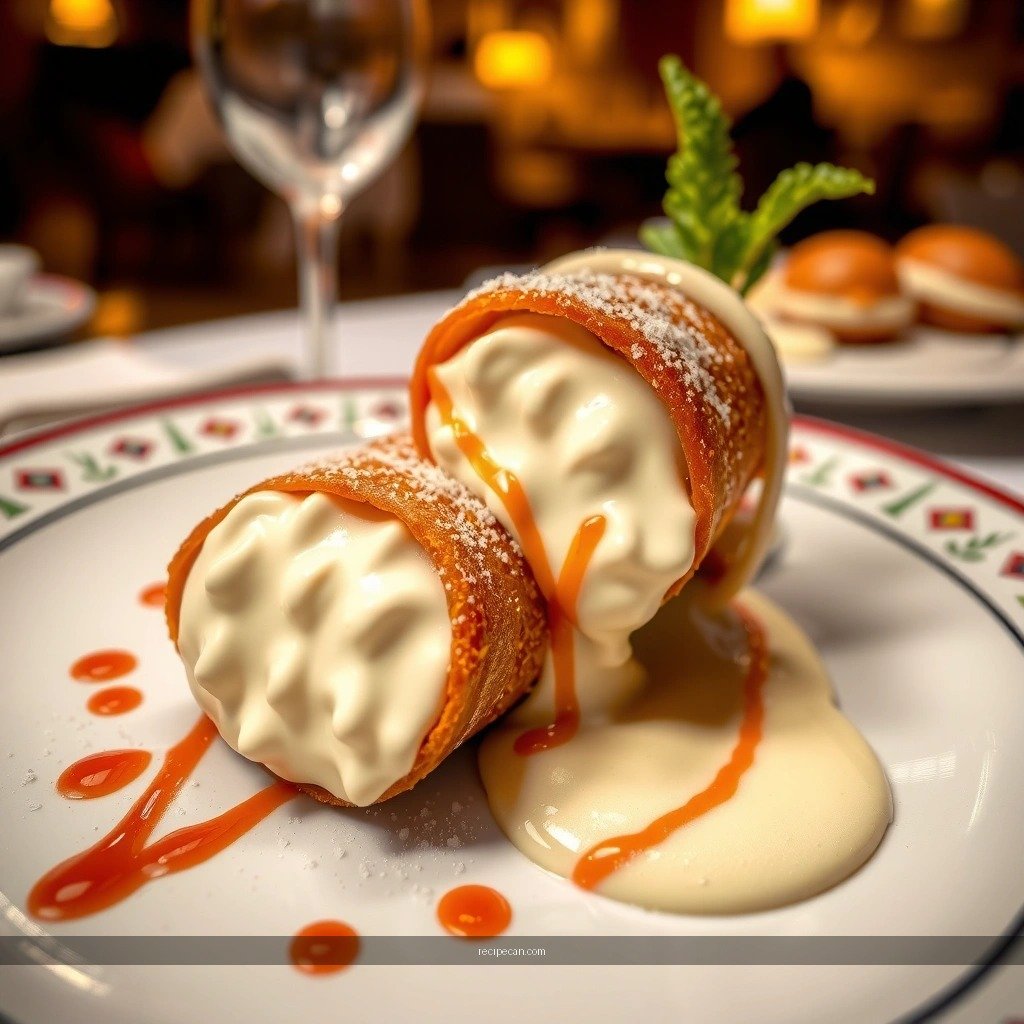
The signature cannoli “bite” comes from the mix-ins—especially chocolate chips—distributed evenly through the ricotta cream.
– Stir in mini chocolate chips for the signature cannoli bite
Mini chips distribute more uniformly and create a consistent chocolate presence in each forkful. If you use larger chips, the filling can feel uneven when piped.
– Add chopped candied fruit if you prefer a classic variation
Candied fruit brings sweetness and color, commonly seen in traditional cannoli recipes. Chop finely so it blends into the cream rather than creating “chunks” that can tear shells or make piping harder.
– Mix gently to keep the filling light and creamy
After the base is smooth, switch from aggressive mixing to gentle folding. Overmixing at this stage can loosen the emulsion and contribute to a grainier mouthfeel once chilled.
Texture Tips for a Perfect Filling
Texture is where many homemade cannoli fall short. The fix is less about adding ingredients and more about controlling process and temperature.
– Stop mixing once combined to avoid making it grainy
Overworking ricotta—especially with high-speed whisking—can lead to a sandy texture. Mix just until ingredients disappear and the mixture looks cohesive.
– Chill the filling briefly to improve thickness and flavor
A short refrigeration period helps the sugar fully dissolve and the fat structure firm up for better piping. Aim for 30–60 minutes before filling shells, unless your ricotta is extremely soft.
– If needed, adjust with a little sugar or ricotta to perfect consistency
Use small adjustments:
– If it’s too loose, chill longer or re-drain briefly.
– If it’s too thick, fold in a teaspoon or two of well-drained ricotta or a very small amount of cream—go incrementally.
– If flavor tastes flat, add a touch more vanilla or salt rather than dramatically increasing sugar.
Quick “texture diagnosis”
– Too wet: ricotta wasn’t drained enough → drain/press next time; chill won’t fully solve it.
– Too stiff: over-chilled or slightly under-mixed → let sit at cool room temp for 10–15 minutes and fold gently.
– Grainy: overmixed or ricotta not smooth → stop earlier and consider passing ricotta through a sieve.
How to Fill Cannoli Shells
Filling technique directly affects how crisp your shells remain and how professionally the cannoli looks.
– Fill shells right before serving to keep them crisp
Cannoli shells are designed to be crisp but soften when exposed to moisture. Piping closer to serving protects texture and presentation.
– Use a piping bag (or zip bag with a corner snip) for clean filling
A piping bag gives consistent portions and minimizes mess. If using a zip bag, force out air, seal well, and cut a small corner for controlled flow.
– Pipe, then gently twist/rotate to distribute evenly
As you pipe, slightly rotate the shell to encourage filling to reach the ends. This prevents “empty corners” and ensures every bite includes chocolate and vanilla-ricotta cream.
Portioning guidance
For even cannoli, use a consistent fill amount per shell (commonly enough to create a slight fullness at the ends). Consistency improves perceived quality, especially for events.
Make Ahead and Storage
Cannoli filling can be prepared in advance, but assembly timing matters to maintain classic contrast between shell crunch and creamy center.
– Store covered in the refrigerator for best freshness
Keep the filling in an airtight container to prevent odor absorption and to reduce moisture loss. Label the container with the make date if you’re preparing for a gathering.
– Expect the texture to firm up after chilling
This is normal. Sugar dissolves and the ricotta sets slightly in cold temperatures, making the filling easier to pipe.
– For best results, assemble shortly before serving
If you’re serving later the same day, you can pipe shells close to the serving window while keeping the filling chilled.
Food-safety note (practical)
Ricotta fillings should be treated as perishable dairy: refrigerate promptly, keep covered, and discard if left at unsafe temperatures. For events, hold cannoli assembled only for short periods to preserve quality.
Conclusion
A truly classic cannoli ricotta filling depends on one critical workflow: drain the ricotta thoroughly, mix until smooth without overworking, then chill briefly and fill shells right before serving. By balancing powdered sugar, vanilla, mini chocolate chips, and optional citrus or salt, you’ll achieve the creamy, authentic texture that makes cannoli unforgettable—then your shells stay crisp long enough for every bite to land at peak flavor.
Frequently Asked Questions
What is the best cannoli ricotta filling recipe for a classic Sicilian taste?
A classic cannoli ricotta filling typically uses drained ricotta, powdered sugar, mini chocolate chips, and vanilla, sometimes with cinnamon for a traditional touch. For the most authentic flavor and texture, use fresh whole-milk ricotta and sweeten lightly so the ricotta remains the star. Fold in chocolate only at the end to keep the filling creamy and well-distributed.
How do I make cannoli ricotta filling thick and not runny?
The key to thick cannoli ricotta filling is properly draining ricotta before mixing. Press ricotta in a fine sieve or cheesecloth for several hours (or overnight in the refrigerator) to remove excess whey, then whip it until smooth. If it still seems loose, add a little more powdered sugar and let the mixture rest 15–30 minutes so it thickens.
Why is my cannoli ricotta filling grainy, and how can I fix it?
Grainy cannoli ricotta filling usually happens when ricotta is not fully smooth or isn’t drained well enough. Try passing the ricotta through a fine-mesh sieve before mixing, then whip it thoroughly until creamy. Also ensure you’re using high-quality ricotta and avoid overmixing with watery add-ins like fresh citrus juice.
Which cheeses and ingredients work best for cannoli ricotta filling?
For the best cannoli ricotta filling, use high-fat ricotta made for eating (not watery “cooking” ricotta) since it contributes to a creamy texture. Common ingredients include powdered sugar, vanilla extract, optional orange zest or cinnamon, and mini chocolate chips, plus a pinch of salt to balance sweetness. If you want a richer filling, some recipes add a small amount of mascarpone or cream cheese, but keep it modest so the flavor stays authentically ricotta-forward.
How long can I store cannoli ricotta filling, and should I fill the shells right before serving?
Cannoli ricotta filling can usually be stored in an airtight container in the refrigerator for up to 24 hours, since it tastes best when freshly mixed and slightly chilled. It’s best to fill cannoli shells right before serving because the shells can soften as they sit with the ricotta filling. If you need to prep ahead, keep the filling and shells separate and assemble close to serving time for the crispest bite.
References
- Google Scholar Google Scholar
https://scholar.google.com/scholar?q=cannoli+ricotta+filling+recipe - Google Scholar Google Scholar
https://scholar.google.com/scholar?q=traditional+cannoli+ricotta+filling+ingredients+sugar+orange+zest - Google Scholar Google Scholar
https://scholar.google.com/scholar?q=ricotta+cheese+preparation+for+cannoli+filling - Cannoli
https://en.wikipedia.org/wiki/Cannoli - Ricotta
https://en.wikipedia.org/wiki/Ricotta - https://www.britannica.com/topic/cannoli
https://www.britannica.com/topic/cannoli - Ricotta | Cheese, Whey, & Production | Britannica
https://www.britannica.com/topic/ricotta - Powdered sugar
https://en.wikipedia.org/wiki/Confectioners%27_sugar - Orange flower water
https://en.wikipedia.org/wiki/Orange_blossom_water - Candied fruit
https://en.wikipedia.org/wiki/Candied_fruit