Looking for a butterfinger balls recipe that’s truly easy and requires zero baking? This guide gives you no-bake Butterfinger candy bites with the right creamy mix, quick rolling, and set-time tips so they come out consistently. If you want a fast, crowd-pleasing sweet that holds its shape, this is the winner recipe.
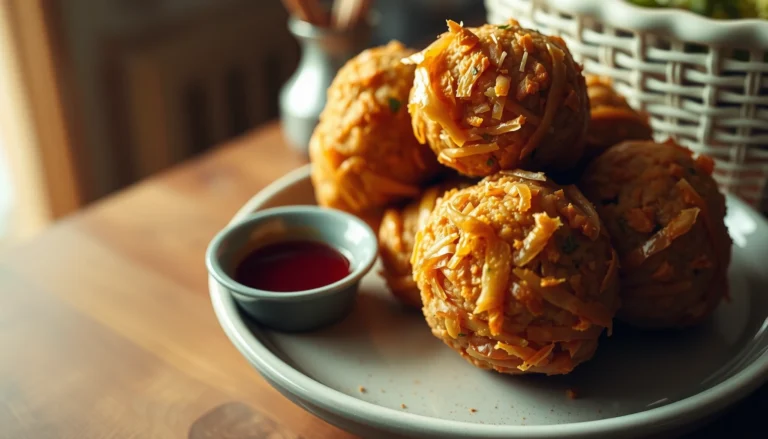
Make rich, crunchy Butterfinger balls quickly by mixing crushed Butterfinger bars with a creamy binder (peanut butter or frosting), rolling into bite-size bites, then dipping or topping with chocolate for a classic finish. This step-by-step recipe helps you nail the right consistency, texture, and sweetness—without complicated baking or special equipment.
Make these candy bites when you want the iconic Butterfinger flavor in a form that’s easy to portion, package, and serve. The “secret” isn’t any single ingredient—it’s the balance between crunchy candy pieces and a binding base that holds shape at room temperature and firms up when chilled.
—
Ingredients You’ll Need for Butterfinger Balls

– Crushed Butterfinger candy bars for the classic flavor
– A binding ingredient (peanut butter or frosting) to help them hold together
To keep your Butterfinger balls consistent from batch to batch, start with the right ratios and ingredient behavior. Crushed Butterfinger brings crunch, caramelized sweetness, and that recognizable peanut-buttery note. The binder determines texture: peanut butter creates a denser, more peanut-forward bite, while frosting makes the mixture sweeter, softer, and easier to scoop.
Core ingredient guidance (what each component does):
– Butterfinger candy bars (crushed): The star of the recipe. Crushing size matters—fine crumbs yield smoother filling; larger bits preserve extra crunch.
– Peanut butter (creamy recommended): Acts as both binder and flavor amplifier. It also helps the balls slice cleanly (when chilled) because it sets firm.
– Frosting (vanilla or chocolate, depending on preference): Sweetens and softens. This option is ideal if you want candy-like softness and a very forgiving rolling texture.
– Chocolate for coating (optional but recommended): Adds a professional candy shell. It also helps seal in moisture so your balls keep their integrity longer.
– Sprinkles or crushed topping (optional): Adds visual appeal and extra crunch right at first bite.
—
Binder Choice for Butterfinger Balls: Texture & Performance
| # | Binder Type | Typical Feel (Chilled) | Best For | Batch Reliability |
|---|---|---|---|---|
| 1 | Creamy Peanut Butter | Dense & sliceable | Dipped + gift-ready | ★★★★☆ |
| 2 | Chocolate Frosting | Soft & candy-like | No-dip snacking | ★★★☆★ |
| 3 | Vanilla Frosting | Light, sweet set | Bright flavor profiles | ★★★☆★ |
| 4 | Natural Peanut Butter | Firm but slightly crumbly | Extra peanut depth | ★★☆★★ |
| 5 | Reduced-Fat Peanut Butter | Softer set, less cohesive | Quick batches, hot kitchens | ★★☆★★ |
| 6 | Peanut Butter + Frosting Mix | Balanced sweetness + structure | Dipped for events | ★★★★☆ |
| 7 | Shortening (for firm coating support) | Works for shaping support | Optional texture adjustment | ★★★☆☆ |
—
How to Make the Butterfinger Ball Mixture

– Combine crushed Butterfinger with the binding ingredient until thick and scoopable
– Chill briefly if needed so the mixture is easier to roll
This is where “no-bake” turns into “repeatable.” The goal is a mixture that holds together without feeling wet or sticky—thick enough to scoop and roll, but not so dry that it crumbles.
Step-by-step mixing method (consistency first):
1. Crush the Butterfinger bars: Place bars in a zip-top bag and crush with a rolling pin. Aim for a mix of fine crumbs and small granules. If you crush into dust, you’ll lose crunch.
2. Add binder gradually: Start with peanut butter or frosting and mix until the crumbs look saturated and the mixture thickens.
3. Check the texture:
– If it’s too loose (balls flatten, mixture smears), add more binder by the teaspoon.
– If it’s too dry (crumbly, won’t hold when pressed), add binder a little at a time—especially important with frosting, which can be thicker than expected.
4. Rest/chill for 10–20 minutes if needed: Cooler mixture is easier to roll and holds shape better—particularly if your kitchen is warm.
Why chilling helps (the practical science):
Most binders behave like emulsions—peanut butter softens when warm and firms when cool. Chilling encourages fat crystallization and gives the mixture enough structure so you don’t overwork it. That reduces smearing and improves the final bite.
Pro approach for operational consistency:
If you’re making these for a party or as part of an ongoing sweets program, portion the mixture immediately after mixing (using a cookie scoop) and chill those portions. This prevents uneven hydration and creates consistent ball size.
—
Rolling and Shaping Perfect Butterfinger Balls

– Scoop and roll into even bite-size balls
– Place on a lined tray to prevent sticking
Shaping is where presentation meets efficiency. Bite size affects perceived sweetness, portion control, and even coating performance.
Best practices for rolling:
1. Use a scoop for uniformity: A small cookie scoop helps create consistent balls, which roll smoothly and coat evenly.
2. Work quickly: If the mixture warms, it can turn sticky. Rolling in short bursts keeps friction low.
3. Roll with light pressure: Press just enough to form a sphere. Over-rolling can compact the crumb too much and reduce that “Butterfinger crunch” feel.
4. Line the tray: Use parchment paper or a silicone mat. This prevents drag and keeps surfaces clean for dipping.
Optional size targets (for planning):
– Smaller balls (about 1 tablespoon each): more pieces per batch, great for mixing trays and events.
– Larger balls (about 2 tablespoons each): more substantial bites, better for gift boxes.
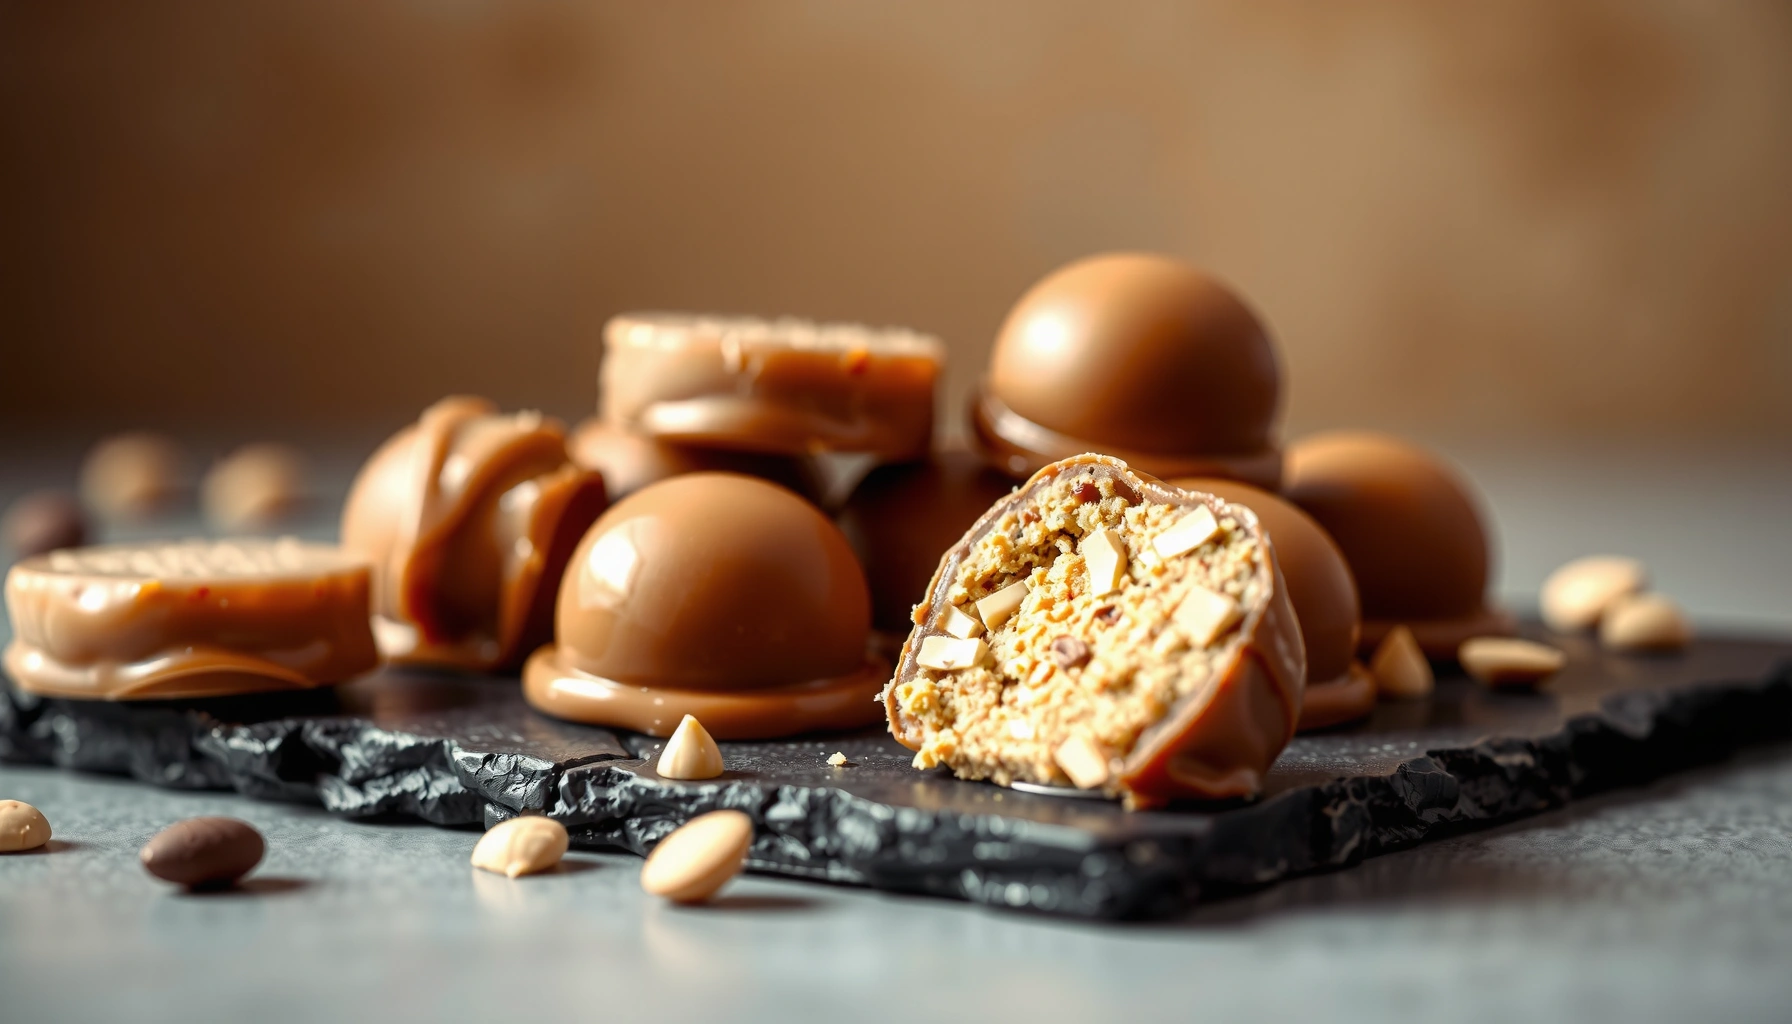
Quality checkpoint:
A properly rolled Butterfinger ball should feel cohesive at first touch. When you lift one, it shouldn’t split or crumble at the edges.
—
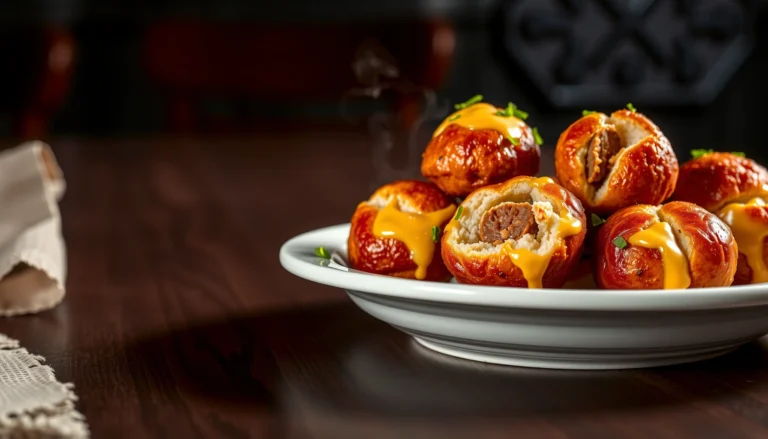
Coating Options for a Classic Finish

– Dip in melted chocolate for a smooth, candy-like shell
– Add sprinkles or crushed topping while the coating is still wet
Coating is optional, but it’s usually what turns a homemade snack into a candy-boutique product. Chocolate also acts like a barrier, slowing staleness and giving your Butterfinger balls a satisfying exterior snap.
Chocolate dipping (classic approach):
1. Melt chocolate carefully: Use microwave bursts or a double boiler. Stir until smooth and glossy.
2. Dip and lift: Hold each ball with a fork or dipping tool, submerge, then twist gently to remove excess.
3. Tap off the drip: Tap lightly so the chocolate doesn’t pool at the base.
4. Set on parchment: Leave space between balls so coatings don’t smear.
Add toppings immediately:
Sprinkles, crushed Butterfinger pieces, or even chopped peanuts should go on before the chocolate sets. This creates “textural layering”—crunch on crunch.
Topping ideas that pair well with Butterfinger flavor:
– Crushed Butterfinger crumbs for extra authenticity
– Chopped roasted peanuts for a more “peanut brittle” profile
– Flaky sea salt in micro-doses to enhance the caramel notes
– Drizzled contrasting chocolate (white chocolate) for visual appeal
Flavor balance note:
If you’re using frosting as the binder, the filling is already sweet—so keep toppings simple, and let chocolate carry the richness.
—
Coating Results by Chocolate Choice
| # | Chocolate Type | Snap After Chilling | Best Use | Overall Result |
|---|---|---|---|---|
| 1 | Semi-Sweet Chocolate Chips | Firm, crisp | Traditional dipping | ★★★★☆ |
| 2 | Milk Chocolate Bars | Creamy snap | Sweet-forward batches | ★★★★☆ |
| 3 | Dark Chocolate (60–70%) | Sharper snap | Salt + peanut toppings | ★★★☆☆ |
| 4 | White Chocolate | Soft set (needs chilling) | Drizzles + contrast | ★★☆☆☆ |
| 5 | Candy Melts (couverture-style) | Smooth, quick set | Fast decorating | ★★★☆☆ |
—
Chilling, Serving, and Storage Tips
– Chill until firm for clean handling and best texture
– Store in an airtight container in the fridge (or freeze for longer)
Chilling isn’t just about making them set—it’s about locking in texture. Butterfinger balls taste best when the interior is firm enough to resist collapse and the exterior (if dipped) feels set and snappy.
Chill targets:
– Minimum: 20–30 minutes in the fridge (especially after coating).
– For the cleanest bite: 45–60 minutes helps moisture settle and improves structural stability.
Serving suggestions for maximum appeal:
– Serve at slightly cool room temperature (5–10 minutes out of the fridge). This lets chocolate soften just enough for a premium mouthfeel.
– Pair with coffee, cold milk, or a salty-sweet beverage to balance the caramel-peanut profile.
Storage best practices (so they stay “fresh”):
– Refrigerate: Place in an airtight container lined with parchment between layers.
– Avoid frequent warming: Repeated temperature changes can affect chocolate texture.
– Freeze for longer: Freeze in a single layer until firm, then transfer to a freezer-safe container or bag. Thaw in the refrigerator overnight for best structure.
Shelf-life perspective (practical, not theoretical):
– Freshly made and chilled: best within about 1 week in the fridge for top texture.
– Properly frozen: can keep for about 1–2 months, with quality best shortly after freezing.
—
After you mix, roll, and coat, these butterfinger balls come out rich, crunchy, and irresistible—without complicated steps. Make a batch today, try your favorite coating option, and share them (or save extras) for your next sweet craving.
If you’d like, tell me whether you prefer peanut butter or frosting as your binder—and whether you want chocolate dipping or no-dip—and I’ll tailor the texture guidance and topping choices to your exact taste.
References
- Butterfinger
https://en.wikipedia.org/wiki/Butterfinger - Chocolate truffle
https://en.wikipedia.org/wiki/Chocolate_truffle - Chocolate
https://en.wikipedia.org/wiki/Chocolate - Peanut butter
https://en.wikipedia.org/wiki/Peanut_butter - Confectionery
https://en.wikipedia.org/wiki/Confectionery - https://en.wikipedia.org/wiki/Peanut_allergy
https://en.wikipedia.org/wiki/Peanut_allergy - https://www.fda.gov/food/food-labeling-nutrition/food-allergens-and-sensitivities
https://www.fda.gov/food/food-labeling-nutrition/food-allergens-and-sensitivities - Google Scholar Google Scholar
https://scholar.google.com/scholar?q=butterfinger+balls+recipe - Google Scholar Google Scholar
https://scholar.google.com/scholar?q=chocolate+truffles+peanut+butter+recipe - Google Scholar Google Scholar
https://scholar.google.com/scholar?q=peanut+butter+confectionery+ingredients+science