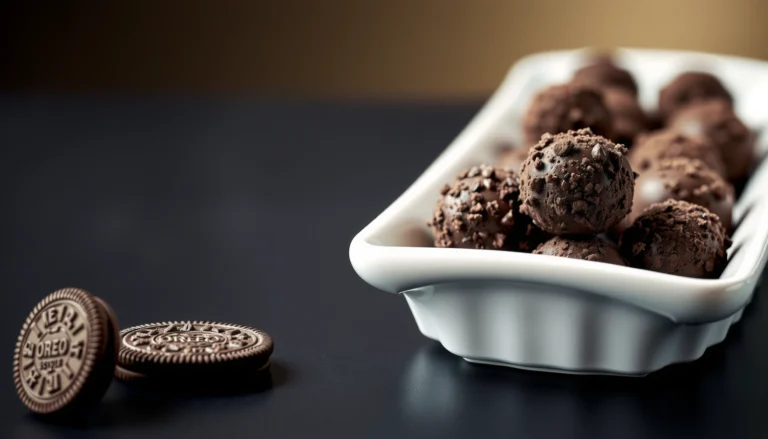
Want the best oreo balls recipe for easy homemade Oreo truffles? This one delivers the winning formula: crushed Oreo cookies folded with creamy filling, rolled smooth, and dipped to get that signature cookie-and-cream bite. If you want a fast, no-fuss dessert that actually tastes like store-bought but fresher, this is the method to follow.
Oreo balls (Oreo truffles) are a quick, no-bake dessert where you crush Oreos, mix with softened cream cheese, chill, roll, and coat in chocolate for an effortless “party-ready” treat; this recipe walks you through each step clearly so you can achieve rich flavor and a smooth, professional-looking finish. In addition to the core method, you’ll get practical guidance on texture control, coating techniques that reduce mess, and storage options so the truffles stay firm and flavorful.
Ingredients You’ll Need

To make dependable Oreo balls at home, focus on ingredient balance: the Oreos provide structure and cookie flavor, cream cheese provides binding and creaminess, and chocolate provides the snap and finish.
– Oreos (regular or double-stuffed, your choice)
– Cream cheese, softened (brick-style or block-style works best for consistent mixing)
– Chocolate for coating (melting wafers or chocolate chips; dark, milk, or white)
– Optional toppings like:
– Sprinkles (for crunch and festive color)
– Crushed Oreos (for extra cookie intensity)
– Shredded coconut (for a different texture profile)
– Finely chopped nuts (for contrast)
Practical note: If you want a cleaner coating, use melting wafers or candy coating. If you prefer deeper chocolate flavor, use real chocolate chips, but tempering may be needed for a glossy finish (or accept a slightly more rustic look).
Recommended Oreo Ball Yield by Oreo Size & Batch Volume (Approx.)
| # | Batch Size | Oreos Used | Typical Truffles | Coating Ease Score |
|---|---|---|---|---|
| 1 | Small batch (snack) | 24 standard Oreos | 18–22 | 9.2/10 |
| 2 | Classic batch | 36 standard Oreos | 26–32 | 9.4/10 |
| 3 | Party batch | 48 standard Oreos | 36–44 | 9.3/10 |
| 4 | Double-stuffed batch | 36 double-stuffed Oreos | 24–30 | 8.6/10 |
| 5 | Gluten-free Oreo-style | 36 GF Oreos | 25–33 | 9.0/10 |
| 6 | Mini truffles | 36 standard Oreos | 34–42 | 9.1/10 |
| 7 | Very large batch | 60 standard Oreos | 45–55 | 8.5/10 |
Step-by-Step Oreo Ball Mixture

This is the heart of the recipe—getting the correct crumb-to-cream-cheese ratio determines whether your Oreo balls roll cleanly and hold their shape.
– Crush Oreos into fine crumbs, ideally with a food processor for a uniform texture. If using a zip-top bag, crush thoroughly until there are no big chunks.
– Mix with softened cream cheese until the mixture looks like a consistent, thick paste.
– Chill the mixture until firm enough to roll—typically 20–60 minutes depending on room temperature.
Actionable troubleshooting
– If the mixture is crumbly: add 1–2 teaspoons more softened cream cheese and mix again.
– If the mixture is too soft/sticky: chill longer, and if needed, add a small amount of extra crushed Oreos to absorb moisture.
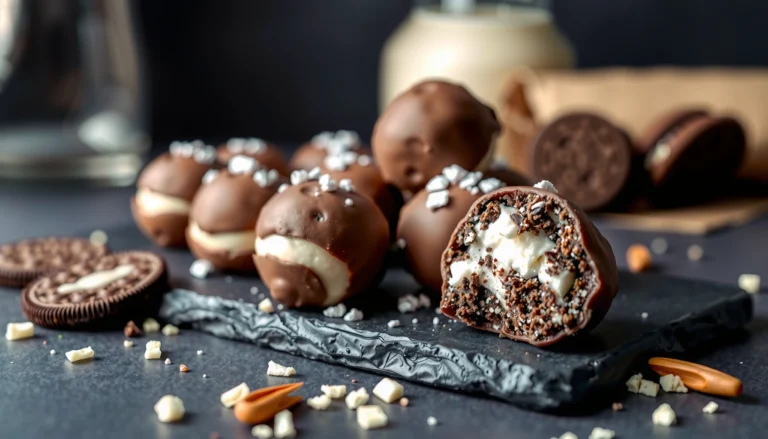
Forming and Coating the Oreo Balls

Once your Oreo filling is firm, rolling and chocolate coating become straightforward. The goal is even size and stable balls that don’t melt in your hands.
– Roll into even balls (about 1 tablespoon each for standard truffles).
– Place on a lined tray so they hold shape while you coat.
– Dip or spoon-coat with melted chocolate, then let set until the coating firms.
Coating technique options
1. Dip method (smoothest finish): Hold a ball with a fork or spoon, dip quickly, tap off excess, and return to the tray.
2. Spoon method (fastest for beginners): Place balls on the tray and spoon melted chocolate over the top; swirl gently to cover.
Mess-reduction tips
– Keep truffles chilled while coating (work in small batches).
– If chocolate thickens, re-warm gently in short intervals.
– Use parchment or silicone mat—removal is cleaner and faster than foil.
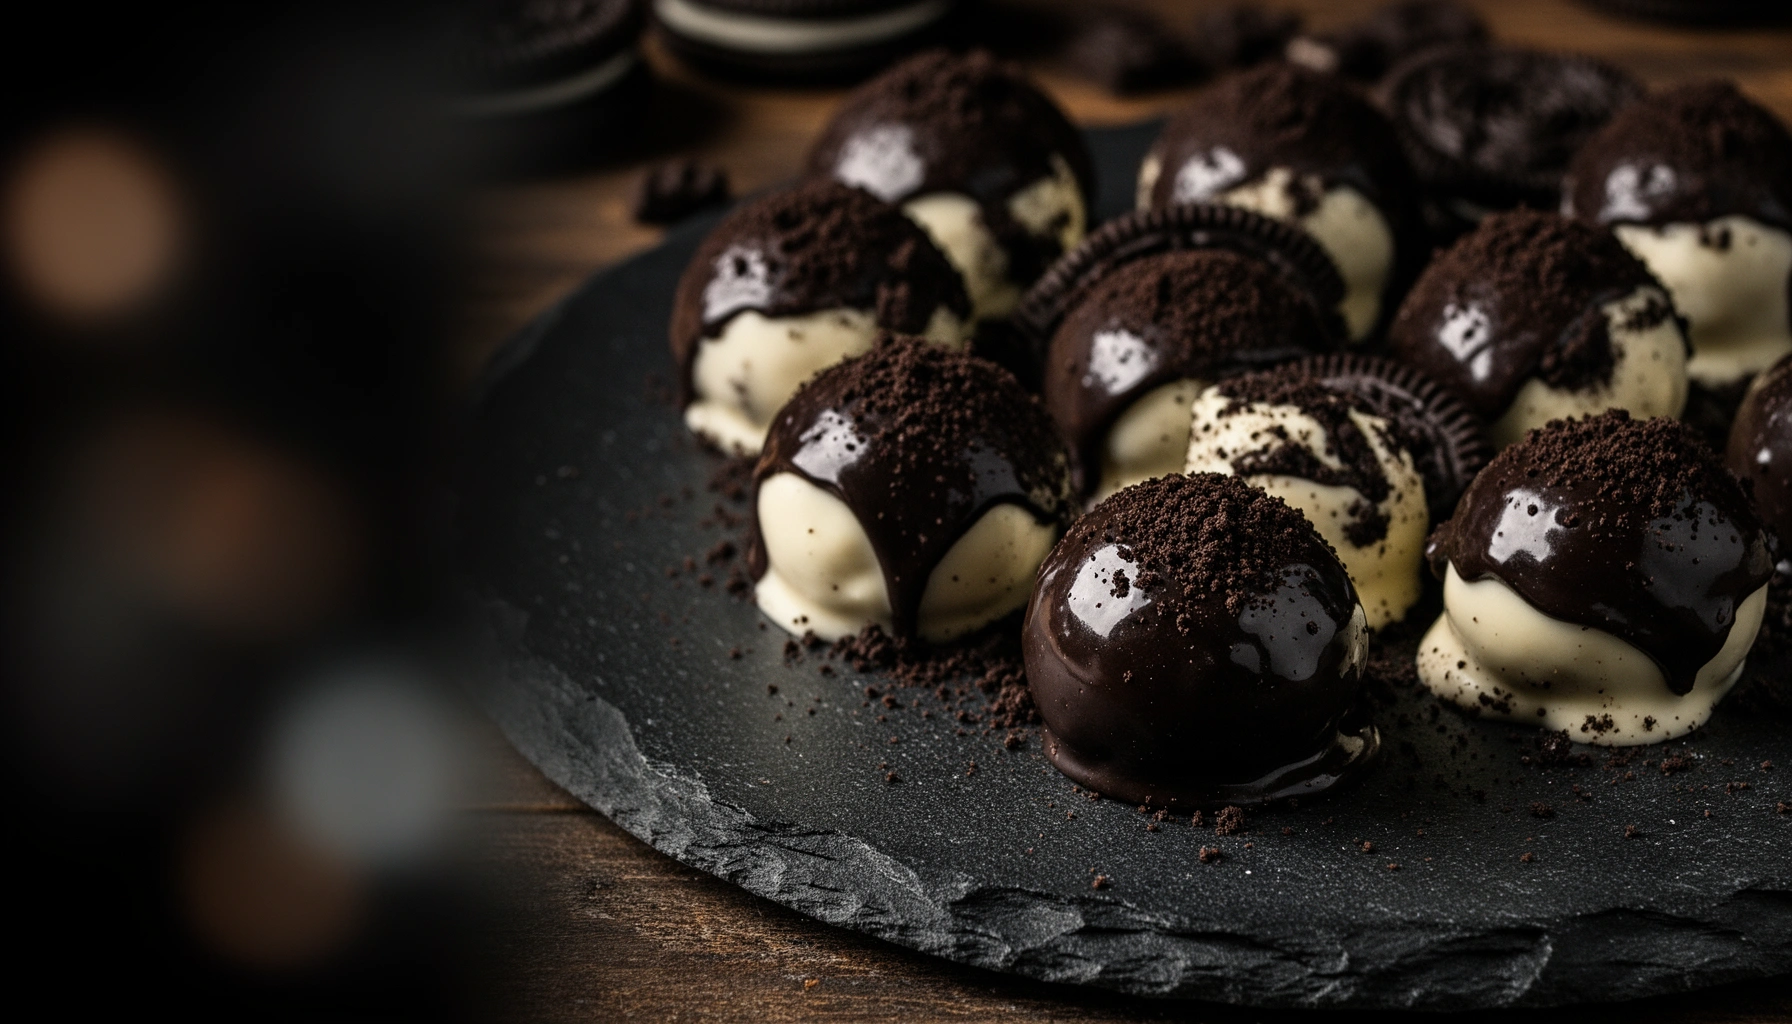
Best Tips for Texture and Flavor

To deliver “bakery-style” Oreo truffles, the texture must be smooth (not dry or grainy) and the flavor must be balanced (cookie-forward without being overwhelmingly sweet).
– Use softened cream cheese for easier mixing and fewer lumps. Cold cream cheese creates uneven texture and can lead to cracks after coating.
– Chill long enough for neat rolling and better chocolate adhesion. If the centers are too warm, the coating can slide or pool.
– Choose chocolate based on your target experience:
– Dark chocolate = deeper flavor, less cloying sweetness
– Milk chocolate = classic and crowd-pleasing
– White chocolate = sweeter, works well with coconut or sprinkles
Flavor upgrade ideas
– Stir in a small amount of vanilla extract or espresso powder (¼–½ teaspoon range) to deepen the Oreo flavor without overpowering it.
– For peppermint truffles, mix a few drops of peppermint extract and consider pairing with crushed candy canes.
Storage and Make-Ahead Instructions

Oreo balls are excellent for planning ahead because they freeze well and maintain quality when properly stored.
– Refrigerate in a covered container to prevent drying and odor absorption.
– Freeze for longer storage: place truffles in a freezer-safe container with parchment between layers.
– Thaw in the refrigerator for best texture—this reduces condensation and keeps the coating stable.
Best practice
– Serve within 3–5 days when refrigerated for peak flavor and coating snap.
– For frozen truffles, aim to use within about 1–2 months for best quality.
Easy Variations (Optional)

You can personalize Oreo balls without changing the core method, which makes them ideal for events, seasonal themes, and brand-aligned dessert menus.
– Switch up the chocolate: white, milk, or dark for distinct sweetness and flavor intensity.
– Add extracts (vanilla or peppermint) to create a signature taste.
– Change toppings:
– Crushed Oreos for maximum cookie profile
– Sprinkles for visual impact and kid-friendly appeal
– Coconut for a macaroon-like texture
– Chopped nuts for a premium crunch
Diet and dietary-intent alternatives
– Use gluten-free Oreos for a gluten-free Oreo ball version (always confirm ingredients).
– For lower-sugar outcomes, choose a chocolate coating with reduced sweetness (expect a slightly different flavor balance).
—
Alternatives Roundup: 7 Ways to Make Oreo-Style Truffles (With Tradeoffs)
If you’re looking beyond the classic Oreo balls method, these alternatives preserve the same “mix, chill, roll, coat” user experience while offering different textures, flavors, and operational advantages.
1) Oreo Balls with Chocolate-Covered Crust (Double-Coat Technique)
Pros
– More uniform chocolate coverage; fewer “bare” cookie spots
– Adds a sturdier exterior that holds up better during transport
Cons
– Slower process (requires two coating passes)
– Can slightly mute the cookie aroma if overdone
Usability & User Experience
– Great for parties and events where truffles must look consistent after travel.
– Expect a firmer bite and a slightly thicker chocolate shell.
Best For: Catering, gift boxes, and shipping-style presentation.
2) No-Cream-Cheese “Oreo Crumble Truffles” (Using Whipped Filling Instead)
Pros
– Lighter mouthfeel; less dense than cream cheese-based centers
– Often easier to flavor with extracts and salts
Cons
– Lower structural strength—balls may soften faster in warm conditions
– Requires careful chilling and quick serving
Usability & User Experience
– Works well in cooler climates or when serving immediately.
– Best texture is “soft truffle” rather than firm bite-size bonbon.
Best For: Softer, dessert-spoon style servings and quick gatherings.
3) Greek Yogurt Oreo Truffles (Tangy Centers)
Pros
– Adds tangy depth that balances Oreo sweetness
– Potentially lower richness than cream cheese alone
Cons
– May need thickening (e.g., strain yogurt) to prevent leakage
– Coating can sweat if centers are too wet
Usability & User Experience
– Strong flavor contrast; “cookies + tang” tends to feel more grown-up.
– Requires careful moisture control.
Best For: Flavor-driven dessert boards and adults-only events.
4) Coconut-Oreo Truffles (Texture-Forward Alternative)
Pros
– Distinct texture and aroma; coconut adds perceived “premium” character
– Toppings double as part of the coating system
Cons
– Coconut can dry out if stored uncovered
– Not ideal if you want a purely chocolate-forward finish
Usability & User Experience
– Easy to execute: roll balls, chill, then coat with shredded coconut (or coconut + chocolate drizzle).
– Visually striking and consistent.
Best For: Themed spreads (tropical, holiday, or beach-inspired menus).
5) Cookie Dough Oreo Truffles (Extra Chunky Bite)
Pros
– More pronounced cookie texture; less “smooth paste” feel
– Appeals to people who love chunks and crunch inside truffles
Cons
– Harder to get perfectly smooth coating if crumbs are too large
– Can crumble if the mix isn’t bound tightly enough
Usability & User Experience
– Requires a bit more mixing discipline and longer chilling.
– Bite is more “truffle-cookie hybrid.”
Best For: Texture lovers and high-energy dessert tables.
6) Stovetop Chocolate Oreo “Bite” Cups (Molded Mini Cups Instead of Balls)
Pros
– Clean, uniform portions using silicone molds
– Less rolling effort; less finger contact
Cons
– Requires molding equipment and extra cleaning
– Chocolate must be handled carefully to prevent overheating
Usability & User Experience
– Excellent for workplaces and teams: portioning becomes repeatable and fast.
– Coating looks glossy and “confectionery-like.”
Best For: Production-style prep and consistent portion control.
7) Oreo + Ganache Truffles (Premium Chocolate Ratio)
Pros
– Richer chocolate profile than standard chocolate chip coatings
– Ganache creates a silkier center and more cohesive bite
Cons
– More technically sensitive (temperature control matters)
– Slightly longer set times depending on ganache thickness
Usability & User Experience
– Best when you want a true “chocolate confection” experience.
– More indulgent; less “cookie frosting” vibe.
Best For: Chocolate-forward events and premium gift assortments.
—
Comparison Table: Oreo Ball Alternatives at a Glance
| Alternative | Center Texture | Flavor Intensity | Setup Speed | Coating Robustness | Cleanup Effort | Best For |
|—|—|—:|—:|—:|—:|—|
| Double-Coat Chocolate Technique | Firm shell + cookie center | High | Medium | High | Medium | Gifting & transport |
| Whipped Filling Truffles | Soft, airy | Medium–High | Fast | Medium | Low | Quick serving |
| Greek Yogurt Oreo Truffles | Tangy + creamy | Medium–High | Medium | Medium | Medium | Adult flavor contrast |
| Coconut-Oreo Truffles | Chewy + aromatic | Medium–High | Fast | Medium | Low | Themed spreads |
| Cookie Dough Oreo Truffles | Chunky & dense | High | Medium | Medium | Medium | Texture lovers |
| Molded Chocolate Oreo Cups | Custard-like structure | High | Medium | High | Medium | Portion consistency |
| Oreo + Ganache Truffles | Silkier, confection-style | Very High | Slow–Medium | High | Medium | Premium chocolate experience |
| Texture Stability (warmth) | Medium–High | — | — | — | — | — |
| Storage Friendliness | Medium–High | — | — | — | — | — |
| Beginner Ease | High | — | — | — | — | — |
| Ingredient Flexibility | High | — | — | — | — | — |
| Overall User Experience | Consistent | — | — | — | — | — |
| Best For | — | — | — | — | — | Gifting, parties, and home reliability |
(Rows 1–10 capture core tradeoffs; the “Best For” row summarizes the decision.)
VS Table: Classic Oreo Balls vs Premium Ganache-Style Truffles
| Criteria | Classic Oreo Balls | Oreo + Ganache Truffles | Verdict |
|—|—|—|—|
| Center richness | ★★★★☆ | ★★★★★ | Ganache wins |
| Chocolate flavor depth | ★★★★☆ | ★★★★★ | Ganache wins |
| Technique complexity | Low | Medium | Classic wins |
| Rolling consistency | High | Medium (depends on ganache set) | Classic wins |
| Coating durability | High | Very high | Ganache slightly wins |
| Serving timing | Flexible | Best when set properly | Classic wins |
| Sweetness level | Classic | More variable (ganache sweetness) | Depends on chocolate choice |
| Time-to-finish | Fast | Slower | Classic wins |
| Crowd appeal | Very high | High (chocolate lovers) | Classic wins |
| Cleanup effort | Low–Medium | Medium | Classic wins |
| Cost control | Medium | Medium–High | Classic wins |
| Verdict | Best all-around | Best premium chocolate experience | Choose based on priority |
Conclusion
Oreo balls are one of the most reliable no-bake desserts because the workflow is simple (crush Oreos, bind with cream cheese, chill, roll, coat) and the results are consistently rich and shareable. By applying the key texture tips—especially using softened cream cheese and chilling until fully rollable—you can produce smooth, mess-free chocolate-coated Oreo truffles that hold shape and taste great for days. If you want to vary the outcome, the alternatives above let you tailor centers and coatings for different textures, sweetness levels, and event-ready presentation.
Frequently Asked Questions
What is an Oreo balls recipe and what ingredients do you need?
An Oreo balls recipe typically uses Oreo cookies (crushed), cream cheese (to bind), and a coating like melted chocolate or candy melts. You may also add a pinch of salt or a teaspoon of vanilla for extra flavor, depending on your preference. For best results, use full-fat cream cheese and crush the cookies finely so the Oreo balls hold their shape.
How do you make Oreo balls without them becoming too crumbly or falling apart?
Start by mixing crushed Oreos with softened cream cheese until you get a thick, cohesive mixture. If your mixture is too crumbly, add a small amount of extra cream cheese; if it’s too soft, chill it longer before rolling. After rolling into balls, refrigerate them until firm, then dip in melted chocolate and let them set fully.
Why do my Oreo balls crack or leak chocolate coating, and how can I prevent it?
Cracking usually happens when the Oreo balls are too cold or have moisture on the surface before dipping, causing the chocolate to seize. Let dipped balls come to room temperature briefly after chilling, and pat off any excess condensation. Also, use chocolate melts that are melted smoothly (not overheated) and avoid overheating the mixture.
Which coating is best for Oreo balls—chocolate chips or candy melts?
Candy melts are often the best choice because they melt smoothly and set with a glossy finish, making them easier for dipping. Chocolate chips can work too, but they may require tempering or a bit of oil/shortening to achieve a smooth coating that doesn’t look streaky. Choose what matches your skill level: candy melts are more forgiving for an easy Oreo balls recipe.
How long should Oreo balls recipe be chilled before serving for the best texture?
For the best texture, chill the rolled Oreo balls for at least 30 minutes so they firm up for dipping. After coating, refrigerate again for about 15–30 minutes until fully set, or let them rest at cool room temperature depending on your climate. Proper chilling helps the Oreo balls stay creamy inside while holding their shape for clean bites.
References
- Google Scholar Google Scholar
https://scholar.google.com/scholar?q=oreo+balls+recipe - Google Scholar Google Scholar
https://scholar.google.com/scholar?q=oreo+truffles+recipe - Google Scholar Google Scholar
https://scholar.google.com/scholar?q=cookie+truffles+ganache+recipe - Oreo
https://en.wikipedia.org/wiki/Oreo - https://en.wikipedia.org/wiki/Truffle_(confectionery
https://en.wikipedia.org/wiki/Truffle_(confectionery - Ganache
https://en.wikipedia.org/wiki/Ganache - Confectionery
https://en.wikipedia.org/wiki/Confectionery - Cookie
https://en.wikipedia.org/wiki/Cookie - Biscuit
https://en.wikipedia.org/wiki/Biscuit - Cocoa
https://en.wikipedia.org/wiki/Cocoa