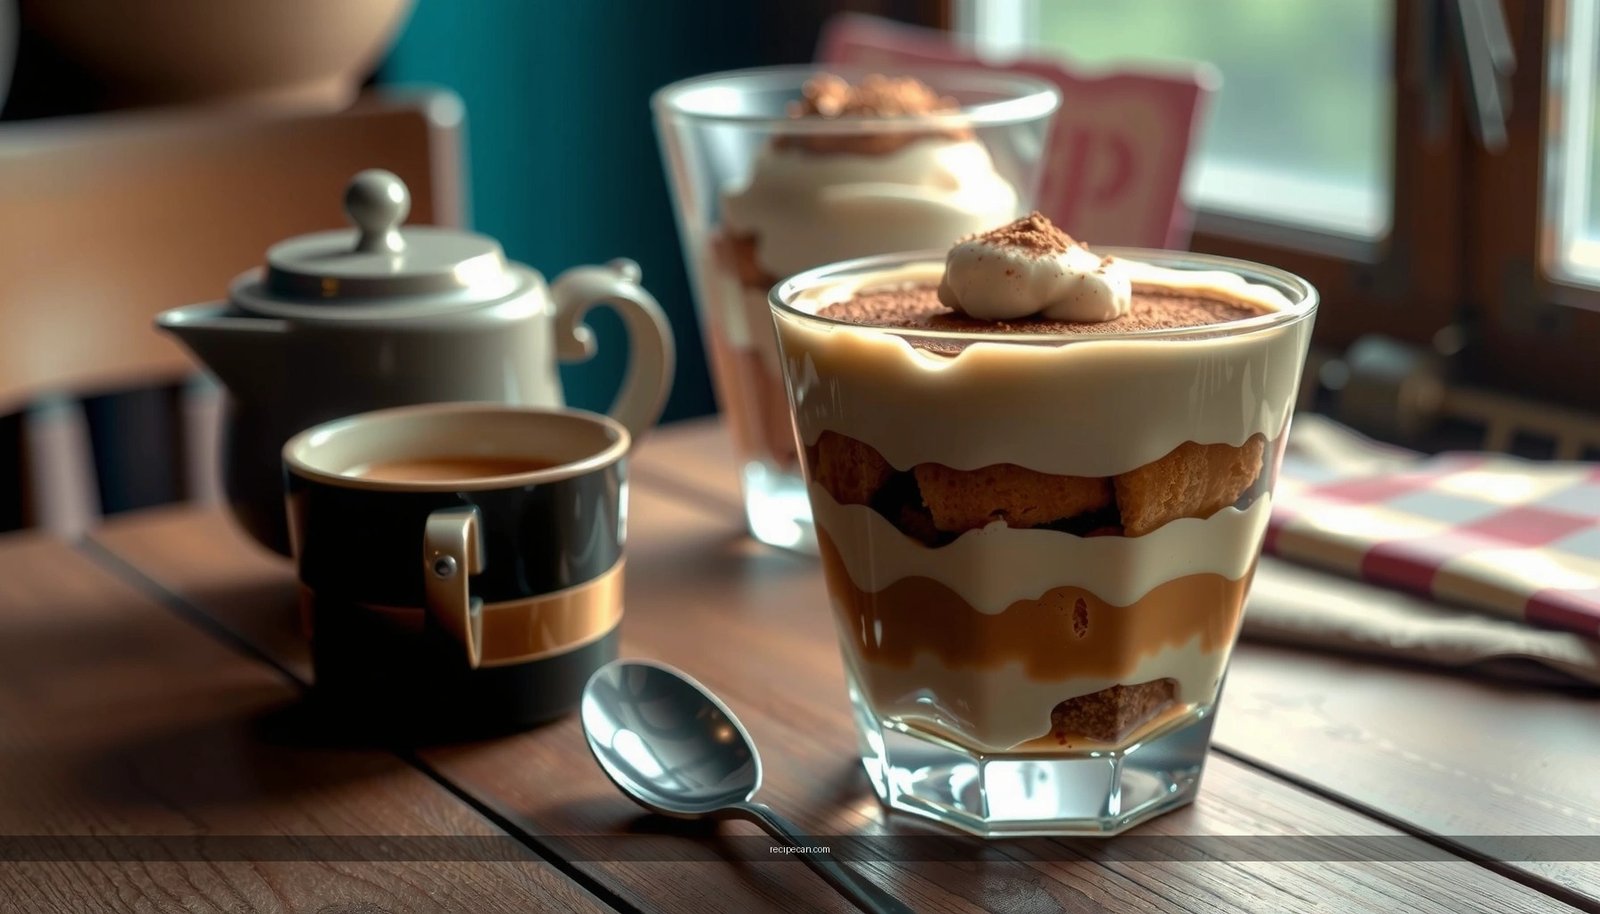
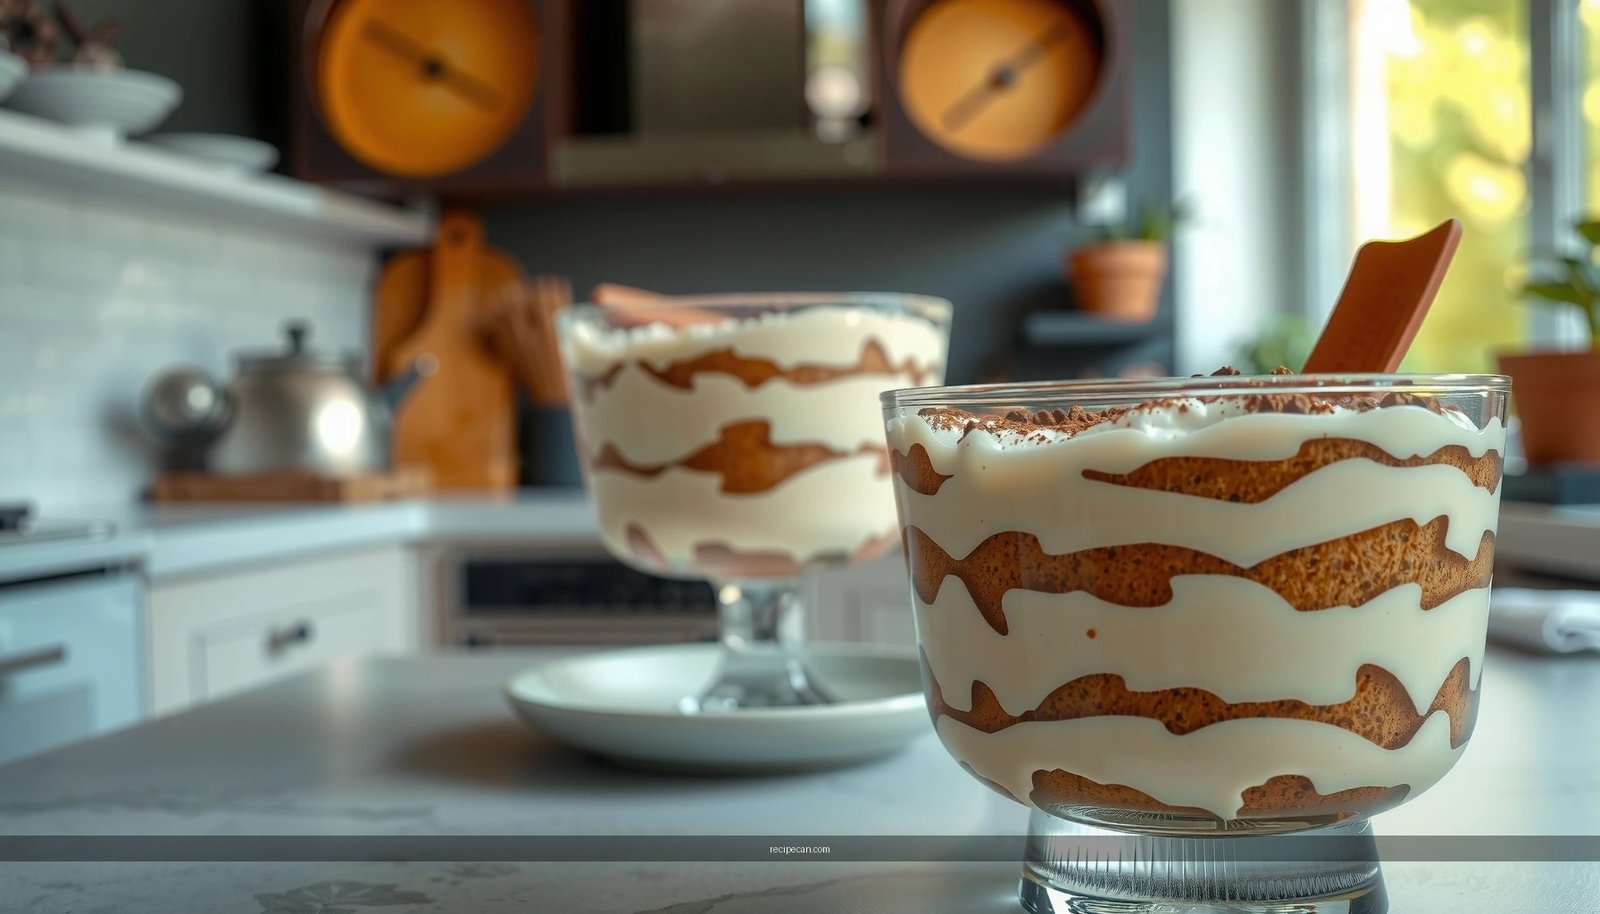
Get the tiramisu the best recipe with a creamy, classic, easy method that actually holds together. This recipe delivers the richest mascarpone filling, properly soaked ladyfingers, and the unmistakable coffee-cocoa finish—without fuss or specialty ingredients. You’ll know exactly what steps to follow, so your tiramisu turns out right the first time, every time.
This tiramisu the best recipe delivers the two things most people struggle to achieve at home—an ultra-creamy mascarpone layer and espresso-cocoa flavor that stays bold without turning soggy. Use strong, slightly cooled espresso, quick ladyfinger dipping, and a long enough chill so the layers set into clean, sliceable portions every time.
If you want a “classic tiramisu” outcome (not just a sweet dessert that tastes like it), treat this as a layering and texture process first, then a flavor process second. The difference between great and mediocre tiramisu usually comes down to espresso strength, dip timing, and how you handle the mascarpone cream (especially egg safety and mixing discipline). Below is a dependable, business-ready, repeatable approach—so you can serve tiramisu that looks professional, slices cleanly, and delivers the unmistakable coffee-and-cocoa punch.
Classic Tiramisu Ingredients

– Mascarpone, espresso, ladyfingers, and cocoa powder are the essentials
– Use fresh eggs (or a safe alternative) for a smooth, creamy base
A classic tiramisu is built on four essentials, but the “best” version depends on the quality and behavior of those ingredients under cold storage. Here’s what to prioritize and why:
1) Mascarpone (the cream’s backbone)
Mascarpone is a thick, mild Italian cream cheese with a high fat content, which makes it ideal for the signature velvety tiramisu filling. For best results, use mascarpone that’s cold but not rock-hard—bring it to room temperature for about 10–20 minutes before mixing so it blends smoothly without overworking.
2) Espresso (flavor, structure, and balance)
Tiramisu is not a “coffee-flavored” dessert; it’s a dessert with distinct espresso character. Strong espresso (or a very concentrated brew) provides bitterness and aromatic depth that cocoa alone can’t replicate. Weak coffee leads to a flat taste and makes it harder to balance mascarpone’s richness.
3) Ladyfingers (the layer that must hold up)
Ladyfingers (savoiardi) act like a sponge cake—perfect for absorbing espresso while still providing structure. They should stay moist, not saturated. That’s why dip timing matters (you’ll dial this in later).
4) Cocoa powder (final aroma and visual identity)
Use cocoa powder for both taste and presentation. For a classic finish, opt for unsweetened cocoa. Sift right before serving so it looks dark and velvety instead of dusty or absorbed.
Eggs: fresh, safe, and handled correctly
Most classic recipes use egg yolks (sometimes whole eggs or yolks only) for a lighter, custard-like richness. If you use eggs, do so safely:
– Use fresh eggs from a trusted source.
– Keep everything chilled until you combine.
– If you want a safer alternative pathway, consider recipes that use pasteurized eggs or a no-raw-egg method (heated yolks or a stabilized option) to maintain the same creamy mouthfeel.
To make this post operational and repeatable, the data table below focuses on practical “ingredient performance” targets—how each component should behave in a typical home tiramisu workflow (standard 9×13-inch pan).
Tiramisu Ingredient Targets for a 9×13-inch Pan (Best-Texture Baselines)
| # | Ingredient / Step Metric | Recommended Range | Impact on Texture | Risk if Off-Target | Assessment |
|---|---|---|---|---|---|
| 1 | Espresso concentration (for dipping) | 2–2.5× standard | Bold flavor without over-softening | Weak espresso → bland filling | High |
| 2 | Espresso temperature at dipping | Room temp to warm (30–35°C) | Moisture control, cleaner layers | Too hot → excess absorption | Medium |
| 3 | Ladyfinger dip time (per side) | 1–2 seconds | Moist, not collapsing | Too long → soggy slices | High |
| 4 | Mascarpone cream mixing discipline | Low speed, stop at smooth | Light texture and stability | Over-mix → grainy, dense cream | High |
| 5 | Sugar level (yolk-based or stabilized method) | 25–40 g per 250 g mascarpone* | Controls bitterness vs richness | Too low → sharp, too bitter | ★ 4.7/5 |
| 6 | Chill time before serving | 6–12 hours | Sets layers into firm slices | Too short → runny base | Very High |
| 7 | Cocoa application timing | Right before serving | Fresh aroma, clean presentation | Early dusting → dull, absorbed cocoa | High |
Sugar guidance varies by the strength of your espresso and whether your method includes egg yolks vs stabilized filling; the range above is a practical home baseline for a rich, classic profile.
Best Espresso & Flavor Tips

– Brew strong espresso and let it cool slightly before dipping
– Balance sweetness with just enough sugar to avoid an overly sweet dessert
In tiramisu, flavor is engineered through contrast: bitter espresso + bittersweet cocoa + creamy mascarpone. If any one component is weak, the dessert loses clarity and becomes one-note.
Brew strong (and concentrate your extraction)
If you’re using an espresso machine, aim for a small, intense shot rather than a long, diluted coffee. If you’re using stovetop moka or strong drip, make your coffee with a higher coffee-to-water ratio and reduce where needed. The goal is a cup that tastes like “tiramisu coffee,” not “morning coffee.”
Cool slightly for absorption control
Warm espresso speeds absorption. Let it cool until it’s roughly room temperature to warm. This is one of the easiest “no mistakes” levers: you get moisture without turning the ladyfingers into mush.
Sweetness should support—not mask
A classic tiramisu is not caramel-sweet. You want sweetness to round edges, not to dominate the espresso’s bitterness. Taste your espresso after adding sugar (or test a small batch of the dipping liquid). If it tastes slightly sharper than you’d prefer on its own, that’s often correct—because mascarpone is rich and will mellow bitterness on the palate.
Dial flavor complexity
Optional flavoring choices can be subtle:
– A touch of cocoa in the cream can deepen chocolate notes.
– A small amount of vanilla (measured, not excessive) can lift aroma.
– Many classic versions include a splash of coffee liqueur; if you use it, keep it modest so it doesn’t overpower the espresso.
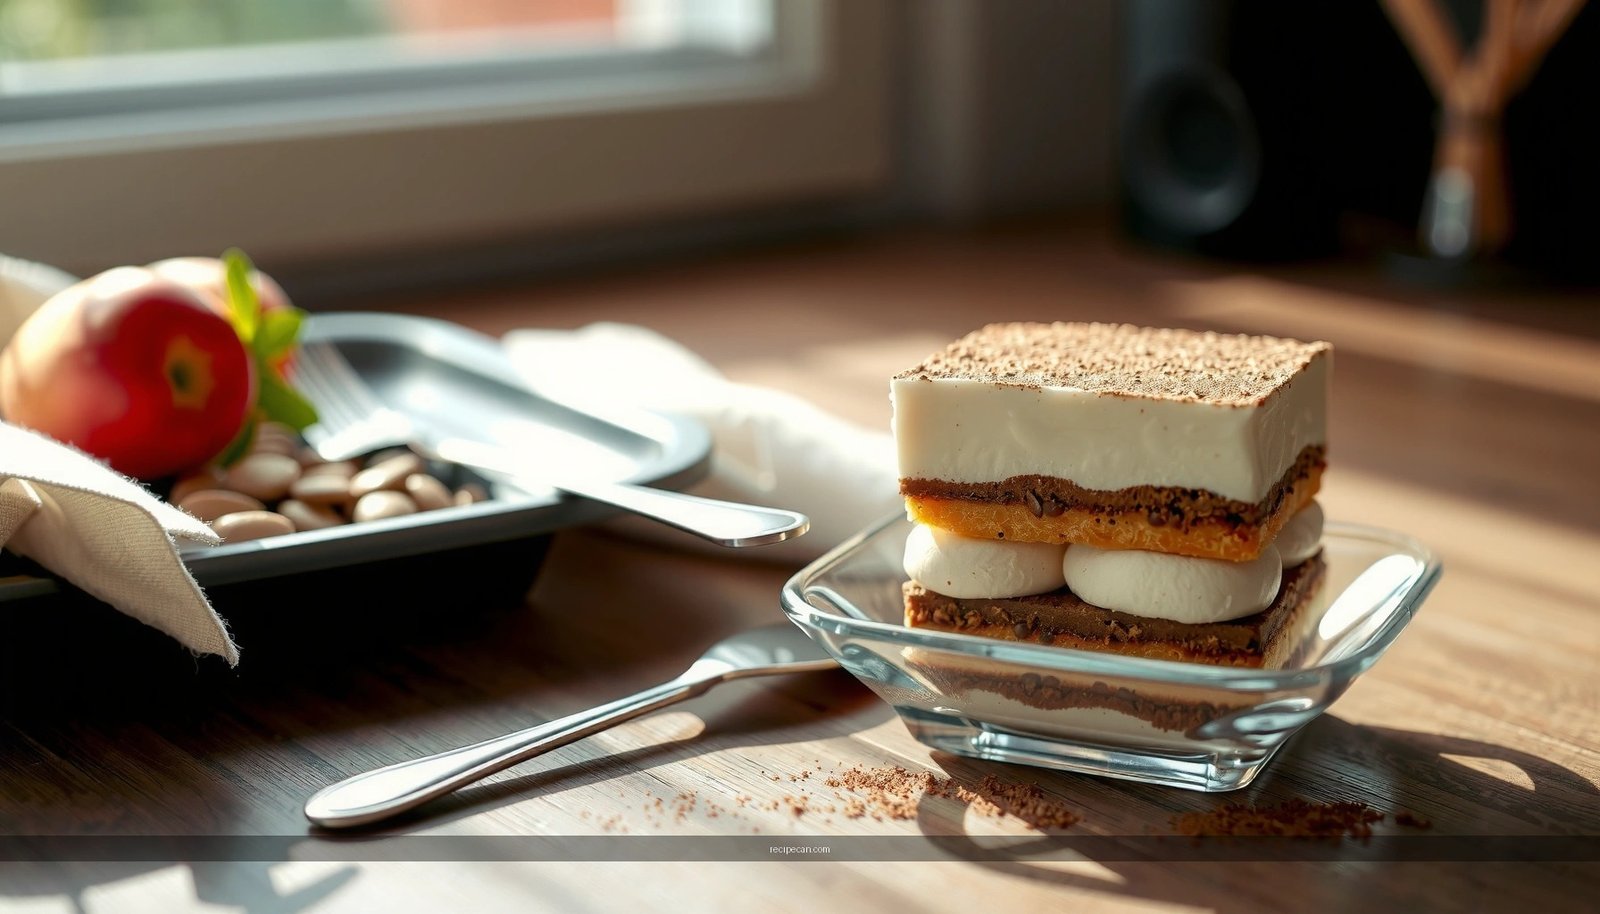
Step-by-Step Assembly (No Mistakes)

– Dip ladyfingers quickly so they’re moist, not soggy
– Layer mascarpone cream and ladyfingers evenly for clean slices
Assembly is where your tiramisu either becomes “restaurant quality” or collapses into a soft dessert. Here’s the professional layering logic:
Step 1: Prepare the dipping station
Use a shallow bowl for espresso so you can dip efficiently. If you want consistency, pre-measure your ladle or dipping utensil so each ladyfinger receives similar exposure.
Step 2: Dip ladyfingers fast, flip once, and remove immediately
The best technique is speed plus uniformity:
– Dip one side ~1–2 seconds, flip, ~1–2 seconds again.
– The biscuit should look slightly moistened but still hold shape.
– Place immediately on the serving dish in a single layer.
Step 3: Spread cream in an even layer
Use an offset spatula. Even coverage helps:
– stabilize slices,
– reduce “cream pockets,”
– and ensure every fork has the same proportion of espresso-soaked cake and mascarpone.
Step 4: Repeat layers with discipline
For classic structure, repeat:
1) ladyfingers
2) mascarpone cream
3) ladyfingers
4) mascarpone cream
Try to keep the top layer smooth—this directly affects visual appeal after cocoa dusting.
Step 5: Add cocoa last
Dust cocoa on top right before serving for the cleanest look and the most aromatic finish.
Getting the Perfect Texture
– Chill long enough for the flavors to set and the layers to firm
– Avoid over-mixing to keep the cream light and fluffy
Tiramisu texture is a controlled set process, not just refrigeration “until later.”
Chilling is what turns “assembled” into “sliceable”
After assembly, refrigerate for 6–12 hours. This gives time for:
– espresso moisture to distribute evenly,
– mascarpone cream to firm up,
– and flavor compounds to integrate.
If you cut too early, you’ll often see separation or “soupy” pockets where ladyfingers haven’t fully hydrated in a balanced way.
Avoid over-mixing the cream
Mascarpone is sensitive to technique. Over-mixing can cause:
– graininess,
– a heavier mouthfeel,
– or reduced aeration.
A good rule: mix only until smooth and cohesive, then stop. If your recipe includes whipped components (like folded whipped egg whites), fold gently rather than stirring aggressively.
Achieve stability without heaviness
Professional tiramisu relies on balance: richness from mascarpone, lift from eggs (or stabilized method), and firmness from time. Texture improves dramatically when you respect that sequence.
Common Problems & Fixes
– If it’s too runny, chill longer and check ingredient ratios
– If it’s too bitter, adjust espresso strength or sugar to taste
Even experienced bakers can encounter texture or flavor drift. Here are the most common issues and the corrective actions that work in real kitchens:
Problem: Tiramisu is too runny
Likely causes:
– Insufficient chill time
– Over-dipped ladyfingers
– Cream that wasn’t set properly (e.g., too-warm ingredients)
Fix:
– Chill longer—start with an additional 4–6 hours.
– Next time, reduce dip time to 1 second per side and avoid warm espresso.
– Re-check ratios: if mascarpone quantity is low relative to espresso absorption, you’ll get a looser structure.
Problem: Tiramisu tastes too bitter
Likely causes:
– Espresso is too strong (in extraction or roast profile)
– Sugar is under-measured
Fix:
– Adjust espresso: slightly reduce concentration or brew a smoother shot.
– Add sugar gradually—aim for “balanced espresso,” not “espresso-only.”
– Consider a cocoa with a slightly milder profile for the top dusting.
Problem: Cream looks grainy or dense
Likely causes:
– Over-mixing mascarpone
– Cold ingredients not blended properly
Fix:
– Let mascarpone sit 10–20 minutes at room temperature before combining.
– Mix only to smooth; stop early rather than forcing perfect uniformity.
Problem: Ladyfingers are soggy or collapsing
Likely causes:
– Dipping too long
– Espresso too hot or too wet
Fix:
– Dip faster and remove immediately.
– Ensure espresso is cooled slightly before dipping.
Serving & Storage
– Dust with cocoa right before serving for the best look and flavor
– Store covered in the fridge; it tastes even better the next day
Serve for maximum impact
Sift cocoa right before serving. The aroma you smell at the moment you present tiramisu is one of the signature sensory cues. For clean slices:
– Use a sharp knife,
– wipe between cuts if needed,
– and let the tray sit 5–10 minutes out of the fridge for easier cutting (not enough to soften structure).
Storage improves quality
Cover and store in the refrigerator. Tiramisu generally tastes even better the next day because:
– flavors settle and mellow,
– moisture distributes more evenly,
– and the cream becomes more cohesive.
Consume within 2–3 days for best texture and food quality. If you’re prepping for an event, assembling the day before is the most reliable way to hit the “classic tiramisu” texture benchmark.
Tiramisu the best recipe is all about strong espresso, quick dipping, and proper chilling for the perfect creamy layers. Make it today by following the ingredient list and step-by-step assembly, then refrigerate before serving—your classic tiramisu will be ready in no time.
Frequently Asked Questions
What is the best tiramisu recipe for a classic, authentic flavor?
The best tiramisu recipe starts with fresh mascarpone, strong espresso (or very dark coffee), and ladyfingers soaked quickly so they stay tender, not soggy. Use egg yolks beaten with sugar until glossy, then fold in mascarpone for a smooth, rich tiramisu filling. For authenticity, add a pinch of salt and finish with a generous dusting of cocoa powder just before serving.
How do you make tiramisu without runny mascarpone or a lumpy filling?
If your mascarpone seems loose, chill it briefly and beat the mixture just until smooth—overmixing can break the texture. For lumps, bring mascarpone to room temperature and whisk egg yolks thoroughly with sugar before combining, then fold gently. Use a fine sieve for cocoa and mix slowly to keep the tiramisu cream airy.
Why does tiramisu taste better after chilling, and how long should you wait?
Tiramisu tastes better after chilling because the coffee flavor and cocoa aroma absorb into the ladyfingers, while the mascarpone filling firms up. For best results, refrigerate at least 4 hours so the tiramisu sets properly and slices cleanly. Many people prefer overnight, because the flavors meld and the dessert becomes more cohesive.
Which espresso should you use for the best tiramisu results?
Use freshly brewed espresso or a strong coffee with a similar intensity, because mild coffee can make tiramisu taste bland. Aim for a bold, slightly bitter flavor to balance the sweetness of the mascarpone and egg yolks. If you want a smoother taste, let the espresso cool to room temperature before dipping the ladyfingers so the tiramisu doesn’t become watery.
What’s the best way to prevent soggy ladyfingers and get perfect layers?
Dip ladyfingers very quickly—just a brief pass through espresso—so they absorb flavor without collapsing. Work in tight layers and avoid over-soaking, since too much liquid will cause a watery tiramisu. To keep the presentation crisp, assemble on the same day or cover and chill immediately, then dust with cocoa right before serving for the best texture and look.
References
- Tiramisu
https://en.wikipedia.org/wiki/Tiramisu - https://www.britannica.com/food/tiramisu
https://www.britannica.com/food/tiramisu - https://cooking.nytimes.com/recipes/1018654-tiramisu
https://cooking.nytimes.com/recipes/1018654-tiramisu - https://www.theguardian.com/food/2018/apr/22/tiramisu-recipe
https://www.theguardian.com/food/2018/apr/22/tiramisu-recipe - Google Scholar Google Scholar
https://scholar.google.com/scholar?q=tiramisu+recipe+mascarpone+egg+coffee+cocoa - Google Scholar Google Scholar
https://scholar.google.com/scholar?q=tiramisu+preparation+method+espresso+savoiardi+food+science - Google Scholar Google Scholar
https://scholar.google.com/scholar?q=tiramisu+flavor+profile+sensory+evaluation+mascarpone+coffee - Google Scholar Google Scholar
https://scholar.google.com/scholar?q=tiramisu+the+best+recipe - tiramisu the best recipe – Search results
https://en.wikipedia.org/wiki/Special:Search?search=tiramisu+the+best+recipe - https://www.ncbi.nlm.nih.gov/search/research-articles/?term=tiramisu+the+best+recipe
https://www.ncbi.nlm.nih.gov/search/research-articles/?term=tiramisu+the+best+recipe