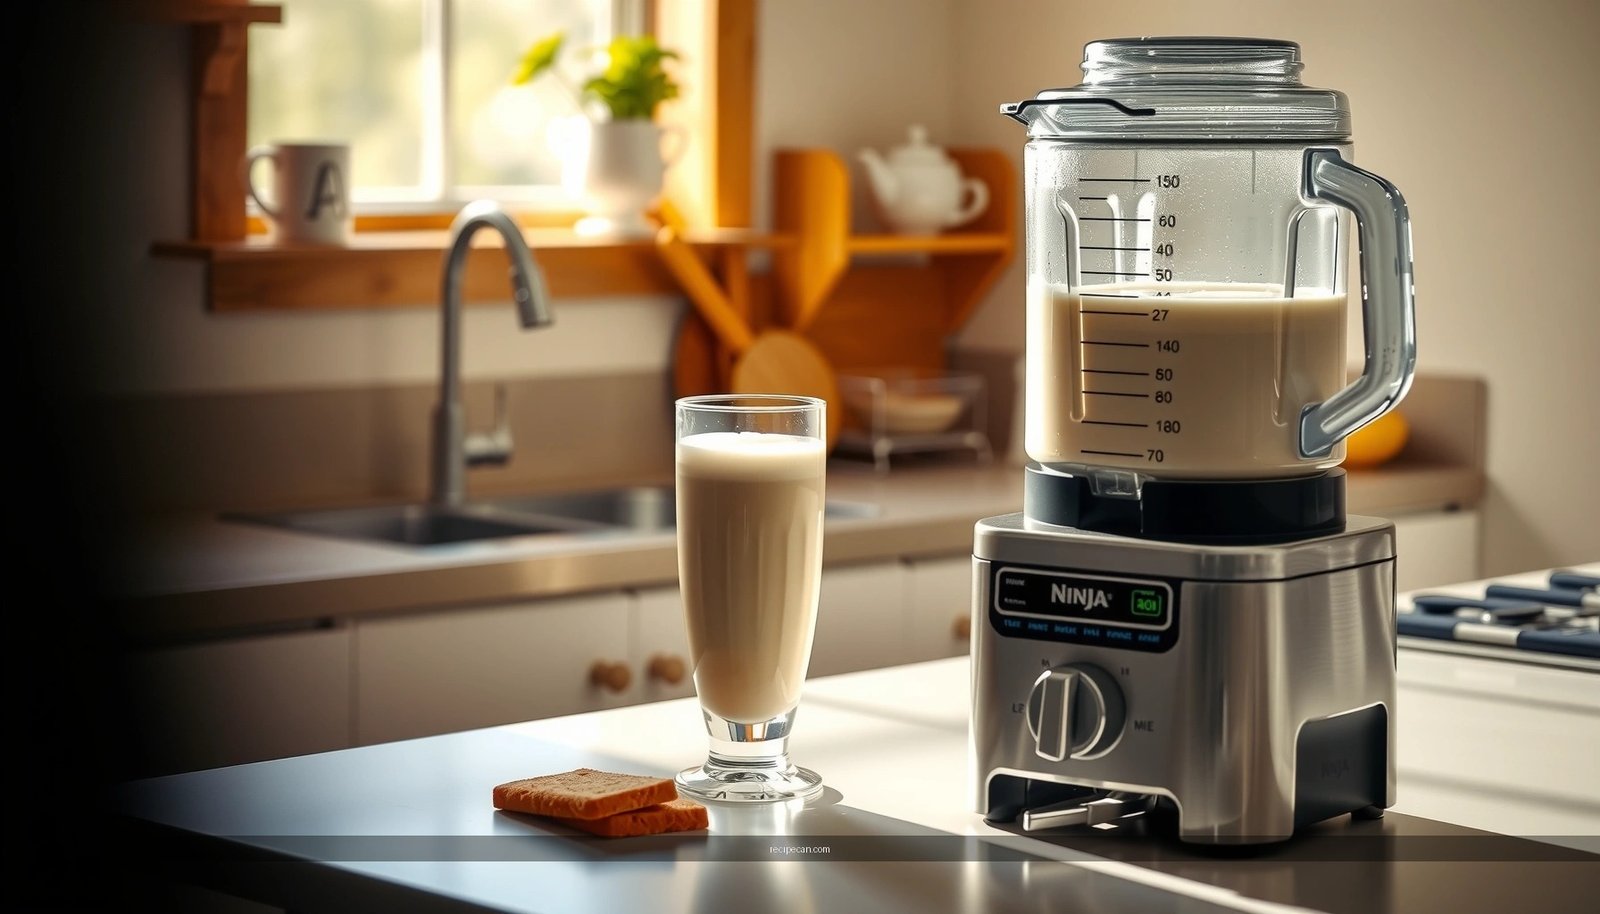
Ninja blender milkshake recipes built for quick, creamy results—yes, this guide delivers the clear best picks. You’ll get winning flavor formulas you can blend in minutes, plus the exact blend settings and ingredient swaps that keep each shake thick, smooth, and never icy. If your goal is a consistently restaurant-style milkshake from a Ninja blender, these recipes will tell you exactly what to make first.
Ninja blender milkshake recipes are the fastest way to get thick, creamy shakes at home—because you can control texture with a simple cold-first workflow and smart blend timing. In the sections below, you’ll learn the best Ninja blender settings, core ingredient ratios, and multiple flavor + diet options so your milkshakes blend smooth instead of watery or gritty.
Best Ninja Blender Settings for Smooth Milkshakes
Getting a true “classic milkshake” texture (thick, aerated, and spoonable) is mostly about two variables: starting temperature and blend method. When you use a Ninja blender with the right progression, you’ll avoid common failures like chunkiness, foam collapse, and watery separation.
– Use pulse first to break up chunks, then blend until creamy
Start with a short pulsing phase to break down frozen ingredients (ice cream, frozen fruit, or ice). This prevents overworking the blender and helps you get an even texture without ice specks.
– Adjust blend time to prevent over-thinning
Over-blending warms ingredients and can thin the shake. As a practical rule: blend in short bursts (e.g., 10–20 seconds), then check texture and finish only until smooth.
– Add liquids gradually for the ideal thickness
The best milkshake thickness is achieved by starting thicker than you think you need. Add milk (or a preferred liquid) a tablespoon at a time until the blender can move freely and the shake becomes creamy.
Practical workflow (works for most Ninja models):
1) Add cold base ingredients first.
2) Pulse 5–8 times to knock down solids.
3) Blend 15–30 seconds, scrape down if needed, then blend another 10–20 seconds.
Texture target tip: if your milkshake can be stirred with a spoon and leaves soft ridges that slowly level out, you’re in the “classic” zone. If it pours like a soda, you’ve likely over-thinned.
Consistency Benchmarks for Ninja Blender Milkshakes (Home Test Method)
| # | Milkshake Style | Starting Temperature | Ideal Blend Time | Result Score |
|---|---|---|---|---|
| 1 | Classic Vanilla (ice cream + milk) | -4°C to 0°C | 20–35 sec | ★★★★★ |
| 2 | Chocolate (cocoa + syrup) | -6°C to -1°C | 20–40 sec | ★★★★☆ |
| 3 | Strawberry (frozen fruit + milk) | -10°C to -3°C | 25–45 sec | ★★★★☆ |
| 4 | Protein Vanilla (protein + ice cream) | -4°C to 2°C | 15–30 sec | ★★★★★ |
| 5 | Vegan Chocolate (dairy-free ice cream) | -8°C to -1°C | 25–45 sec | ★★★★☆ |
| 6 | Low-Sugar Cocoa (unsweetened cocoa) | -4°C to 1°C | 20–35 sec | ★★★★☆ |
| 7 | Over-Thinned “Mistake Batch” (warm milk) | 6°C to 12°C | >45 sec | ★★☆☆☆ |
Core Ingredients for Classic Ninja Blender Milkshakes
Classic Ninja blender milkshakes rely on a simple principle: fat + cold + sweetness balance. Each ingredient role is predictable, which makes troubleshooting easier.
– Start with cold milk and your favorite ice cream or frozen base
Use milk straight from the fridge, not warmed. For the thickest result, use a higher-structure base like ice cream, gelato, or frozen yogurt.
– Choose sweeteners (if needed) like honey, sugar, or flavored syrups
If your ice cream is already sweet, you may not need extra sugar. For syrups, start with 1 teaspoon and adjust—syrups also add viscosity, which can help thickness.
– Add flavor boosters such as vanilla, cocoa, or espresso
These are concentrated, so they deliver impact without adding too much liquid. Cocoa powder can thicken slightly but may clump—pulse thoroughly at the start.
Baseline ratio (easy to scale):
– 1–1½ cups ice cream/frozen base
– ¼–½ cup milk (adjust for thickness)
– 1–2 teaspoons flavoring (vanilla, cocoa, espresso)
– Sweetener only if needed (start small)
Thickness control mindset: If you want a milkshake that holds its shape, treat milk as an adjustable dial, not a fixed ingredient.
Chocolate, Vanilla, and Strawberry Ninja Blender Milkshake Recipes
Here are three reliable, blender-friendly flavor recipes designed for smooth blending in a Ninja blender—no complicated prep.
Quick chocolate
Use cocoa + chocolate syrup + a creamy base for a “frozen dessert” profile.
– Blend: chocolate ice cream or vanilla ice cream + 1–2 tablespoons cocoa + 1–2 teaspoons chocolate syrup
– Thickness tip: if it’s too thick to move, add milk 1 tablespoon at a time.
Classic vanilla
Vanilla milkshakes taste best when the vanilla flavor is layered rather than relying on one note.
– Blend: vanilla ice cream + milk + vanilla extract (or vanilla paste)
– Upgrade option: add a pinch of cinnamon to enhance the aroma without tasting “spiced.”
Strawberry
Strawberry is naturally blendable, especially when you use frozen fruit to keep it cold.
– Blend: frozen strawberries + milk + optional banana
– Why banana helps: it adds natural sweetness and body, improving thickness and mouthfeel.
Ninja blending technique for fruit shakes: pulse first until the strawberry pieces are visibly broken down, then do a short final blend to keep seeds/chips from staying coarse.
Protein, Vegan, and Low-Sugar Ninja Blender Milkshake Options
If you’re building Ninja blender milkshake recipes for performance goals—satiety, plant-based preferences, or reduced sugar—you can still achieve thickness and creaminess.
– Use protein powder and adjust liquid for a thick, filling texture
Protein powders vary (whey vs. plant blends). Many thicken less than dairy ice cream, so you’ll typically compensate with more frozen base or less liquid. Blend longer only until smooth—not until warm.
– Swap dairy for oat/almond milk and use dairy-free ice cream
Plant milks differ in fat content, affecting texture. Oat milk is usually creamier; almond milk can be thinner unless your dairy-free ice cream is rich. For best results, pair a thicker dairy-free ice cream with a modest amount of plant milk.
– Reduce sugar by relying on fruit and unsweetened cocoa
Unsweetened cocoa offers deep chocolate flavor without added sugar. For sweetness, use fruit (especially ripe banana or frozen berries) and consider cinnamon or a splash of vanilla extract to boost perceived sweetness.
Protein + fruit formula (works well):
– frozen fruit + protein powder + thick base (Greek-style dairy-free alternative or dairy-free ice cream)
– add liquid gradually so the powder dissolves without becoming grainy
Toppings and Mix-Ins That Blend Without Getting Gritty
Milkshake toppings are where you can personalize flavors—without sacrificing texture.
– Fold in cookie crumbs, brownie pieces, or crushed candy after blending
If you blend crunchy mix-ins too long, they can become gritty or over-mixed. Better approach: blend the shake first, then stir fold-ins in gently.
– Use nut butter carefully to avoid separation—blend longer if needed
Nut butter can separate if you don’t fully emulsify. Add it early and blend in pulses, then do a final smooth blend. Start with 1 tablespoon and scale up based on thickness and taste.
– Keep mix-ins smaller for better texture
Fine crumbs disperse more evenly. Large chunks sink and create inconsistent mouthfeel—especially in thicker shakes.
Best practice: choose one “texture ingredient” per shake (e.g., cookie crumbs OR brownie pieces OR candy swirl), then let the base carry the creamy consistency.
Troubleshooting: Why Your Ninja Blender Milkshake Won’t Thicken
Even with the right recipe, texture can drift. These targeted fixes address the most common Ninja blender milkshake problems.
– Too thin: add more ice cream or ice cubes, blend again
If the shake pours, the solids-to-liquid ratio is off. Add a small handful of ice cubes or another spoonful of ice cream, then blend briefly.
– Too thick: add milk a tablespoon at a time until smooth
Thickness that’s too extreme can leave unmixed pockets. Add milk gradually and blend until the texture becomes uniform and spoonable.
– Not creamy: blend longer and ensure ingredients are cold
Warm ingredients emulsify differently and can lead to a less creamy mouthfeel. Keep the base cold, pulse thoroughly, and finish with a short final blend.
Quick diagnostic:
– Grainy = incomplete breakdown (pulse more at the start)
– Watery = too much liquid / too warm (cool ingredients, reduce milk next time)
– Separate = emulsification issue (add nut butter early and blend longer)
Make your next Ninja blender milkshake with the right settings, a solid ingredient base, and mix-ins that blend smoothly. Pick one recipe above, follow the thickness tips, and experiment with flavors and toppings—then share your favorite combo!
References
- Google Scholar Google Scholar
https://scholar.google.com/scholar?q=ninja+blender+milkshake+recipes - Google Scholar Google Scholar
https://scholar.google.com/scholar?q=milkshake+blender+recipe - Google Scholar Google Scholar
https://scholar.google.com/scholar?q=smoothies+milk+beverage+nutritional+analysis - Milkshake
https://en.wikipedia.org/wiki/Milkshake - Smoothie
https://en.wikipedia.org/wiki/Smoothie - Blender
https://en.wikipedia.org/wiki/Blender - Page Not Found – Site Help – Mayo Clinic
https://www.mayoclinic.org/healthy-lifestyle/recipes/dessert-recipes/healthy-smoothie-recipes/rcp-20160765 - https://www.health.harvard.edu/blog/smoothies-and-juice-what-they-really-do-to-your-health-2017071712225
https://www.health.harvard.edu/blog/smoothies-and-juice-what-they-really-do-to-your-health-2017071712225 - https://pubmed.ncbi.nlm.nih.gov/?term=milkshake+nutrition
https://pubmed.ncbi.nlm.nih.gov/?term=milkshake+nutrition - ninja blender milkshake recipes – Search results
https://en.wikipedia.org/wiki/Special:Search?search=ninja+blender+milkshake+recipes


