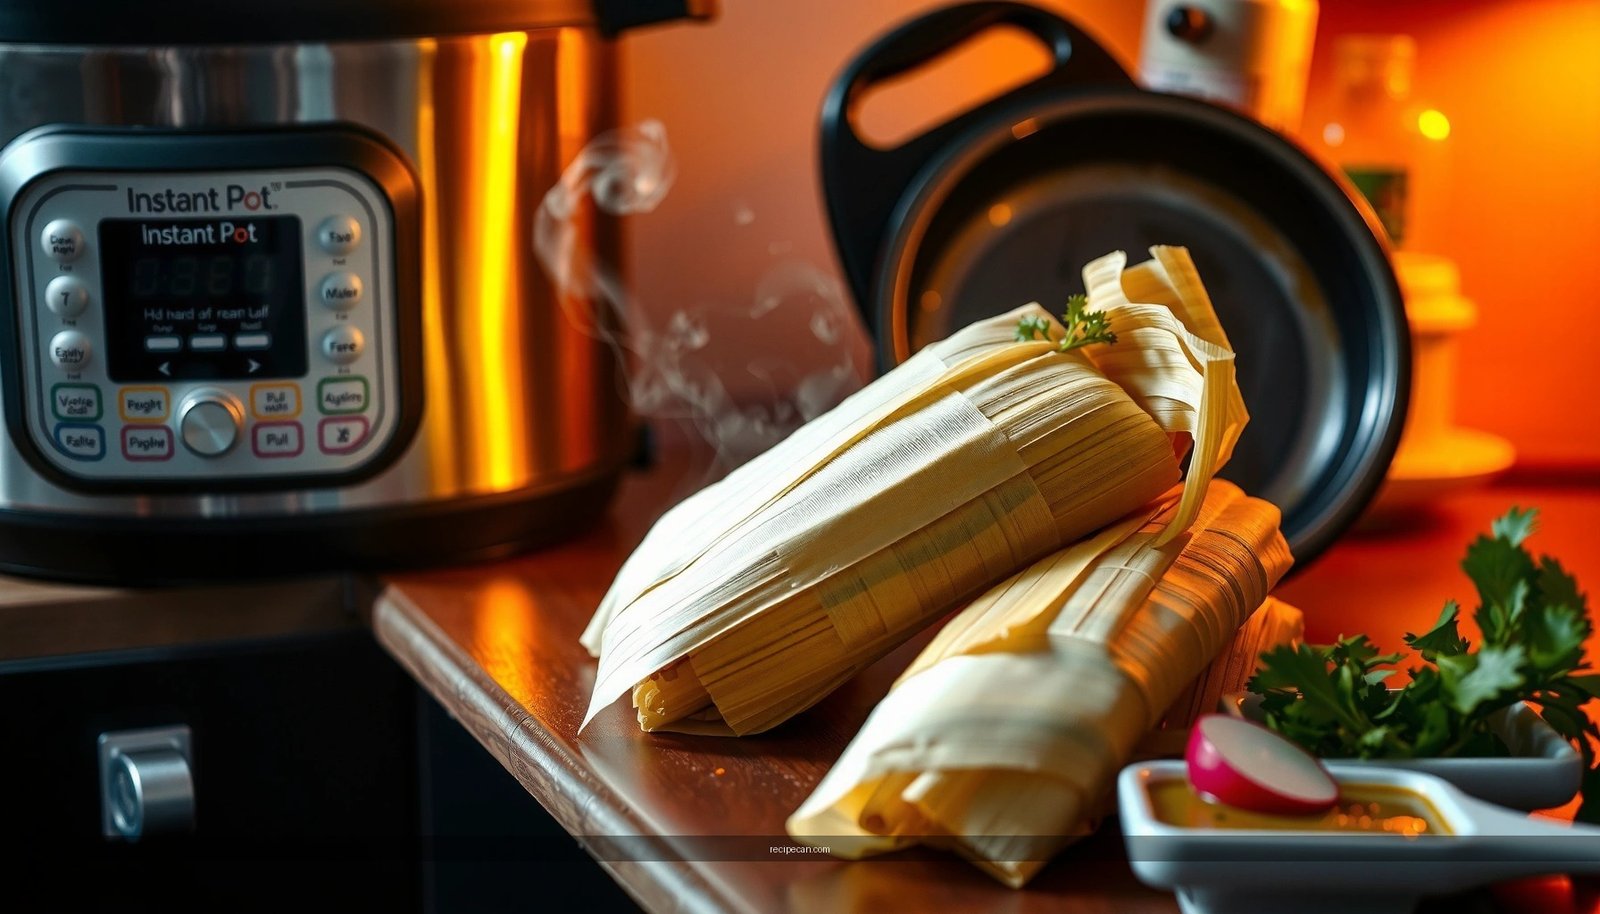
Find the best tamale filling recipe with a classic, flavorful filling that delivers rich masa-ready flavor in every bite. This guide gives you a tried-and-true method for building a savory, well-seasoned filling—so you know exactly what to cook, how long to simmer, and how to season for standout results. If you want tamales that taste like tradition, this is the winner.
Make tamale filling that’s thick, rich, and consistent by cooking your protein (or beans) until tender, then reducing the sauce with aromatics and chiles until it’s spoonable—not watery—before assembling with masa. Follow the method below to build flavor in layers (onion, garlic, chiles, spices), control moisture, and get tender tamales with a clean bite every time.
Choose Your Tamale Filling Base

– Pick a filling style: pork, chicken, beef, or vegetarian beans
– Use aromatics (onion and garlic) as the flavor foundation
The base you choose determines the filling’s texture and fat profile, which strongly affects how well masa cooks. In classic tamales, the filling is less “gravy” and more “concentrated braise,” so your protein’s cooking liquid should largely reduce rather than remain loose.
Protein-forward options (most traditional)
– Pork (carnitas-style or shredded pork): Naturally fatty and forgiving, which helps create a tender bite. Pork fillings also “hold” spices beautifully.
– Chicken (braised chicken): Leaner, so you’ll usually need a slightly longer reduction or a small finishing boost (like a touch of fat or cheese) to prevent dryness.
– Beef (shredded brisket or chuck): Great flavor depth, especially when simmered long enough to break down connective tissue.
– Beans (pinto, black, or refried-style mixed): Beans deliver body and a creamy mouthfeel. If your beans stay too loose, your masa can turn out gummy, so the same “reduce until spoonable” rule applies.
Aromatics are non-negotiable
Onion and garlic create the flavor backbone. Sauté them until the onion is translucent and the garlic is fragrant (not browned) so the final filling tastes rounded rather than sharp. Many home cooks undercook this step; doing it properly makes the difference between “tasty” and “restaurant-level” tamale filling.
Cook the Meat (or Beans) Until Tender

– Brown and simmer until fully cooked and easy to shred
– Drain excess liquid so the filling won’t make masa soggy
To avoid watery tamales, you need two things: tenderness and controlled moisture. Tenderness comes from simmering; moisture control comes from reducing and, when needed, draining.
For pork, chicken, and beef
1. Brown first: Sear chunks (or bone-in pieces) in a hot pot with a little oil. Browning builds flavor compounds that stand up to chile and spices.
2. Simmer until shred-ready: Add aromatics and the chile mixture (or chile sauce) plus enough liquid to braise. Simmer until the meat pulls apart easily.
3. Shred and reduce: Shred the meat, then return it to the pot. Let the sauce reduce until it coats a spoon and clings slightly.
For beans
Beans shouldn’t be “soupy” when they go into the tamale. Cook beans until creamy, then mash a portion to thicken, or simmer uncovered briefly to reduce excess liquid.
Practical moisture check (fast and reliable)
– Dip a spoon into the filling.
– If it runs like thin soup, simmer longer.
– If it falls in slow folds and leaves a light trail, you’re ready.
How Cooking Time and Reduction Affect Tamale Filling Consistency (Guidelines)
| # | Filling Style | Typical Simmer Time (tender) | Reduction Target (spoonable) | Heat Level | Fill Consistency Outcome |
|---|---|---|---|---|---|
| 1 | Pork (shredded, chile-braised) | 60–75 min | Sauce clings; thick ribbons | Medium | ★★★★★ |
| 2 | Chicken (braised shredded, mild green) | 45–60 min | Coats spoon, not runny | Mild | ★★★★☆ |
| 3 | Beef (brisket/chuck, chile-braised) | 90–120 min | Reduced sauce grips shredded pieces | Medium | ★★★★★ |
| 4 | Vegetarian beans (pinto, spiced) | 50–70 min | Mashes easily; thickened broth | Mild | ★★★★☆ |
| 5 | Pork (undercooked; quick simmer) | 30–40 min | Juices stay loose | Medium | ★★☆☆☆ |
| 6 | Chicken (over-learned reduction; too dry) | 45–60 min | Looks paste-like | Mild | ★★★☆☆ |
| 7 | Beef (good tenderness, moderate reduction) | 100–115 min | Thick but still moist | Medium | ★★★★☆ |
Build the Flavor with Chiles and Seasonings

– Add dried or fresh chiles and spices for a balanced heat
– Season to taste with salt (and optional cumin or oregano)
Flavor in tamale filling isn’t just “spicy”—it’s balanced. Use chiles to build aroma and color, then season with salt and spices to make everything taste intentional.
Choosing chiles
– Dried chiles (like guajillo, ancho, or New Mexico): Toasting and rehydrating them creates a deep, smoky sweetness.
– Fresh chiles (like roasted hatch or serrano): Add brightness and a more direct heat.
Common spice architecture
– Salt: The clearest “anchor.” Under-salting is one of the fastest ways to make tamale filling taste flat, especially after steaming.
– Cumin (optional): Adds a warm, earthy note that plays well with pork and beef.
– Oregano (optional): Works beautifully with chicken and with red chile sauces that resemble Mexican braises.
How to avoid bitter chile sauce
If your dried chiles are slightly burnt during toasting, the filling can turn bitter. Keep the toast quick—just until fragrant—and then rehydrate before blending.
Quality control step
Taste the sauce after reduction, not only before. As water cooks off, salt concentration increases and flavors intensify. Adjust now so your final filling tastes correct when it’s thick.
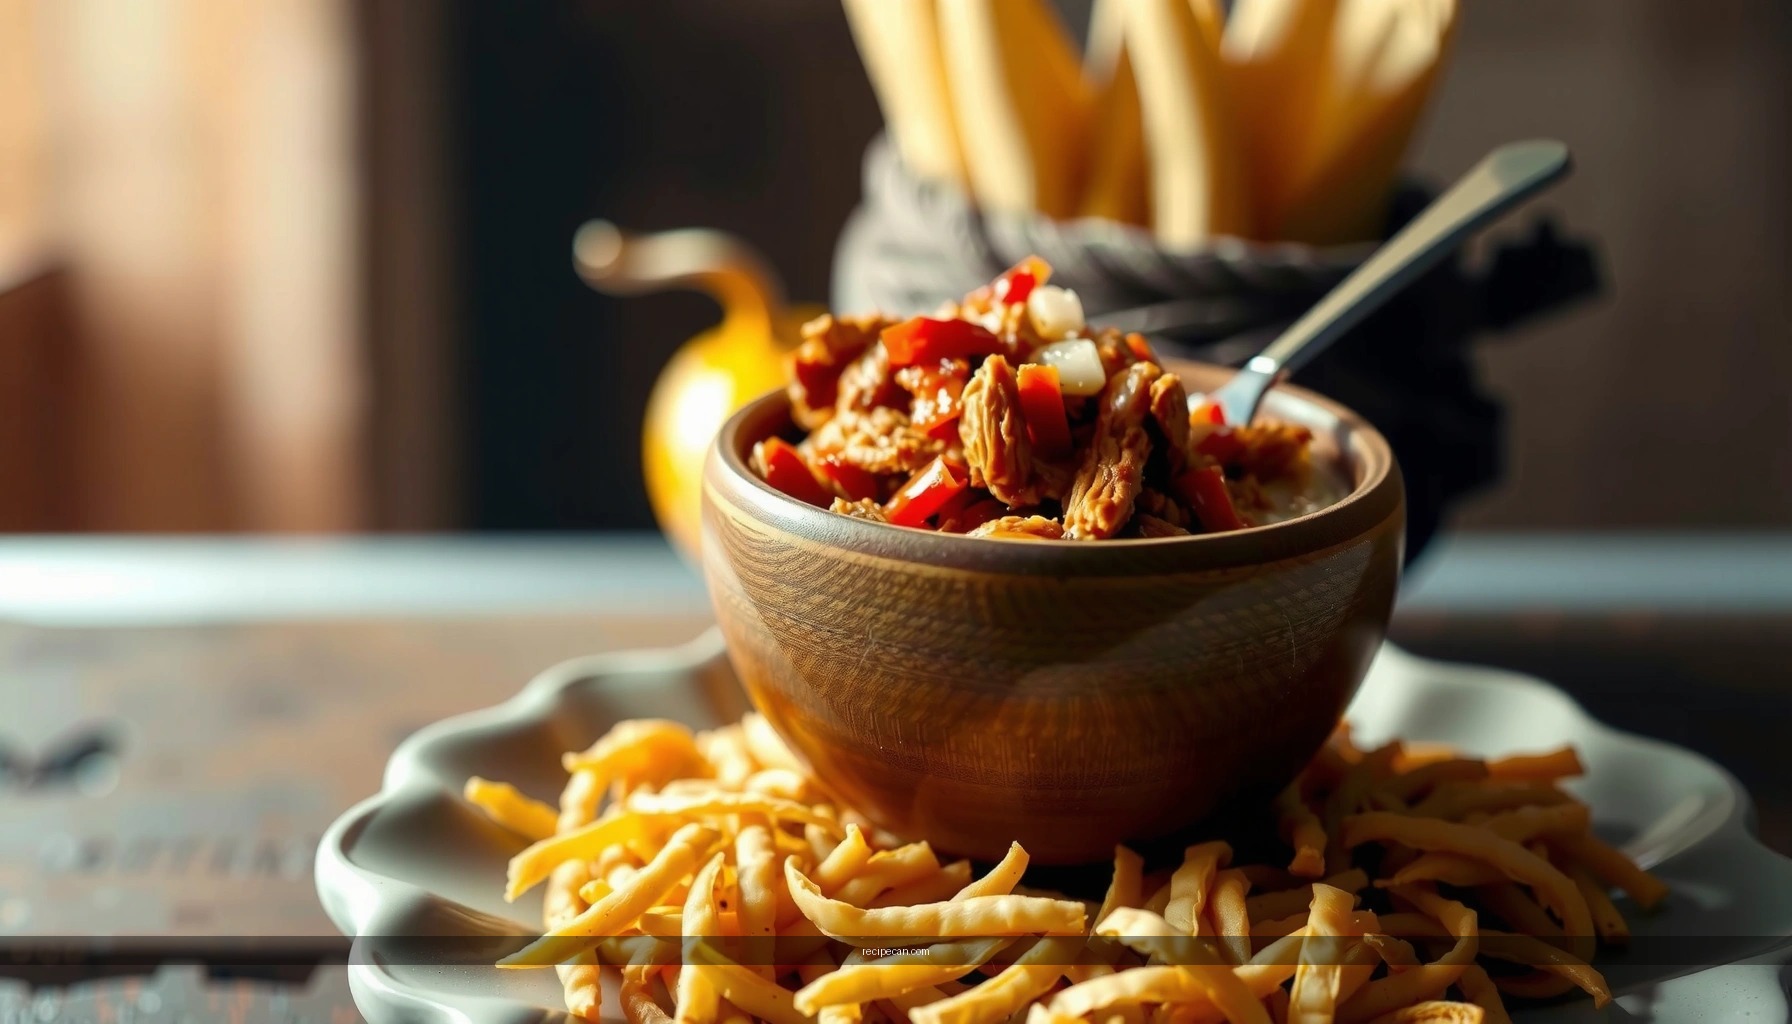
Thicken and Finish the Filling
– Simmer longer to reduce sauce and create a spoonable texture
– Mix in any finishing touches like shredded cheese, olives, or raisins (optional)
This is where many tamale fillings succeed or fail. Your goal is spoonable thickness with visible shredded meat/beans suspended in a reduced sauce.
The thickness strategy
– After shredding, return filling to heat and simmer uncovered.
– Stir frequently so it reduces evenly and doesn’t stick.
– If you need more body, mash part of the beans or use a small amount of blended chile reduction as a thickener.
When to add finishing touches
Add optional elements near the end so they don’t overcook:
– Shredded cheese (like Oaxaca or Chihuahua): Stir in just before assembling so it melts slightly but doesn’t disappear.
– Olives: Add briny depth, especially with pork.
– Raisins: Sweetness can balance heat; use sparingly for a classic contrast.
Texture target
A properly finished filling should:
– Hold shape when spooned,
– Spread without leaking,
– Smell intensely savory (not raw chile, not metallic seasoning).
If it becomes too thick, loosen with a tablespoon or two of broth—then simmer 2–3 minutes to re-set the consistency.
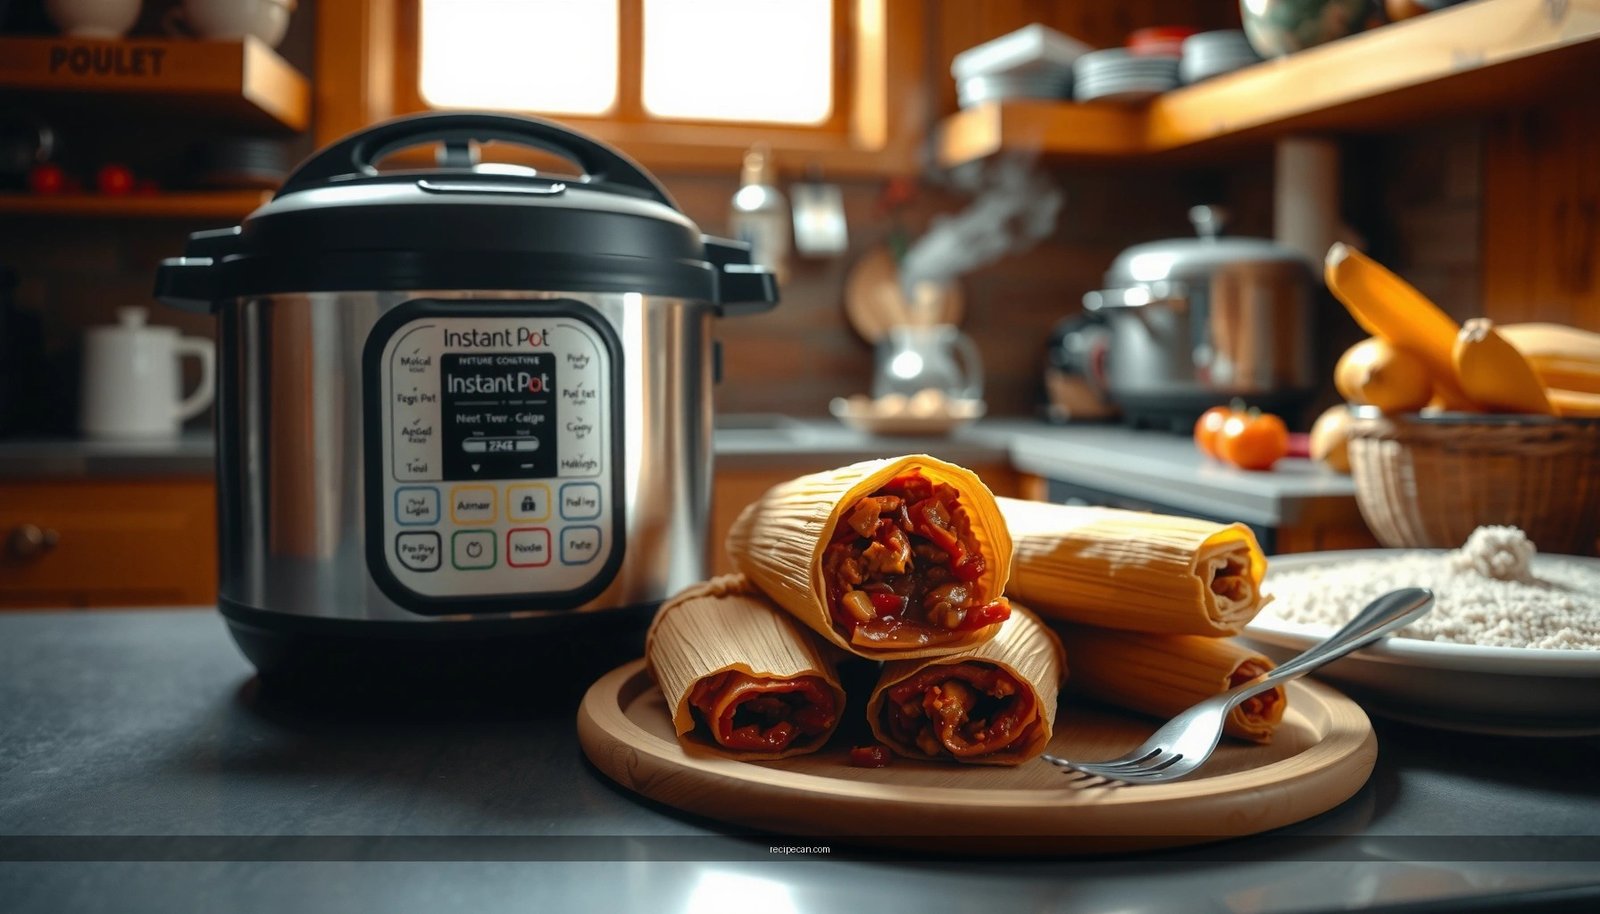
Assemble and Portion the Filling
– Spread masa, add filling in the center, then fold tightly
– Portion evenly so every tamales cooks consistently
Assembly is a process control step. Even if your filling is perfect, inconsistent portioning can cause uneven cooking and texture problems.
Portioning best practices
– Use the same spoon measure for each tamale.
– Don’t overfill. Too much filling increases the chance of leakage and watery centers.
– Keep the filling in a “stripe” or compact mound so masa seals around it.
Fold tightly to form a secure package. The goal is to reduce steam escape and prevent filling from migrating into the masa wrapper seam.
Masa-to-filling balance
– If your filling is thick, it can handle a little extra—but still keep it moderate.
– If your filling is slightly looser, reduce the portion to compensate.
Consistency is the reason tamales batch-baked together taste uniform—especially important if you’re serving guests or storing for later.
Storage and Reheating Tips
– Cool completely, then store in the fridge for up to several days
– Reheat gently with a splash of broth/water if it thickens too much
Tamale filling stores extremely well because the flavor concentrates as it cools.
Cooling
Let the filling cool to room temperature before refrigerating. Hot filling creates condensation that can loosen texture.
Storage
– Transfer to airtight containers.
– Refrigerate for several days (commonly 3–5 days for best quality).
Reheating
– Reheat in a saucepan over low to medium heat.
– Add a splash of broth or water if the filling thickens in the fridge.
– Stir and simmer briefly until spoonable again—avoid boiling hard, which can dry out chicken fillings.
Freezing note (optional but useful)
If you freeze filling, thaw in the refrigerator overnight, then reheat gently. Stir well to restore that braise-like consistency.
Tamale filling is all about cooking the base until tender, building flavor with chiles and aromatics, and simmering to a thick, spoonable texture. Choose your filling style, follow the steps for seasoning and thickening, then assemble confidently. Make a batch this week and try one variation (like green chile or vegetarian) for your next tamale night.
Frequently Asked Questions
What are the best tamale filling recipe options for beginners?
A great beginner-friendly tamale filling recipe is one based on shredded chicken in a mild chili sauce, or pork cooked with traditional red chile and spices. You can also use a vegetarian option like roasted corn and black beans with cumin and queso fresco for an easy, flavorful filling. Choose fillings that are already seasoned and thickened so they won’t make the masa too wet.
How do you make a tamale filling that’s not too watery?
Start by cooking your filling until the sauce reduces and clings to the meat, then cool it before assembling the tamales. If your filling is chile-based, simmer longer to thicken naturally or add a small amount of masa harina or cornstarch slurry to reach a spreadable consistency. Avoid adding lots of broth at the end—watery tamale filling is one of the most common reasons tamales turn out gummy.
How do you season a tamale filling for authentic flavor?
Use a chile base (like dried red chiles, guajillo, or ancho) blended with garlic, onion, and a touch of vinegar or citrus for brightness. Simmer the blended sauce with the meat and season with salt, cumin, and oregano to balance the heat. Finish with a little fat (like rendered pork or chicken drippings) for richness, which helps the tamale filling taste “restaurant-style.”
Which meat is best for a classic tamale filling recipe—chicken or pork?
Both chicken and pork work well, but pork is often the most traditional choice because it stays juicy and flavorful during steaming. Chicken is leaner and can dry out if overcooked, so it’s best when shredded after slow cooking and then simmered briefly in the chile sauce. For either option, ensure the filling is cooked with enough aromatics and then reduced so it becomes thick and cohesive.
Why should you let tamale filling cool before assembling the tamales?
Cooling tamale filling helps it thicken slightly, which makes it easier to spread and prevents masa from becoming runny. Hot filling can melt fats and add excess moisture, leading to uneven texture and longer steaming times. Let the filling rest after cooking so the flavors settle and the filling holds shape inside the corn husks.
References
- Tamale
https://en.wikipedia.org/wiki/Tamale - Barbacoa
https://en.wikipedia.org/wiki/Barbacoa - Carnitas
https://en.wikipedia.org/wiki/Carnitas - https://en.wikipedia.org/wiki/Mole_(sauce
https://en.wikipedia.org/wiki/Mole_(sauce - Nixtamalization
https://en.wikipedia.org/wiki/Nixtamalization - Chili con carne
https://en.wikipedia.org/wiki/Chili_con_carne - https://www.britannica.com/topic/tamale
https://www.britannica.com/topic/tamale - Google Scholar Google Scholar
https://scholar.google.com/scholar?q=tamale+filling+recipe - Google Scholar Google Scholar
https://scholar.google.com/scholar?q=tamales+filling+meat+sauce+masa+recipe - Google Scholar Google Scholar
https://scholar.google.com/scholar?q=traditional+tamales+filling+chile+%22mole%22+recipe