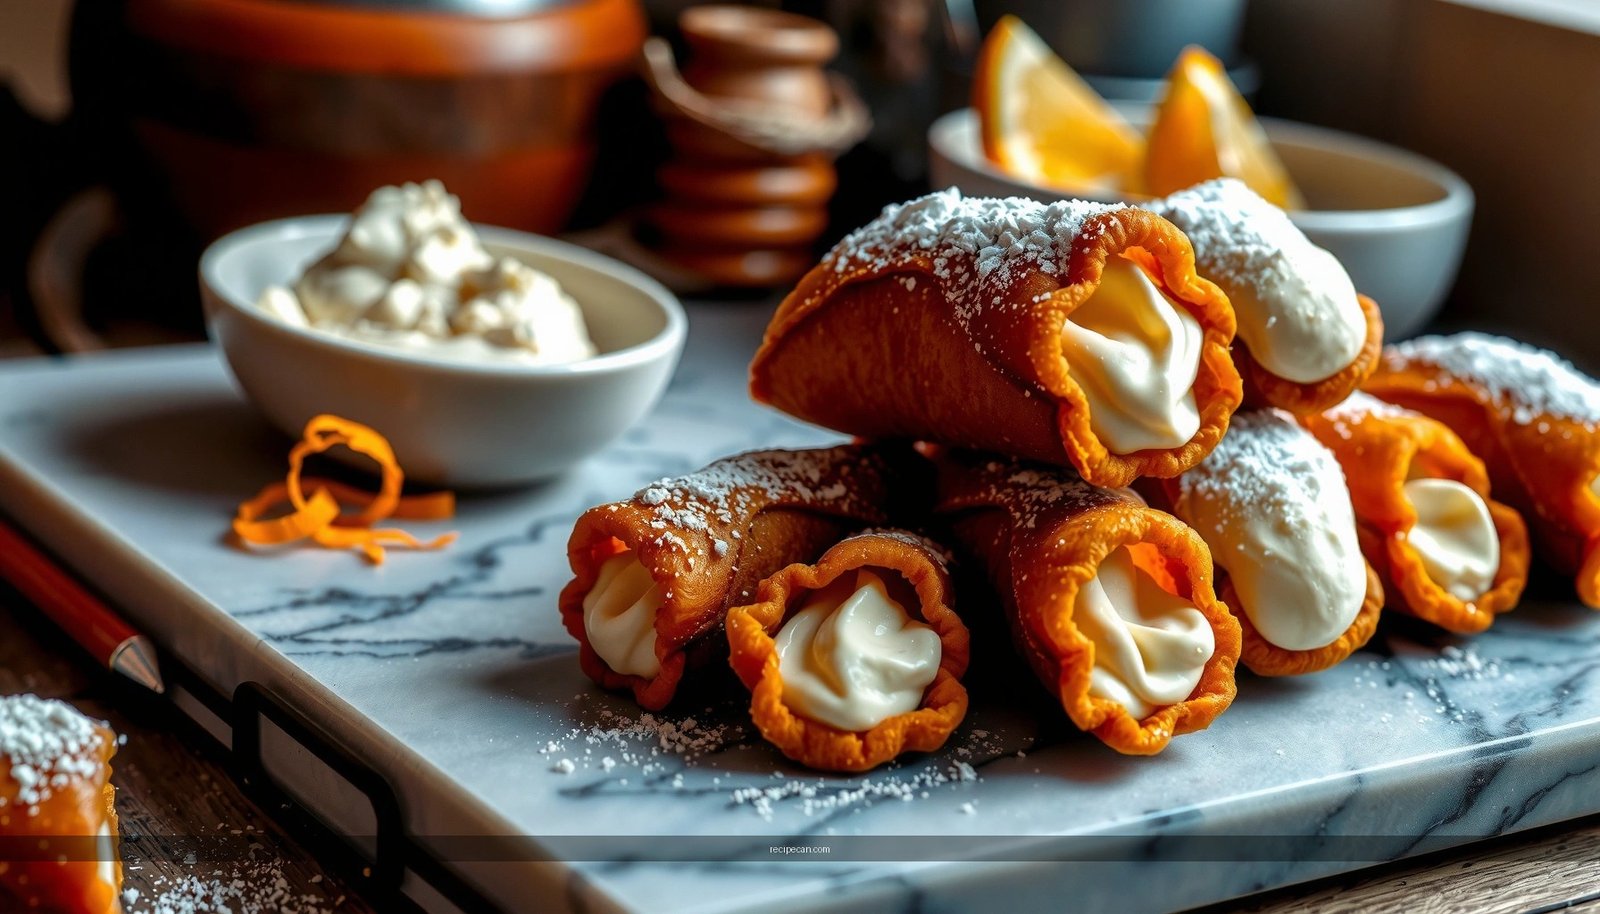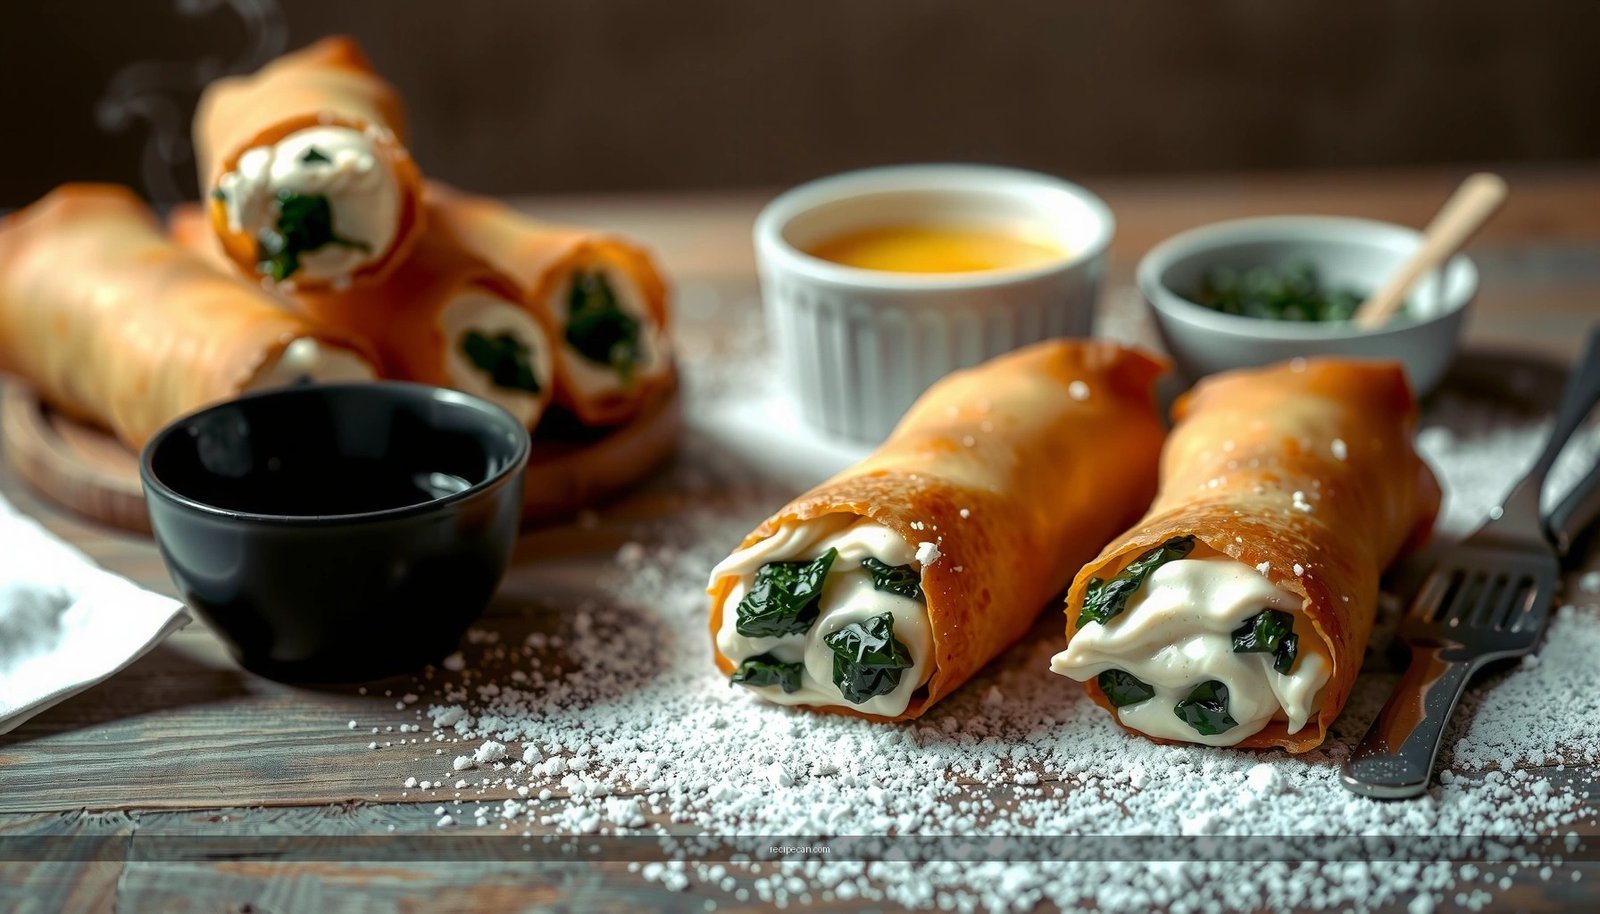
Searching for a spinach and ricotta cannoli recipe that’s genuinely easy and hits that sweet-savory balance? This recipe delivers crisp shells and a creamy ricotta filling infused with spinach, with clear, no-fuss steps for getting it right the first time. If you want cannoli that taste impressive without complicated technique, this is the one to follow.
Make spinach and ricotta cannoli at home by using two non-negotiable techniques: squeeze the spinach dry to prevent watery filling and chill the ricotta mixture briefly so it pipes cleanly. This recipe combines a gently seasoned spinach component with a creamy, lightly sweetened ricotta filling, then pairs it with crisp cannoli shells—either homemade (fry) or store-bought—to deliver classic Italian-style texture, not soggy results.
Ingredients You’ll Need
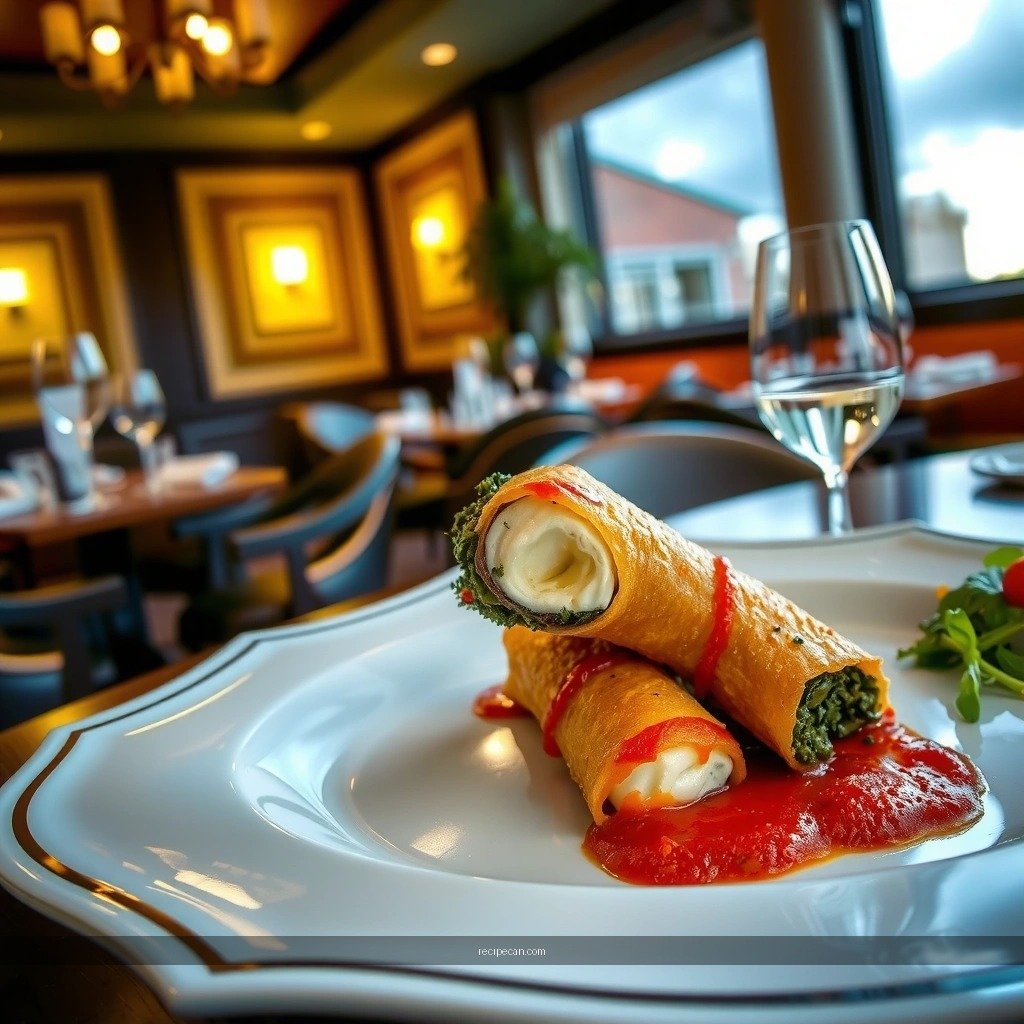
To make this spinach and ricotta cannoli recipe work reliably, assemble ingredients that support flavor balance and texture. The filling should taste bright and mildly sweet, while the shells provide crunch and structure.
– Fresh or frozen spinach (frozen is often easier and consistent)
– Ricotta cheese (whole-milk ricotta gives the best body)
– Sugar (for sweetening and to round out savory notes)
– Cannoli add-ins (commonly mini chocolate chips and/or citrus zest; use what you enjoy)
Optional flavor boosters
– Lemon zest (adds a clean, aromatic lift that complements spinach)
– Vanilla extract (softens any sharpness in ricotta)
– Ground cinnamon (optional—use sparingly for warmth)
Shells and frying ingredients (choose one path)
– Option A: Pre-made shells (fastest, most consistent for beginners)
– Option B: Homemade shells (flour, fat, and frying oil; follow a trusted cannoli dough method)
– Neutral frying oil if you’re frying shells
Pro tip for success: If your ricotta is watery, drain it in a fine-mesh sieve for 10–20 minutes (or blot with cheesecloth). A thicker ricotta makes assembly smoother and preserves the ideal cannoli texture.
How Much Moisture You Need to Remove From Spinach (Practical Benchmarks)
| # | Spinach Type (Start) | Typical Weight Start | Target Drained Weight | Result if Too Wet | Cannoli Outcome |
|---|---|---|---|---|---|
| 1 | Fresh spinach | 10 oz (283 g) | 3–4 oz (85–113 g) | Filling loosens after piping | Shells soften faster |
| 2 | Frozen spinach | 10 oz (283 g) | 2–3 oz (57–85 g) | More stand-off watery layer | Less stable piped shape |
| 3 | Frozen spinach, thawed & pressed hard | 10 oz (283 g) | 1.5–2.5 oz (43–71 g) | Flavor concentrates too much | Usually still excellent |
| 4 | Fresh spinach, lightly squeezed | 10 oz (283 g) | 4.5–6 oz (128–170 g) | Filling becomes softer mid-batch | Piping may droop |
| 5 | No-drain spinach (worst case) | Any cooked volume | — | Watery purge in bowl | Guaranteed sogginess |
| 6 | Spinach cooked until dry-looking | 10 oz (283 g) | 3–5 oz (85–142 g) | Minimal purge when mixed | Stable & pipeable |
| 7 | Spinach pressed + chopped fine | 10 oz (283 g) | 2.5–3.5 oz (71–99 g) | Even distribution, no pockets | Best texture consistency |
Spinach Prep (So It’s Never Watery)
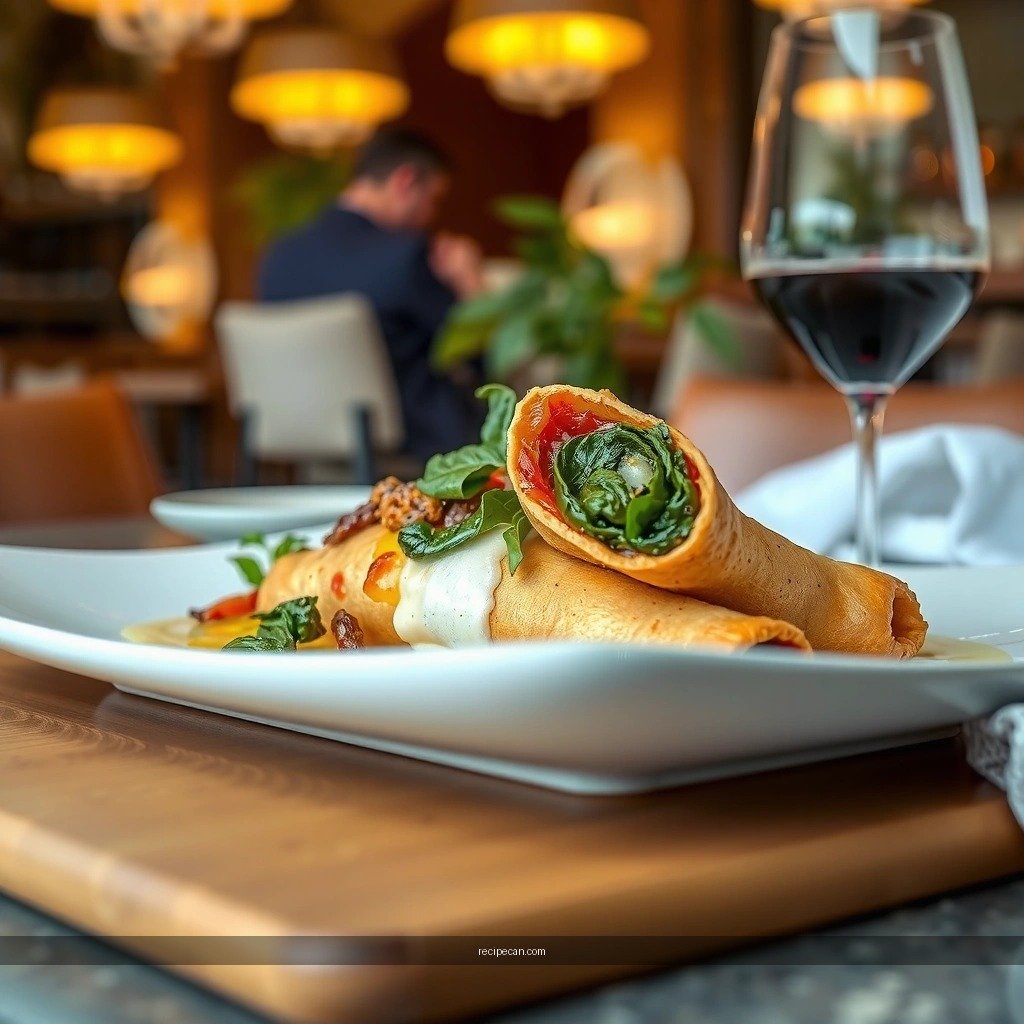
The single biggest variable in cannoli filling is spinach moisture. Even high-quality ricotta can’t compensate if the spinach releases water after mixing, which can loosen the filling and soften shells quickly.
1) Cook first, then drain thoroughly
– If using fresh spinach: wilt in a covered pan with minimal water (or steam), then drain in a colander.
– If using frozen spinach: thaw completely, then drain and remove excess liquid before cooking further (or cook very briefly to drive off remaining moisture).
2) Squeeze like you mean it
A solid method is to press spinach in cheesecloth: twist tightly, squeeze until the dripping stops, and keep squeezing a bit more. You’ll often see a clear improvement in thickness.
3) Chop finely for even distribution
After squeezing, chop finely so spinach doesn’t form dense green pockets. Fine chopping also helps the filling feel creamy rather than “speckled but chunky,” which is especially important if you’re piping.
4) Season for balance, not heaviness
Because this is a sweet-savory dessert, keep seasoning light and purposeful:
– Add a pinch of salt (it sharpens ricotta’s flavor)
– Consider lemon zest for brightness
– Avoid over-sweetening spinach itself—your sugar belongs primarily in the ricotta mixture
Operational insight: If your spinach still looks glossy, keep cooking 1–2 minutes longer. The goal is spinach that looks “dry-ish,” even though it’s fully cooked.
Ricotta Filling Mix
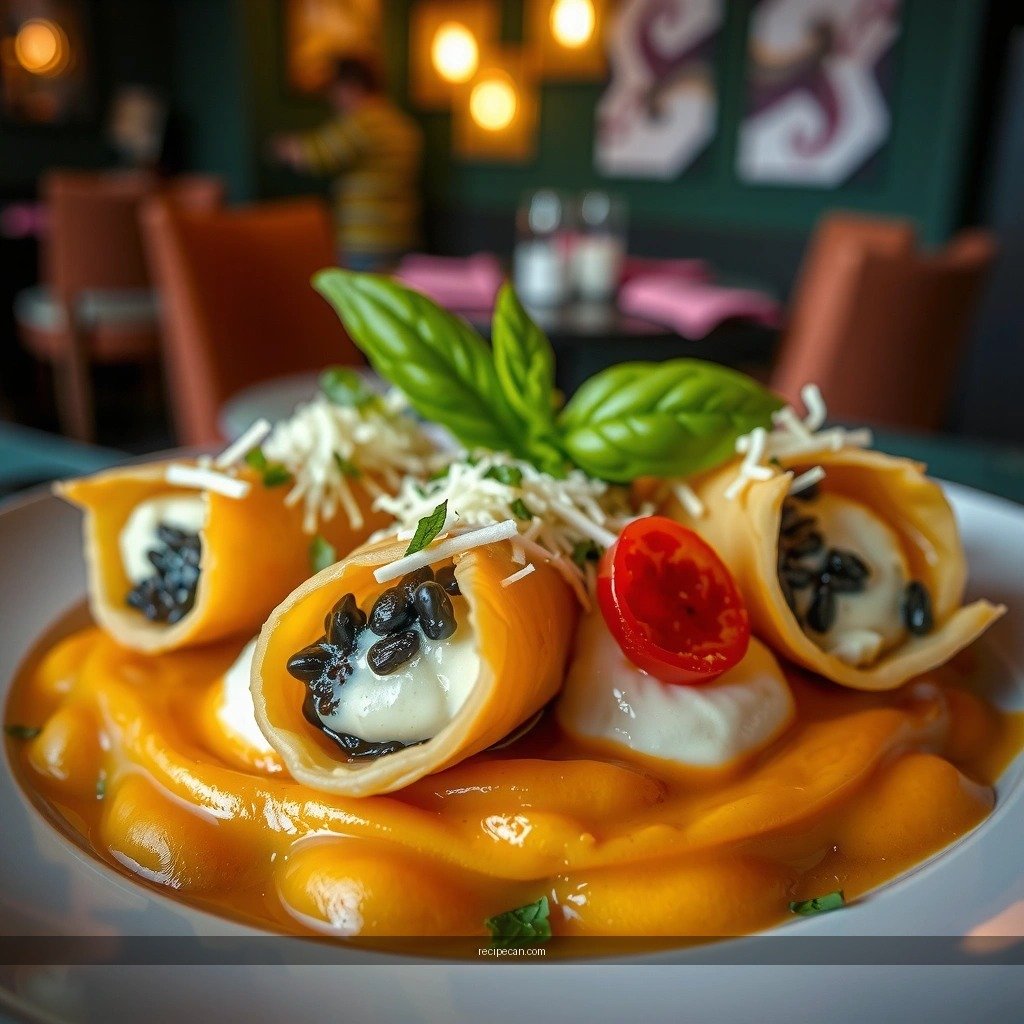
Once spinach is prepared, the filling method is straightforward—but small technique differences dramatically affect mouthfeel.
1) Blend ricotta until smooth
Start by blending ricotta (with a mixer or food processor) to eliminate graininess. Smooth ricotta produces a professional texture that holds up against crisp shells.
2) Fold in sugar and flavors
Mix in:
– Sugar to balance the vegetal notes
– Lemon zest (optional but strongly recommended for this spinach profile)
– Vanilla (optional)
Taste as you go. This recipe is meant to be sweet, but not candy-sweet, so the spinach flavor stays present rather than disappearing.
3) Combine spinach gently
Fold chopped spinach into the ricotta slowly. Gentle mixing matters: aggressive whipping can make the filling denser and can break its delicate structure.
4) Add cannoli-style mix-ins
Common add-ins that pair well with spinach ricotta cannoli:
– Mini chocolate chips (for contrast)
– Optional candied citrus peel (if you enjoy more traditional cannoli complexity)
5) Chill briefly so it pipes cleanly
Refrigerate the filling 20–40 minutes. Chilling:
– thickens the ricotta slightly,
– helps maintain a defined shape when piped,
– reduces the chance of squeezing out too thin or too runny.
Make-ahead note: filling can be made up to 1–2 days ahead, covered tightly, and kept refrigerated.
Cannoli Shells (Fry or Use Pre-Made)
Cannoli shells are engineered for crunch—so treat them like perishable “infrastructure.” If shells absorb moisture, they soften quickly. Your goal is crispness at the moment you serve.
Option A: Frying shells (classic approach)
– Fry until deep golden and visibly blistered.
– Drain properly so shells cool dry.
– Cool completely before filling—warm shells can melt chocolate chips and loosen ricotta.
Option B: Use pre-made shells (best for speed and consistency)
Store-bought shells are often ideal for home cooks because they’re consistent in thickness and crispness. Check that they’re:
– dry,
– not overly pale,
– sealed and packaged properly (for freshness).
Shell-handling best practices
– Keep shells in an airtight container or in a cool, dry place.
– Avoid filling until just before serving. This is the difference between “cannoli dessert” and “ricotta toast with flair.”
Assemble and Fill
Assembly is where the recipe becomes sensory: crunch meets cream. Timing and portioning determine whether your cannoli feels balanced.
1) Pipe right before serving
Use a piping bag with a medium tip for clean, uniform filling. If you don’t have a piping bag, a sturdy spoon works—just aim for consistent distribution.
2) Fill evenly without overstuffing
Overfilling can cause filling to spill, which increases shell softening. Fill:
– to a pleasing level at the ends and center,
– enough to show creamy interior,
– not so much that pressure forces it out.
3) Add toppings strategically
Finish immediately with:
– chopped pistachios (for savory crunch),
– extra chocolate chips (for bittersweet pops),
– powdered sugar (for a celebratory surface).
Quality checkpoint: The best cannoli looks filled but not flooded. The shell should still look crisp and intact when served.
Serving and Storage Tips
Serving cannoli is time-sensitive, but storage can be managed intelligently.
Serve for peak crunch
– Fill and plate immediately.
– If you’re serving a group, line up shells first, then fill in batches—one batch per 10–15 minutes of service.
Store unfilled shells separately
Keep shells dry and sealed. Moisture exposure is the enemy of crispness.
Refrigerate leftover filling
– Refrigerate the spinach and ricotta filling in a covered container.
– Use within 2–3 days for best flavor and texture.
– Reuse ideas: spoon into bowls, top on crostini, or layer into small parfait cups with crushed nuts and a drizzle of honey.
Analytical perspective: Storage doesn’t just affect taste—it changes the physical behavior of fat and water in ricotta. Chilling is helpful for stability, but moisture contact with shells is what truly degrades crunch.
Make-ahead plan (best workflow)
– Day 1: cook, squeeze, chop spinach; mix and chill filling.
– Day 2: fry/prep shells (if homemade), then fill right before serving.
This reduces last-minute stress while preserving the cannoli’s ideal texture.
Conclusion
This spinach and ricotta cannoli recipe succeeds because it respects texture science: squeeze spinach thoroughly to eliminate excess moisture, blend ricotta until smooth, chill briefly for pipeability, and fill shells right before serving to protect crunch. Whether you choose homemade shells or pre-made ones, the method stays consistent—sweet-savory balance, clean assembly, and reliable results every time.
Frequently Asked Questions
What is a spinach and ricotta cannoli and how is it different from traditional cannoli?
Spinach and ricotta cannoli are a savory twist on classic Italian cannoli, where chopped spinach is mixed into a ricotta filling for a richer, herby flavor. Instead of focusing on sweet citrus and chocolate accents, this version leans into earthy spinach, garlic, and sometimes nutty additions like Parmesan. The shell is still typically crisp and fried, so you get the same satisfying crunch with a savory filling.
How do I make the ricotta filling for spinach and ricotta cannoli so it doesn’t turn watery?
Start by draining ricotta well—press it through a fine-mesh sieve or cheesecloth for 30 minutes to remove excess moisture. Cook the spinach first, then squeeze it very dry so the filling stays thick and holds its shape. For extra structure, mix in grated Parmesan or a little cream cheese, and season gradually with salt and pepper to avoid thinning the mixture.
How do I prevent spinach and ricotta cannoli shells from becoming soggy?
Assemble the cannoli close to serving time so the shells stay crisp. If you’re making ahead, keep the shells and filling separate, then pipe or fill them just before guests eat. You can also slightly chill the filling so it spreads less into the shell, and make sure the spinach mixture is fully cooled and well-drained.
Which spinach is best for a savory cannoli filling—fresh or frozen?
Both work, but frozen spinach is often the easiest option for consistent results. If using fresh spinach, cook it until wilted, then squeeze thoroughly to remove water. With frozen spinach, thaw completely and press out moisture using a clean towel or cheesecloth, since excess water is the main cause of watery spinach and ricotta cannoli filling.
Why do my spinach and ricotta cannoli taste flat, and what’s the best way to season them?
Savory cannoli fillings need enough salt and aromatic flavor, and ricotta can taste mild if under-seasoned. Use a balanced mix of salt, black pepper, and optional garlic or nutmeg, and add Parmesan for a more “aged” savory depth. Taste the ricotta filling before filling the shells, and consider a small squeeze of lemon to brighten the spinach and ricotta flavor without overpowering it.
References
- Google Scholar Google Scholar
https://scholar.google.com/scholar?q=spinach+ricotta+cannoli+recipe - Google Scholar Google Scholar
https://scholar.google.com/scholar?q=cannoli+ricotta+pastry+dough+recipe - Google Scholar Google Scholar
https://scholar.google.com/scholar?q=spinach+cannoli+ricotta+filling - Google Scholar Google Scholar
https://scholar.google.com/scholar?q=Italian+cannoli+history+ricotta - https://scholar.google.com/scholar?q=ricotta+making+cheese+technology+ricotta+cannoli Google Scholar
https://scholar.google.com/scholar?q=ricotta+making+cheese+technology+ricotta+cannoli - Google Scholar Google Scholar
https://scholar.google.com/scholar?q=spinach+cooking+and+water+content+effects+on+filling - Google Scholar Google Scholar
https://scholar.google.com/scholar?q=cannoli+filling+texture+ricotta+draining+sucrose - Google Scholar Google Scholar
https://scholar.google.com/scholar?q=cheese+ricotta+composition+fat+protein+water+content - Google Scholar Google Scholar
https://scholar.google.com/scholar?q=Italian+dried+spinach+use+in+fillings+food+science - Google Scholar Google Scholar
https://scholar.google.com/scholar?q=sicilian+cannoli+traditional+ingredients+ricotta