Looking for Pampered Chef recipes ice cream that deliver truly easy, creamy results at home? This guide picks the best no-fuss methods—so you get smooth texture, dependable churn, and clean cleanup without guesswork. If you want a homemade ice cream win on a realistic timeline, you’ll find the exact recipes and steps that make it happen.
If you want smooth, creamy ice cream at home without the usual complexity, the fastest path is to start with a reliable Pampered Chef base (with correct chilling and mixing) and then tailor it with no-churn or mix-in methods depending on your schedule. In this post, you’ll learn practical ice cream flavor ideas and step-by-step approaches designed to help you consistently achieve great texture—whether you’re making classic churn-style results or simpler no-churn versions.
Use Pampered Chef recipes to make ice cream quickly, using simple ingredients and the right tools for smoother, creamier results. In this post, you’ll learn reliable ice cream flavor ideas and step-by-step methods to help you get great texture every time.
Classic Pampered Chef Ice Cream Base

– Start with a smooth, creamy base that works for many flavors
– Balance sweetness and dairy for a rich, not-too-sweet finish
A classic ice cream base is the foundation for creamy mouthfeel, stable structure, and flavor clarity. With Pampered Chef recipes ice cream, the goal is typically twofold: (1) dissolve sugar fully and (2) evenly disperse dairy so the base freezes uniformly. When sugar isn’t fully dissolved or the dairy is unevenly blended, you’re much more likely to see graininess, icy edges, or a “split” texture.
What to focus on in the base (so your final ice cream behaves):
– Warm-but-not-hot mixing: If you’re making a cooked or tempered base, keep heat gentle so the dairy doesn’t curdle. Tempering (slowly combining warm ingredients) is a key technique that protects texture.
– Correct ratio of dairy to sugar: Too much sugar can make ice cream overly soft; too little can lead to harder, icier results. In practice, the “sweetness level” should enhance flavor without masking it.
– Fat matters for creaminess: Cream and/or whole dairy improves freeze tolerance and reduces ice crystal formation. That’s why many tried-and-true Pampered Chef recipes lean on cream-forward bases.
– Chill thoroughly before freezing: Chilling improves the viscosity and lets flavors integrate. It also helps your base freeze more evenly.
If you’re looking for a quick benchmark, the table below compares common base styles and the texture you should expect—use it to decide which approach matches the equipment and time you have.
Ice Cream Base Styles vs. Expected Texture (Home Use)
| # | Base style | Typical churn time | Best texture outcome | Risk of iciness |
|---|---|---|---|---|
| 1 | Cream-forward no-cook base | 20–30 min | Soft, spoonable freeze | Low |
| 2 | Custard-style (light cook) | 25–35 min | Velvety, richer body | Low–Medium |
| 3 | Milk + cream base | 20–30 min | Classic scoopable finish | Medium |
| 4 | Condensed-milk base (easy) | No-churn set | Dense, creamy bite | Low |
| 5 | Egg-free gelled base | 20–30 min | Clean, stable texture | Medium–High |
| 6 | Lower-fat milk-forward base | 25–35 min | Lighter body, quicker melt | High |
| 7 | High-sugar “sorbet-like” sweet base | No-churn set | Soft scoop, less cream | Medium |
In short: choose the base that matches your freezer time and desired scoopability. The best flavor in the world won’t matter if the base freezes unevenly.
No-Churn Pampered Chef Ice Cream Options

– Skip the churning step for an easier homemade ice cream process
– Choose mix-ins and fold-ins for even flavor throughout
No-churn is where Pampered Chef recipes ice cream really shine for busy schedules. Instead of relying on constant churning to break up ice crystals, you create creaminess through proper blending, stable sweetness, and air incorporation—usually by whipping cream and folding it into a sweetened base.
Core workflow for no-churn creaminess:
1. Whip to soft-to-medium peaks: Over-whipping can make the mixture grainy once it freezes; under-whipping may lead to a denser, less airy texture.
2. Fold gently and thoroughly: Folding preserves the whipped structure. If you overmix, you reduce air pockets and can create a heavier end product.
3. Freeze quickly in an even thickness: The more uniform your container depth, the more consistent your freezing will be.
4. Plan a “set time” before topping: Ice cream holds mix-ins better once the base is partially firm.
Common no-churn mix-in strategy (for best distribution):
– Add soft, thick components (caramel swirls, fruit purees, chocolate sauce) before fully freezing.
– Keep very crunchy items (nuts, cookie crumble) for later or use small amounts mixed in after the first freeze window—this improves texture and reduces “icy crunch” effects.
If you use fold-ins, remember: the goal isn’t just flavor—it’s even flavor distribution without big icy pockets.
Flavor Ideas: Chocolate, Vanilla, and Fruit

– Build classic flavors with simple add-ins like cocoa or fruit purées
– Create swirls and chunks without freezing issues
The easiest way to level up your homemade ice cream is to treat flavor as an engineering problem: you want intense flavor that survives freezing, plus a texture that doesn’t collapse into crystals.
Chocolate (rich, reliable, and easy to scale)
For chocolate, choose cocoa or melted chocolate and make sure it’s integrated smoothly:
– Cocoa-based chocolate: Sift cocoa for fewer lumps; whisk into part of the base so it dissolves before combining.
– Chocolate chunk approach: Let chunks be fully coated (e.g., tempered chocolate or chocolate bars cut into pieces). Smaller chunks distribute more evenly and stay scoop-friendly.
Texture tip: If chocolate sauce is too thin, it can create icy streaks. Thicken slightly or use a paste-like mix for smoother freezing.
Vanilla (clean flavor that highlights your base)
Vanilla is often the best “control flavor” to test your technique:
– Use a high-quality vanilla extract (or vanilla paste if that’s your preference).
– Pair with a touch of salt to bring out dairy sweetness.
– Avoid adding too many competing extracts; keep the profile tight so your base quality shows.
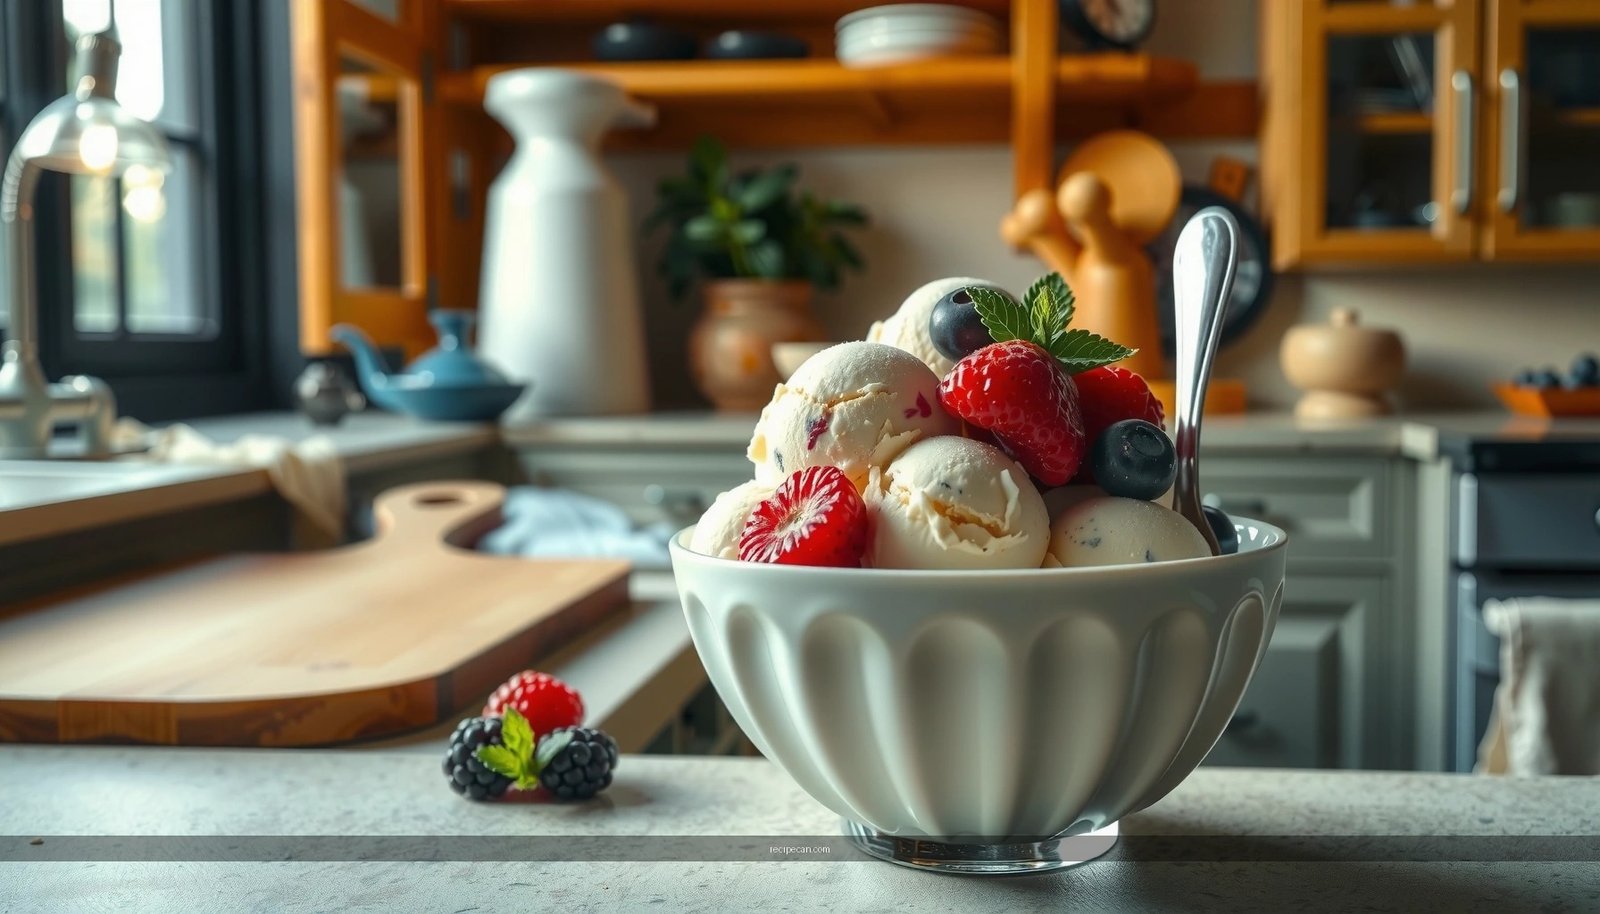
Fruit (bright flavor with swirl control)
Fruit is delicious, but it introduces two variables: water content and acidity.
– Use fruit purée with reduced water (cook and reduce briefly or start with a thick purée).
– Swirl technique: Fold into the base in thin ribbons rather than dumping a thick mass. This reduces frozen streaking.
– Chunk strategy: If adding actual fruit pieces, consider lightly macerating with sugar first to draw out liquid, then drain.
The best “Pampered Chef recipes ice cream” results often come from treating fruit as a flavor concentrate, not just a topping.
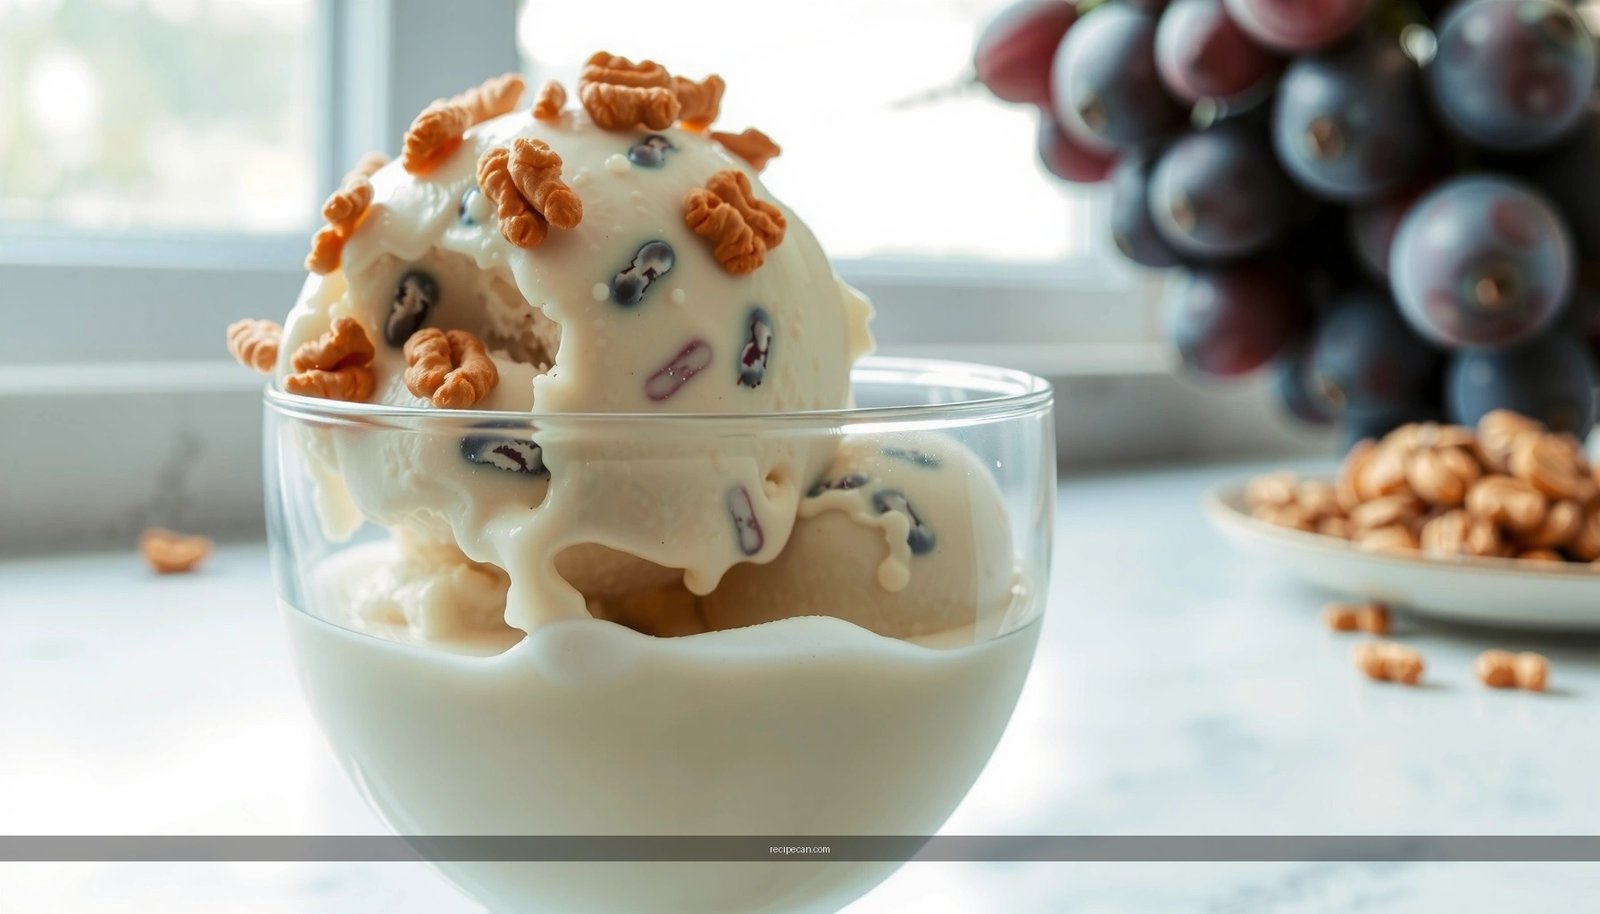
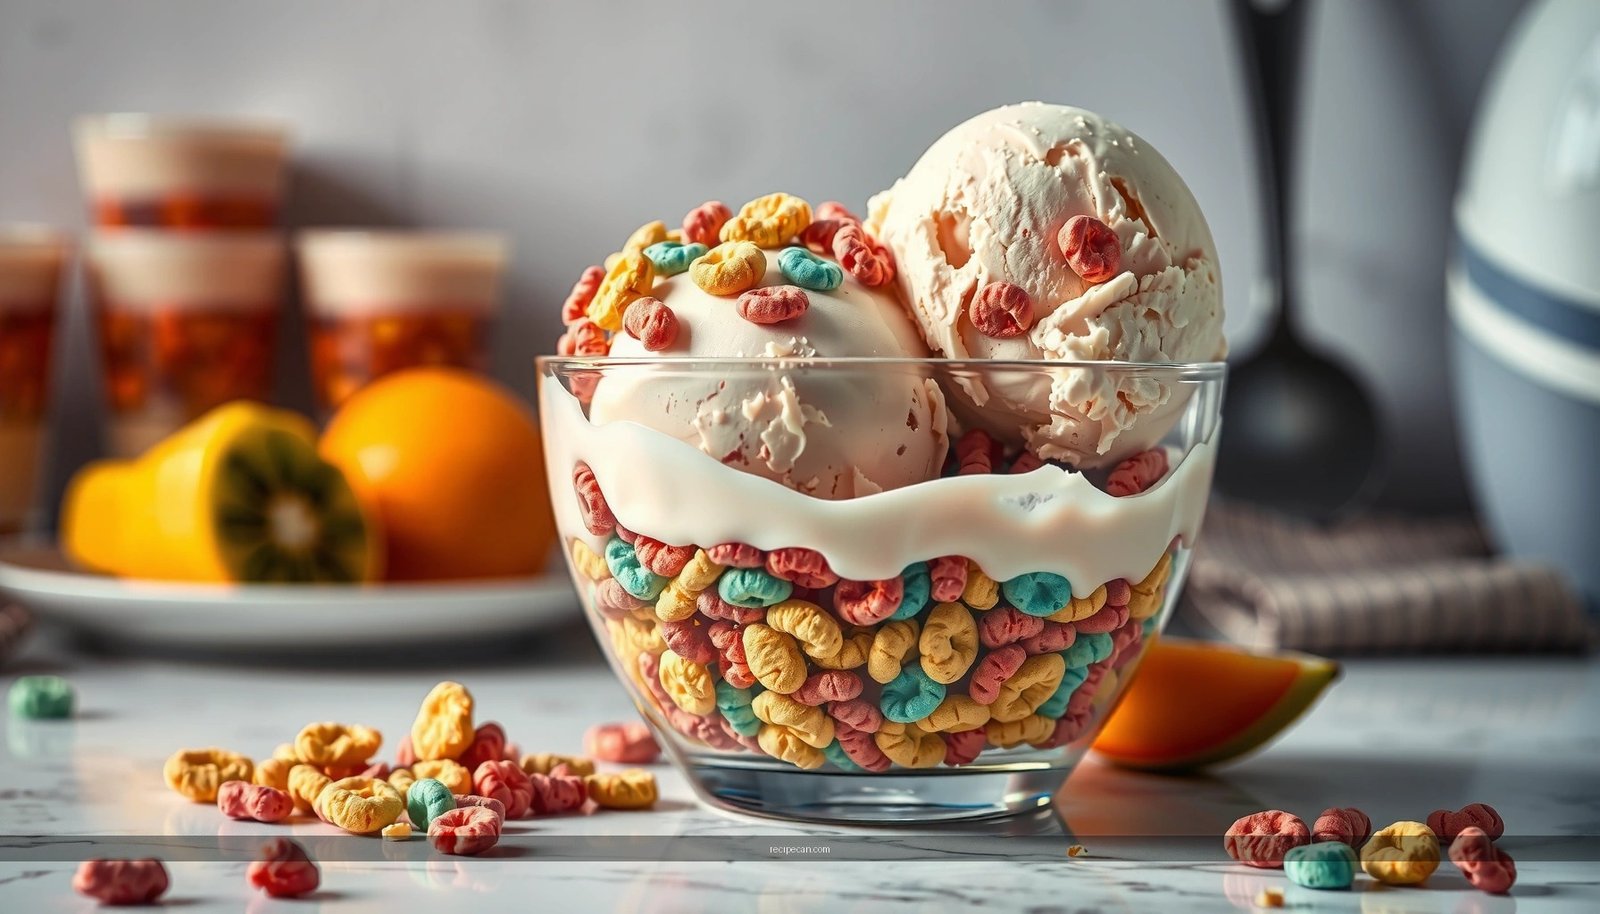
Toppings and Mix-Ins That Work Best
– Use crunchy toppings sparingly to prevent icy texture
– Add cookie pieces, caramel, or nuts at the right time for best results
Toppings can make or break ice cream texture. Crunchy ingredients absorb moisture and can harden into icy fragments if added too early or in large quantities.
How to choose topping timing:
– Add delicate mix-ins early when they’re coated or syrupy (e.g., fudge ribbons, thick caramel swirls).
– Add crunchy toppings late to keep them crisp (cookie crumbs, toasted nuts).
– Use restraint: A “little goes a long way” approach usually yields the best sensory experience—creamy first, crunchy second.
Best-performing mix-in categories for scoop quality:
– Cookie pieces: Keep pieces relatively small and use them in moderate amounts.
– Caramel: Works well as a ribbon or dollop if it’s thick enough to suspend without fully sinking.
– Nuts: Toasting improves flavor; chopping reduces the risk of large hard bites.
– Chocolate chunks: Let them be firm and preferably larger than nut pieces so they don’t blend into icy texture.
From a workflow standpoint, it helps to think of your batch in phases: first create a smooth frozen base, then add flavor accents that retain their intended texture.
Make It Creamy: Texture Tips and Common Fixes
– Thaw time and proper mixing help prevent graininess
– If it’s too firm or icy, adjust chilling and serve strategy
Even when you follow a great Pampered Chef recipe, texture can vary based on temperature, mixing order, and freezer behavior. Below are practical, high-success fixes.
Prevent graininess
Graininess is usually a sign of uneven freezing or incomplete dissolution.
– Ensure sugar is fully dissolved before freezing (especially for no-cook bases).
– Chill the base properly so it starts freezing at a consistent temperature.
– Mix thoroughly but gently during folding. Overmixing collapses air and can worsen icy texture.
If it’s too firm or icy
This often happens when the mix-ins are water-heavy or when the base was too thin.
– Serve strategy: Let the container sit at refrigerator temperature for 10–20 minutes, then scoop. Room-temperature thaw can soften too quickly and smear.
– Freeze strategy: Store in the coldest stable part of the freezer and avoid frequent door openings.
– Adjust next batch: Increase cream ratio slightly, thicken fruit purée more, or reduce watery sauce additions.
If it’s not scoopable yet
No-churn can take time to fully set.
– Give it a full freeze period (often several hours, depending on container size).
– Avoid slicing and “checking” early; rapid temperature swings increase ice crystal formation.
Treat texture as a controllable outcome: most “failures” are actually cues for the next batch’s adjustments.
Serving, Storing, and Re-Freezing Tips
– Store ice cream in airtight containers to reduce freezer burn
– Re-freeze safely and plan thawing for scoopable texture
Professional-quality homemade ice cream depends as much on storage as on the recipe. Air exposure leads to freezer burn, which creates dry icy surfaces and dulls flavor.
Storage best practices:
– Use airtight containers and press plastic wrap directly against the surface before the lid if you’re prone to freezer burn.
– Minimize temperature cycling: Re-freezing after frequent thawing can change texture and create ice crystals.
– Portion for easier serving: Smaller containers reduce time the bulk batch spends warm.
Re-freezing safely and keeping scoop quality:
– If your ice cream melts during serving, don’t panic—refreeze it promptly.
– For best texture, let it re-freeze without extra mixing. Stirring melted ice again can reintroduce large crystals.
– Plan a thaw window: refrigerator-thaw is the most controlled way to return scoopability without turning the edges soft.
A practical serving workflow
1. Remove from freezer.
2. Thaw in refrigerator 10–20 minutes.
3. Scoop quickly and return promptly.
This simple routine protects texture and keeps your Pampered Chef recipes ice cream tasting as intended—even days later.
Pampered Chef recipes ice cream are a straightforward way to get creamy, flavorful frozen treats at home—whether you want classic base recipes or no-churn options. Pick one base, choose your favorite flavors and mix-ins, and use the texture tips to nail every batch; then try a new variation next time for a quick, fun upgrade.
Frequently Asked Questions
What Pampered Chef ice cream recipes are easiest for beginners?
If you’re new to Pampered Chef recipes ice cream, start with no-churn or quick-churn style recipes that use simple ingredients and minimal equipment. Look for options that pair heavy cream with sweetened condensed milk or a basic custard base, because they’re forgiving and don’t require precise tempering. These beginner-friendly Pampered Chef ice cream ideas usually chill, churn, or freeze with clear timing so your results are consistent.
How do you make Pampered Chef ice cream without a lot of ice crystals?
To reduce ice crystals in homemade Pampered Chef recipes ice cream, keep your mixture cold before churning and freeze it quickly. Use a properly blended base (mix until smooth), avoid skipping sugar, and consider adding an ingredient like alcohol or a stabilizer if the recipe suggests it. After churning, cover the ice cream tightly and store it in the coldest part of your freezer to maintain texture.
Why do some homemade ice creams end up too hard from Pampered Chef recipes?
Ice cream can turn rock hard when it’s stored too long at very low freezer temperatures or when the base is too low in fat/sugar. Pampered Chef recipes ice cream often balance cream and sweetness for a smoother scoop, so follow the measurements closely instead of substituting freely. Let the ice cream sit at room temperature for a few minutes before serving and keep it well covered to prevent freezer burn and dryness.
What’s the best way to customize a Pampered Chef ice cream recipe with mix-ins?
For best results, add mix-ins like cookie pieces, fruit, or chocolate only after the ice cream has thickened during the final stage of preparation (or during the last minutes if your method includes churning). This helps prevent sinking and keeps chunks from breaking down too much. Fold gently, then freeze promptly, so your Pampered Chef ice cream stays scoopable and evenly flavored.
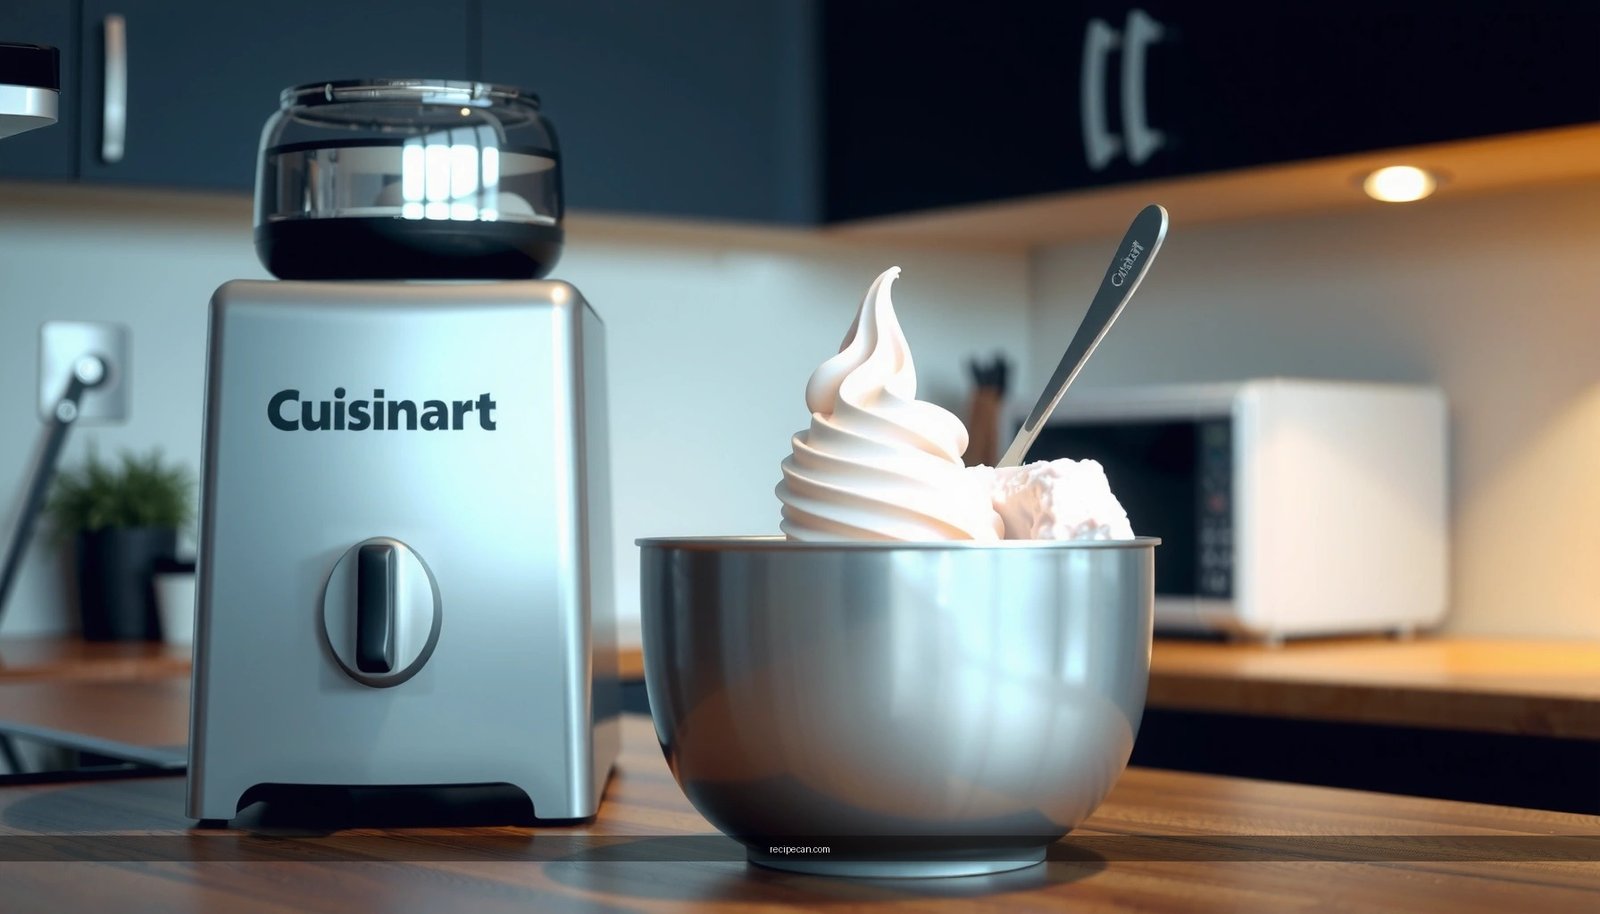
Which Pampered Chef gadgets work best for making ice cream at home?
The best Pampered Chef tools depend on whether you’re churning or using a no-churn approach, but most people get the most consistent texture with an ice cream maker/churn setup. If you’re following specific Pampered Chef recipes ice cream, use the recommended accessories for your method (like a hand mixer or whisk for smooth bases). Having the right gadget helps your mixture emulsify properly and churn/freeze evenly, leading to a creamy homemade result.
References
- Google Scholar Google Scholar
https://scholar.google.com/scholar?q=pampered+chef+ice+cream+recipes - Google Scholar Google Scholar
https://scholar.google.com/scholar?q=home+ice+cream+formulation+stabilizers+emulsifiers - Google Scholar Google Scholar
https://scholar.google.com/scholar?q=ice+cream+food+safety+frozen+desserts+listeria - Ice cream
https://en.wikipedia.org/wiki/Ice_cream - Ice cream maker
https://en.wikipedia.org/wiki/Ice_cream_maker - Ice cream | Definition, History, & Production | Britannica
https://www.britannica.com/topic/ice-cream - https://www.fda.gov/food/foodborne-pathogens/fda-bad-bug-book-foodborne-pathogenic-microorganisms-and-natural-toxins
https://www.fda.gov/food/foodborne-pathogens/fda-bad-bug-book-foodborne-pathogenic-microorganisms-and-natural-toxins - About Listeria Infection | Listeria Infection | CDC
https://www.cdc.gov/listeria/index.html - https://pubmed.ncbi.nlm.nih.gov/?term=ice+cream+food+safety+listeria
https://pubmed.ncbi.nlm.nih.gov/?term=ice+cream+food+safety+listeria - Catatonia – StatPearls – NCBI Bookshelf
https://www.ncbi.nlm.nih.gov/books/NBK430842/