Looking for an easy apple crumble recipe that delivers maximum flavor with minimal effort? This quick, tasty, simple method gives you a perfectly crisp topping and tender, cinnamon-sweet apples without complicated steps. If you want the fastest way to bake a crowd-pleasing dessert at home, this is the recipe you’ll reach for.
This easy apple crumble recipe gives you a warm, bubbly dessert in one straightforward bake—tender spiced apples under a buttery, golden topping. It’s quick to assemble (no mixer required), and the results are consistently excellent because the fruit and crumble textures are engineered to work together while the oven does the rest.
Gather Ingredients for an Easy Apple Crumble

Choosing the right apples and using the correct pantry staples are the two biggest drivers of a great apple crumble outcome—especially if you’re aiming for “quick, tasty, and simple” rather than a labor-intensive dessert.
Start with crisp apples so they hold their shape during baking. Softer apples can collapse into the filling before the crumble is properly browned. For the best flavor profile, choose varieties that balance sweetness with structure:
– Granny Smith: tart, classic “baking apple,” keeps a firm bite
– Honeycrisp: sweet-tart flavor and excellent texture
– Braeburn or Pink Lady: crisp with a pleasant aromatic profile
For the topping, you’ll rely on common ingredients that behave predictably under heat:
– All-purpose flour (gives crumble structure)
– Granulated sugar (sweetens and browns)
– Butter (creates flaky, crumbly richness)
– Ground cinnamon (seasoning that complements apples)
If you want a more bakery-style crumble (still easy), consider adding one extra pantry item:
– Pinch of salt in the crumble (enhances apple sweetness and makes the spices taste more “round”)
Optional, but useful depending on your fruit:
– Cornstarch (a small amount can help thicken juices; particularly helpful if you’re using very juicy apples or if you want a thicker filling)
– Vanilla (for serving or mixing into the filling)
Key equipment note (for speed)
To keep the process efficient, use:
– A deep baking dish (prevents overflow of bubbling juices)
– Parchment on the bottom rack (optional, but it makes cleanup fast)
Baking performance target (quick planning)
A “quick apple crumble” should bake long enough for bubbles and browning without drying out the topping. The guide below helps you match your oven to a reliable finish.
Apple Crumble Bake Targets (Oven-Dependent Finish, 8×8 in dish)
| # | Oven Type | Recommended Temp | Baking Time | Best “Done” Signal |
|---|---|---|---|---|
| 1 | Conventional (no fan) | 375°F / 190°C | 38–45 min | Bubbles at edges + top is golden |
| 2 | Convection (fan) | 350°F / 175°C | 30–38 min | Even browning + active bubbling |
| 3 | Toaster oven | 400°F / 205°C | 25–32 min | Golden crumbs + thickened juices |
| 4 | Gas oven | 375°F / 190°C | 40–48 min | Top browns without darkening too fast |
| 5 | Microwave + bake (limited heat) | 395°F / 200°C | 35–44 min | If topping looks pale, extend in 5-min increments |
| 6 | Oven with hot spots | 365°F / 185°C | 38–46 min | Rotate dish halfway if one side browns early |
| 7 | High-altitude | Reduce by 10°F / 5°C | Add 5–8 min | Bubbles should thicken; cover loosely if crumbs brown fast |
Prep the Apples

Apple crumble is at its best when the fruit is evenly seasoned and cut to a consistent size. That’s how you get a tender filling with minimal “hard corners” and no dry patches.
1) Peel and slice
– Peel if you prefer a smoother texture; leave peel on if you want a rustic bite and added structure.
– Slice into similar thicknesses (roughly 1/4-inch / 6 mm) for even softening.
2) Toss with sugar and cinnamon
– The sugar draws moisture from the apples as they bake, forming the bubbly filling.
– Cinnamon adds warmth and a familiar apple-pie-like flavor that pairs naturally with crumble.
3) Optional lemon squeeze
A small squeeze of lemon is a classic, practical tweak:
– It brightens the flavor (especially if apples are very sweet)
– It helps balance the richness of butter and sugar
Commercial-style consistency tip: If you want the filling to be slightly thicker (useful for serving clean squares), add a light thickener:
– Stir 1–2 teaspoons cornstarch per batch into the apples before baking.
This prevents the juices from staying thin once the dessert cools.
Make the Crumble Topping
The crumble topping is the “engine” of the dessert—where flavor, aroma, and texture meet. The key technique is how you combine butter with the dry ingredients.
1) Combine dry ingredients first
Mix flour, sugar, and cinnamon in a bowl. Dry mixing ensures the cinnamon disperses evenly and the topping browns more uniformly.
2) Rub in butter until crumbly
Rub cold butter into the dry mixture until it resembles coarse crumbs. This matters because:
– Cold butter melts more slowly, creating better crumb texture
– Over-mixing can lead to a paste-like topping that bakes up dense rather than crisp
3) Keep larger crumbs for crunch
Many people aim for uniform small crumbs, but professional results often come from mixed sizes. Larger crumbs:
– Bake into crisp, buttery bits
– Provide contrast to the soft apples in every bite
Practical shortcut: If you’re short on time, chill the butter briefly before using—cold butter is easier to rub in quickly.
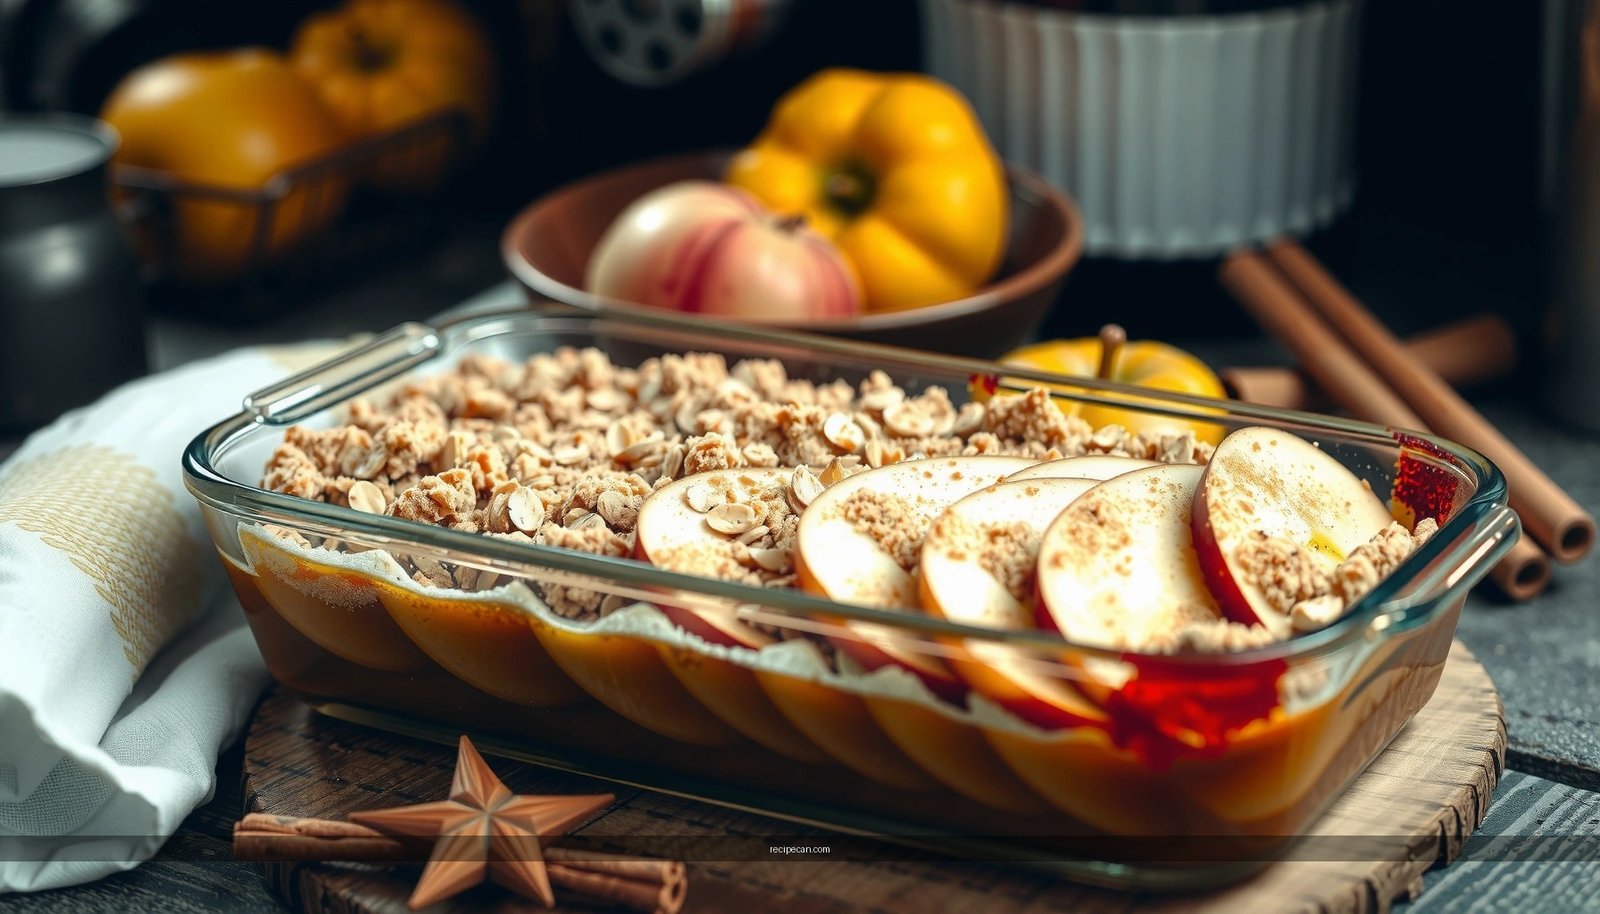
Assemble and Layer for Best Texture
Apple crumble isn’t just “apples plus topping”—layering determines whether the fruit stays tender or the topping turns soggy.
1) Spread apples evenly in the dish
Use a baking dish with enough depth so bubbling fruit doesn’t overflow immediately. Spreading evenly also helps:
– Apples bake at the same rate
– Filling thickness becomes consistent across the dish
2) Sprinkle crumble generously
Cover the fruit thoroughly. For best texture:
– Distribute topping across the surface (not just in the center)
– Make sure there aren’t large bare apple patches—those areas can become wetter while the topping browns elsewhere
Texture insight (why layering works): As the crumble bakes, butter and sugar melt and the topping “sets” into crisp crumbs. Meanwhile, apple juices bubble up through and around the crumbs, then thicken as the dessert rests.
Bake Until Golden and Bubbly
This is where the recipe transitions from “prep” to “transformation.” The correct doneness is about two things happening at once: the apples must soften and thicken, and the topping must brown.
Bake at the right temperature
As shown in the oven-type data table, temperature and time vary based on whether your oven uses convection, has hot spots, or bakes slower. But you can rely on the same outcome signals:
– Filling bubbles around the edges (a sign the juices are hot enough to thicken)
– Top is golden with visible crumb definition
Avoid the common mistake: If the crumble looks done but the filling isn’t bubbling, the apples may still be undercooked. If the filling bubbles but the top is pale, extend baking a few minutes (watch closely to prevent over-browning).
Resting matters
Let the crumble sit briefly after baking. This rest:
– Allows bubbling juices to thicken and stabilize
– Improves sliceable structure (even in a rustic crumble)
A short rest (about 10–15 minutes) is often the difference between runny and spoonable-but-holding-together.
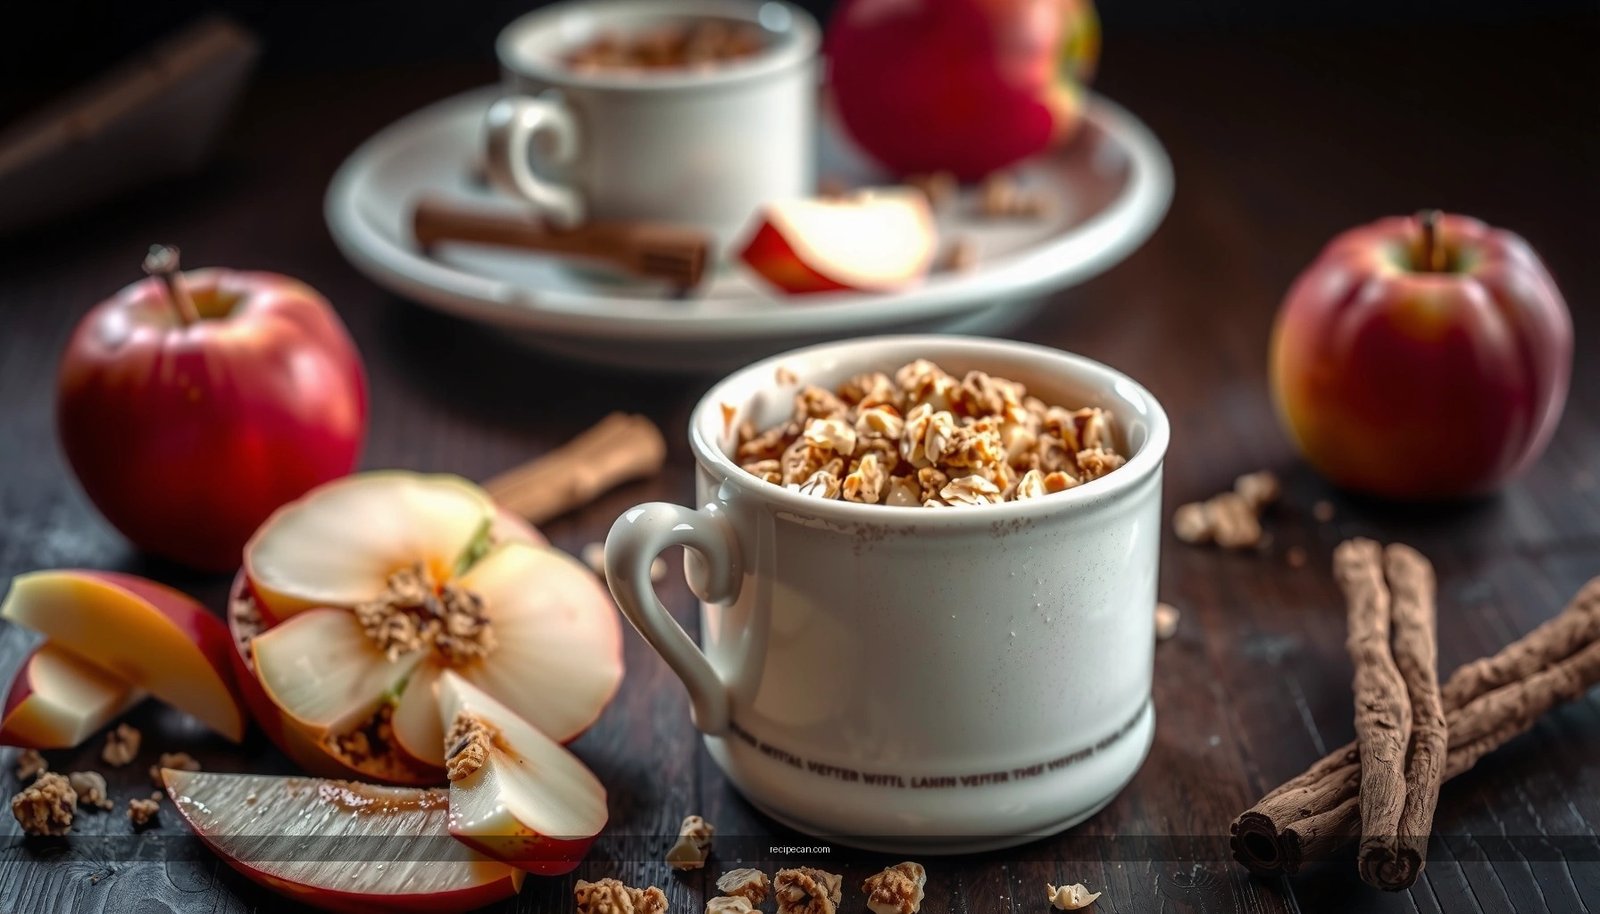
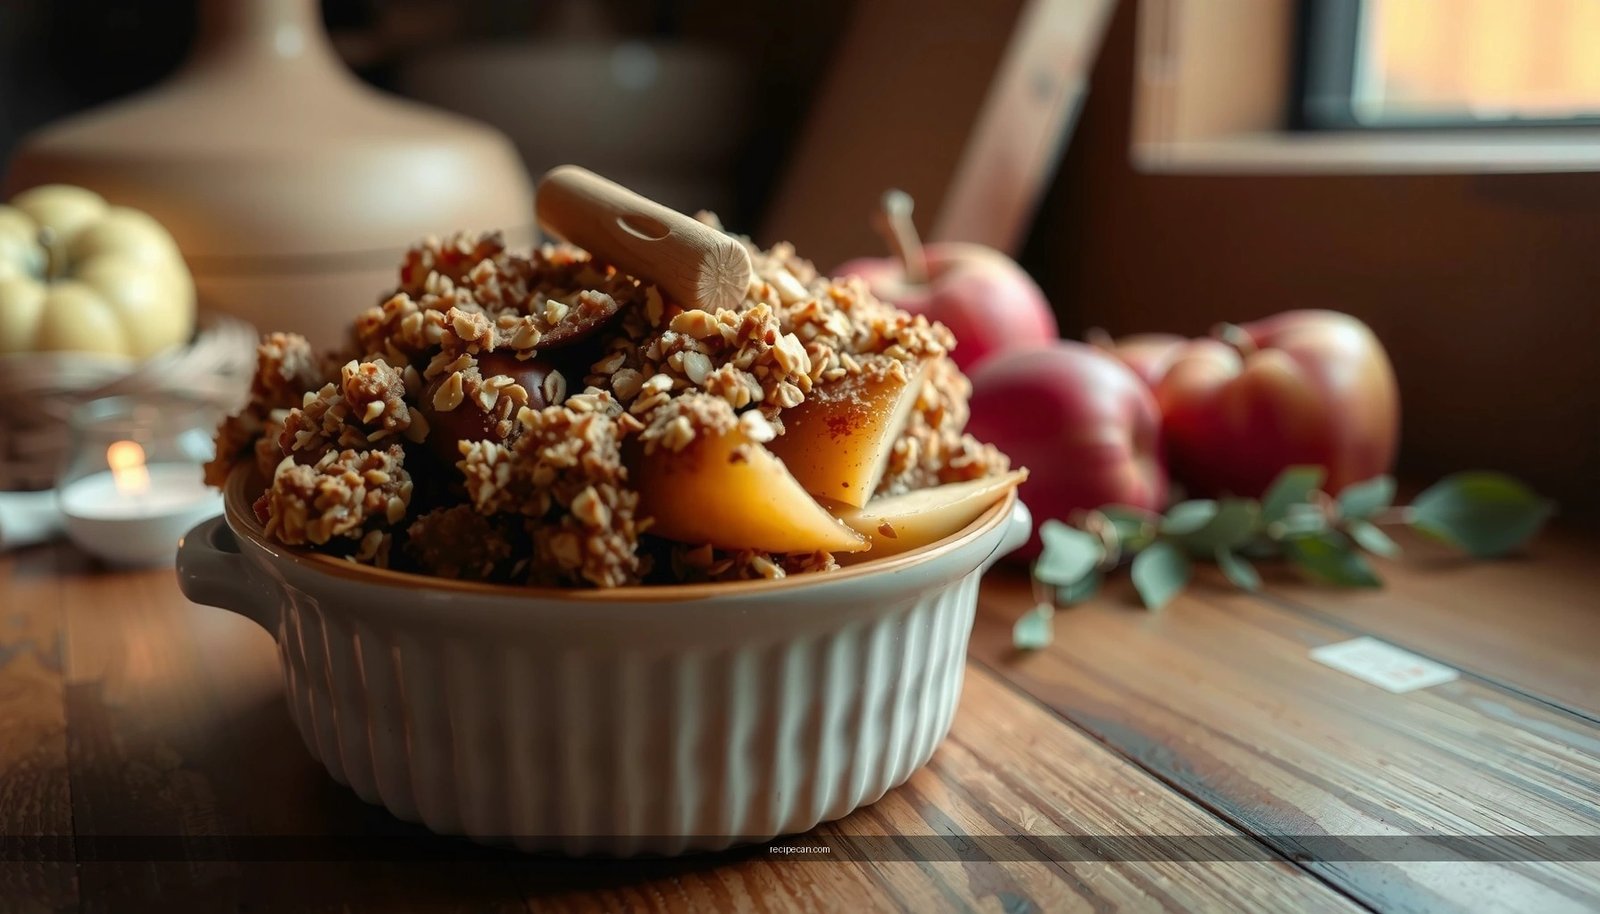
Serve It Warm (and Make It Extra Special)
Apple crumble is best enjoyed warm, when the aroma of cinnamon and baked apples is most pronounced. Serving suggestions can also meaningfully enhance texture contrast.
1) Classic pairings
– Vanilla ice cream: melts into the warm filling for a creamy sauce effect
– Whipped cream: lighter, with a softer sweetness that complements tart apples
2) A small “pro” enhancement
A pinch of salt on top—either before or right after baking—can:
– Enhance perceived sweetness
– Make spices taste more vivid and less muted
3) Portioning tip for a clean presentation
If you’re serving guests, use a spoon to portion directly from the dish for the most effortless rustic style. For a more polished look, scoop carefully after the rest period so the crumble holds shape.
Workflow efficiency for hosting: If you’re entertaining, you can bake slightly ahead and re-warm. Apple crumble reheats well because the topping retains crispness better than many pastry-based desserts.
Warm spice, tender fruit, and a buttery crumb topping create a dessert that feels special without complexity—exactly what “easy apple crumble recipe” promises.
Apple crumble stands out because it’s forgiving: as long as you use crisp apples, season evenly, rub cold butter into the topping, and bake until you see bubbles and golden crumbs, you’ll get reliable results. Follow the oven-doneness signals, rest briefly for thickened filling, and serve warm with vanilla ice cream or whipped cream for the best texture contrast. With this method, you’ll have a quick, tasty, and simple dessert that’s impressive enough for guests and effortless enough for everyday cravings.
Frequently Asked Questions
What makes an easy apple crumble recipe “easy,” and how do I get the best results?
An easy apple crumble keeps steps simple by using a quick topping made from oats, flour, sugar, and butter (or a store-bought shortcut). Choose apples that hold their shape—like Honeycrisp, Granny Smith, or Braeburn—and peel if you prefer a smoother texture. Toss the sliced apples with cinnamon and a little sugar so the filling becomes tender and flavorful without needing complicated prep.
How do I make apple crumble topping that turns out crisp instead of soggy?
For crisp apple crumble topping, use cold butter and cut it into the dry ingredients until the mixture looks like coarse crumbs. Don’t overfill the pan with juice—use the right apple amount and consider adding a spoon of flour or cornstarch to help thicken. Bake until the topping is golden brown and the apple filling is bubbling, then let it cool slightly so the crumble sets.
Why is my apple crumble filling watery, and how can I prevent it?
Watery filling usually happens when the apples release too much juice or the mixture isn’t thickened enough. Use firmer apples and bake the crumble at a consistent temperature until you see bubbling throughout the dish. You can thicken with cornstarch or flour (and avoid adding too much liquid), which helps create that classic spoonable apple crumble texture.
What are the best apples to use for an easy apple crumble recipe?
The best apples for apple crumble are firm, sweet-tart varieties that soften nicely without turning mushy, such as Honeycrisp, Granny Smith, or Braeburn. If you like a balanced flavor, mix one sweet apple with one tart apple to avoid a filling that’s either overly sour or too flat. Aim for evenly sliced pieces so the fruit cooks consistently and the topping stays crisp.
Which baking temperature and time should I use for a quick apple crumble?
A reliable method for easy apple crumble is baking at 375°F to 400°F (190°C to 205°C) until the topping is golden and the filling bubbles. Typically, it takes about 35–55 minutes depending on your pan size and how thick the apple layer is. Let it rest for 10–15 minutes before serving so the filling thickens and the crumble holds its shape.