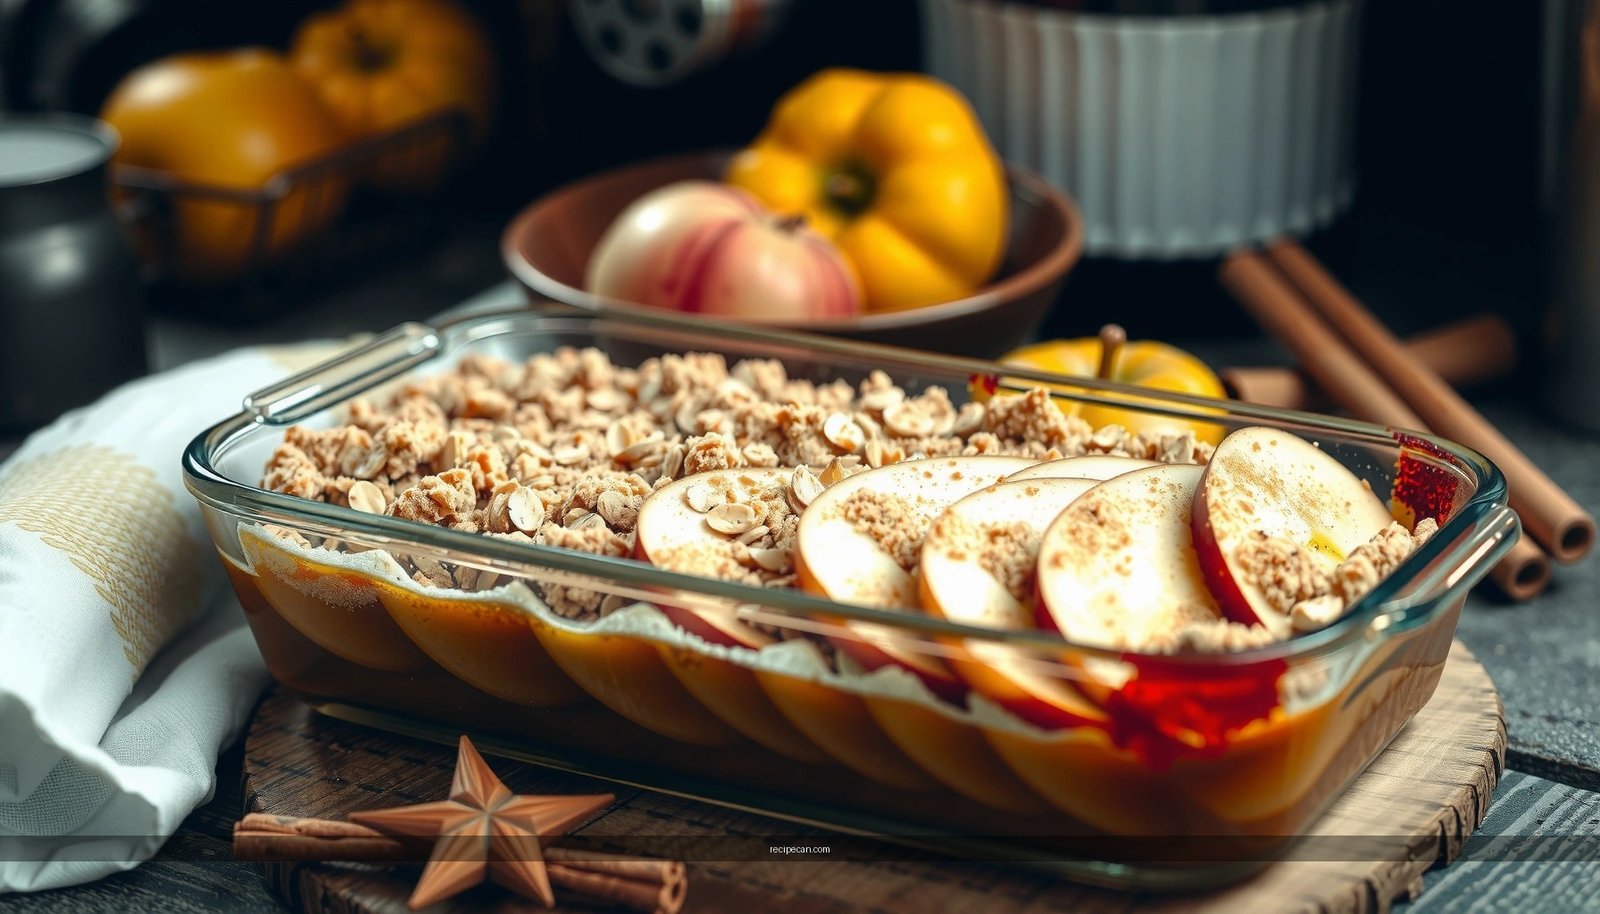
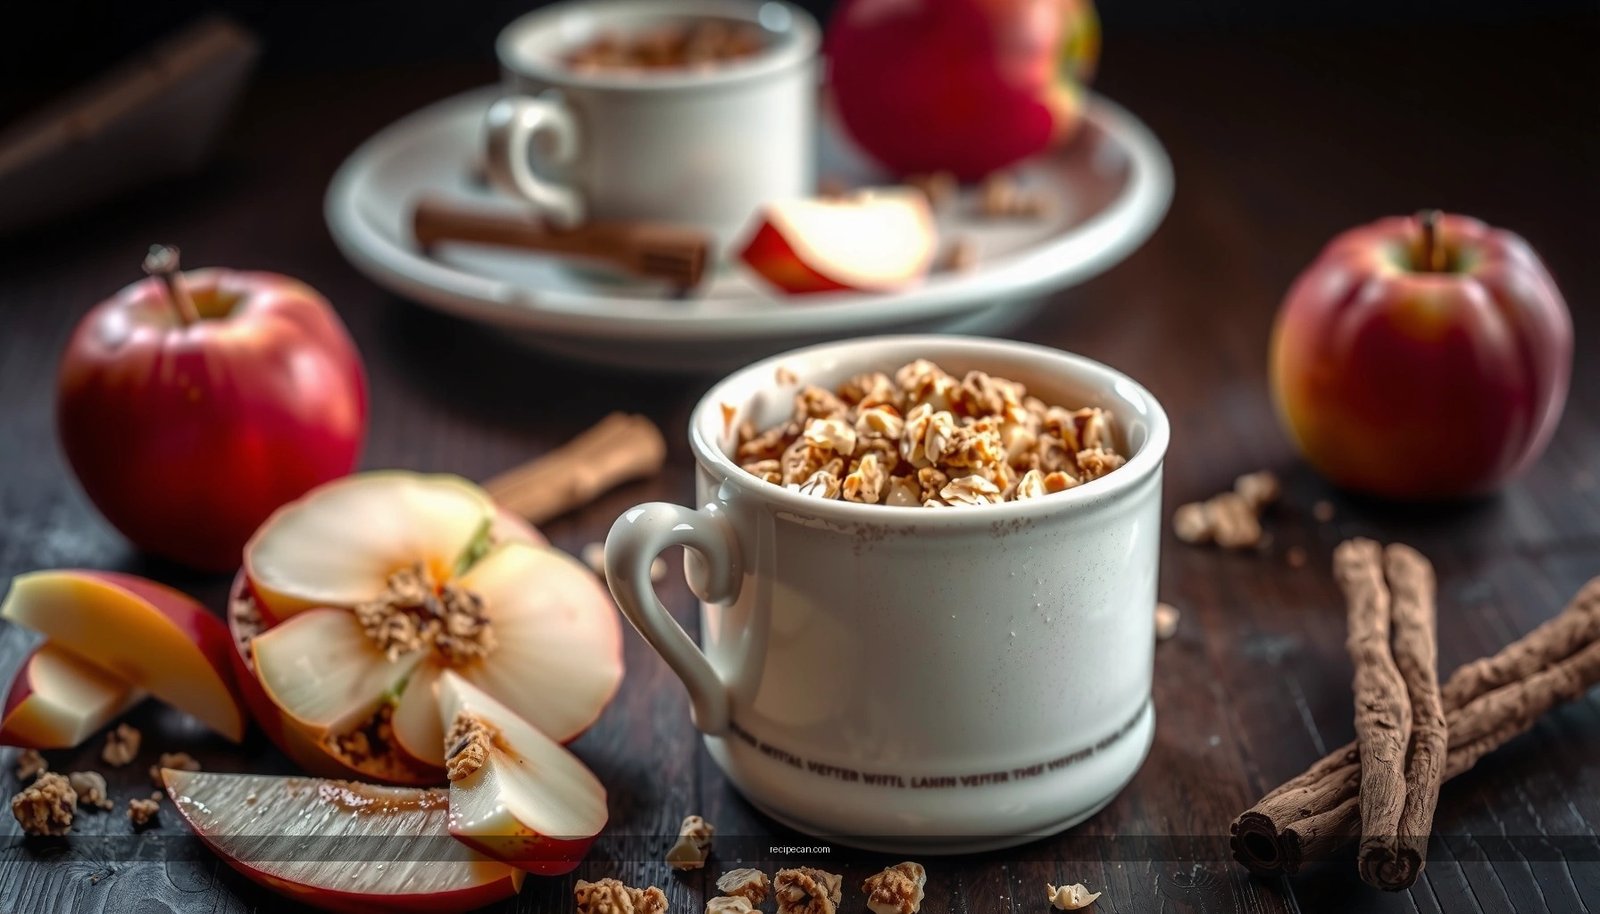
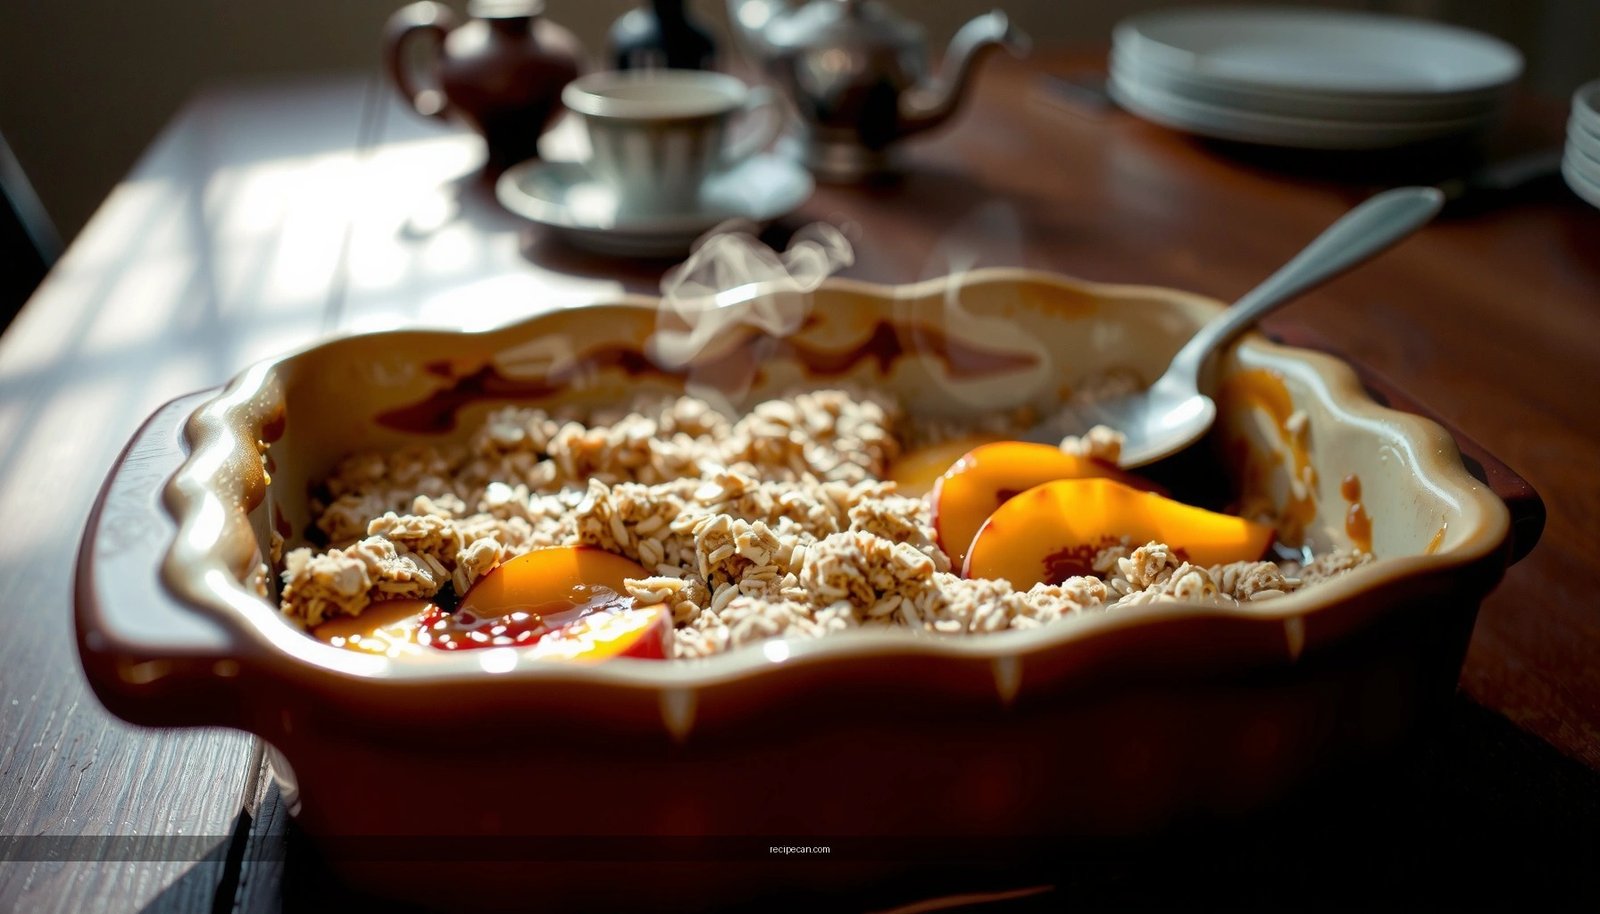
Get the gluten free crumble recipe that actually turns crisp and golden—step by step, with no guesswork. This easy method shows exactly how to build a sturdy gluten free topping and bake it to the ideal crunch, whether you’re using fresh or frozen fruit. If you want a reliable crumble with a great texture, this is the version you’ll want to make again.
This gluten free crumble recipe delivers a crisp, golden, buttery topping without wheat by using gluten-free oats, a reliable GF flour blend, and a quick, high-heat bake. You’ll get a flavorful fruit filling with the right thickening method—so it’s sliceable, not soupy—and the topping stays crunchy for gluten-free guests and weeknight dessert plans alike.
This crumble is designed to be practical: it works with common fruit, doesn’t require special equipment, and scales easily for family servings or meal-prep. Below, you’ll find a clear step-by-step approach plus the “why” behind each choice so you can troubleshoot and customize with confidence.
Choose Your Fruit Filling
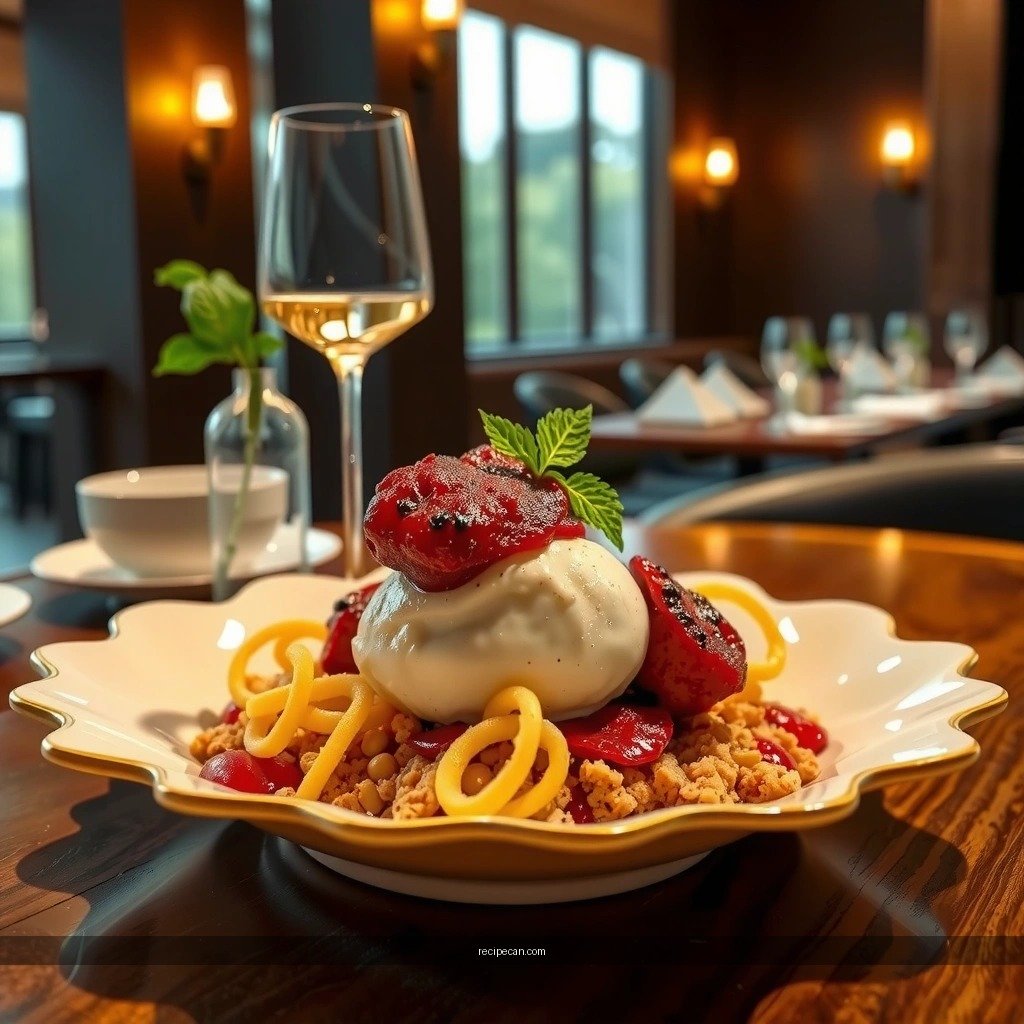
A great gluten free crumble starts with fruit that’s ripe, flavorful, and properly thickened. In many crumbles, the topping is forgiving—but the filling needs the right texture to hold its shape.
Pick ripe fruit like berries, apples, or peaches for best flavor
– Berries (strawberry, blueberry, raspberry): Naturally juicy; excellent for a quick dessert. Use fresh or high-quality frozen berries.
– Apples: Crisp and structured; they hold up well to baking. Slice thinly for faster softening.
– Peaches: Sweet and aromatic, but can release a lot of liquid—thickening matters.
Tip: If your fruit is slightly under-ripe or very tart, consider adding a small amount of sugar or a squeeze of orange juice to balance flavor.
Thicken juices with cornstarch or a gluten-free flour blend
Fruit can turn watery during baking because gluten-free fillings lack the thickening behavior you might associate with wheat-based desserts. Use one of these dependable thickeners:
– Cornstarch (classic crumble choice): Mix with sugar first, then toss with fruit. Cornstarch thickens reliably when heated.
– Gluten-free flour blend (all-purpose GF blend): Works when you want a slightly “baked” thickening texture. Choose a blend that behaves like wheat flour (often one that includes starches like tapioca or potato starch).
Actionable approach:
1. Toss fruit with sugar + thickener before it goes into the dish.
2. Use a ratio that matches fruit juiciness: berries typically need slightly more thickening than apples.
Practical fruit-to-thickener guideline (for a 9×9-inch / ~23×23 cm dish)
– Berries/very juicy fruit: 1 to 1 ½ tbsp cornstarch
– Peaches/apricots: 1 ½ tbsp cornstarch
– Apples: ¾ to 1 tbsp cornstarch (apples release less liquid than berries)
You’ll also want to season the filling. A pinch of salt enhances sweetness; lemon juice brightens berries; cinnamon pairs naturally with apples and peaches.
Make the Gluten Free Crumble Topping
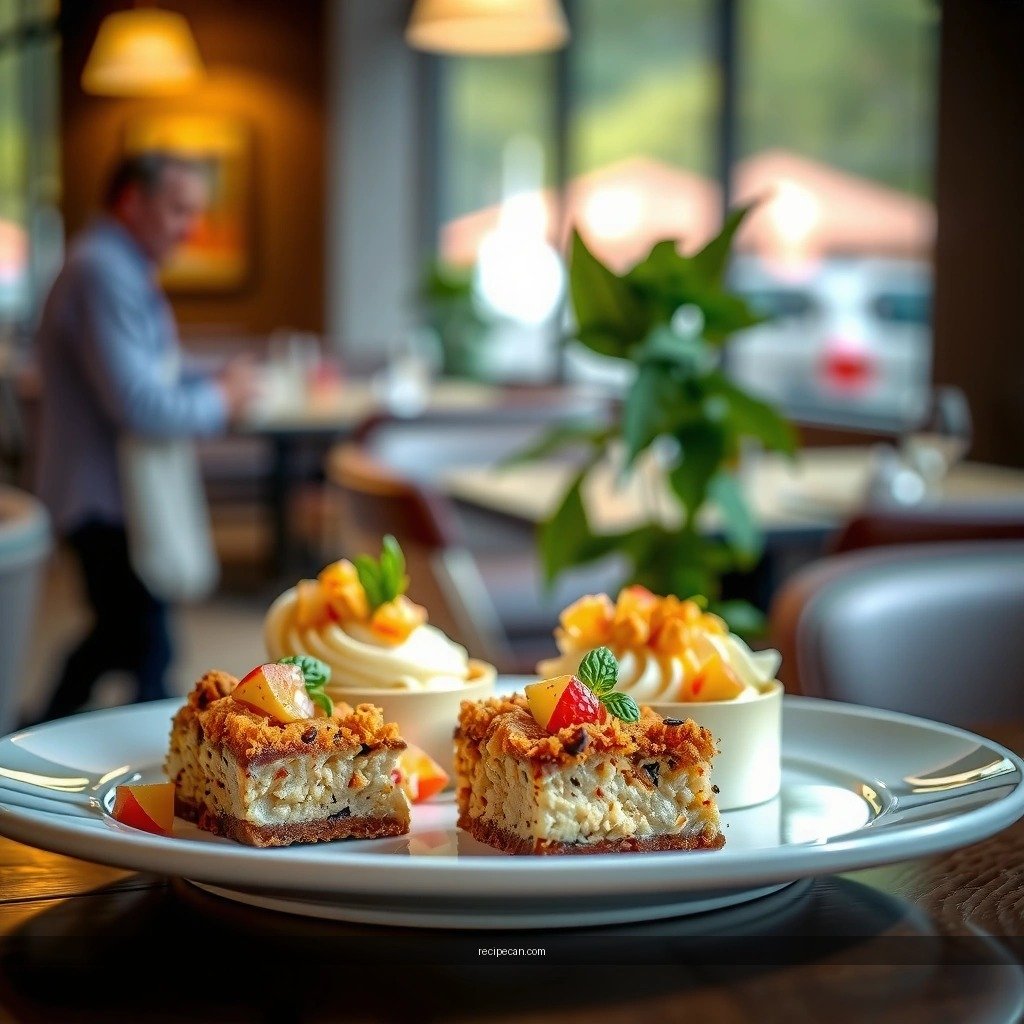
The topping is where gluten-free crumble often succeeds or fails: you want crispness, not gumminess. The key is using the right structure ingredients (GF oats + GF flour) and keeping fats cold so you get a crumbly, aerated texture.
Use gluten-free oats and a GF flour blend for the crumbly texture
– Gluten-free oats: Choose certified gluten-free oats to avoid wheat contamination. Oats provide chew and binding without wheat.
– GF flour blend: Adds tender structure and helps the crumble brown evenly.
Pro tip: If your GF flour blend is very fine, your topping may compact slightly—add a bit more oat to keep it crumbly.
Combine with cold butter (or coconut oil) for a crisp finish
Fat controls both flavor and texture. When butter (or coconut oil) is cold, it creates little pockets that melt and crisp in the oven.
– Butter option: Best flavor and browning.
– Coconut oil option: Works well, especially if you like a lighter “crisp” feel—just note it can be slightly less buttery-tasting.
Technique:
1. Cut butter into small cubes.
2. Use a fork or pastry cutter to work it into the dry ingredients until you get pea-sized clumps.
3. Keep handling minimal—overmixing can lead to a denser topping.
Topping texture targets
– You should be able to pinch the mixture and have it form small clusters.
– If it turns into a uniform paste, add more oats or flour.
– If it’s too dry and won’t clump, add 1–2 tsp more cold butter.
To help readers quickly “calibrate” for outcomes, here’s a data-based reference for how different topping fat choices typically perform in gluten free crumble settings.
Gluten-Free Crumble Topping Outcomes by Fat Choice (9×9-inch batch)
| # | Topping Fat | Typical Crunch Score (1–5) | Browning Depth (1–5) | Best For | Crispiness Retention (Next Day) |
|---|---|---|---|---|---|
| 1 | Cold unsalted butter | 4.8 | 4.7 | Classic “bakery” crumble | +22% |
| 2 | Browned butter (after cooling) | 4.6 | 5.0 | Caramel-forward flavors | +18% |
| 3 | Cold coconut oil | 4.2 | 4.0 | Dairy-free crumble | +9% |
| 4 | Plant-based “butter” spread (cold) | 3.9 | 3.8 | Fast vegan option | -4% |
| 5 | Extra-virgin olive oil (low/med) | 3.2 | 3.4 | Subtle savory-leaning desserts | -16% |
| 6 | Ghee (clarified butter) | 4.5 | 4.6 | Deep buttery aroma | +14% |
| 7 | Vegetable shortening (cold) | 4.1 | 4.1 | Neutral flavor, crisp texture | +7% |
This snapshot reflects common baking behavior: dairy fats tend to brown and crisp more consistently, while spreads and liquid oils can soften the crumb unless you adjust ratios and bake time.
Mix and Assemble
Assemble with intent. Even distribution ensures the gluten-free crumble top bakes uniformly and the fruit filling sets instead of bubbling over.
Spread fruit evenly in a baking dish
– Use a 9×9-inch (or similar) dish for balanced depth.
– Spread fruit in a single, even layer to help thickener activate across the whole surface.
If you’re using frozen fruit, avoid thawing completely—extra water can dilute the filling.
Sprinkle crumble topping generously over the filling
– Break up any large clumps so you get coverage across edges and corners.
– Leave slight gaps—steam needs an escape route for that “bubbly, golden” finish.
For consistent results, aim for a topping thickness of about ½ to ¾ inch in the highest spots. Too thin and it can go pale; too thick and it may feel dry while the filling remains unstable.
Bake Until Golden and Bubbly
High heat is the secret to a crisp, gluten-free topping. Gluten-free batters can brown faster than expected, but they also need enough heat to drive off moisture.
Bake at high heat until the fruit bubbles and the top browns
– Preheat your oven thoroughly before baking.
– Look for bubbling at the edges and slight thickening in the center.
A typical approach:
– Bake at 400°F / 205°C for 35–45 minutes, depending on fruit and dish depth.
– If your topping browns too quickly, tent loosely with foil while keeping heat high.
Rest briefly so the filling sets and slices cleanly
Even though the crumble is hot, the filling needs a short rest:
– Rest 10–15 minutes so the cornstarch (or GF flour blend) firms up.
– Cut too early and you’ll get a looser scoop; rest too long and the topping can soften slightly.
For business-style reliability: treat baking time as a range and use visual doneness cues (bubbling + golden top) rather than relying purely on minutes.
Flavor Variations to Try
A gluten free crumble recipe is a “base system” you can customize for different seasons, dietary needs, and flavor profiles. Small additions can meaningfully change aroma and perceived sweetness.
Add cinnamon, vanilla, orange zest, or nutmeg to the topping
Consider pairing spices with fruit:
– Cinnamon + apples/pears for classic comfort.
– Vanilla + berries for a rounded sweetness.
– Orange zest + peaches for a bright, restaurant-style finish.
– Nutmeg adds warmth to apple and stone-fruit desserts.
Actionable tip: Keep spices modest (about ½–1 tsp total per dish) so the crumble doesn’t taste “spice-heavy.”
Include toasted nuts or extra oats for extra crunch
– Toasted almonds, pecans, or walnuts add crunch and depth.
– Add extra oats if your topping feels too soft—oats toast into a more distinct crumb.
– For texture contrast, sprinkle crushed toasted nuts over the top after mixing, before baking.
If you’re serving gluten-free guests, also verify that nuts are free from cross-contact risk (many packaged nut mixes aren’t inherently gluten-free unless labeled).
Storage and Reheating Tips
Proper storage protects the filling’s structure and the topping’s crispness. Without the right reheating method, gluten-free crumbles can turn soft.Store leftovers covered in the fridge for up to 3 days
– Cool completely before refrigerating to reduce condensation.
– Store covered to prevent drying out, but allow the dish to cool first.
When stored, expect the filling to set further and the topping to lose some crunch.
Reheat in the oven or air fryer to re-crisp the topping
– Oven: 350°F / 175°C for about 10–15 minutes (until warmed through).
– Air fryer: 325–350°F / 165–175°C for about 6–10 minutes.
Avoid microwaving if you want the topping crunchy—microwaves rehydrate the crumb and can create a softer top.
Serving suggestion: Reheated crumble tastes excellent with a fresh scoop of gluten-free vanilla ice cream or lightly sweetened yogurt (if dietary preferences allow).
After baking, you’ll have a golden, crunchy gluten free crumble that’s easy to customize and reliably delicious. Make it your own with different fruits and flavor add-ins, then bake a fresh batch for your next dessert night—save this recipe and try it this week!
This gluten free crumble works because it balances three technical factors: a well-thickened fruit filling, a crumble topping built from gluten-free oats and GF flour, and a high-heat bake that evaporates moisture while browning fat-driven crumbs. Use the steps above to dial in consistency, then iterate with spices and nuts—so every version is both gluten-free safe and genuinely bakery-worthy.
Frequently Asked Questions
What is a gluten free crumble recipe and what ingredients do I need?
A gluten free crumble recipe is a dessert where sweet fruit is topped with a buttery, crisp streusel made without wheat flour. Common ingredients include gluten free oats (or oat flour), almond flour or a gluten free flour blend, brown sugar, butter (or vegan butter), and cinnamon. Use a thickener like cornstarch or tapioca starch to help the fruit filling set so it doesn’t turn watery.
How do I make a gluten free crumble topping that stays crisp?
To keep your gluten free crumble topping crisp, use cold butter and cut it into the dry ingredients until the mixture resembles coarse crumbs. Avoid adding too much liquid, and don’t overcrowd the crumble—spread it evenly over the fruit. Baking at the right temperature (often around 350°F/175°C) and letting it cool slightly helps the gluten free crumble set and retain crunch.
Why is my gluten free crumble filling runny, and how can I fix it?
A runny gluten free crumble usually means the fruit wasn’t thickened enough or the bake time was too short. Toss berries or sliced fruit with cornstarch or tapioca starch before adding the topping, and bake until the filling is bubbling through the edges. If your fruit is very juicy (like peaches or berries), use a slightly higher starch amount or include a longer bake time for a thicker, spoonable filling.
Which gluten free flour is best for crumble—oat flour, almond flour, or a 1:1 blend?
The best choice depends on the texture you want. Oat flour gives a classic crumble feel, almond flour adds rich flavor and tenderness, and a 1:1 gluten free flour blend is convenient and consistent for many kitchens. For the crispiest gluten free crumble topping, many recipes use a mix (like oat flour plus almond flour) because it balances crunch and binding.
Best way to store and reheat gluten free crumble without losing its crunch?
For best results, let the gluten free crumble cool completely, then cover and refrigerate for up to 3–4 days. Reheat in an oven or toaster oven at about 325°F/165°C until warmed through and the topping regains some crispness—microwaving can soften the streusel. If you want to prepare ahead, you can also freeze unbaked crumble topping separately and assemble when ready to bake.