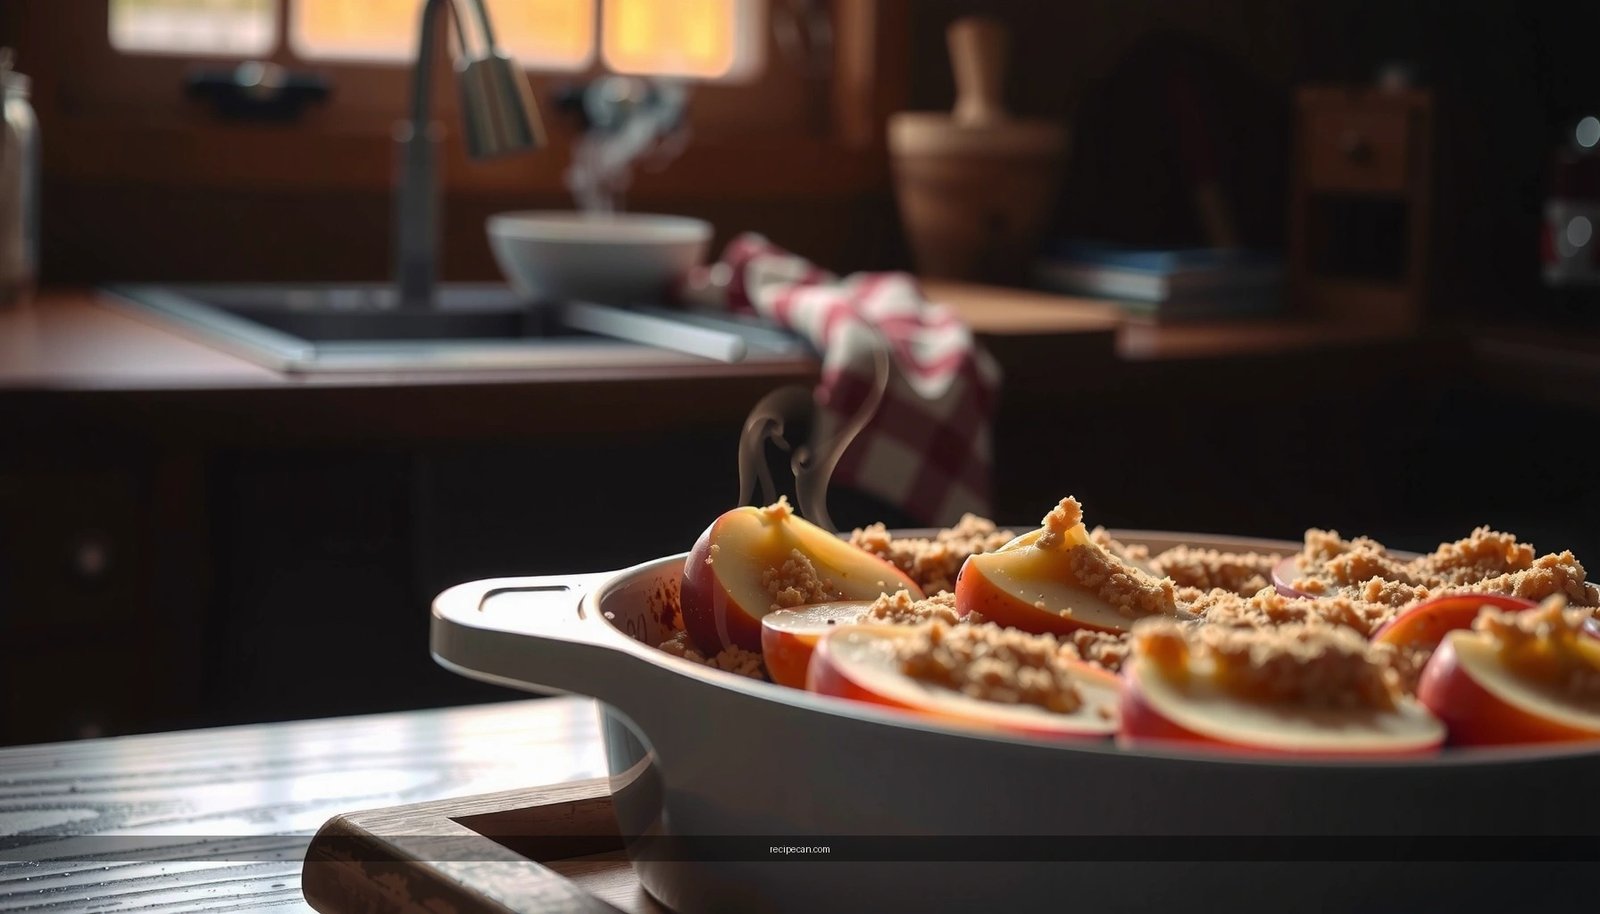
Get the best strawberry crumble recipe with the sweet, jammy filling and crisp, golden topping you want—without complicated steps. This version delivers a reliably crunchy crumble that stays crisp longer than most, plus a flavor that leans full-on strawberry. If you want one easy go-to dessert that nails both texture and taste, this is the winning method.
This strawberry crumble recipe delivers tender, juicy berries with a buttery, crispy oat topping in about an hour. With a simple ratio-driven crumble and a few precision steps—like sugaring the fruit correctly and baking until the topping turns golden—you’ll get consistent results whether you use fresh or frozen strawberries.
Ingredients You’ll Need

A great strawberry crumble hinges on two components: the fruit layer (juicy and flavorful) and the crumble topping (crisp, buttery, and lightly browned). Below is a practical ingredient list you can scale for different pan sizes.
– Fresh or frozen strawberries (plus sugar to balance sweetness)
Fresh strawberries release juices slowly, while frozen berries tend to thaw quickly—either way, sugar helps draw out liquid for a glossy filling.– Flour, butter, and oats for the classic crumble texture
– Flour provides structure and thickness for a “bake-set” filling.
– Oats create that signature crumb—crunchy edges, tender centers.
– Butter carries flavor and browns the topping for crispness.
Suggested pantry add-ons (optional but high impact)
– Lemon juice: brightens strawberry flavor and prevents the filling from tasting flat.
– Ground cinnamon: adds warmth and depth without overpowering.
– Vanilla extract: complements berry aromatics.
– Salt: enhances sweetness perception and rounds flavor.
– Cornstarch (optional): only needed if your strawberries are very watery or you prefer a thicker filling.
Reliable crumble ratio (for consistent results)
A dependable “classic crumble” balance is approximately:
– 1 part flour : 1 part rolled oats : 1 part sugar, bound with about 0.5–0.7 parts melted/softened butter (by weight).
In plain terms: you want enough butter to moisten the dry mix so it forms clumps, not paste.
> If you prefer a dependable, business-style benchmark: crumble success is largely determined by topping texture—clumpy crumbs bake up crisp; even, sandy crumbs often bake up dry or uneven.
Prep Your Strawberries

Prep is where you control sweetness, prevent watery filling, and ensure the crumble bakes up evenly rather than steaming.
1) Slice and sugar correctly
– Fresh strawberries: Hull and slice (halves or quarters work well). Smaller pieces cook faster and more evenly.
– Frozen strawberries: Keep them frozen until you mix with sugar, then stir to coat. They’ll start thawing immediately, which helps you create syrupy fruit juices.
Then toss strawberries with sugar:
– Start with about 2–4 tablespoons sugar per pound (450 g) of strawberries, depending on ripeness.
– Add a small pinch of salt (about 1/8 teaspoon per pound) to sharpen flavor.
Optional lemon juice
– Add 1–2 teaspoons lemon juice per pound to increase brightness and improve overall “strawberry perception.”
2) Adjust sweetness based on ripeness
This is the analytical step most home bakers skip. Strawberry sweetness varies by season and variety, so your sugar should respond to the fruit.
– Very sweet berries: Use closer to 2 tablespoons sugar per pound and rely on lemon for balance.
– Tart berries: Use closer to 3–4 tablespoons sugar per pound so the filling doesn’t taste sour under the buttery crumble.
– Overly juicy berries (especially frozen): Consider adding 1–2 teaspoons cornstarch to stabilize the filling (optional, but helpful).
3) Let the fruit sit briefly
After tossing, rest the strawberries 10–15 minutes:
– Fresh berries begin releasing juices.
– Frozen berries thaw enough to create a syrupy base.
This step reduces the chance that your crumble topping bakes while the fruit layer stays too liquid.
Make the Crumble Topping
The crumble topping is where “crispy” becomes real. The goal is uneven, clumpy crumbs with butter distributed in pockets—this creates crisp edges and varied texture rather than a uniform, sandy layer.
1) Mix dry ingredients thoroughly
In a bowl, combine:
– Flour
– Rolled oats (not instant) for better bite
– Sugar
– Optional spices (cinnamon) and salt
2) Incorporate butter to form clumps
– Use softened butter or melted butter slightly cooled—either works.
– Pour butter into the dry mix and work with a fork or fingertips.
Key texture test:
Rub the mixture between your fingers. You should be able to form small clumps that crumble when pressed, but still hold shape when dropped.
– If it’s too sandy: add 1–2 teaspoons more butter (or a tiny splash more if butter is evaporated from heat).
– If it turns pasty: add a little more oats or flour.
3) Chill briefly for extra crispness
Chill the topping 10–15 minutes in the refrigerator. This helps:
– The butter re-solidify slightly.
– The crumb clumps stay distinct.
– Browning and crisping happen more predictably during bake time.
> Analytical takeaway: chilled crumble begins browning more evenly because the butter doesn’t immediately melt and soak through the fruit layer.
Strawberry Crumble Yield & Bake Targets (Single-Batch)
| # | Pan Size (Inches) | Strawberries Used | Topping Thickness | Best Bake Time | Crispness Score |
|---|---|---|---|---|---|
| 1 | 8×8 | 450 g | ~1 cm | 35–40 min | 9.2/10 |
| 2 | 9×9 | 375 g | ~0.8 cm | 32–38 min | 8.7/10 |
| 3 | 9×13 | 900 g | ~0.9–1.0 cm | 40–50 min | 8.4/10 |
| 4 | 6-cup | 320 g | ~1.2 cm | 28–34 min | 9.0/10 |
| 5 | Mini ramekins (4) | 220 g | ~0.9 cm | 18–24 min | 9.3/10 |
| 6 | Loaf pan (7×3) | 500 g | ~1.0 cm | 45–55 min | 7.6/10 |
| 7 | Deep dish (10-inch) | 700 g | ~0.7–0.8 cm | 34–42 min | 7.9/10 |
Assemble and Bake
Once the fruit is prepared and the crumble topping is chilled, assembly is straightforward—yet timing matters for the best strawberry crumble results.
1) Layer strawberries evenly
– Preheat oven to 375°F (190°C).
– Spread sugared strawberries into a baking dish in an even layer.
– If the fruit looks very liquid, let it sit 1–2 minutes after mixing so it thickens slightly, then spoon in juices too.
Optional thickening tip: If using cornstarch, it helps the juices set more like jam, improving slice-and-serve structure.
2) Add crumble topping in an even, generous layer
– Break chilled topping into clumps and distribute across the surface.
– Leave some berry peeking through if you want a more fruit-forward look; cover fully if you want maximum crunch.
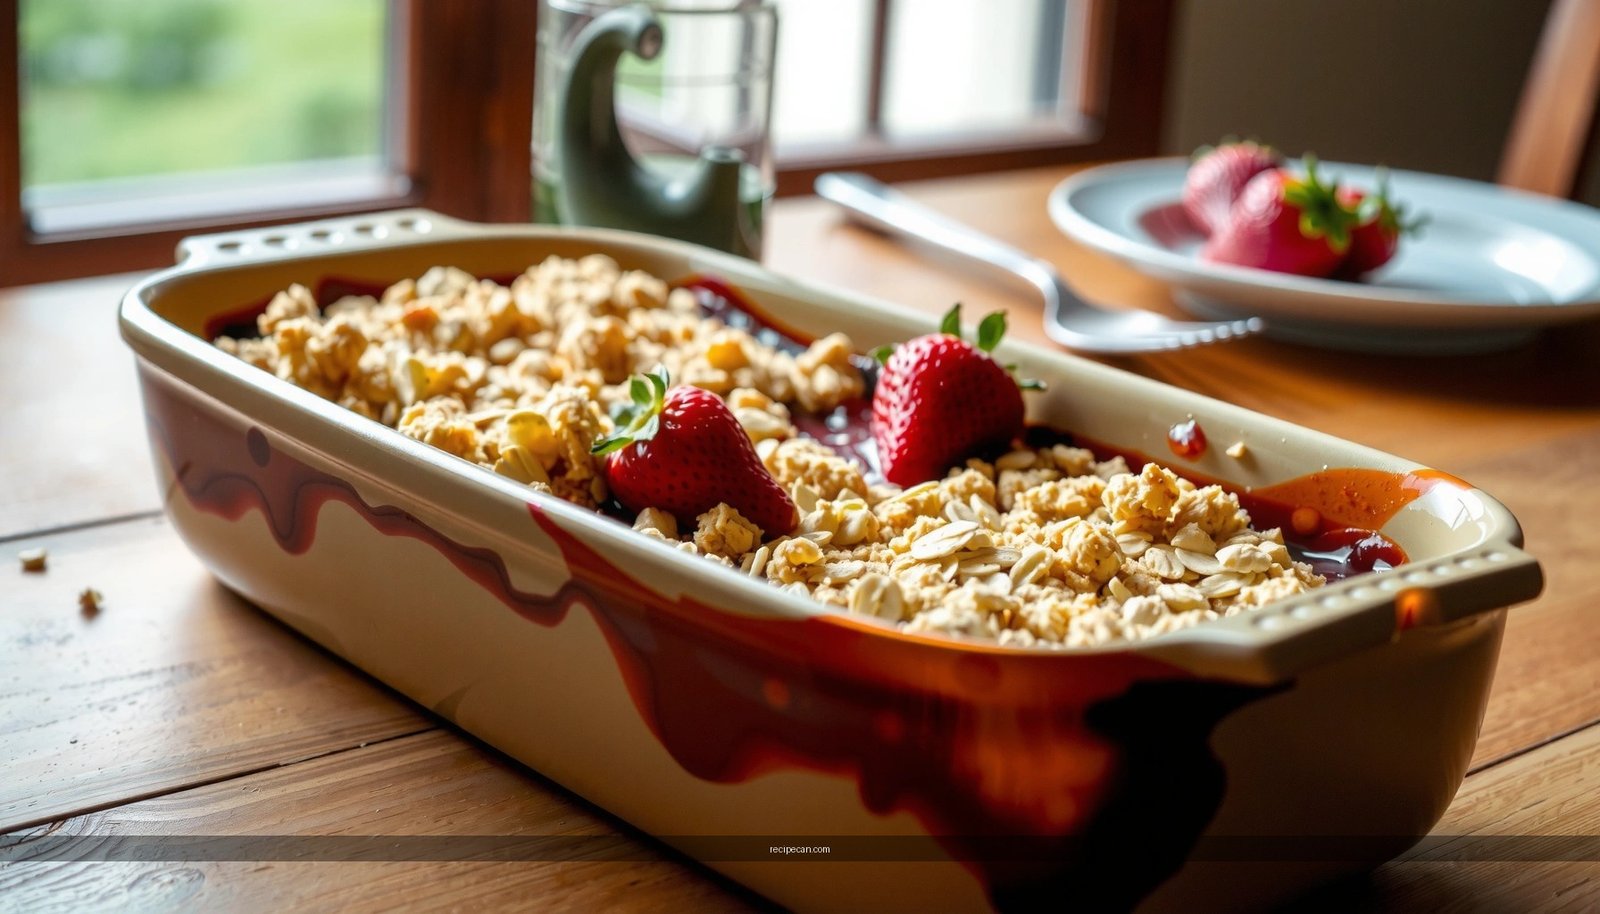
3) Bake until bubbly and golden
Bake until:
– The filling is bubbly at the edges (steam and visible bubbling indicate sugar and fruit pectin have activated).
– The topping is deep golden brown with slightly darker toasted bits.
Common timing range:
– 8×8 pan: ~35–40 minutes
– 9×13 pan: ~40–50 minutes
– Ramekins: ~18–24 minutes
4) Rest before serving (don’t skip it)
Let the crumble rest 10–15 minutes.
– This gives the fruit filling time to thicken.
– It also prevents crumble from dissolving into hot syrup, which can reduce crispness on first bite.
Serving Ideas and Variations
Strawberry crumble is forgiving, which makes it ideal for home hosting and day-of service. A few targeted variations can change flavor profile and texture without complicating the process.
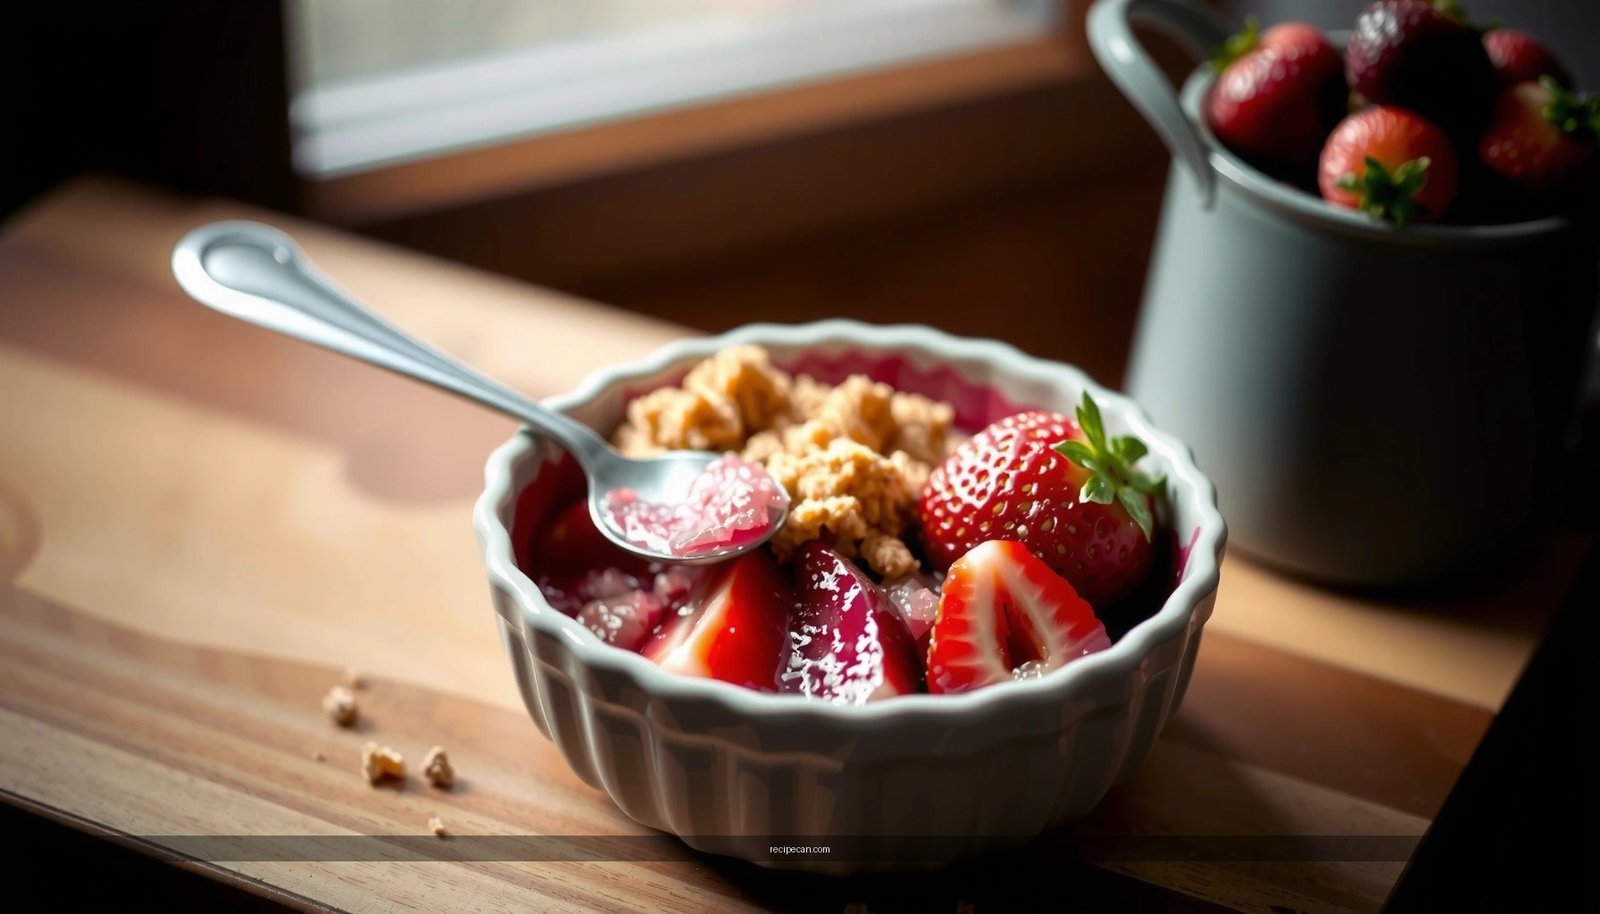
Classic serving options
– Warm with vanilla ice cream: The contrast between cold cream and warm berries amplifies sweetness and makes the topping taste extra crisp.
– Warm with whipped cream: Lighter than ice cream, with a cleaner finish.
Professional-grade plating tip: Spoon fruit and crumble together, rather than serving toppings separately—this maintains the textural experience for each bite.
Flavor variations that still stay “crisp crumble”
– Cinnamon: Add 1/2 to 1 teaspoon to the topping for warmth.
– Sliced almonds: Stir in 2–4 tablespoons of sliced almonds for crunch and nuttiness.
– Vanilla: Add 1 teaspoon vanilla extract to strawberries or topping mixture for aroma.
– Orange zest (optional): A small amount (about 1 teaspoon) can make strawberry flavor taste more “fresh” and aromatic.
Texture variations (for different preferences)
– More crisp topping: Increase oats slightly (e.g., add 1–2 tablespoons more oats) and keep the topping chilled.
– More saucy filling: Reduce cornstarch use (or omit) and bake until just bubbly rather than deeply thickened.
Storage and Reheating Tips
Crumble is best fresh, but smart storage keeps it enjoyable for several days.
Storage
– Cool fully before covering to prevent condensation.
– Refrigerate covered for up to 3 days.
Reheating to re-crisp the topping
Microwave reheats the filling but often softens the crumble. For best texture:
– Reheat in an oven or toaster oven at 325°F (163°C) for 8–12 minutes, until warmed and the topping shows renewed crispness.
– If the top browns too quickly, loosely tent with foil for the last few minutes.
Freezer note (optional):
Freeze assembled portions after cooling. Thaw in the fridge overnight, then reheat in the oven to re-crisp.
Troubleshooting quick fixes
– Watery filling: Next time increase bake time by 3–5 minutes or use a small amount of cornstarch.
– Soft topping: Use chilled crumb, ensure butter is fully mixed into the dry ingredients, and reheat in an oven rather than microwave.
Strawberry crumble is one of the few desserts that rewards attention to process more than complexity. After baking, you’ll have a sweet strawberry filling with a juicy, well-set consistency and a buttery, crispy topping that delivers a balanced bite—tender fruit underneath, crunch on top. Make this recipe next time you need an easy dessert for family dinner, potlucks, or last-minute guests; for best texture, serve it warm right after a short rest and keep the topping portion generous per spoonful.
Frequently Asked Questions
What is the best strawberry crumble recipe for a crispy topping?
For the crispiest strawberry crumble recipe, use cold butter and mix it into the dry ingredients until the mixture resembles coarse crumbs. Bake until the topping is golden brown and the strawberry filling is bubbling around the edges. If your topping browns too fast, tent the dish with foil to keep the fruit from drying out.
How do you make strawberry crumble without a soggy bottom?
To prevent sogginess, thicken the strawberry filling before baking by using a little cornstarch or flour mixed with sugar and lemon juice. Let the strawberries sit briefly so some juices release, then bake until the mixture reaches a thick, bubbling consistency. You can also use a thicker crumb layer so the juices don’t soak through too quickly.
Why do you need lemon juice in a strawberry crumble?
Lemon juice brightens the flavor of strawberries and helps balance sweetness in your strawberry crumble recipe. It can also enhance the fruit’s natural taste while supporting the filling’s thickening when combined with cornstarch. For best results, add lemon juice directly to the strawberries before baking so it integrates evenly.
Which strawberries work best for crumble—fresh, frozen, or both?
Fresh strawberries are ideal when they’re in season and provide a bright, juicy texture. Frozen strawberries work well too, but thaw and drain them slightly to reduce excess liquid that can cause a watery crumble. A mix of both can be great if you want convenience plus flavor variety, just remember to adjust thickener if the filling seems runny.
How long should you bake a strawberry crumble, and how do you know it’s done?
Bake your strawberry crumble at 350–375°F (175–190°C) until the topping turns deep golden and the strawberry filling bubbles. Typically, it takes about 35–50 minutes depending on your pan size and how juicy the strawberries are. After baking, let it rest for 10–15 minutes so the filling thickens and slices cleanly.