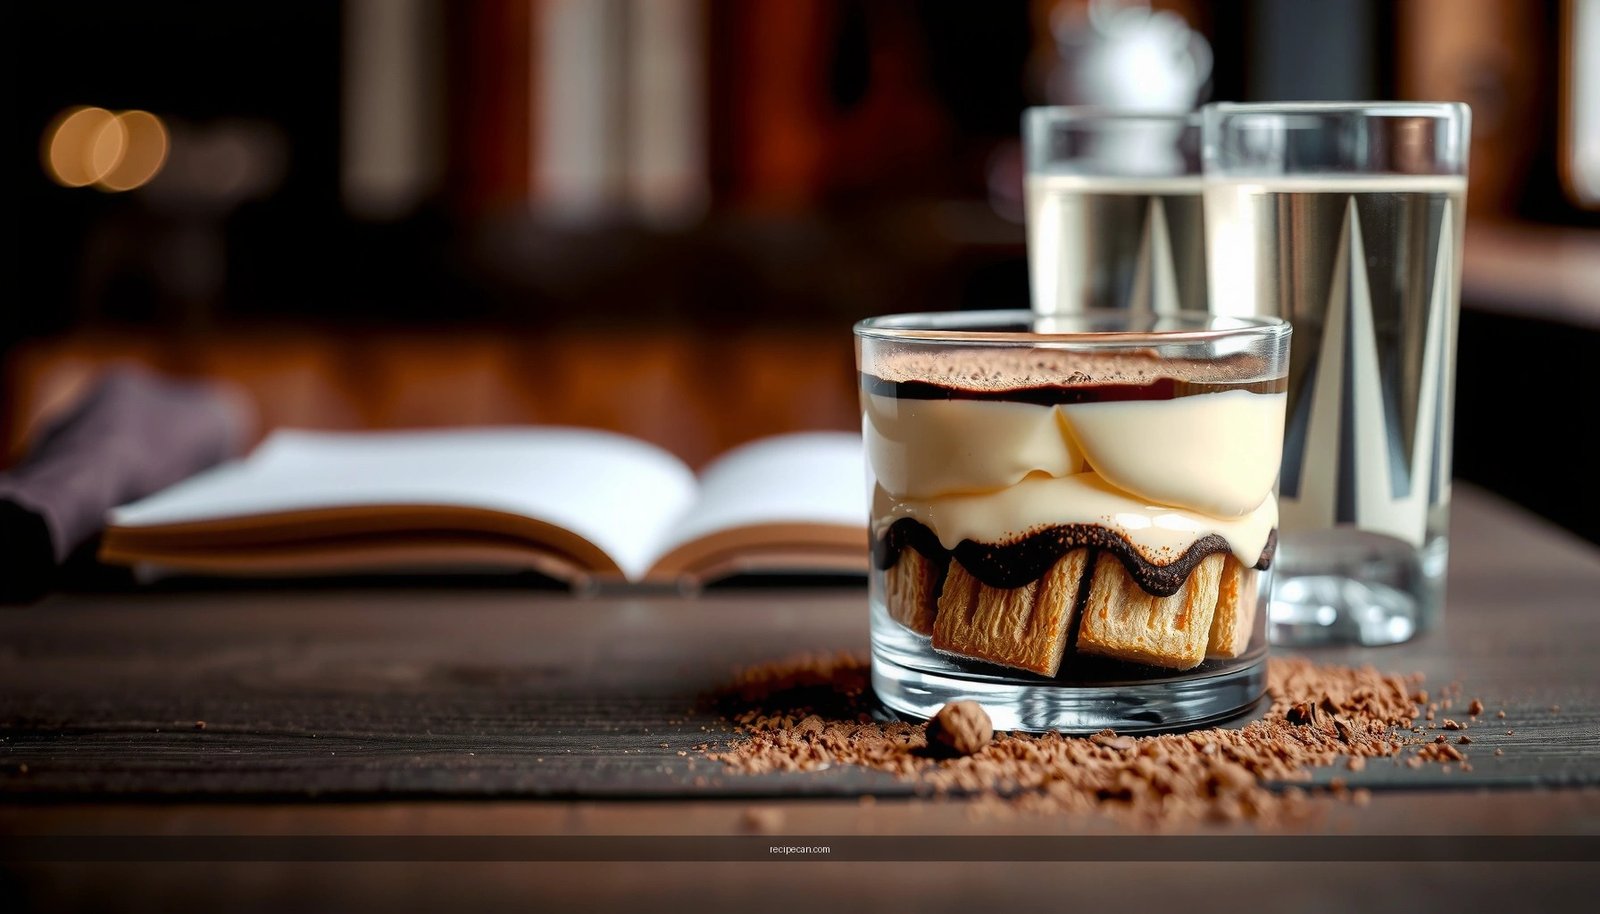
Get the classic Italian recipe for traditional tiramisu with the right ratio of espresso, mascarpone, eggs, and ladyfingers for clean, sliceable layers. This method delivers the unmistakable balance of bold coffee and creamy richness—no shortcuts and no runny assembly. If your goal is the best traditional tiramisu results at home, follow this step-by-step approach for the winner you can serve with confidence.
Make traditional tiramisu by layering coffee-soaked ladyfingers with a rich mascarpone cream, then chilling until it sets into clean, spoonable slices. If you follow the key control points—how briefly you dip, how gently you fold the cream, and how long you chill—you’ll get that signature coffee-forward flavor and smooth, cohesive texture every time.
Ingredients for Traditional Tiramisu

– Mascarpone, eggs (or pasteurized eggs), sugar, and vanilla for the signature cream
– Strong brewed espresso or coffee, plus ladyfingers for soaking
– Cocoa powder and optional chocolate shavings for finishing
A traditional tiramisu is built on three flavor “pillars”: (1) the mascarpone-egg cream for body and richness, (2) espresso for deep bitterness and aroma, and (3) cocoa for a dry, chocolatey finish that balances sweetness. For reliable results, treat ingredient quality as part of the recipe: good mascarpone (thick, creamy, not watery) and strong espresso (not weak drip coffee) are what make the layers taste intentional rather than generic.
To avoid over-soaking and sogginess, also consider the ladyfingers you choose. Some packaged ladyfingers absorb liquid faster than others. If you’ve only made tiramisu once and it turned out soft, you may need a slightly shorter dip time rather than changing the whole recipe.
Practical ingredient ratios (so you can scale confidently)
For a standard, classic “sliceable” pan (about 8–10 servings), the most dependable ratios are:
– Mascarpone + egg cream: mascarpone provides the structure; eggs provide silkiness and stabilization.
– Coffee: use enough to coat the ladyfingers during brief dips without creating a pool at the bottom.
– Cocoa: dust lightly at the end, when the surface is cold and dry.
If you want your tiramisu to remain creamy (not wet), keep the coffee strong and the contact time short.
Tiramisu Assembly Timing & Texture Targets (Guidance)
| # | Process Step | Target Time | What “Done” Looks Like | Impact |
|---|---|---|---|---|
| 1 | Coffee contact per ladyfinger | 1–2 seconds | Moistened, not collapsing | ★ ★ ★ ★ ★ |
| 2 | Egg-yolk sugar whipping | 3–5 minutes | Pale, thick, ribboning consistency | ★ ★ ★ ★ ★ |
| 3 | Folding mascarpone into yolks | 1–2 minutes | Uniform cream, no streaks | ★ ★ ★ ★ ☆ |
| 4 | Whites (optional) to soft peaks | 2–3 minutes | Glossy, peaks droop slightly | ★ ★ ★ ☆ ☆ |
| 5 | Chill to set for slicing | 6–12 hours | Cream holds shape, layers defined | ★ ★ ★ ★ ★ |
| 6 | Final cocoa dusting timing | 5 minutes before serving | Cocoa stays dry and aromatic | ★ ★ ★ ☆ ☆ |
| 7 | Serve after brief tempering | 5–10 minutes | Cream softens slightly for best mouthfeel | ★ ★ ★ ★ ☆ |
Tools and Prep Tips

– Use a clean bowl for egg whipping to achieve a light, creamy texture
– Brew espresso ahead and let it cool slightly for better soaking control
– Set up assembly space so layers go in quickly and evenly
Great tiramisu is as much workflow as it is ingredients. If you’re aiming for traditional Italian layers—coffee-soaked ladyfingers plus stabilized mascarpone cream—your tools and timing determine whether the final dessert slices cleanly or turns into a soft, coffee-heavy cream.
Bowl cleanliness matters: egg whites and yolks whip best when the bowl is grease-free. Even a small residue from butter, oil, or dish soap can reduce volume and make whites look foamy but unstable. Stainless steel or glass bowls are reliable, and a quick wipe with a paper towel helps.
Cool the coffee slightly: hot espresso can prematurely melt fat and can also make ladyfingers absorb too quickly. You want the coffee to be strong and aromatic, but not steaming. A practical standard is to brew, then cool to “warm room temperature”—still fragrant, but no longer hot.
Assembly setup is a quality control step: place your dish, ladyfingers, coffee, and cream near your work surface so you can dip and layer without long pauses. If you’re waiting for cream to warm or for coffee to cool mid-assembly, you’ll end up with uneven soaking and inconsistent texture.
Optional food-safety note: traditional recipes sometimes use raw eggs. If you prefer extra safety (common for home kitchens and large gatherings), choose pasteurized eggs or pasteurized egg products.
Make the Mascarpone Cream

– Whip egg yolks with sugar until pale and creamy, then fold in mascarpone
– Whisk egg whites to soft peaks (if using) and gently fold for airy volume
– Keep mixing gentle to avoid deflating the cream
The mascarpone cream is where tiramisu becomes “classic.” The goal is not just sweetness—it’s a stabilized, creamy emulsion that holds layers after chilling.
Step-by-step approach (the technique)
1. Whip yolks with sugar
Whip yolks and sugar until the mixture turns pale, thick, and ribboning. This incorporates air and dissolves sugar so the cream feels smooth rather than grainy.
2. Fold in mascarpone gently
Add mascarpone and fold rather than beat aggressively. Mascarpone is thick and creamy; overmixing can cause it to lose structure or develop a slightly loose texture.
3. Add whipped whites for lighter volume (optional but common)
If you’re using egg whites, whisk to soft peaks—glossy with tips that bend. Fold into the mascarpone mixture gently so you keep that airy lift.
Analytical perspective: why gentle folding matters
Tiramisu cream behaves like a delicate foam-and-fat emulsion. Whipping whites creates air bubbles; folding disperses them through the mascarpone base. If you over-stir, you break those bubbles and the cream becomes denser, sometimes weeping slightly. Dense is not “bad,” but it typically reduces the characteristic silky mouthfeel people expect from traditional tiramisu.
Troubleshooting quick fixes
– Cream looks lumpy: fold more slowly and stop once mascarpone is incorporated; lumps often disappear with careful mixing.
– Cream is too loose: ensure mascarpone is cold and chill the mixture briefly (10–15 minutes) before assembling.
– Whites won’t whip: bowl may have grease; start with fresh whites or re-clean equipment.
Assemble the Tiramisu Layers
– Dip ladyfingers briefly in coffee—just enough to moisten, not soak through
– Create even layers of ladyfingers and mascarpone cream in your dish
– Repeat until filled, smoothing the top layer for a neat finish
Assembly is the stage where small habits translate into big differences in final texture. The traditional goal is separation with cohesion: ladyfingers should absorb enough coffee to taste deeply, while the cream should keep each bite creamy and structured.
The correct way to dip ladyfingers
Dip each side of a ladyfinger for about 1–2 seconds. You’re aiming for uniform moistening, not saturation. A useful test is what you see immediately after dipping: the cookie should remain intact and spring back slightly; if it collapses or turns fragile instantly, your coffee is too hot, your dip time is too long, or the ladyfingers are very absorbent.
If you’re assembling in a busy kitchen, dip in small batches and layer immediately—waiting increases absorption.
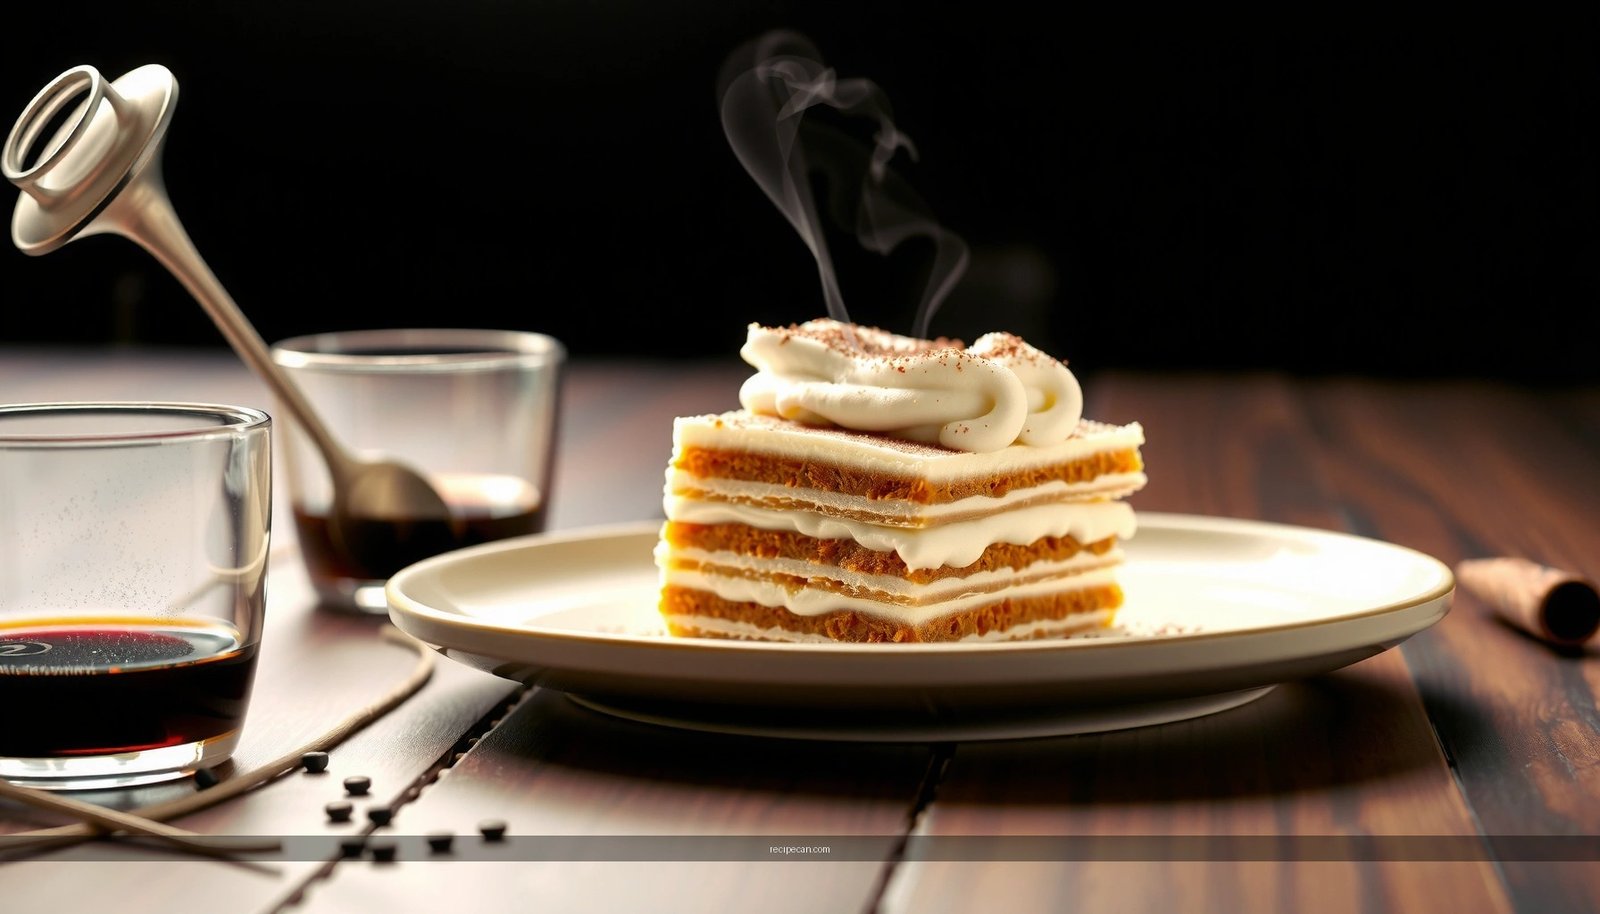
Layering strategy for clean, even slices
– Use even distribution: place ladyfingers in a single layer, then cover with cream.
– Aim for consistent thickness across the dish so that slices come out balanced.
– Smooth the top cream layer gently with an offset spatula or the back of a spoon.
A professional-looking tiramisu often comes down to alignment: ladyfingers should line up with minimal gaps, and cream should reach edges so the first cut reveals neat layers rather than exposed cookie.
Expected Outcome by Coffee Strength & Dip Time
| # | Coffee Strength | Dip Time | Layer Texture | Best Use |
|---|---|---|---|---|
| 1 | Espresso-style (strong) | 1–2 seconds | Set, sliceable | Classic tiramisu |
| 2 | Espresso-style (strong) | 3–4 seconds | Moister, softer | Serving in ramekins |
| 3 | Regular coffee (medium) | 1–2 seconds | Balanced, slightly lighter | If you dislike strong bitterness |
| 4 | Regular coffee (medium) | 3–4 seconds | Risk of soggy layers | Usually avoid |
Chill and Set the Tiramisu
– Refrigerate at least 4–6 hours (overnight is best) to firm up the layers
– Avoid freezing—tiramisu texture is meant to stay creamy
– Dust generously with cocoa right before serving for best flavor
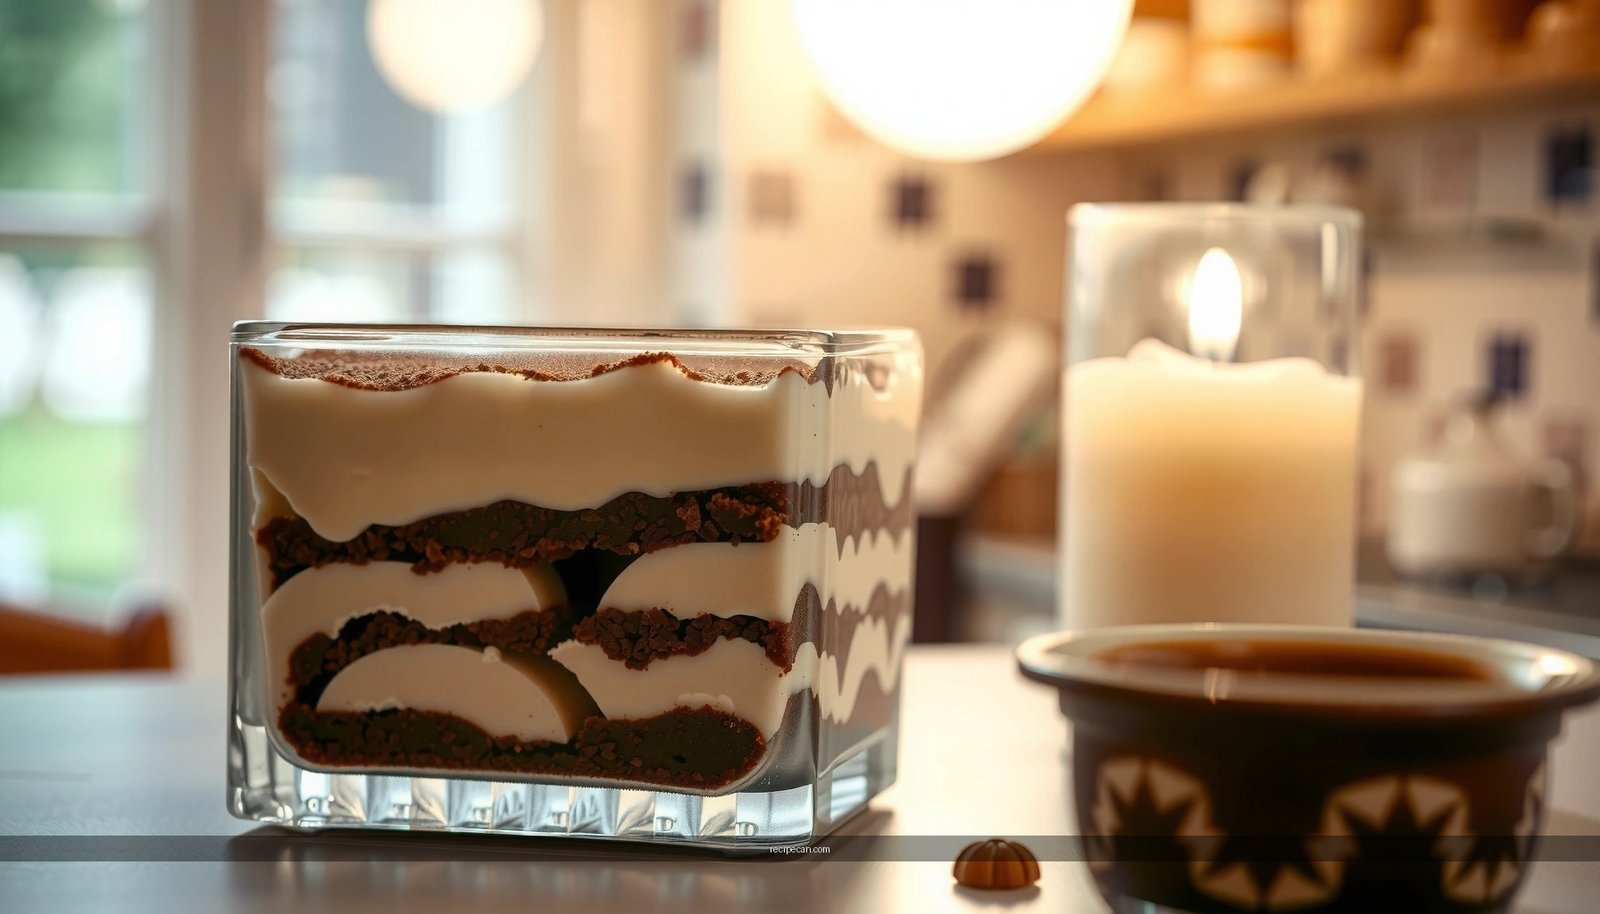
Chilling is what transforms assembled layers into a cohesive dessert. As the mascarpone cools and the ladyfingers equilibrate with the surrounding cream, you get that classic cut-and-serve texture.
Recommended chilling duration
– Minimum: 4–6 hours for a noticeable set
– Best: overnight (8–12 hours) for defined layers and optimal flavor integration
If you slice too early, the cream may smear and the ladyfingers may feel unevenly hydrated. The longer chill also allows espresso aroma to mellow and blend, which improves perceived balance.
Why freezing should be avoided
Freezing disrupts texture: fat can separate, and moisture can form icy water pockets that later melt, leaving a watery layer. Traditional tiramisu is intended to remain creamy in refrigeration, not thawed from frozen.
Cocoa timing
Dust cocoa right before serving. Cocoa absorbs moisture over time; if you dust too early, you lose the crisp aromatic top and may get dark patches instead of a uniform finish.
Serving and Storage Notes
– Slice with a clean knife and wipe between cuts for sharper portions
– Store covered in the fridge for up to 2–3 days
– For best taste, let it sit 5–10 minutes at cool room temperature before serving
Serving tiramisu well is a combination of temperature control and clean cutting. Since the dessert is soft by nature (by design), your knife technique determines how professional the slices look.
How to slice cleanly
Use a sharp knife and wipe the blade between cuts. Warm hands and repeated dragging can pull cream and smear layers. If you want even sharper portions, briefly run the knife under warm water, dry it quickly, then cut.
Storage best practices
Cover tightly and refrigerate up to 2–3 days. After that, the ladyfingers continue to absorb moisture, and flavor can dull. For events, assembling a day ahead is usually ideal: you get the best set and a stable serving texture.
Temperature before serving
Let tiramisu sit 5–10 minutes at cool room temperature before plating. This small tempering step softens the cream slightly, enhancing mouthfeel and reducing the “cold dairy” sensation some people notice straight from the fridge.
Traditional tiramisu succeeds when you respect the fundamentals: strong coffee, brief ladyfinger dipping, a properly whipped mascarpone cream, and a long enough chill to set the layers. If you follow the timing targets and gentle folding technique, you’ll produce classic Italian layers with a smooth, coffee-forward flavor profile and a clean sliceable structure—then finish with fresh cocoa for that iconic look. Make this version ahead of time, chill it overnight, and serve with confidence for consistently professional results.
Frequently Asked Questions
What is the best traditional tiramisu recipe for beginners?
A traditional tiramisu recipe usually uses ladyfingers, espresso (or strong coffee), mascarpone, eggs, sugar, and cocoa powder. Start by whisking egg yolks with sugar until pale, then fold in mascarpone; separately whisk egg whites until fluffy and gently combine for a lighter texture. Dip ladyfingers quickly in espresso so they absorb flavor without turning mushy, then layer and chill before serving. Finish with a generous dusting of unsweetened cocoa powder and let it set in the fridge for at least a few hours.
How do you make tiramisu with raw eggs safely?
Many traditional tiramisu recipes use raw egg yolks and whites, so people often worry about safety. One common approach is to temper the yolks by warming them over a gentle heat with sugar while whisking until they reach a safe, thickened consistency, then cool before combining with mascarpone. If you prefer a no-risk method, use pasteurized eggs (widely available in many markets) and still whip egg whites properly for structure. Always refrigerate tiramisu and serve it within a safe timeframe.
How can I stop my tiramisu from being runny or too watery?
Runny traditional tiramisu is usually caused by over-dipping ladyfingers, using watery coffee, or not whipping and setting the filling correctly. Dip ladyfingers briefly in espresso—just long enough to coat—then drain slightly before layering. Ensure your mascarpone mixture is well combined and not too loose, and whip egg whites to soft peaks before folding. Chill the assembled tiramisu for several hours (or overnight) so the layers firm up.
Which coffee should I use for authentic tiramisu flavor?
For the most traditional tiramisu, use strong espresso or espresso brewed very concentrated, because it holds up against the sweetness of mascarpone. Avoid overly milky or sweetened coffee drinks, which can make the dessert taste off-balance. If you don’t have espresso, use strong stovetop coffee or instant espresso diluted carefully to match the intensity of espresso. Let the coffee cool so it doesn’t melt or break down the mascarpone layers.
Why does tiramisu taste better after chilling, and how long should I wait?
Tiramisu tastes better after chilling because the ladyfingers absorb the espresso and the flavors meld with the mascarpone and cocoa. The filling also firms up as it sets in the refrigerator, giving you clean layers and a spoonable texture. For best results, refrigerate at least 4–6 hours, and overnight is even better for a classic tiramisu recipe. Dust with cocoa powder right before serving to keep the surface fresh and not overly damp.
References
- Tiramisu
https://en.wikipedia.org/wiki/Tiramisu - Tiramisu | Meaning, Ingredients, Origin, Desserts, & Taste | Britannica
https://www.britannica.com/topic/tiramisu - Mascarpone
https://en.wikipedia.org/wiki/Mascarpone - Lady finger
https://en.wikipedia.org/wiki/Ladyfinger - Espresso
https://en.wikipedia.org/wiki/Espresso - Marsala
https://en.wikipedia.org/wiki/Marsala - List of liqueur brands
https://en.wikipedia.org/wiki/Coffee_liqueur - Google Scholar Google Scholar
https://scholar.google.com/scholar?q=traditional+tiramisu+recipe - Google Scholar Google Scholar
https://scholar.google.com/scholar?q=tiramisu+mascarpone+egg+preparation+study - Google Scholar Google Scholar
https://scholar.google.com/scholar?q=tiramisu+origin+history+ladyfingers+espresso