Get a strawberry crumble recipe that delivers sweet, juicy berries under a crisp, buttery topping—no soggy center. This one is the clear winner when you want maximum berry flavor with a golden crumble that stays crunchy after baking. You’ll learn the exact bake time and crumble ratio to achieve that perfect balance every time.
This strawberry crumble recipe delivers perfectly bubbling, golden results by locking in the right filling thickness and using cold butter to create crisp oat clusters. Follow the guidance below to balance sweetness, prevent runny fruit, and bake until the top is crisp while the strawberry center stays glossy and juicy.
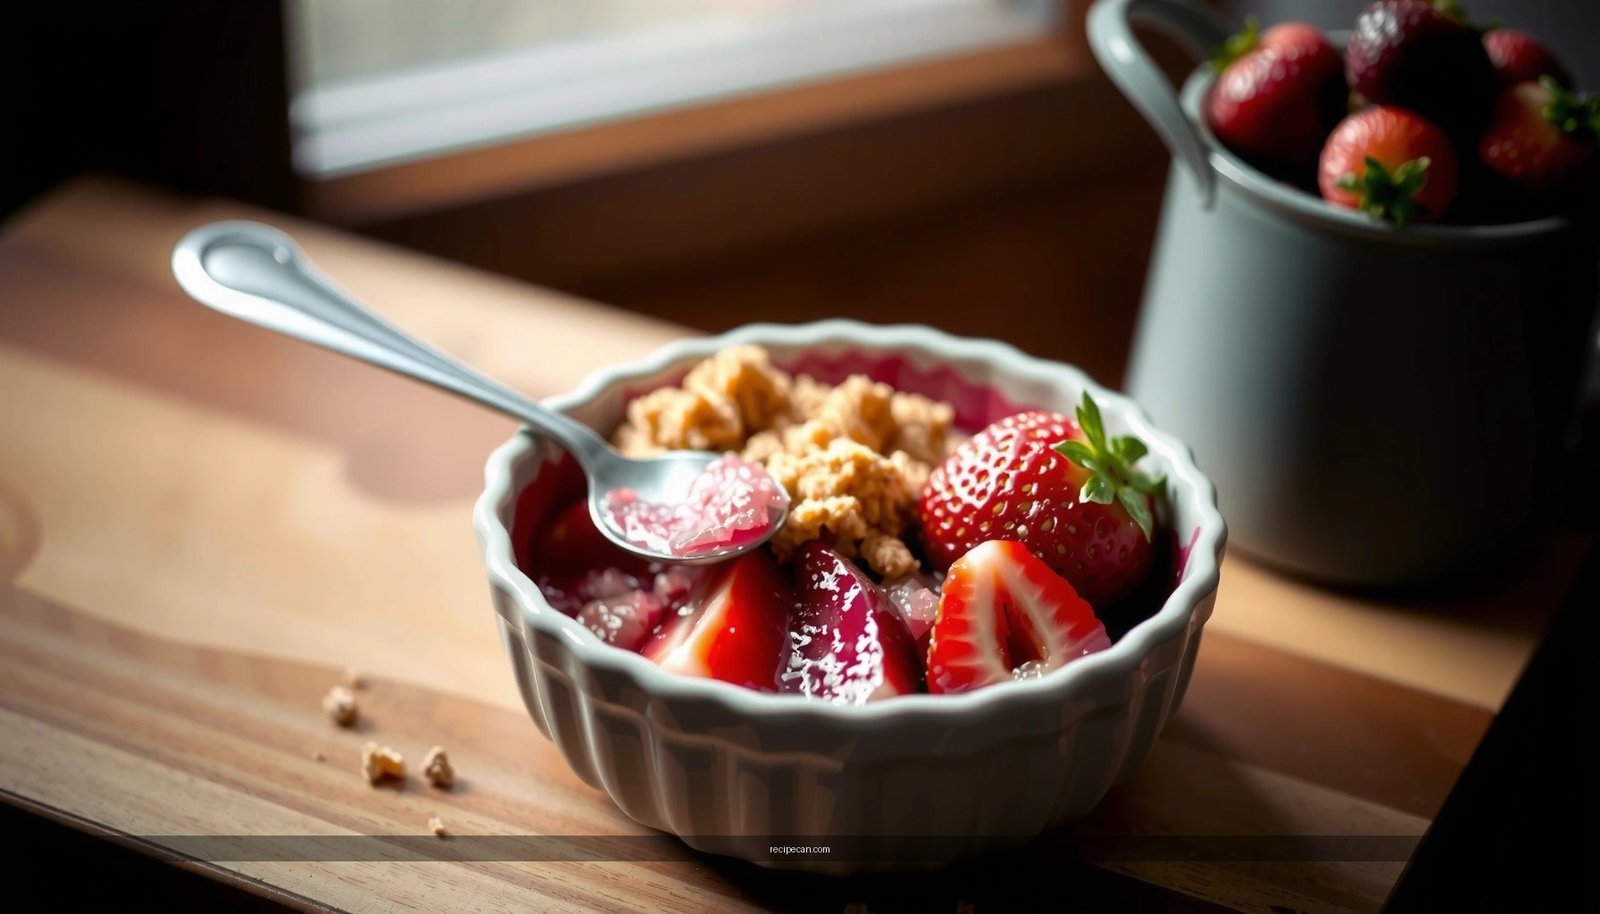
Ingredients for Strawberry Crumble

– Fresh or frozen strawberries, plus sugar and a touch of lemon
– Crumble topping with flour, oats, butter, and brown sugar
– Optional add-ins like vanilla, cinnamon, or cornstarch
To make a strawberry crumble that holds together like a bakery-style dessert (not a watery casserole), it helps to understand what each ingredient is doing:
Strawberries (fresh or frozen) provide the flavor and the bulk of the filling. Fresh berries are ideal for peak aroma, while frozen berries are excellent for off-season consistency. Either way, you’ll control thickness with sugar and a thickener strategy (more on that in the filling section).
Sugar sweetens and also draws out moisture. This is a double-edged sword: too little sugar can taste dull and stay loose; too much can make the filling weep. In a crumble, the goal is *balanced sweetness* that also supports structure.
Lemon juice brightens the flavor and helps the filling set more reliably by balancing the berry’s acidity and supporting thickener performance. A small amount can make a noticeable difference in “flavor clarity,” especially with very sweet strawberries.
For the topping:
– Rolled or old-fashioned oats add texture and crispness as the butter and sugars caramelize.
– Flour gives the crumble its binding so it forms clusters rather than sandy crumbs that vanish under syrup.
– Brown sugar contributes caramel notes and helps the top brown evenly.
– Cold butter is crucial: it coats flour and oats, then melts in the oven to create crisp edges and crunchy pockets.
Optional add-ins should be purposeful rather than random:
– Vanilla rounds out berry flavor.
– Cinnamon adds warmth and makes strawberries taste slightly more “dessert-like.”
– Cornstarch (or another thickener) is most helpful when using frozen berries or very juicy fruit varieties.
A quick ingredient note: If your strawberries are extremely juicy (common with thawed frozen berries), thickening becomes more important than simply adding extra baking time. The best strawberry crumble recipes treat thickness as a planned step, not a hope.
Typical Thickening Needs for Strawberry Crumble Fillings (Per 900 g / 2 lb Strawberries)
| # | Berry / Scenario | Extra Thickener (Cornstarch) | Expected Filling Texture | Bake Result Impact |
|---|---|---|---|---|
| 1 | Fresh, medium-juicy berries | 0–1 Tbsp | Glossy, spoonable | Better set; less risk of runny center |
| 2 | Fresh, very juicy berries | 1–2 Tbsp | Thickened jam layer | More consistent sliceable filling |
| 3 | Frozen berries (thawed, drained) | 1–2 Tbsp | Bubbling, not watery | Prevents juice pooling |
| 4 | Frozen berries (thawed, not drained) | 2–3 Tbsp | Set fruit layer with less overflow | Higher reliability for home bakers |
| 5 | Low-sugar berries / tart fruit | 0–1 Tbsp | Bright, lightly thickened | Keeps flavor vivid without heaviness |
| 6 | Very large berry pieces | 1–2 Tbsp | Jam-like pockets around chunks | Better structural cohesion |
| 7 | If you prefer “more sauce” style | 0–1 Tbsp (or none) | Spoonable, pourable | Higher chance of loose pooling |
How to Prepare the Strawberry Filling

– Toss strawberries with sugar, lemon juice, and thickener (if needed)
– Let the filling sit briefly so juices start to thicken
– Spread evenly in a baking dish for consistent baking
A great strawberry crumble starts with the filling’s moisture management. Your strawberries will release liquid whether you want them to or not—so the objective is to convert that liquid into a cohesive, spoonable sauce while you bake.
1. Toss to distribute sweetness and acidity
Combine sliced strawberries with sugar and lemon juice. If you’re using cornstarch (recommended for many frozen-berry scenarios), mix it in with the sugar first so it disperses evenly rather than forming lumps.
2. Let it sit briefly
Give the mixture 10–20 minutes at room temperature. This step is underrated: sugar begins drawing out juices, and cornstarch starts hydrating. The result is a filling that bakes more predictably—less “dry top, wet bottom” risk.
3. Check thickness with a simple visual cue
After resting, the mixture should look slightly syrupy—not like raw fruit floating in clear liquid. If it’s very loose, add a small extra pinch of thickener and let it sit 5 minutes more.
4. Spread evenly in the baking dish
Uneven filling creates uneven baking: some areas bubble too quickly, while others remain under-set. A level layer encourages consistent bubbling around the perimeter, which is the sign you’re close to done.
5. Think about baking vessel and depth
A deeper dish holds more liquid and may require a few more minutes. A wide, shallow dish sets quicker and crisping happens faster. For best results, use a baking dish with enough surface area for berries to bubble.
Common failure modes (and fixes):
– Runny filling: usually means insufficient thickener, berries not rested, or underbaking. Bake until the center bubbles actively, then let it cool to finish setting.
– Gummy filling: can happen with too much thickener or overmixing that creates paste-like gel. Use the guided ranges and avoid excessive thickener.
– Flat flavor: often comes from too little sugar or lemon. Use both to achieve a sweet-tart balance that reads “fresh” rather than “cooked.”
Making the Crumble Topping
– Mix dry ingredients first, then cut in cold butter
– Crumble should form small clusters—not a smooth paste
– Chill topping briefly if your kitchen is warm
The crispness of a strawberry crumble is not an accident—it’s driven by the crumble topping’s structure and temperature.
1. Combine dry ingredients to distribute flavor
Whisk flour, oats, and brown sugar so every bite gets caramel notes and toasty oat flavor.
2. Cut in cold butter until you get clusters
Use cold butter straight from the fridge. Cut it into the dry mixture until it resembles uneven crumbs with some pea-sized clumps.
– If your topping becomes smooth or paste-like, the butter is too warm or you’ve overworked it.
– If it’s too sandy with no clusters, it may bake dry or fall off during serving.
3. Chill briefly if needed
If your kitchen is warm or your butter softened quickly, refrigerate the topping 10–15 minutes. This helps the crumble set faster in the oven, promoting crisp edges.
4. Understand what crisping requires
During baking:
– Butter melts and coats oats and flour.
– Brown sugar helps caramelize on the surface.
– Clusters create ridges and pockets where steam escapes—this is where “crunch” forms.
Pro technique for extra crunch:
After you assemble, bake on the middle rack for steady heat. If you want additional browning, finish with 1–2 minutes under broiler watching closely—but keep an eye to prevent oat tips from burning.
Assembling and Baking
– Sprinkle topping over the strawberry filling evenly
– Bake until the center bubbles and the top turns golden brown
– Let it cool slightly so the filling sets without running
Assembly is where the recipe becomes “reliable.” Small procedural choices create big differences in texture.
1. Even coverage matters
Sprinkle crumble topping across the strawberry filling so every bite includes both fruit and crust. Concentrating topping in one area reduces crispness elsewhere and can leave fruit exposed.
2. Bake until you hit two doneness signals
Use both:
– Bubbling in the center: you want active bubbling, not faint simmering. This indicates the fruit has heated through and the thickener has set (if using cornstarch).
– Golden-brown topping: aim for a warm brown color with slightly darker toasted edges.
3. Typical baking range
Many home ovens land around 375°F to 400°F (190°C to 205°C). Lower temps bake more evenly but can soften the topping; higher temps crisp faster but can over-brown if you’re not watching.
4. Cool to finish setting
Let the crumble cool 10–20 minutes before serving. Cooling isn’t just about safety—it’s when the strawberry sauce firms up and the topping re-crisps slightly.
If you serve immediately, the filling will taste great but may be too loose to lift cleanly.
Food-service style finishing tip:
If you plan to portion for guests, cool longer (closer to 20–30 minutes) so slices hold. If you’re serving family-style, slightly less cooling keeps it juicier.
Serving Ideas and Storage Tips
– Serve warm with vanilla ice cream or whipped cream
– Store leftovers in the fridge and reheat in the oven for best texture
– Freeze baked crumble or fruit filling separately if preferred
A strawberry crumble is at its best when the temperatures are right: hot fruit + crisp-ish topping. Here are practical ways to serve and store without losing quality.
Serving ideas
– Vanilla ice cream is classic because it cools the hot berries while enhancing vanilla’s creamy sweetness.
– Whipped cream works well if you want a lighter dessert without the “cold melt” effect of ice cream.
– Greek yogurt (unsweetened or lightly sweetened) offers tang that mirrors the lemon brightness—especially appealing for a less indulgent profile.
– Citrus zest garnish (optional) on top after baking adds aromatic freshness that makes the berry flavor feel more vivid.
Storage tips
– Refrigerate leftovers in an airtight container for up to 3–4 days.
– Reheat in the oven (best for texture):
Warm at about 325°F (165°C) until heated through. This re-crisps the topping far better than microwaving, which tends to soften the crumble.
– Microwave option (acceptable, not ideal):
Heat in short intervals, then let stand 1 minute to settle. Expect a softer top.
Freezing strategy (for maximum flexibility)
You can freeze:
– Baked crumble: cool completely, cover tightly, freeze up to 2–3 months. Reheat directly from frozen in the oven for best texture.
– Fruit filling only: freeze the strawberry mixture (after thickening) in a sealed container. Thaw, then top with fresh crumble topping and bake—this often delivers the best “freshly baked” crunch.
If you’re making ahead for events:
Bake the day before, cool, refrigerate, then reheat in the oven close to serving time. This approach supports consistent portions while preserving the crisp topping.
Warm, crisp-topped strawberry crumble is easy once you nail the filling thickness and crumble texture. The key is not just following steps—it’s understanding moisture control (especially with frozen berries), building clusters with cold butter, and baking until the fruit bubbles while the topping turns golden. Make this recipe your go-to summer or off-season dessert, then adjust sweetness, thickener levels, and spice to match your berry variety and your preferred style—more saucy or more sliceable.
Frequently Asked Questions
What is the best recipe strawberry crumble for a quick dessert?
A classic strawberry crumble recipe uses fresh or frozen strawberries tossed with sugar and a little cornstarch, then topped with a buttery crumble made from flour, oats, and brown sugar. For a quick version, use frozen strawberries and skip thickening if they’re already juicy enough, then bake until the topping turns golden. Serve it warm with vanilla ice cream or whipped cream for an easy strawberry crumble dessert.
How do I make strawberry crumble not runny?
To prevent runny strawberry crumble, thicken the fruit filling before baking by tossing strawberries with cornstarch (about 1–2 teaspoons per 4 cups strawberries). Let the mixture sit for a few minutes so the syrup thickens slightly, then bake until the filling bubbles around the edges. Using a properly crisp crumble topping—spreading it evenly and baking at the right temperature—also helps absorb some of the strawberry juices.
Why is my crumble topping too dry or too soggy?
If your crumble topping is too dry, it usually needs more butter or a bit less flour so the mixture holds together when pinched. If it’s too soggy, the filling may be underbaked or watery, so bake until you see bubbling and use cornstarch to stabilize the strawberry filling. Using cold butter and not overmixing the crumble helps create the ideal texture.
Which strawberries are best for strawberry crumble—fresh or frozen?
Both fresh and frozen work well in a strawberry crumble recipe, but they behave differently. Fresh strawberries give a brighter flavor, while frozen strawberries are convenient and often bake up tender, though they may release more liquid—so thickening with cornstarch is especially helpful. If using frozen, bake from straight frozen (no thawing) when possible to keep the filling from becoming overly watery.
How can I store and reheat leftover strawberry crumble for the best texture?
Let your strawberry crumble cool to room temperature, then cover and refrigerate for up to 3 days. To reheat, warm individual portions in the oven at 325°F (or in an air fryer) until heated through and the topping starts to crisp again, rather than microwaving, which can soften it. For longer storage, freeze the baked crumble and thaw in the fridge before reheating.

