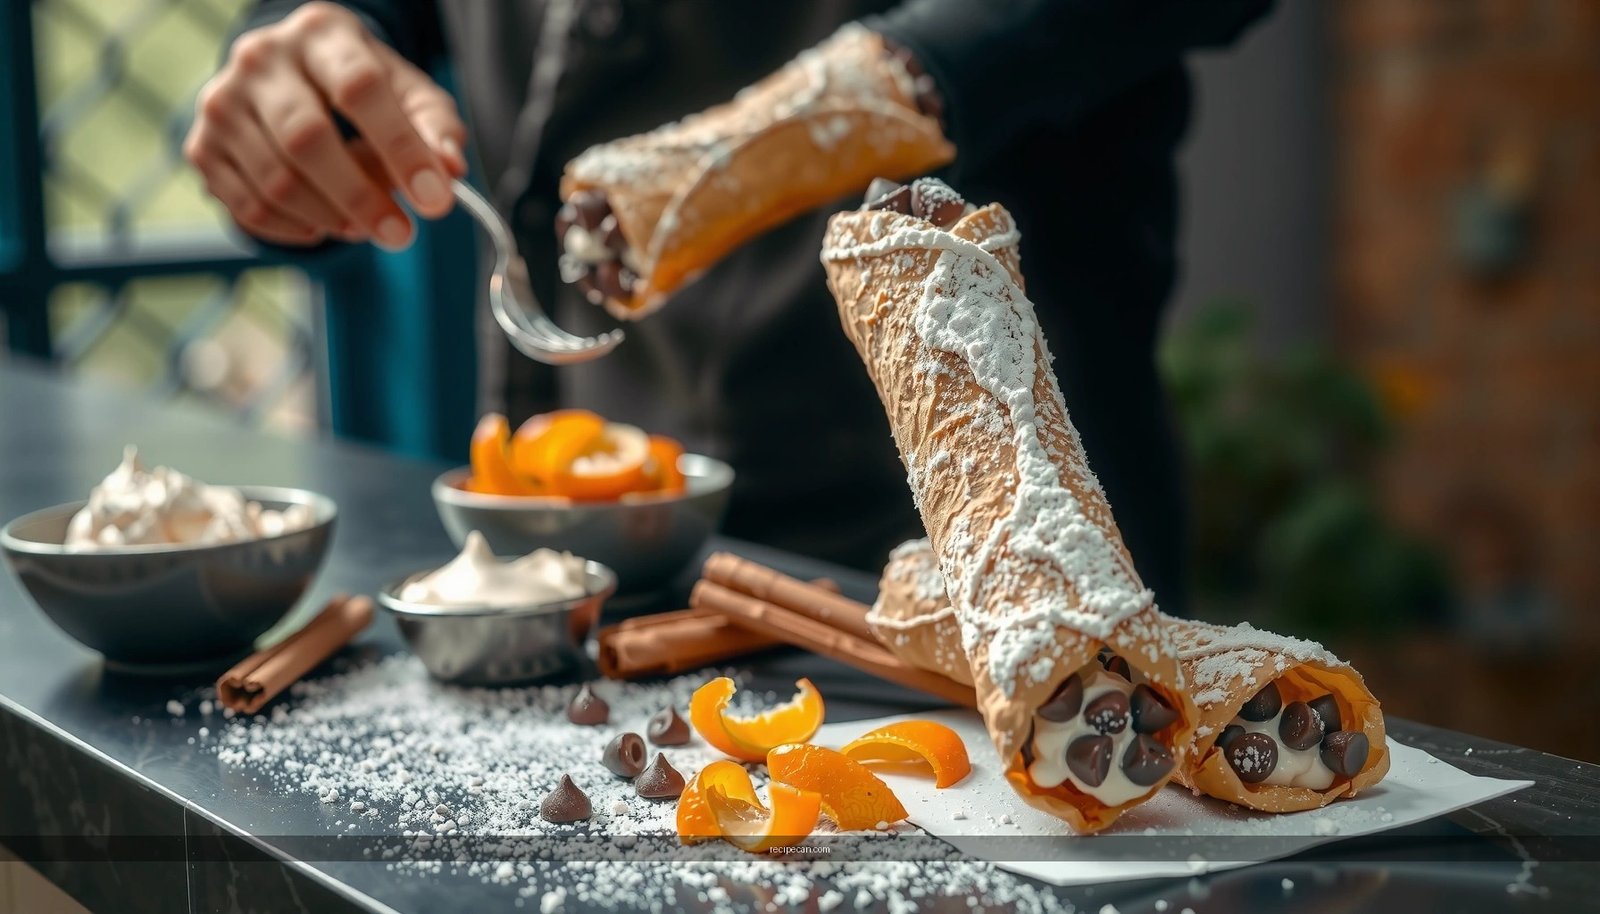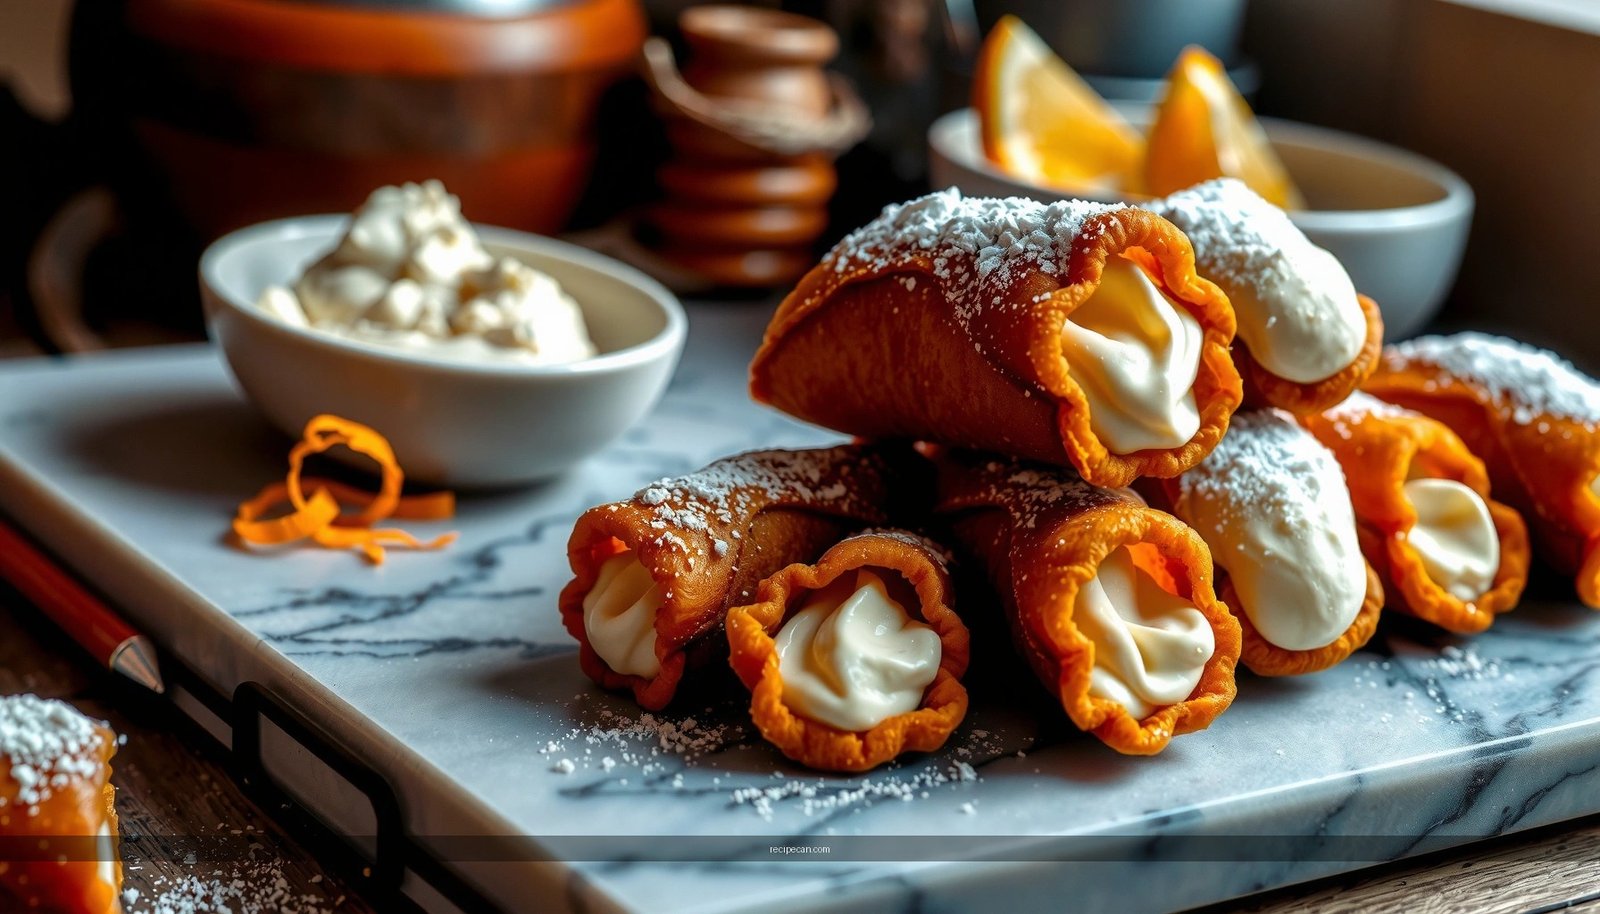
This best homemade cannoli recipe delivers crisp, golden shells and a thick, creamy ricotta filling that stays luscious instead of runny. If you’re searching for the winning method to make cannoli from scratch—shells that fry perfectly and a ricotta filling that tastes like the real Sicilian classic—this is it. Follow these steps for cannoli with crackling crunch on the outside and rich, sweet cream inside.
Make the best homemade cannoli by prioritizing two controllable variables—properly fried, thin-crisp shells and a well-drained, whipped ricotta filling that holds shape. If you drain the ricotta thoroughly, fry the shells until golden and bubbly, and assemble right before serving, you’ll get the classic contrast of crunch and creamy sweetness every time.
Essential Ingredients for Homemade Cannoli
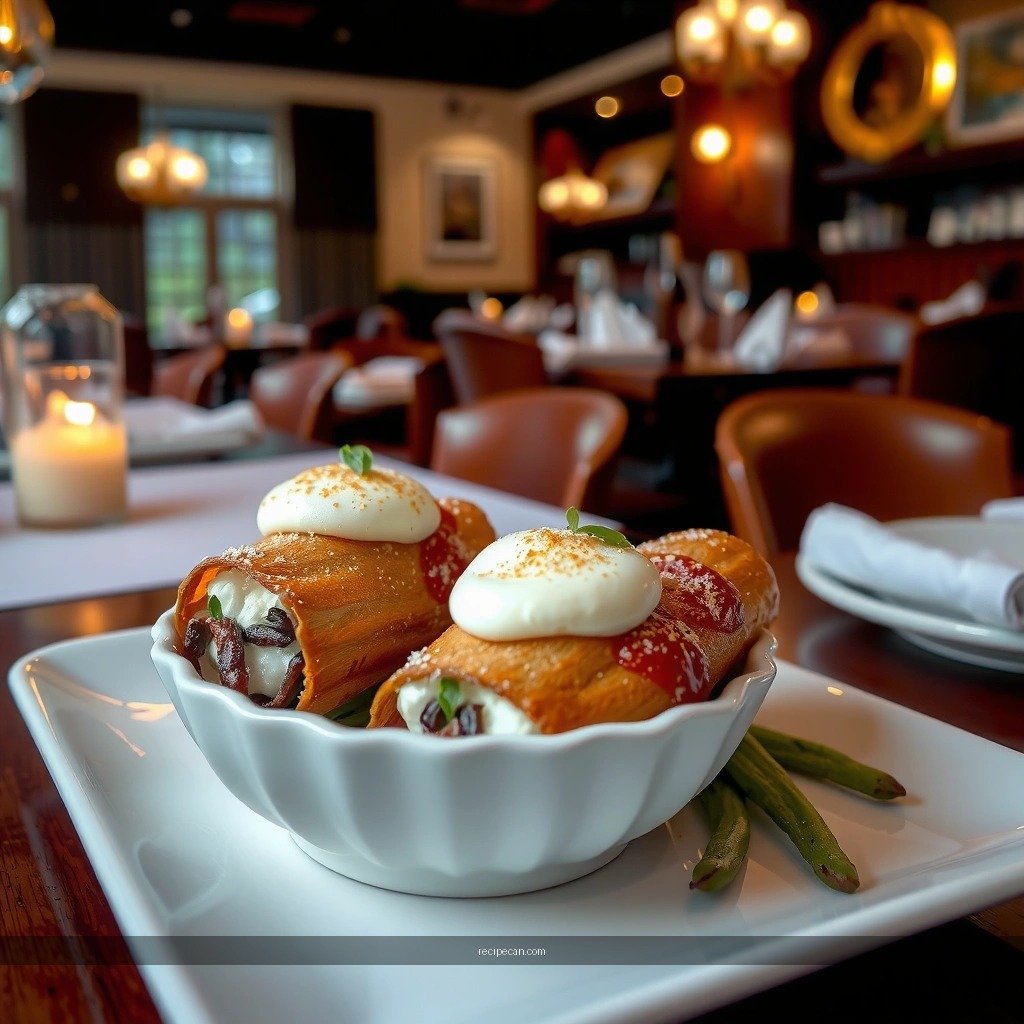
The classic cannoli experience is defined by texture and balance: a shatter-crisp shell with a sweet, thick filling that doesn’t weep. The ingredient quality matters, but so does the role each ingredient plays in structure, moisture control, and flavor.
Key ricotta and mix-ins
– High-quality ricotta (whole milk, preferably “drained” style): Look for ricotta labeled as strained/drained if possible, because it naturally reduces watery risk.
– Mini chocolate chips: Provide pockets of chocolate flavor without melting into a gray, bittersweet layer. Mini chips also distribute more evenly.
– Candied fruit (optional): Diced candied orange and/or citron gives the traditional bright sweetness that balances the dairy richness.
Shell staples
– Flour: Builds gluten structure so the shell doesn’t collapse.
– Sugar: Adds gentle sweetness and browning.
– Butter or egg: Many traditional versions use egg for tenderness and structure, while some use butter to enhance flavor and flakiness. Choose one consistent approach.
– Marsala wine (or substitute): Marsala contributes flavor depth and can improve crisping. Substitute options include dry white wine or a small splash of brandy; avoid substituting water, which won’t deliver the same aromatic or crisping effect.
Sweetness and flavor
– Granulated sugar for the filling (and sometimes a small amount for the shell dough).
– Vanilla extract (or vanilla bean paste) to round out the ricotta’s natural dairy notes.
– Pinch of salt: Even in sweet cannoli, salt sharpens flavor and prevents the filling from tasting flat.
To keep the recipe practical and repeatable, it helps to think in “texture targets”: dry-ish dough for crisp shells, and thick ricotta for no-sog. The steps below are designed around those targets rather than guesswork.
What Home Bakers Control for Cannoli Success (Texture Outcomes)
| # | Texture lever | Best-practice target | Typical error | Impact |
|---|---|---|---|---|
| 1 | Ricotta drainage | 2–4 hours | Crumbling watery ricotta | No weeping (★ 4.8/5) |
| 2 | Dough thickness | ~1.5–2 mm | Too thick, soft shell | Crunch holds longer (★ 4.6/5) |
| 3 | Oil temperature | 350–365°F / 177–185°C | Oil too cool | Oil-absorbed shells (★ 2.9/5) |
| 4 | Fry time & color | Golden, bubbly | Dark brown (overfry) | Bitter edge taste (★ 3.1/5) |
| 5 | Filling texture mixing | Whip just silky | Overmixing | Soft/loose filling (★ 3.0/5) |
| 6 | Assembly timing | Fill within 0–30 min | Fill hours ahead | Shell loses crunch (★ 2.6/5) |
| 7 | Garnish strategy | Chips + fruit right at service | Garnish early | Looks premium (★ 4.5/5) |
How to Make Cannoli Shells (Crispy and Golden)
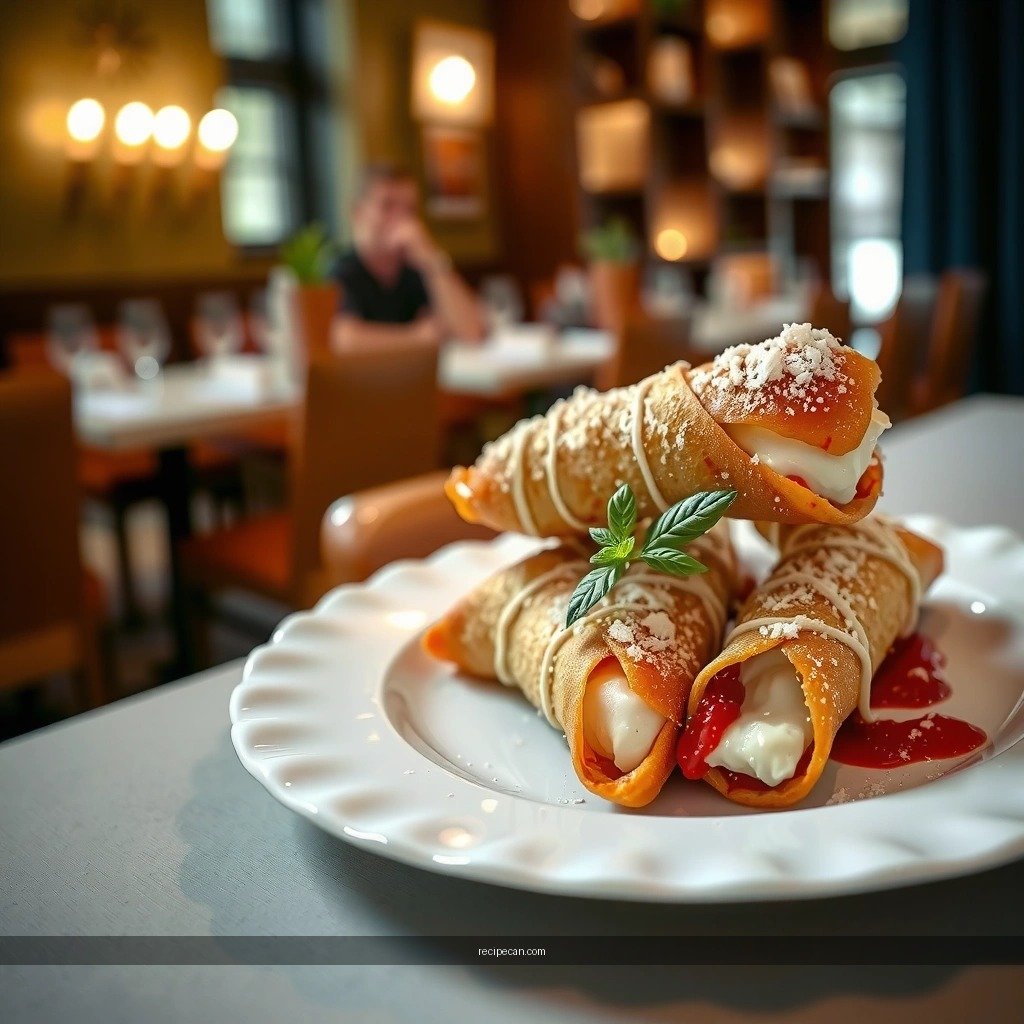
Cannoli shells are short-lived by nature: once filled, moisture migration begins. The goal is to create shells that are strong enough to hold filling and dry enough to stay crisp for the eating window.
1) Build the right dough structure
– Use a dough that feels elastic and smooth, not tacky. If it’s too sticky, it tends to fry into uneven, leathery shells.
– Resting matters. Even 30 minutes can relax gluten and make thin rolling easier and more consistent.
2) Roll thin—consistency beats thickness
– Roll the dough thin (about 1.5–2 mm is a helpful target) so it bubbles quickly in hot oil.
– Cut circles or rectangles and wrap around cannoli tube forms (if using).
– Ensure seams overlap properly; loose seams create gaps that reduce structural integrity and lead to oil penetration.
3) Fry in small batches
– Temperature stability is non-negotiable. Frying too many at once drops oil temperature, producing shells that are pale and oil-heavy.
– Small batches help maintain the oil’s 350–365°F (177–185°C) range.
4) Timing: aim for golden, not just “done”
– The best shells show visible bubbly crisping and a light-to-deep golden color.
– Overfrying darkens the shell and shifts flavor toward bitterness while also making the shell taste drier than ideal.
5) Cool correctly to preserve crispness
– Slide shells off forms carefully and cool on a rack instead of paper towels whenever possible. A rack allows airflow to keep them crisp longer.
From an analytical standpoint, crispy shells are about heat transfer and surface dehydration. The faster you drive off moisture without dropping oil temperature, the more “crackly” the texture becomes when cooled.
Creamy Ricotta Filling (Sweet, Thick, and Smooth)
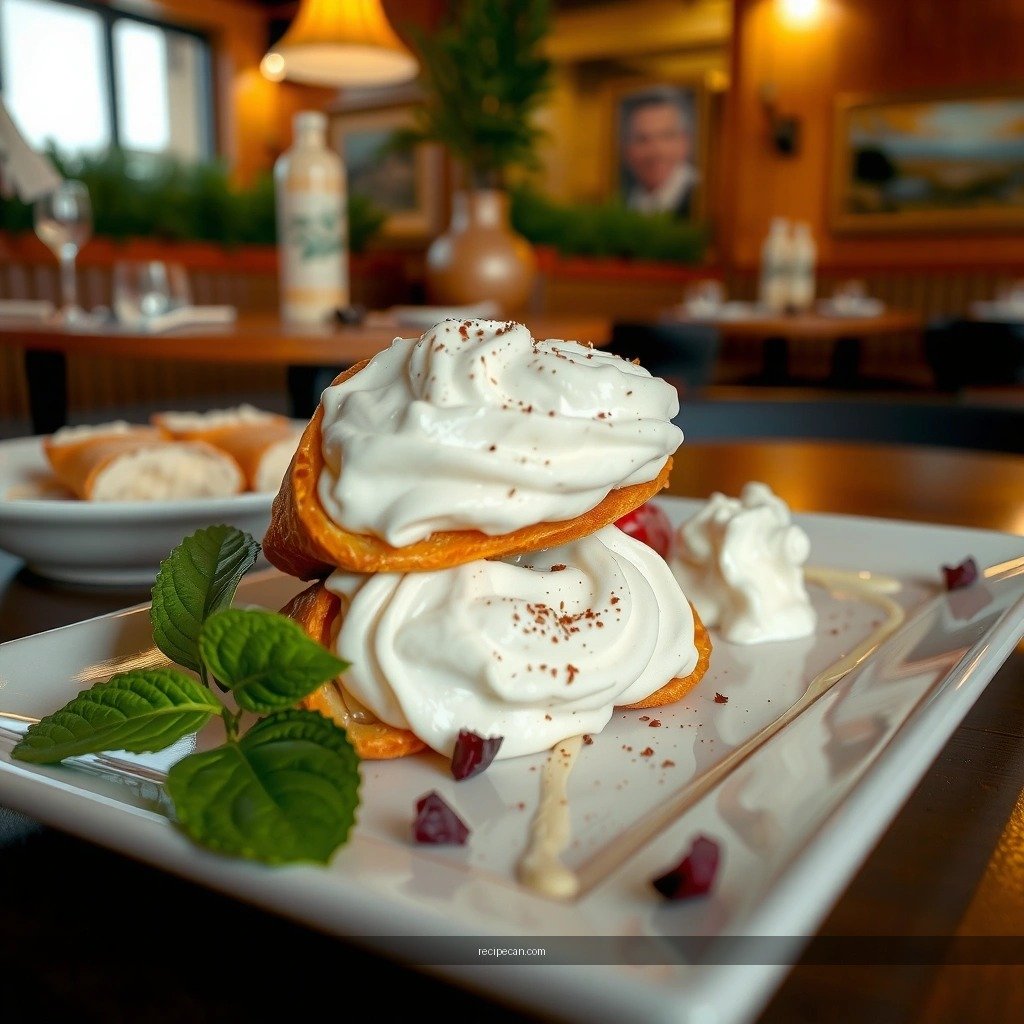
A great cannoli filling isn’t just sweet—it’s thick, stable, and spoonable, not loose or curdled. The texture problem almost always comes from insufficient drainage or mixing that’s too aggressive.
1) Drain ricotta aggressively (this is the no-sog step)
– Even “drained” ricotta may still contain whey.
– For best results, drain in a fine mesh strainer and/or press gently. Refrigerate while draining for up to a few hours.
– You’re looking for ricotta that holds ridges when scooped.
2) Whip until silky—then stop
– Mix ricotta with sugar and vanilla until the texture becomes smooth and cohesive.
– Add ingredients in stages so you can control thickness.
– Avoid overmixing once it’s silky; overmixing can change the emulsion and loosen the filling.
3) Fold in mix-ins without overhandling
– Candied fruit and mini chocolate chips should be folded gently.
– Folding protects structure and prevents chips from breaking into a streaky distribution.
4) Sweetness calibration
– If you’re using very sweet candied fruit, slightly reduce sugar. Conversely, if your candied fruit is tart (or omitted), a touch more sugar improves classic cannoli balance.
– A pinch of salt enhances sweetness perception without tasting salty.
Consider this filling like a stable dairy emulsion: the sugar dissolves and helps texture, vanilla adds aromatics, and the drainage prevents water from becoming the enemy of crunch.
Fill and Assemble Cannoli Without Sogginess
Even with perfect shells and filling, cannoli are time-sensitive. The best practice is to treat assembly as a service-step, not a prep-step.
1) Fill right before serving
– Target a window of 0–30 minutes for best crunch.
– If you must hold them briefly, keep assembled cannoli cool, but avoid long storage at room temperature—heat accelerates moisture migration.
2) Pipe evenly for consistent bite
– Use a piping bag with a medium tip to control filling flow.
– Overfilling can make the ends heavy and encourage leakage; underfilling leaves less cream-to-crisp contrast.
– Fill shells to a consistent level so each cannoli tastes balanced.
3) Garnish strategically
– Add mini chocolate chips and candied fruit after piping, or at least right at service.
– Garnishes add visual appeal, but they also can draw moisture if added too early.
4) Optional “barrier” technique (for stubborn fillings)
If your ricotta seems slightly looser, you can reduce sog risk by:
– Using a piping bag and filling only in the center portion first, then lightly topping at the last moment; or
– Letting piped filling rest in the fridge briefly to thicken before filling.
The guiding principle is simple: moisture moves from filling to shell, so delay the moment when the two meet.
Tips, Substitutions, and Common Mistakes to Avoid
Because cannoli depend on texture, small errors have outsized effects. Here are the most common pitfalls—and what to do instead.
Mistake 1: Watery filling
– Cause: Insufficient ricotta drainage or undercontrolled sweetness/texture.
– Fix: Drain longer, refrigerate during draining, and whip only until silky. If needed, fold in mix-ins after mixing is complete.
Mistake 2: Shells that are pale or greasy
– Cause: Oil too cool or shells crowded in the fryer.
– Fix: Use a thermometer and fry in small batches to maintain consistent temperature.
Mistake 3: Shells that taste dark or bitter
– Cause: Overheating oil or overfrying.
– Fix: Pull shells when they’re golden with bubbly crisping—dark brown signals you went too far.
Mistake 4: Dough too thick
– Cause: Rolling too thick reduces bubble formation and prevents crisp dehydration.
– Fix: Roll thinner and keep dough covered to prevent drying while you work.
Substitutions that work
– Marsala substitute: dry white wine or a small amount of brandy for similar flavor depth.
– No candied fruit: replace with extra mini chocolate chips plus a bit of orange zest for aromatic brightness.
A strong cannoli recipe is ultimately a controlled-process recipe. Treat temperature, timing, and drainage as “quality checkpoints,” not suggestions.
Make-Ahead Notes and Serving Ideas
Cannoli components can be prepared ahead, but assembly should be near the serving moment. This approach reduces last-minute stress while preserving quality.
What you can prep ahead
– Shells: Fry ahead and store in an airtight container with a dry paper towel or silica-safe dry environment to reduce humidity exposure. Shells stay best when fully cooled before storage.
– Filling: You can prepare and refrigerate the ricotta mixture. For best texture, stir briefly and pipe when ready rather than leaving at room temperature.
What to avoid prepping ahead
– Assembled cannoli: Filling immediately precedes service. This is the difference between “restaurant crunch” and “party dessert sog.”
Serving ideas for maximum enjoyment
– Serve with espresso or strong coffee to balance sweetness with bitterness and aromatics.
– Dust lightly with powdered sugar for a finishing touch, and garnish with a few extra chocolate chips for visual contrast.
– Consider serving on a chilled platter if your kitchen is warm—cool surfaces help maintain shell crispness.
Conclusion
This best homemade cannoli recipe succeeds because it controls the two biggest variables: crispy shells (thin dough, stable oil temperature, golden fry timing) and a cream-forward, well-drained ricotta filling (thick, sweet, smooth, and folded gently). Prepare components ahead for convenience, but assemble right before serving to protect crunch and prevent sogginess—then enjoy the classic cannoli contrast at its peak.
Frequently Asked Questions
What is the best homemade cannoli recipe for beginners?
Look for a best homemade cannoli recipe that uses simple ingredients like flour, sugar, butter or lard, and Marsala wine for the shells, plus ricotta, powdered sugar, and chocolate chips for the filling. Choose a version that includes clear resting times for the dough and easy instructions for frying the cannoli shells until crisp. A forgiving recipe will also tell you exactly how to drain ricotta (or how long to drain it) so the filling stays thick and doesn’t leak.
How do you make cannoli shells crisp without cracking?
Use a dough that’s rested so gluten relaxes, then roll it evenly and keep the dough covered to prevent drying. Fry cannoli shells in oil around the right temperature (typically about 350°F/175°C) and avoid overfilling or turning too frequently, which can cause uneven browning. After frying, let shells cool slightly before removing them from the forms so they set and stay crisp.
Which ricotta is best for a traditional cannoli filling?
For the best homemade cannoli filling, use whole-milk ricotta that’s not too watery and drain it thoroughly before mixing. Many people strain ricotta overnight in the refrigerator for a thicker, more traditional texture. This helps prevent runny filling and keeps the cannoli cream smooth, especially when you add powdered sugar and flavorings like vanilla or cinnamon.
Why does my cannoli filling get watery, and how can I fix it?
Watery cannoli filling usually comes from ricotta that wasn’t drained enough or was mixed too soon after draining. If the mixture looks loose, fold in a small amount of extra powdered sugar or drain it briefly again to tighten the consistency. For best results, chill the filling before piping it into shells, since refrigeration improves thickness and flavor.
What’s the best way to store homemade cannoli so they don’t get soggy?
Store cannoli shells and filling separately to keep the shells crisp and prevent sogginess. Keep shells in an airtight container at room temperature and refrigerate the filling in a sealed container; assemble cannoli close to serving time. If you must assemble ahead, refrigerate and serve within a few hours for the best texture and the most authentic homemade cannoli recipe experience.
References
- Google Scholar Google Scholar
https://scholar.google.com/scholar?q=best+homemade+cannoli+recipe+ricotta+filling - Google Scholar Google Scholar
https://scholar.google.com/scholar?q=cannoli+shell+recipe+fried+dough+technique - Google Scholar Google Scholar
https://scholar.google.com/scholar?q=cannoli+shells+texture+frying+oil+temperature+study - Cannoli
https://en.wikipedia.org/wiki/Cannoli - https://www.britannica.com/topic/cannoli
https://www.britannica.com/topic/cannoli - https://pubmed.ncbi.nlm.nih.gov/?term=cannoli
https://pubmed.ncbi.nlm.nih.gov/?term=cannoli - https://www.ncbi.nlm.nih.gov/pmc/?term=cannoli
https://www.ncbi.nlm.nih.gov/pmc/?term=cannoli - Cannoli recipe | Good Food
https://www.bbcgoodfood.com/recipes/cannoli - https://www.nytimes.com/guides/recipes/cannoli
https://www.nytimes.com/guides/recipes/cannoli - Google Scholar Google Scholar
https://scholar.google.com/scholar?q=best+homemade+cannoli+recipe