Get a traditional cannoli shell recipe that produces classic, unmistakably crispy shells—without breaking or going chewy. This recipe walks you through the exact dough and frying method that yields bubbly, golden cannoli tubes with the snap you want. If you want the closest thing to Italian tradition in every bite, this is the one to follow.
Make classic cannoli shells that are thin, golden, and reliably crisp by using the right dough formulation (with a small amount of fat plus wine or vinegar), resting it for workable elasticity, and frying at a steady temperature before proper cooling on tubes. In this guide, you’ll mix a straightforward dough, fry in controlled batches, and shape using cannoli tubes so the shells stay light, blistered, and crunchy—so they can handle a fresh ricotta filling without turning soft too quickly.
Gather Ingredients and Equipment

Traditional cannoli shells rely on a dough that’s firm enough to roll very thin, yet tender enough to produce a crisp, shatter-edged crust after frying. For classic flavor, use basic pantry staples plus a small amount of fat and a dough conditioner (wine or vinegar).
Key ingredient targets (classic approach):
– Flour: All-purpose flour is standard for classic cannoli shells; it provides the gluten structure needed for crispness.
– Sugar: A small amount supports browning and a delicate sweetness that balances ricotta.
– Salt: Enhances flavor and strengthens overall dough performance.
– Fat (lard or butter): Fat tenderizes the dough and helps create a crisp, flaky bite.
– Wine or vinegar: Typically dry white wine or white vinegar helps relax gluten and promotes a lighter, crispier shell texture. Vinegar is often easier to source and consistent; wine adds a subtle fermentation note.
– Oil for frying: Use a neutral high-heat oil like canola, peanut, or sunflower for clean frying and predictable crispness.
Essential equipment for reliable results:
– Cannoli tubes/molds: Metal tubes are best for even heat transfer and stable forming.
– Thermometer: A frying thermometer is non-negotiable if you want “classic golden, blistered” shells rather than uneven browning.
– Slotted spoon or tongs: For handling hot shells without deforming them.
– Cooling rack + paper towels: Drain fast without steaming.
– Timer: Crisp shells come from timing within a narrow window once the oil reaches temperature.
To help you build consistency across batches, here’s how the “best practice” variables typically line up in classic home-frying workflows.
Classic Cannoli Shell Frying Targets (Home Kitchen Benchmarks)
| # | Process Checkpoint | Target Range | What It Improves | Consistency Score |
|---|---|---|---|---|
| 1 | Oil temperature | 350–360°F (177–182°C) | Even browning + fast set of crust | ★ 5.0 |
| 2 | Oil recovery after batch | Back to target in ~60–90 sec | Stable crispness across dozens | ★ 4.6 |
| 3 | Dough rest time | 30–45 minutes | Easier rolling + less shrinkage | ★ 4.7 |
| 4 | Dough thickness | ~1.0–1.5 mm | Classic snap + blistered surface | ★ 4.8 |
| 5 | Approx. frying time per shell | 45–75 seconds | Golden finish without dryness | ★ 4.5 |
| 6 | Drain time before removal | 10–20 seconds | Reduced bubbling + shape retention | ★ 4.3 |
| 7 | Cooling before filling | ≥30 minutes fully cool | Prevents steam-softening ricotta | ★ 4.9 |
Mix the Cannoli Dough

A classic cannoli dough balances structure (enough gluten to roll thin without tearing) and tenderness (fat plus wine/vinegar to keep shells light). Even if you’ve made pastry dough before, cannoli dough benefits from a slightly different mindset: thin rolling and quick frying are the “crisp engine,” so mixing should focus on uniform texture.
Typical mixing workflow:
1. Combine dry ingredients: Flour, sugar, and salt. Whisking evenly helps prevent weak spots that tear during rolling.
2. Add fat and liquid: Mix in the fat (lard or softened butter) and pour in the wine or vinegar as directed by your preferred ratio. Stir until it looks shaggy but cohesive.
3. Form a dough: Knead briefly—enough to smooth out the dough and unify everything, but not so long that it becomes tough.
4. Rest the dough: Cover and rest for 30–45 minutes. This relaxes gluten, making the dough easier to roll thinly and less prone to spring back.
5. Target thinness before frying: Roll to about 1.0–1.5 mm for crisp, blistered shells. If it’s too thick, you’ll get chewy pastry; too thin and it may tear or separate at the seam.
Actionable troubleshooting:
– Dough too elastic / springs back: Rest longer, or roll in smaller sections.
– Dough cracking while rolling: Let it warm slightly, and keep the surface lightly dusted.
– Dough feels greasy: You may have used too much fat or warmed it too much—chill for 10 minutes before rolling.
Roll and Wrap Around the Tubes

Forming is where “good cannoli shells” become “classic cannoli shells.” The goal is even thickness, tight wrapping, and a secure seam so the shell stays cylindrical during frying.
Step-by-step wrapping method:
1. Portion the dough: Cut into manageable pieces. Keep covered so the dough doesn’t dry and form a skin.
2. Roll each piece thinly: Aim for consistent thickness—use light pressure and rotate the dough frequently.
3. Cut strips (or rounds depending on tube size): Many home bakers prefer strips that wrap smoothly around the tubes.
4. Wrap tightly around the cannoli tubes: Overlap just enough to form a seam, pressing gently so the surface bonds.
5. Seal the edges: Use a small amount of water (or dab of egg white if you prefer) at the seam to help it fuse. The seam must stay sealed as the shell expands in hot oil.
6. Keep alignment: Hold the wrapped dough at the tube end until it’s secure. A loose seam can open and create uneven “flat” or jagged shells.
Why tight wrapping matters:
When the dough thickness varies, the shell browns unevenly and can either remain pale and soft or brown too quickly and become brittle. Tight wrapping also limits air pockets that expand into bubbles you can’t control.
Tube management tips:
– Warm tubes slightly (room temperature) so dough adheres rather than tears on contact.
– Don’t overcrowd tubes; you want each shell to fry with room for movement and even heat.
Fry Until Golden and Crisp
Frying is the defining step for cannoli shells: heat sets the shell’s structure fast, and the right temperature delivers the classic golden color and blistered surface.
Frying best practices:
1. Heat oil to a stable temperature: Use 350–360°F (177–182°C) as a working target. The thermometer matters because stovetop swings are common.
2. Fry in controlled batches: Too many shells at once drops oil temperature, increasing oil absorption and reducing crispness.
3. Watch for visual cues: Golden color with blistering is your signal. If you wait until deep brown, you risk overly dry shells that crack.
4. Rotate or adjust as needed: If your tubes sit at an angle, turn carefully to promote even browning.
5. Drain immediately: Lift with a slotted spoon and drain briefly. Prolonged contact with the rack right after frying can cause fragile shells to deform.
Safety and quality notes:
– Work calmly—hot oil and thin shells can be unpredictable.
– Handle shells gently; they firm up as they cool but are more fragile while still hot.
If shells come out pale or oily:
– Oil temperature may be low.
– Batches may be too large.
– Dough may be too thick.
If shells darken too fast or become excessively brittle:
– Oil temperature may be too high.
– Fry time may be too long.
– Dough may be rolled too thin or seam may be exposed, causing hot spots.
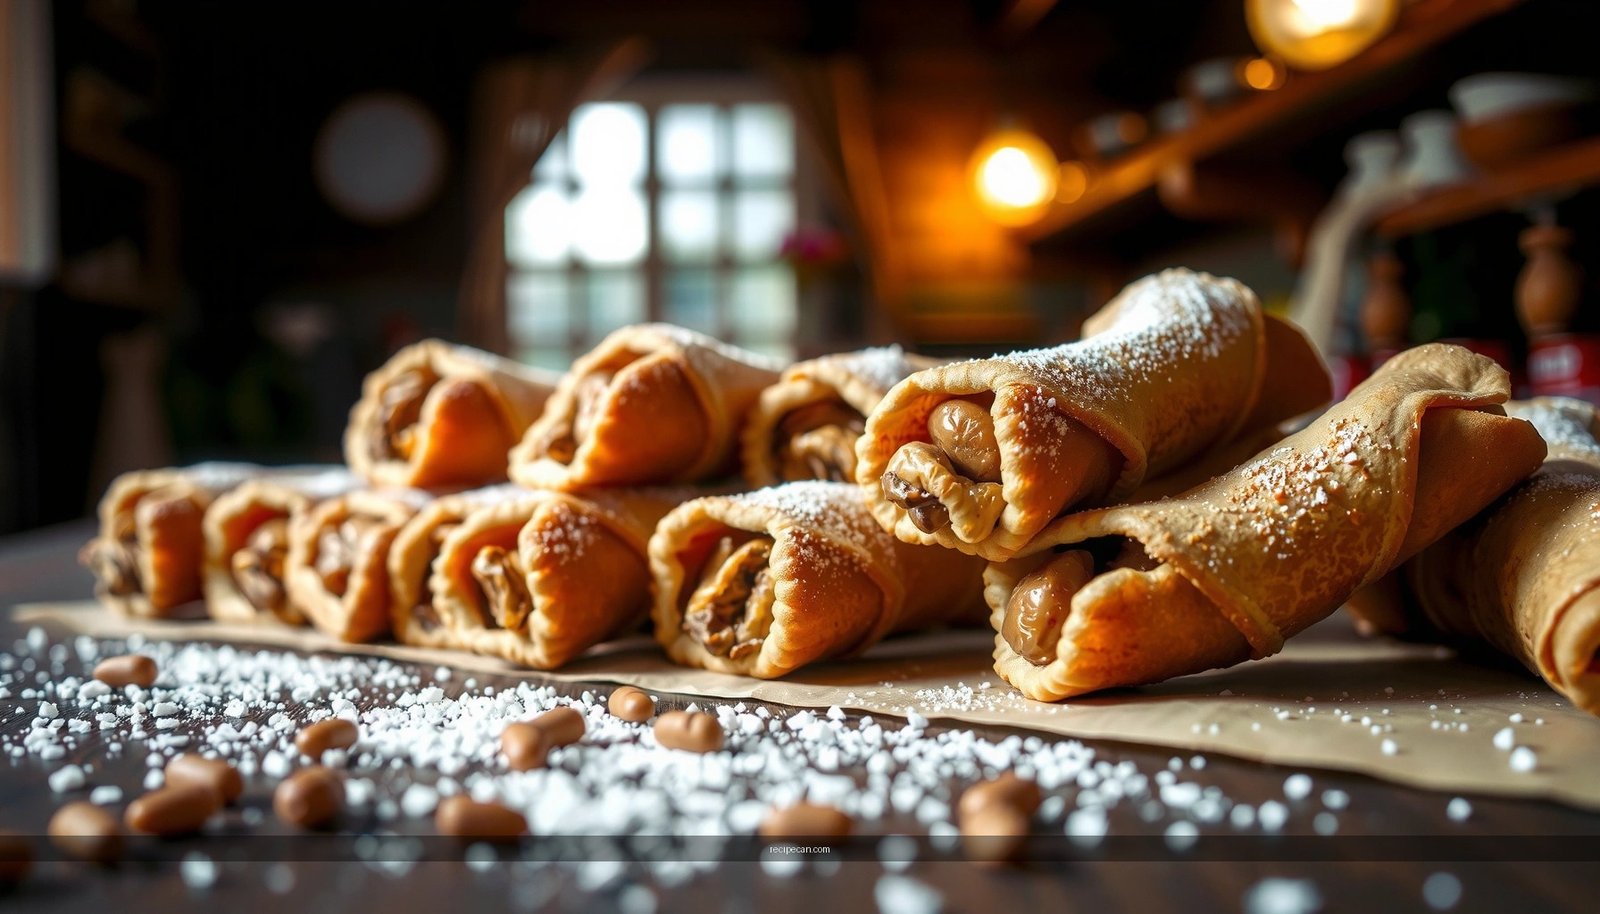
Cool, Remove, and Store Properly
Cooling is not optional if you care about texture. Warm shells filled with ricotta will steam and soften quickly, which is why classic cannoli practices emphasize cooling first, then filling near service.
Cooling and removal technique:
1. Cool on the tubes briefly: After frying, let shells sit for a short window to set their form.
2. Remove without cracking: Gently slide shells off the tubes. If you tug hard or remove immediately, they may split.
3. Cool completely on a rack: Avoid stacking while warm; stacking traps steam and moisture.
Storage that preserves crunch:
– Store shells in an airtight container with minimal airflow to limit moisture absorption.
– Keep shells away from humidity and direct steam (even from a nearby meal).
– If you’re planning ahead, make shells earlier and fill later—thin fried shells are best when crisp at the first bite.
Practical guidance:
– Fill shells only when ready to serve—ricotta moisture is the enemy of long-term crispness.
– If you must store filled shells, do so briefly and expect texture loss.
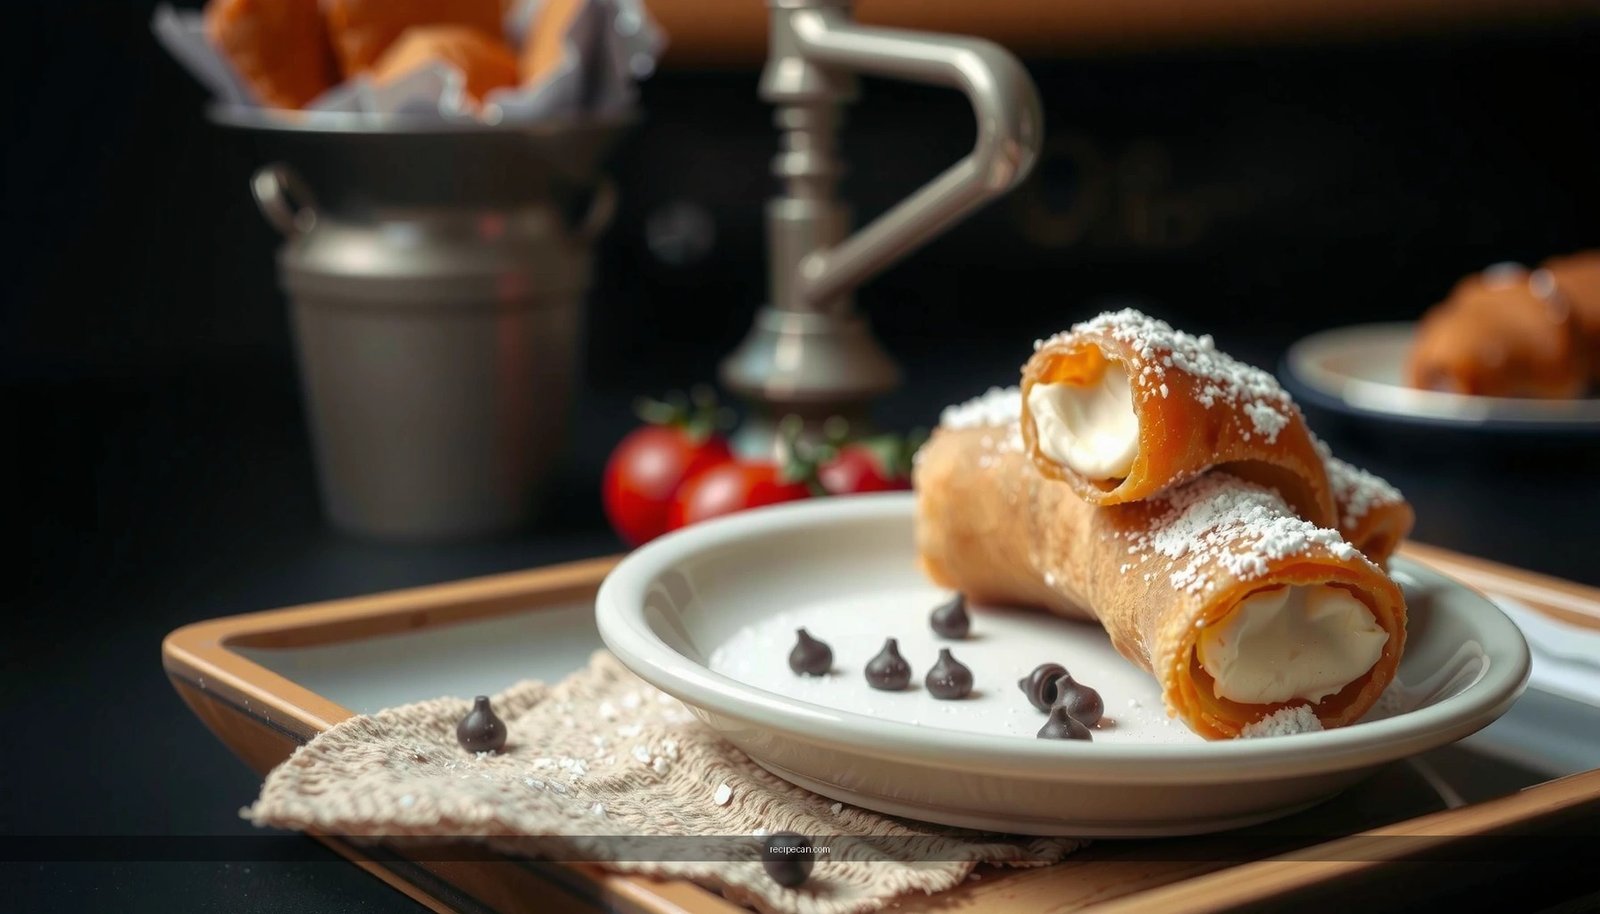
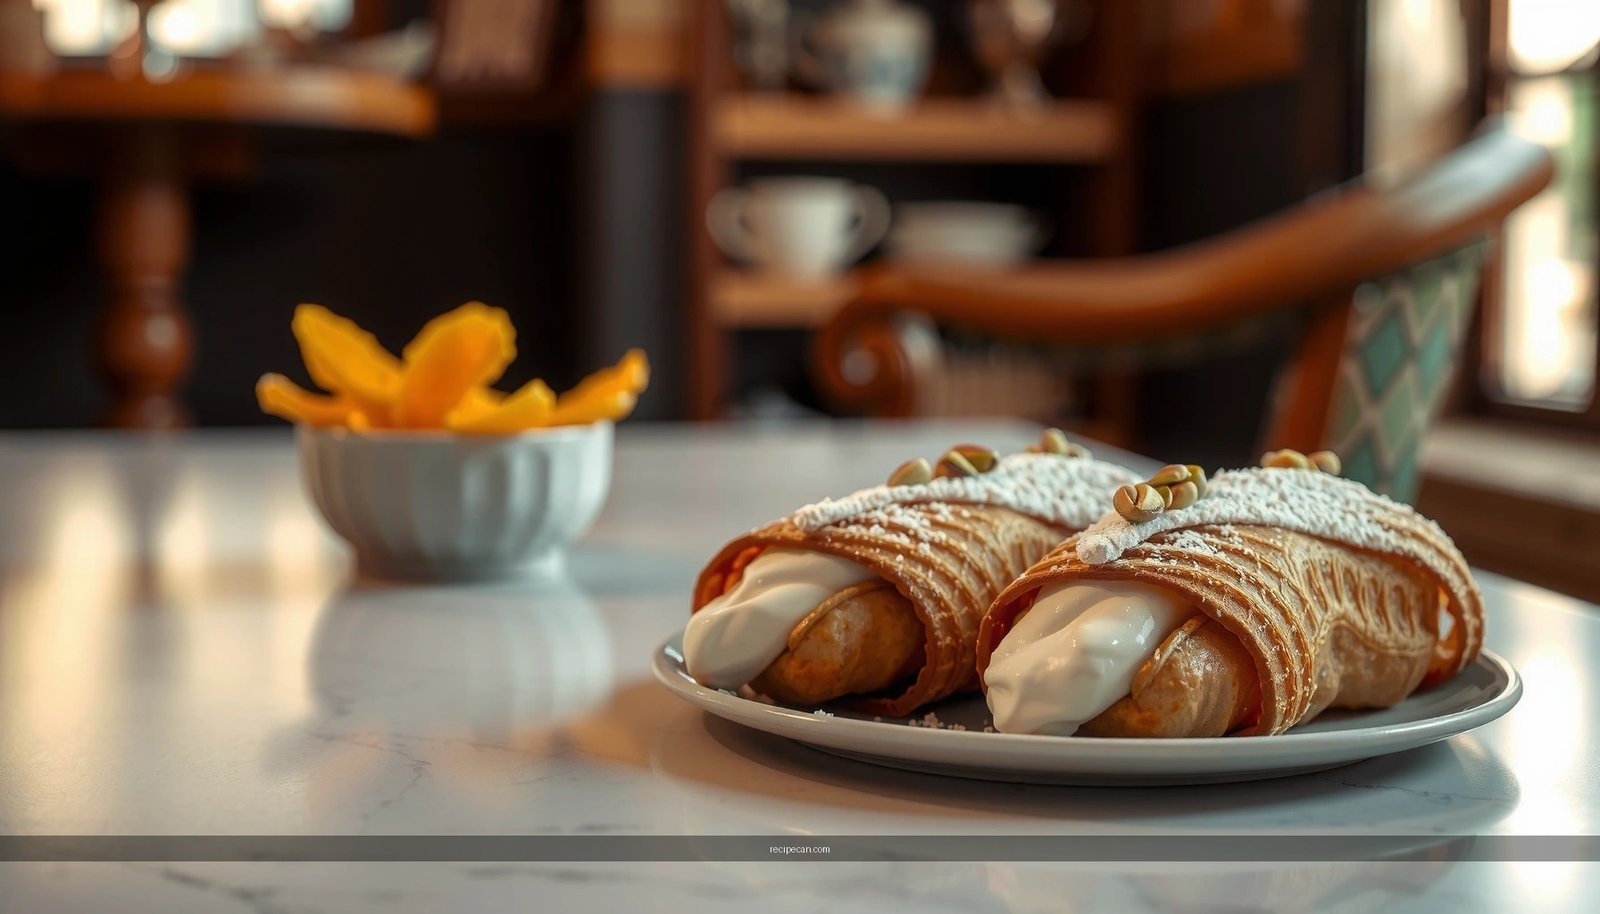
Fill and Serve for Best Texture
The best cannoli shell is the one you can hear. For maximum crunch and classic balance, fill right before serving and focus on the ricotta’s moisture level.
Filling timing and method:
– Fill just before serving: This keeps the shell crisp and prevents sogginess.
– Use a classic ricotta-based filling: Typically sweetened ricotta with vanilla and often a touch of citrus zest.
– Drain ricotta well: Excess moisture is the main cause of soft shells. Drain in a fine-mesh sieve or cheesecloth until it’s creamy but not wet.
– Pipe carefully: Fill shells evenly without overfilling; too much filling can weaken the shell at the ends.
Serve for the traditional experience:
– Plate immediately and serve at room temperature (or slightly cool).
– Garnish thoughtfully—chocolate chips, chopped pistachios, and candied fruit add flavor without adding excessive liquid.
—
Traditional cannoli shells are a technical craft with a straightforward logic: a dough that rolls thinly and rests well, tubes wrapped tightly for uniform thickness, and frying at a steady temperature until golden and blistered. By cooling properly (so shells don’t steam soft) and filling only when you’re ready to serve, you protect the defining feature of cannoli—the crisp, airy snap that makes each bite feel light and classic. Try this method for your next batch, and you’ll get shells that taste like the best traditional cannoli: crisp on the outside, tender in the middle, and perfectly timed for a fresh ricotta filling.
Frequently Asked Questions
What are the essential ingredients for a traditional cannoli shell recipe?
A classic traditional cannoli shell recipe typically uses all-purpose flour, sugar, butter or lard, dry white wine (or Marsala), a pinch of salt, and sometimes cocoa or cinnamon for variation. Many home recipes also call for egg or egg white and white vinegar for tenderness and crispness. Using flour with good structure and keeping the fat measured helps the shells fry evenly and stay crisp.
How do you make traditional cannoli shells that don’t turn soggy?
To keep a traditional cannoli shell recipe crisp, fry the shells until they’re deep golden and let them cool fully before filling. Dusting the shells with a light coating of sugar (optional) can add a subtle barrier, but the main key is timing—fill them right before serving. Also, use a firm cannoli filling and avoid over-saturating the shell ends with ricotta.
Why do cannoli shells blister and how can you prevent them from getting too tough?
Blistering is normal in many traditional cannoli shell recipes because hot oil rapidly steams moisture inside the dough, creating bubbles. If the shells become tough, it’s often due to overworking the dough, frying at too low a temperature, or frying too long. Use a thin, well-rested dough, maintain oil around the correct frying temperature, and remove shells as soon as they reach golden color.
Which type of wine is best for a traditional cannoli shell recipe?
Many authentic traditional cannoli shell recipes use dry white wine because it adds flavor without turning the dough heavy. Marsala is a popular alternative that offers a slightly richer taste, but dry white wine generally keeps the shells more neutral so the filling stands out. If you’re aiming for a more classic profile, choose a dry, not sweet, wine and keep the measurement consistent.
How do you shape and fry cannoli shells on forms for the most authentic results?
For a true traditional cannoli shell recipe, wrap small portions of dough around metal cannoli forms, overlapping neatly without leaving gaps. Fry in small batches so the oil temperature stays stable, then drain well and gently slide the shells off while warm. Let them cool completely on a rack (not paper towels) so you maintain their crisp texture and signature shape.
References
- Cannoli
https://en.wikipedia.org/wiki/Cannoli - https://www.britannica.com/food/cannoli
https://www.britannica.com/food/cannoli - Google Scholar Google Scholar
https://scholar.google.com/scholar?q=traditional+cannoli+shell+recipe - Google Scholar Google Scholar
https://scholar.google.com/scholar?q=cannoli+shells+dough+deep+frying+recipe - Google Scholar Google Scholar
https://scholar.google.com/scholar?q=Italian+cannoli+shells+pastry+recipe+ingredients - Cannoli recipe | Good Food
https://www.bbcgoodfood.com/recipes/cannoli - https://www.bbc.co.uk/food/recipes/cannoli_77070
https://www.bbc.co.uk/food/recipes/cannoli_77070 - https://www.theguardian.com/food/2023/dec/15/cannoli-recipe
https://www.theguardian.com/food/2023/dec/15/cannoli-recipe - https://www.nytimes.com/guides/recipes/cannoli
https://www.nytimes.com/guides/recipes/cannoli - traditional cannoli shell recipe – Search results
https://en.wikipedia.org/wiki/Special:Search?search=traditional+cannoli+shell+recipe