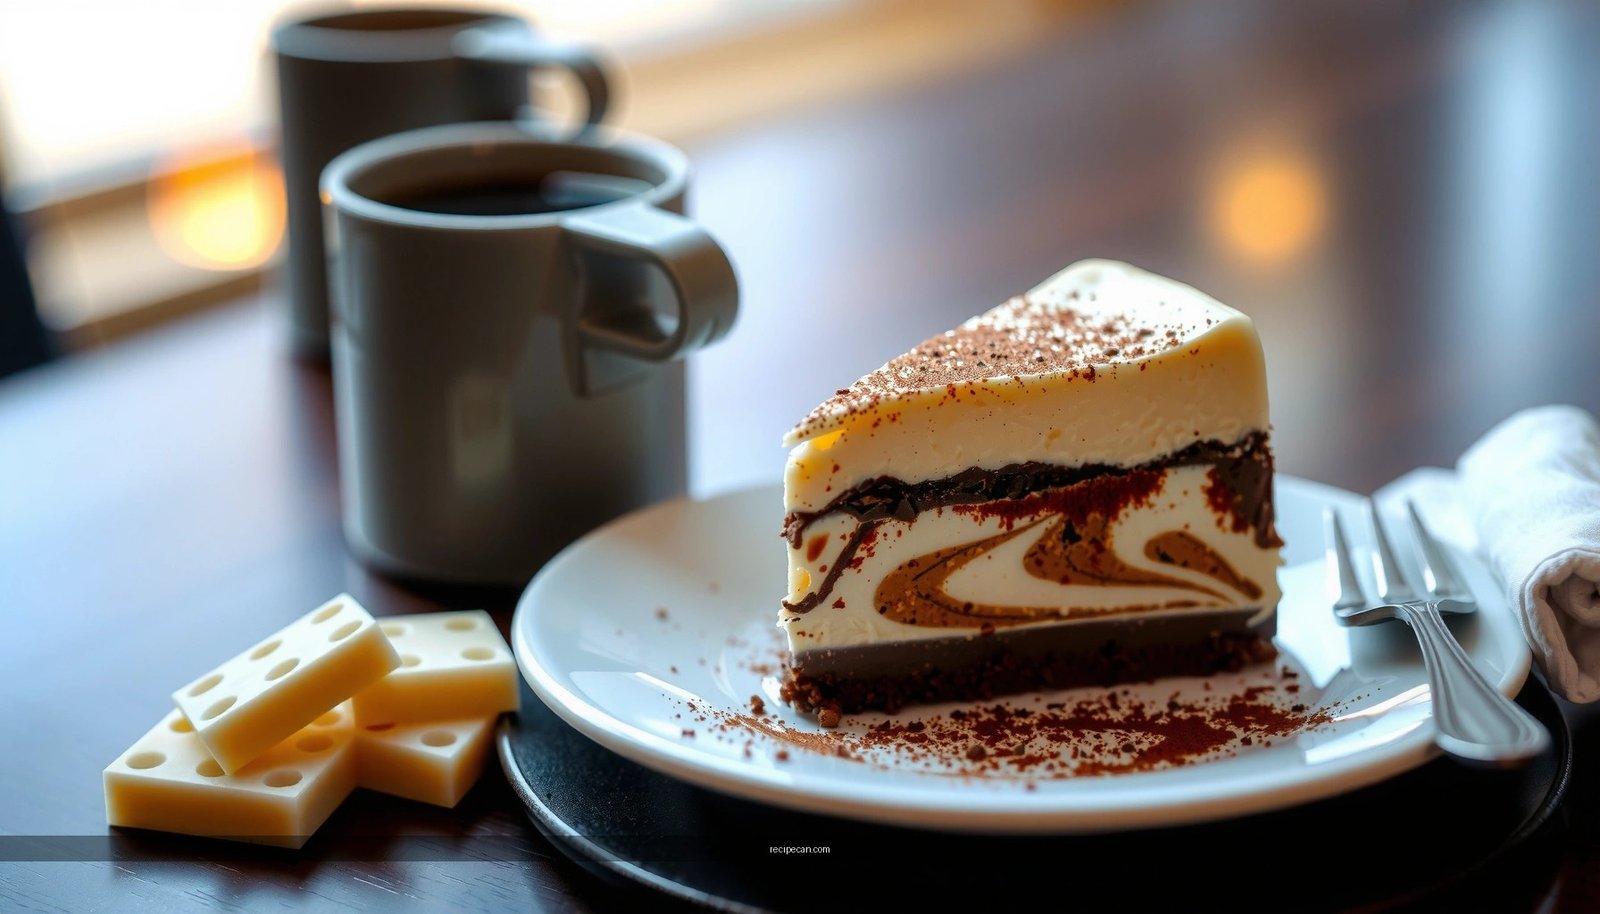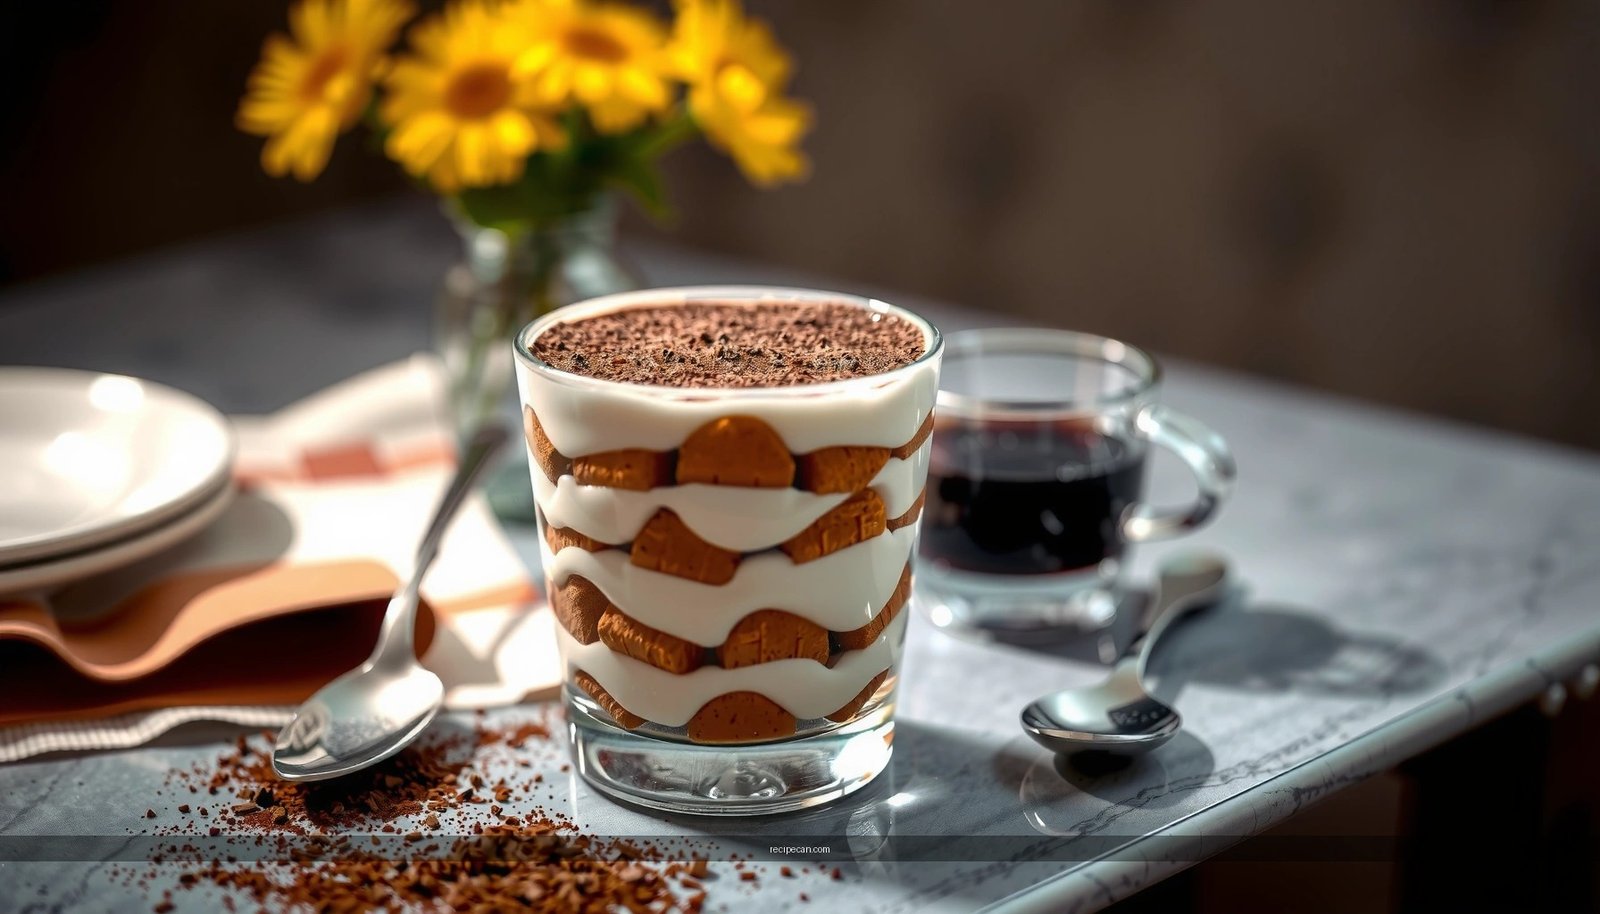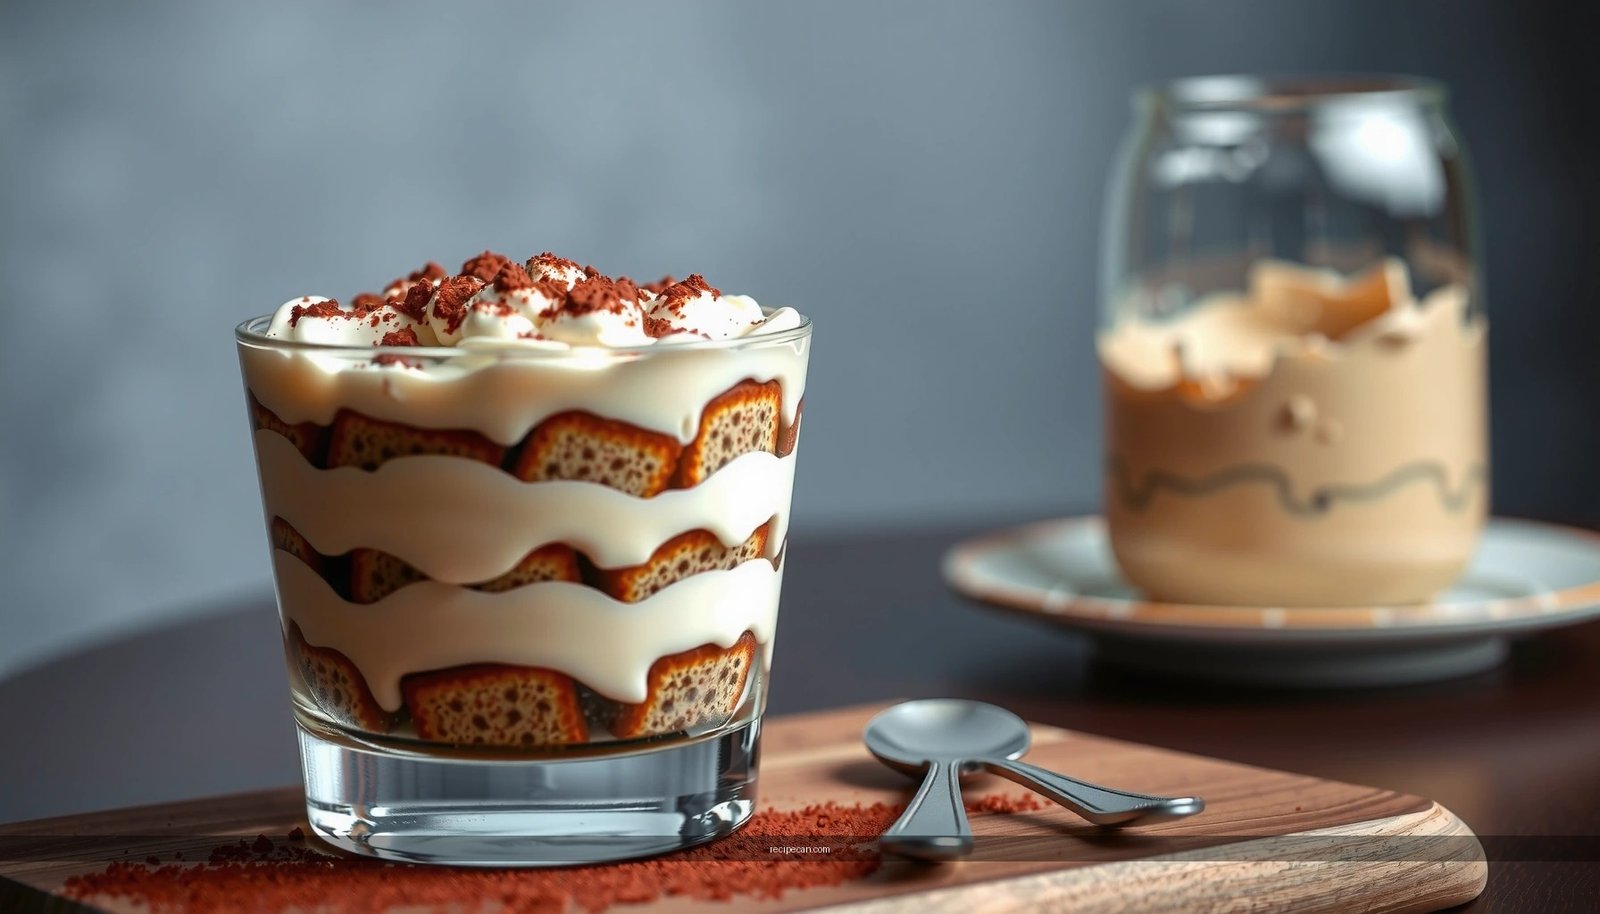
This easy classic tiramisu recipe delivers the real deal—silky mascarpone, espresso-soaked ladyfingers, and cocoa on top—in far less time than most “traditional” versions. If you’re asking how to make tiramisue that tastes like an Italian café dessert without complicated steps, this method answers it. Follow this precise, straightforward process and you’ll get clean layers and the signature bold coffee flavor every time.
This tiramisù recipe is a straightforward path to café-style results: dip ladyfingers quickly into cooled espresso, layer with a fluffy mascarpone cream, then chill until perfectly set. Follow the exact steps below—especially the espresso-dipping timing and careful folding—to achieve clean layers, the right texture, and that signature coffee-and-cocoa flavor.
Gather Ingredients for Tiramisu
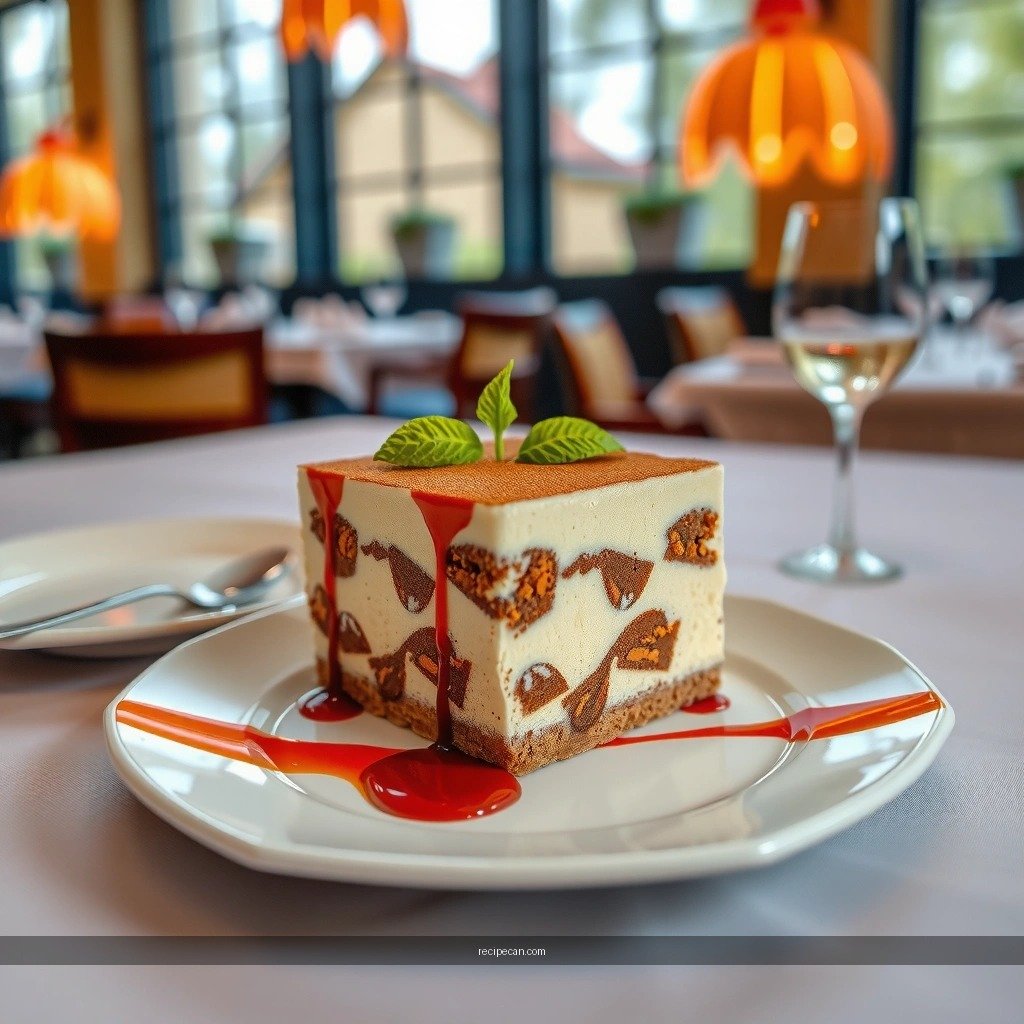
Classic tiramisù is built on a small set of high-impact ingredients. If you get these right, the recipe becomes reliably repeatable—even if you’re making it for the first time.
– Use mascarpone, heavy cream, sugar, and eggs (or pasteurized eggs) for the filling
– Mascarpone provides the rich, tangy base. For best texture, use mascarpone that is cold and fresh (it whips and folds more predictably).
– Heavy cream adds body and lightens the final mousse-like texture.
– Sugar sweetens without overpowering the coffee. Granulated sugar dissolves cleanly, especially if you whip until glossy.
– Eggs (or pasteurized eggs) contribute emulsifying power and classic stability. If you prefer convenience and safety, pasteurized eggs help you avoid raw-egg concerns.
– Prepare espresso (or strong coffee) and ladyfingers for soaking
– Espresso is traditional, but any strong coffee works (think: bold, low-water method, not weak drip). The flavor should read “coffee,” not “water.”
– Ladyfingers should be savoiardi-style (dry and crisp). If you use soft sponge cake, it will absorb too quickly and blur layers.
– Add cocoa powder and optional dark chocolate for finishing
– Unsweetened cocoa powder gives the classic bitter edge that balances the sweetness.
– Optional dark chocolate (shavings or a light dusting) can add depth, but keep it secondary so the mascarpone and espresso remain the headline.
Best Practices for Achieving Classic Tiramisu Texture
| # | Tiramisu Step (Texture Driver) | Target Timing | Impact Rating | Outcome Signal |
|---|---|---|---|---|
| 1 | Espresso cooling before dipping | 12–20 min | ★★★★★ | Less “melted” layers |
| 2 | Ladyfinger dip duration | 1–2 sec/side | ★★★★★ | Clean, stackable layers |
| 3 | Whip mascarpone until smooth | 1–2 min | ★★★★☆ | No grainy lumps |
| 4 | Fold in whipped cream gently | 30–45 sec | ★★★★☆ | Airy, mousse-like finish |
| 5 | Chill time before serving | 8–12 hours | ★★★★★ | Best structure + flavor blend |
| 6 | Top cocoa timing | Right before serving | ★★★★☆ | Better aroma + less melt |
| 7 | Dipping consistency across batch | Match rhythm | ★★★☆☆ | Avoid uneven sogginess |
Make the Espresso and Prep the Ladyfingers
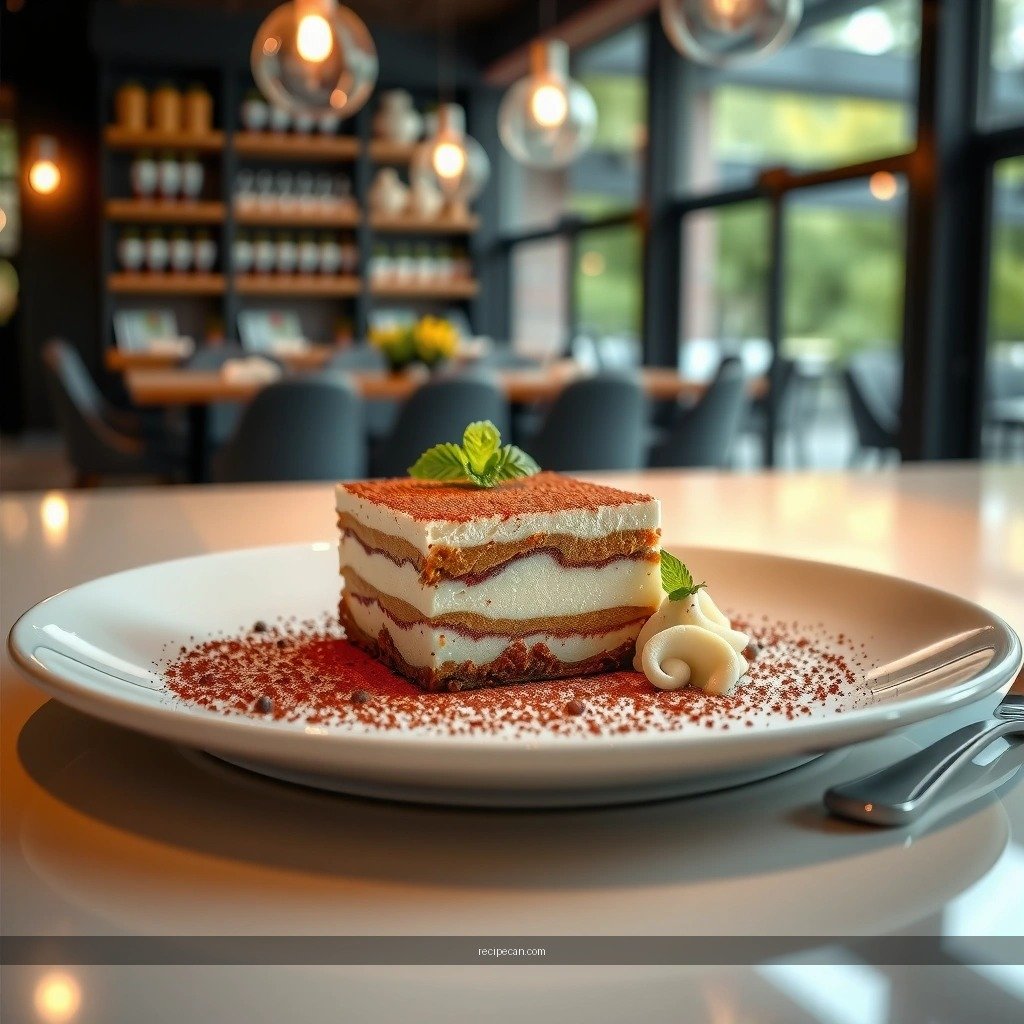
This is where classic tiramisù succeeds or fails: coffee timing controls moisture, and moisture controls texture.
– Brew espresso and let it cool slightly so it soaks without turning soggy
Hot liquid accelerates breakdown in ladyfingers. Let your espresso cool until it’s warm, not steaming—about 12–20 minutes depending on your room temperature. If you’re using a stovetop or moka pot, strain well and keep the liquid smooth.
– Quickly dip ladyfingers—brief soak, no soaking through
Dip each side for about 1–2 seconds. The ladyfinger should look moistened on the surface but still hold its structure. If you dip longer, you’ll end up with a dessert that tastes great but slices poorly and pools coffee liquid.
– Set up an even baking dish/layering plan
Use a dish that supports clean stacking:
– Choose a similar width to your ladyfingers so you don’t need heavy trimming.
– Plan for 2–3 layers. Deeper dishes need more cream per layer to prevent compression.
Tip for efficiency: have a parchment-lined tray ready. As you dip, place ladyfingers directly into the dish to minimize “waiting time” that can lead to over-soaking.
Prepare the Creamy Mascarpone Filling

The filling is essentially a controlled emulsification: rich mascarpone plus sweetener, then lightened with whipped cream. The goal is smoothness and stability—without deflating.
– Whip mascarpone with sugar until smooth and creamy
Start with cold mascarpone and whip until it becomes glossy and uniform. Scrape the bowl at least once to prevent hidden lumps. If you’re using egg yolks (as in many classic variants), whisk them separately and add gradually to maintain an even texture.
– Fold in whipped cream for a light, airy texture
Whip heavy cream to soft to medium peaks—there should be body, not dryness. Then fold it into the mascarpone mixture. Folding (instead of mixing aggressively) preserves the air bubbles that make the tiramisù feel light.
– Combine carefully to keep the mixture fluffy
Overmixing turns mousse-like cream into a denser paste. Keep your technique gentle: slow circular folds, stop as soon as no streaks remain. The mascarpone filling should spread easily but hold shape when you lift a spoon.
Egg note for food-safety and performance: if using whole eggs, choose pasteurized eggs or cook tempering into the mixture. This helps maintain the classic richness while reducing risks associated with raw eggs.
Assemble the Classic Tiramisu Layers
Layering determines the visual appeal and the eating experience—especially when slicing. Classic tiramisù should look like distinct coffee-soaked bands alternating with pale cream.
– Layer soaked ladyfingers, then spread the mascarpone mixture
Start with a single layer of dipped ladyfingers. Spread filling gently to edges to reduce gaps. Aim for a consistent cream thickness so every bite has the same balance of coffee and cream.
– Repeat for 2–3 layers depending on your dish depth
Two layers work well in shallower containers; three layers create the “café tray” look. If you’re making multiple portions, consider building in a way that matches how you’ll serve—each slice should include layers, not just one thick cream mass.
– Smooth the top layer for an even finish
Smooth the top with an offset spatula or the back of a spoon. This ensures the cocoa dusting sits on a stable surface and disperses evenly.
Professional cue: if you see excess liquid from dipping, blot very lightly with a clean towel or pause your dipping rhythm. You’re aiming for “moistened,” not “wet through.”
Chill and Set for Best Texture
Chilling is not optional—it’s what transforms the layered structure into classic tiramisù. Refrigeration allows the cream to firm and the espresso to harmonize.
– Refrigerate at least 4–6 hours (overnight is best)
For best results, chill overnight (8–12 hours). Short chilling can taste good immediately, but the mouthfeel often remains soft and loose, and slices may collapse.
– Keep it covered to prevent absorbing fridge odors
Tiramisu absorbs ambient flavors. Cover it well—foil plus a lid, or an airtight wrap that seals at the edges. This is especially important if your fridge contains strong items like onions, garlic, or strong cheeses.
– Serve cold for the classic tiramisù feel
Serve directly from the refrigerator. If you let it warm, the cream loosens and cocoa can melt into streaks.
If you’re preparing for guests: plan assembly the day before, then dust cocoa right before serving for a crisp, aromatic finish.
Serve, Store, and Troubleshoot
This final step is where good tiramisù becomes reliably “great,” including when you need to fix a texture issue next time.
– Dust generously with cocoa powder right before serving
Use a fine mesh sieve. Dust lightly, rotate the sieve, then add a second pass if needed. Add chocolate shavings only as a final touch if you want extra contrast.
– Store covered in the fridge for up to 2–3 days
Cover tightly to prevent fridge odors and moisture loss. The texture typically holds for 48–72 hours, though cocoa appearance may soften over time.
– If it’s too runny, chill longer; if soggy, reduce soak time next batch
– Too runny / not set: chill longer (and check that you whipped to the right peak level). If using eggs, confirm proper preparation (pasteurized or tempered).
– Too soggy: shorten dipping time by 0.5–1 second per side, and make sure espresso is cooled before soaking.
– Grainy filling: mascarpone may have been overmixed or not brought to a smooth start—scrape the bowl during whipping and avoid high-speed after folding.
Tiramisu is all about quick dipping, a fluffy mascarpone cream, and proper chilling. Follow these steps to get clean layers and that classic coffee-and-cocoa flavor—then make it your own by adjusting sweetness and cocoa to taste. Try this recipe today and chill it overnight for the best results.
Frequently Asked Questions
What are the essential ingredients for a classic tiramisue recipe?
A classic tiramisue recipe (often spelled tiramisu) typically uses mascarpone cheese, eggs, sugar, coffee (espresso or strong brewed coffee), and ladyfingers. You’ll also want cocoa powder for dusting and a pinch of salt to balance flavors. For best results, use high-quality mascarpone and freshly brewed or cooled espresso so the tiramisue doesn’t taste watery or flat.
How do I make tiramisue step-by-step without curdling the eggs?
Start by separating the eggs and whipping the yolks with sugar until they look pale and thick, then fold in mascarpone. If you’re using whole eggs, gently temper them with warm coffee syrup or a small amount of warm sugar mixture while whisking continuously. Many cooks skip raw eggs by using pasteurized eggs or a no-raw option, which helps prevent curdling in a tiramisue recipe.
Why does my tiramisue turn out runny, and how can I fix it?
A runny tiramisue is usually caused by over-soaking the ladyfingers or using coffee that’s too warm, which melts the cream faster. Let the coffee cool, dip the ladyfingers quickly, and use a firmer mascarpone mixture with properly whipped egg yolks. Also chill the assembled tiramisue at least 4–6 hours so the layers set and slice cleanly.
Which coffee works best for tiramisue—espresso, instant, or cold brew?
Espresso is the most common choice because it has strong, concentrated flavor that holds up against the creamy mascarpone. Instant espresso can work well too—just dissolve it thoroughly and let it cool before assembling. Cold brew or strong coffee is also fine, but aim for a bold taste so your tiramisue recipe doesn’t come out bland.
What’s the best way to store tiramisue and how long does it last?
After chilling, keep your tiramisue covered in the refrigerator to prevent it from absorbing fridge odors. Most tiramisue recipes are best within 2–3 days for optimal texture, since the ladyfingers soften over time. If you need longer storage, consider freezing only if your recipe is egg-safe and structured well, but expect texture changes once thawed.
References
- Tiramisu
https://en.wikipedia.org/wiki/Tiramisu - https://www.britannica.com/recipe/tiramisu
https://www.britannica.com/recipe/tiramisu - https://www.theguardian.com/lifeandstyle/2015/jan/20/tiramisu-recipe
https://www.theguardian.com/lifeandstyle/2015/jan/20/tiramisu-recipe - https://pubmed.ncbi.nlm.nih.gov/?term=tiramisu
https://pubmed.ncbi.nlm.nih.gov/?term=tiramisu - https://www.sciencedirect.com/search?qs=tiramisu
https://www.sciencedirect.com/search?qs=tiramisu - Google Scholar Google Scholar
https://scholar.google.com/scholar?q=tiramis%C3%9C+recipe - Google Scholar Google Scholar
https://scholar.google.com/scholar?q=tiramisu+mascarpone+espresso+egg+recipe - Google Scholar Google Scholar
https://scholar.google.com/scholar?q=tiramisu+coffee+cocoa+savoiardi+recipe - Google Scholar Google Scholar
https://scholar.google.com/scholar?q=tiramisue+recipe - tiramisue recipe – Search results
https://en.wikipedia.org/wiki/Special:Search?search=tiramisue+recipe