Get Giada tiramisu recipe results with classic, easy steps that actually work—no shortcuts, no guesswork. This guide walks you through the right espresso-soaking, the signature mascarpone mixture, and the clean assembly that makes every slice taste like the real deal. If you want the best Giada tiramisu method for beginners who still want authentic flavor, this is the one.
Giada’s tiramisu is one of the most reliable “impressive but doable” desserts you can make: creamy mascarpone layered with coffee-soaked ladyfingers and finished with cocoa. If you follow the same core workflow—whip the filling to the right thickness, dip quickly to prevent sogginess, and chill long enough to set—you’ll get the classic texture and flavor that tastes restaurant-fresh.
Giada’s approach also makes the process efficient. You’re not relying on complicated cooking techniques; you’re relying on controlled texture: stable, airy mascarpone; evenly assembled layers; and enough resting time for espresso to hydrate the ladyfingers without turning them watery. The result is a tiramisu that holds its shape when sliced, yet still feels silky on the palate.
Ingredients You’ll Need for Giada’s Tiramisu
– Mascarpone, eggs, sugar, and espresso (key for the creamy filling)
– Ladyfingers and cocoa powder for the classic structure and finish
A classic Giada-style tiramisu starts with a few ingredients that each play a specific role. Mascarpone provides the signature richness; eggs and sugar create lift and smoothness; espresso (or strongly brewed coffee) supplies the bitter-sweet balance that prevents the dessert from tasting overly sweet. Ladyfingers form the structural “sponges,” and cocoa powder provides the finishing layer that makes each slice look bakery-perfect.
Ingredient quality matters more than people think. Use high-quality mascarpone (smooth, uniform, not watery). For espresso, aim for a roast profile you enjoy drinking—bright and fruity will taste “off” in tiramisu, while deep, chocolatey notes integrate naturally with cocoa.
Here’s a practical “ingredient readiness” snapshot to help you plan:
Tiramisu Ingredients: Preparation Readiness & Impact (Giada-Style)
| # | Component | Target Texture | Best Preparation Time | Reliability Score | Typical Failure Risk |
|---|---|---|---|---|---|
| 1 | Mascarpone | Thick, creamy, lump-free | 1–2 min to smooth | ★★★★★ | Low |
| 2 | Egg yolks + sugar | Pale, thick, ribboning | 6–8 min whisking | ★★★★☆ | Medium |
| 3 | Egg whites | Soft peaks, glossy | 3–5 min beating | ★★★★☆ | Medium |
| 4 | Espresso / strong coffee | Room temp or cool, not hot | Brew + cool 20–30 min | ★★★★★ | Low |
| 5 | Ladyfingers | Quickly moistened, intact | Dip: 1–2 sec each side | ★★★★☆ | High |
| 6 | Cocoa powder | Dry, aromatic, dusted thin | Dust: last 2–5 min | ★★★★★ | Low |
| 7 | Chill time (set) | Sliceable, creamy hold | 4–6 hours minimum | ★★★★★ | Medium |
How to Make the Mascarpone Filling
– Whip mascarpone with the right egg mixture until smooth and thick
– Keep the texture airy so the layers stay light, not dense
The mascarpone filling is where most “good tiramisu” becomes “great tiramisu.” The goal is not just creaminess—it’s controlled aeration. Giada’s method effectively uses eggs to create a silky, stable structure that firms up in the fridge while staying light.
Step 1: Build body with yolks and sugar. When you whisk yolks with sugar until they’re pale and thicker, you’re increasing volume and smoothing out flavor. This helps prevent a filling that tastes “heavy” or flat.
Step 2: Add lift with egg whites. Whip egg whites until they form soft, glossy peaks. Soft peaks are crucial: if you whip to stiff peaks, the filling can become grainy and less cohesive after folding. If they’re under-whipped, the dessert may set poorly and feel dense.
Step 3: Combine without deflating. Fold mascarpone into the yolk mixture first, mixing just until smooth. Then fold in the whipped whites gently. Think “fold and stop”—overmixing knocks out air and leads to a filling that feels thick but not airy.
Common texture problems (and how to fix them):
– Filling looks runny: you may have overmixed (deflated) or used mascarpone at a temperature that’s too soft. Chill the base 10–15 minutes, then refold gently.
– Filling feels grainy: egg whites may be overwhipped or incorporation was too aggressive. Fold more gently and avoid high-speed mixing after whites are added.
– Filling tastes too eggy: use a moderate whipping time and ensure sugar dissolves fully; also avoid under-whisking yolks.
A useful professional mindset: measure “feel,” not just time. The finished filling should be thick enough to mound slightly on a spoon and spread smoothly—never glossy-watery.
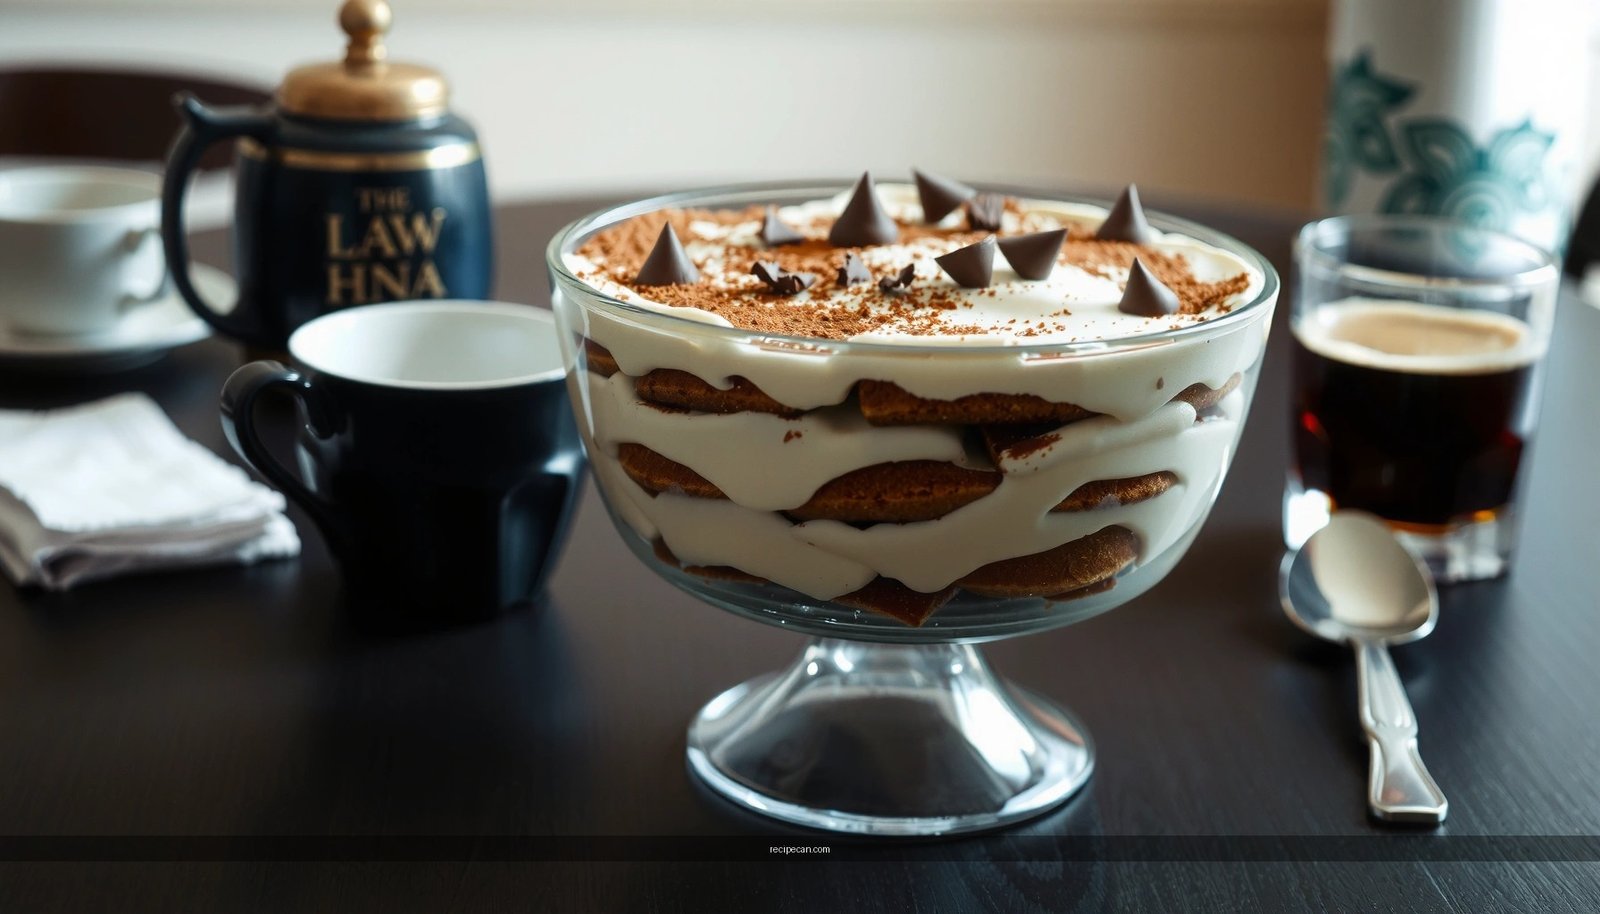
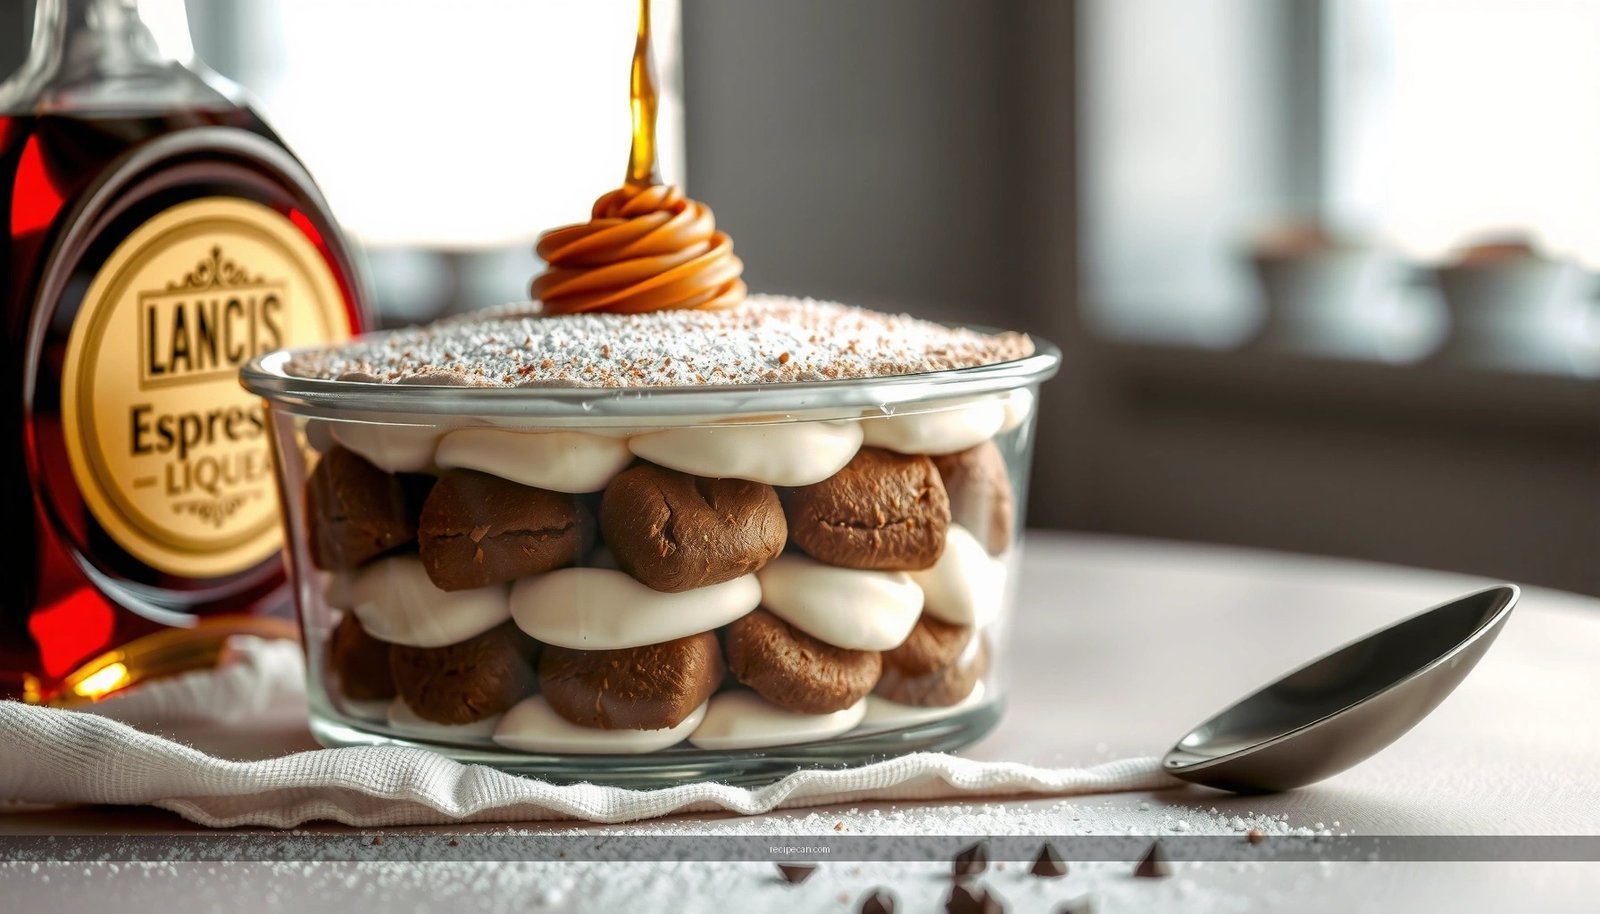
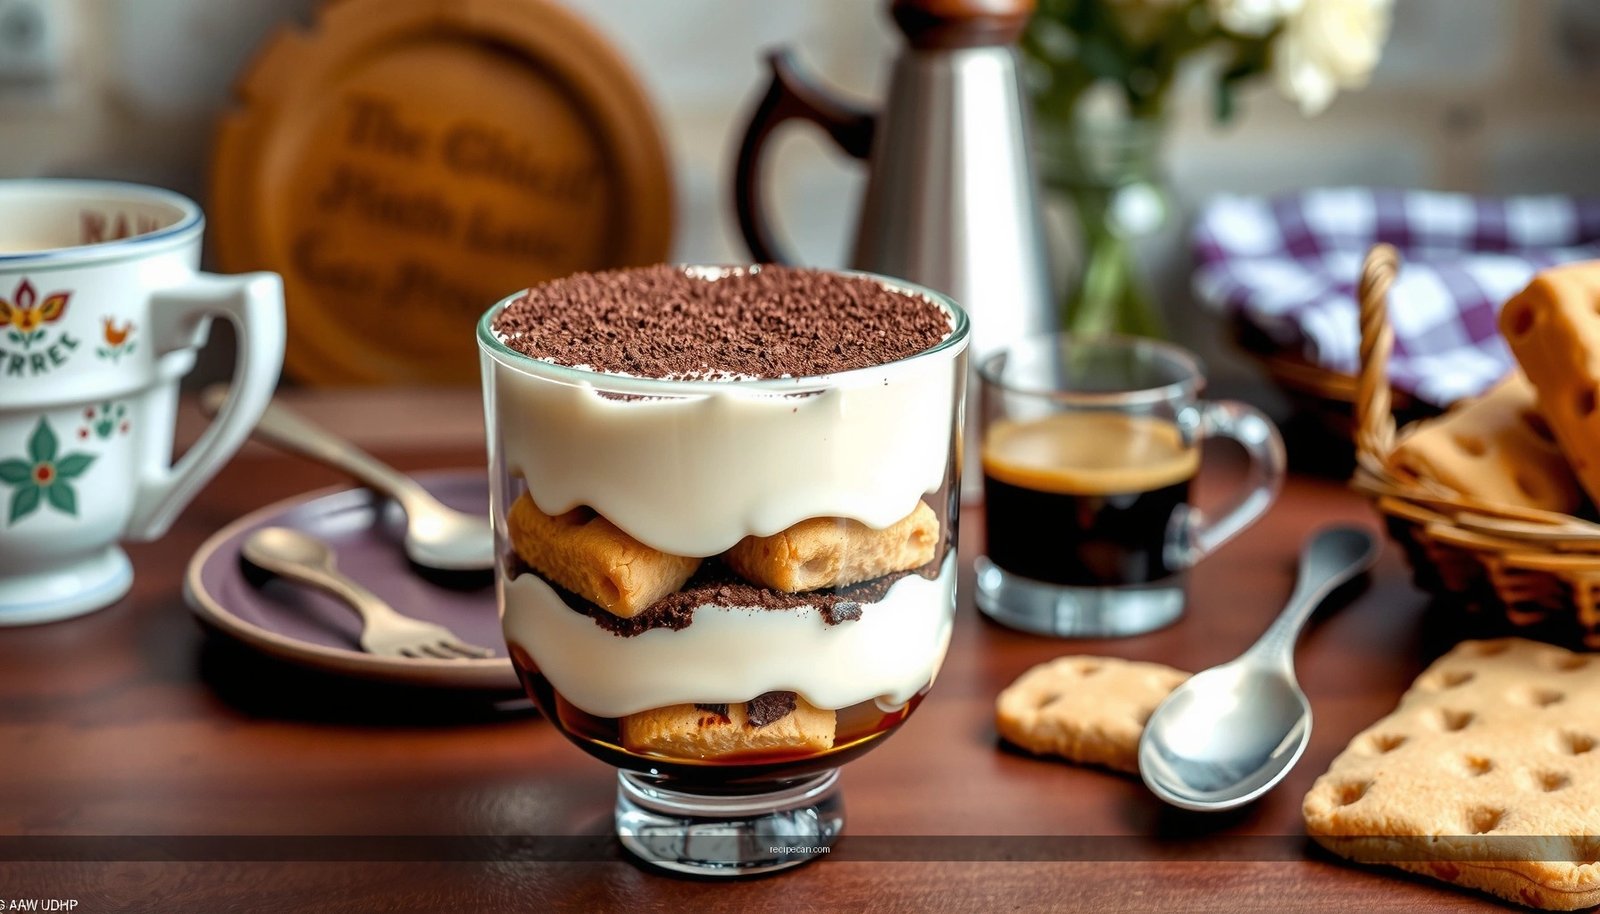
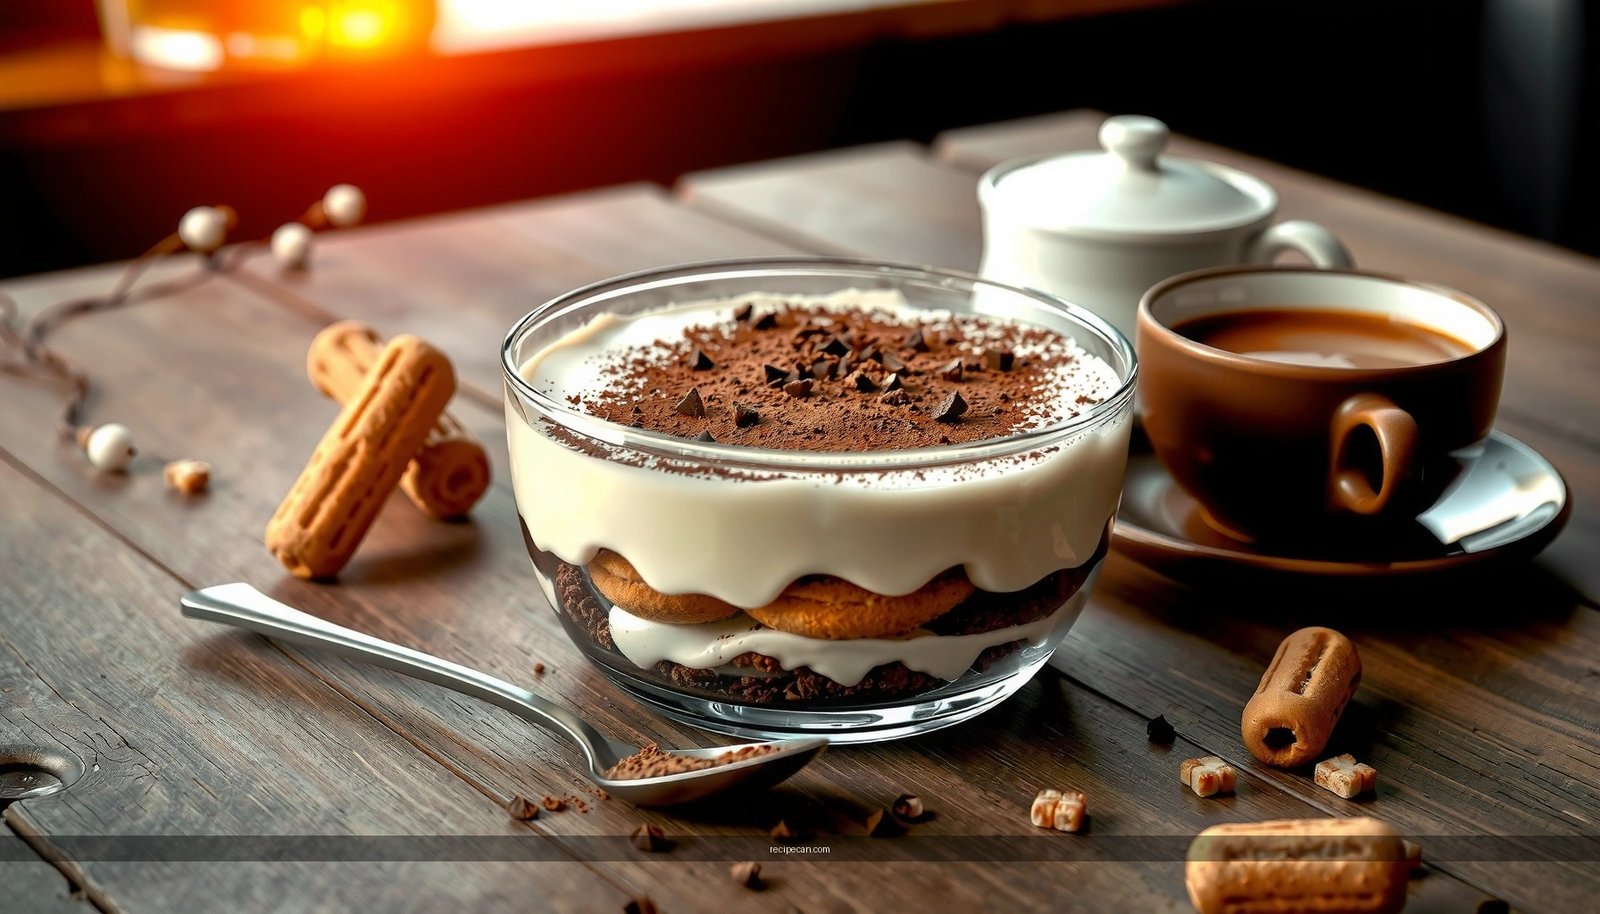
How to Assemble Layer by Layer
– Dip ladyfingers briefly in espresso so they don’t get soggy
– Alternate layers evenly for balanced flavor in every bite
Assembly determines both texture and visual appeal. Even if your filling is perfect, overly soaked ladyfingers will turn the dessert into mush; under-soaked layers will taste dry and separate.
How to dip ladyfingers correctly
1. Use cooled espresso (room temperature or cooler). Hot liquid can melt or weaken the filling.
2. Dip each ladyfinger quickly—about 1–2 seconds per side—just until the surface darkens.
3. Lay immediately on the dish. If you leave them sitting in the liquid, they will overhydrate.
How to alternate layers for balance
– Aim for consistent thickness of each mascarpone layer.
– Use a straight, even pattern so every slice includes espresso-caramelized ladyfinger, creamy filling, and cocoa finish.
– If you’re using a glass dish, plan your layout so edges are evenly filled—edges often get less mascarpone if the first layer isn’t packed tightly.
Pro tip for clean slicing: assemble on a flat, stable surface and press lightly on each layer (just enough to remove major gaps). Don’t compress aggressively; you want layers to “meld” during chilling, not be forced flat immediately.
Best Tips for Flavor and Texture
– Chill long enough for the layers to set and meld together
– Dust with cocoa right before serving for the freshest look
Two timing rules separate “okay” tiramisu from “classic” tiramisu.
1) Chill long enough. Tiramisu isn’t meant to be eaten immediately. During chilling, espresso moisture hydrates the ladyfingers, while the filling firms and stabilizes. A minimum of 4–6 hours is typically enough for a sliceable structure; overnight (8–24 hours) often produces the most cohesive flavor melding.
If you’re serving for an event, plan backwards:
– Make filling and assemble the night before.
– Dust with cocoa on the day of service, right before cutting and serving.
2) Dust with cocoa at the end. Cocoa looks best and tastes most aromatic when applied fresh. Dusting too early can absorb moisture and darken in a way that looks dull or muddy.
Flavor calibration ideas (without changing the essence):
– If your espresso is very bold, slightly dilute with a small amount of water or brew a milder concentrate. Too strong can taste harsh after it hydrates the ladyfingers.
– If your cocoa tastes flat, use a higher-quality Dutch-process cocoa for a deeper, more “dessert-forward” chocolate note.
– For a professional, consistent result, keep ingredients at predictable temperatures—especially mascarpone and espresso—so the filling doesn’t loosen unexpectedly.
Finally, use a light hand with sugar additions (if you adjust anything). Tiramisu should taste balanced: coffee bitterness, cocoa depth, mascarpone richness—not “sweet cream.”
Serving, Storage, and Make-Ahead Timing
– Serve cold for the best tiramisu consistency
– Store covered in the fridge and make ahead for easier prep
Serving
Serve tiramisu cold. Cold temperatures help the filling hold shape and keep texture creamy rather than soft. For the cleanest cuts, use a sharp knife and wipe between slices. If the dessert sits out too long, the mascarpone can soften and smear.
Make-ahead timing
Tiramisu is inherently a make-ahead dessert. If you want a reliable workflow:
– Assemble up to 1 day in advance (often better).
– Chill covered, without cocoa on top until the last moment.
– Dust with cocoa shortly before serving to maintain the signature presentation.
Storage
Store tiramisu covered in the refrigerator. Keep it sealed enough to prevent fridge odors from affecting the espresso-and-cocoa aroma. In general, it will stay best for about 2–3 days for optimal texture, though it may still taste good slightly longer depending on freshness of ingredients.
A practical note for busy kitchens: because it’s layered and served cold, tiramisu is an excellent option when you need a dessert that can be prepared in advance, transported, and finished quickly.
Follow Giada’s tiramisu recipe steps to get creamy mascarpone layers, perfectly dipped ladyfingers, and a rich cocoa finish. Make it ahead, chill until set, then serve and enjoy—want to try it next, and should I tailor the timing for your schedule?
Frequently Asked Questions
What is Giada De Laurentiis’ tiramisu recipe and what makes it different?
Giada De Laurentiis’ tiramisu recipe is known for using simple, classic ingredients—espresso, mascarpone, eggs, sugar, and ladyfingers—while keeping the flavor balanced and rich. Many fans like her approach because it focuses on a creamy mascarpone mixture and a controlled dip of the ladyfingers so the dessert stays structured instead of turning soggy. If you’re searching “tiramisu recipe giada,” you’re likely looking for that reliable, crowd-pleasing method.
How do you make tiramisu using a Giada-style recipe without soggy ladyfingers?
The key is to dip the ladyfingers quickly into the espresso (or espresso-milk mixture) so they absorb flavor without falling apart. Let the dipped cookies rest briefly before layering, and avoid soaking them directly in a puddle. Following the layering steps from a “tiramisu recipe giada” guide helps the dessert set properly in the fridge.
Why does Giada’s tiramisu use mascarpone and eggs, and how do you get the right texture?
Mascarpone gives tiramisu its signature thick, creamy mouthfeel, while eggs (often separated into yolks and whites) help create a lighter, mousse-like filling. To nail the texture in a tiramisu recipe giada, whisk until the mixture is smooth and well combined, and fold gently so you don’t deflate the airy components. Proper chilling also helps the custard-like filling firm up cleanly.
What is the best espresso to use for tiramisu in a Giada recipe?
Use strong espresso or a concentrated coffee brewed from espresso grounds so the coffee flavor stands up to the sweetness of the mascarpone. Many people prefer freshly brewed espresso for maximum aroma, but instant espresso can work if you use it properly concentrated. When you’re following a tiramisu recipe giada, aim for a bold coffee flavor because the dessert’s sweetness and cocoa will mellow it.
Which ingredients and tools should you prep before starting a tiramisu recipe giada?
Before you begin, measure mascarpone, sugar, eggs, espresso, and ladyfingers, and have cocoa powder ready for dusting. You’ll also want a mixing bowl, a whisk or hand mixer, and a baking dish or trifle-style dish for clean layering. Prepping everything ahead of time makes it easier to follow the quick-dip layering method that’s common in tiramisu recipe giada instructions.
References
- Tiramisu
https://en.wikipedia.org/wiki/Tiramisu - https://www.britannica.com/topic/tiramisu
https://www.britannica.com/topic/tiramisu - Google Scholar Google Scholar
https://scholar.google.com/scholar?q=giada+tiramisu+recipe - Google Scholar Google Scholar
https://scholar.google.com/scholar?q=tiramisu+recipe+mascarpone+coffee+ladyfingers - Google Scholar Google Scholar
https://scholar.google.com/scholar?q=tiramisu+food+science+mascarpone+eggs - Tiramisu Recipe | Giada De Laurentiis | Food Network
https://www.foodnetwork.com/recipes/giada-de-laurentiis/tiramisu-recipe - https://www.nytimes.com/guides/recipes/how-to-make-tiramisu
https://www.nytimes.com/guides/recipes/how-to-make-tiramisu - https://www.sciencedirect.com/search?qs=tiramisu
https://www.sciencedirect.com/search?qs=tiramisu - Google Scholar Google Scholar
https://scholar.google.com/scholar?q=tiramisu+recipe+giada - tiramisu recipe giada – Search results
https://en.wikipedia.org/wiki/Special:Search?search=tiramisu+recipe+giada