Looking for the best tiramisu recipe from “all recipes” for a classic, easy tiramisu you can actually make tonight? This guide delivers one clear winner: the most reliable traditional method with simple ingredients, fast prep, and foolproof assembly. You’ll get the exact steps and timing so your mascarpone filling sets properly and your ladyfingers stay perfectly soaked—not soggy.
You can make classic tiramisu at home by layering espresso-soaked ladyfingers with a smooth mascarpone cream and finishing with a cocoa dusting—without needing restaurant-level equipment. In this all-recipes style guide, you’ll get step-by-step instructions, practical soaking and layering techniques, and variations (egg-based, eggless, and liqueur options) so your tiramisu reliably turns out rich, creamy, and sliceable.
This dessert is often treated like a “special occasion only” project, but the mechanics are straightforward: a strong coffee base, a stabilized mascarpone filling, and enough chill time to let the texture set. The goal is consistency—every layer should contribute flavor and moisture at the right rate, so the cookies soften without collapsing into mush.
—
Classic Tiramisu Recipe Ingredients

– Mascarpone, espresso (or strong coffee), ladyfingers, and cocoa powder
– Optional add-ins: sugar, eggs (or eggless method), and vanilla or coffee liqueur
Classic tiramisu depends on a few cornerstone ingredients, but the way you choose and handle them matters just as much as the list itself.
Mascarpone (the cream base):
Look for mascarpone that’s fresh and smooth rather than watery. If your mascarpone seems loose, chilling it (still sealed) for 15–30 minutes can improve stability during mixing.
Espresso or strong coffee (the soaking liquid):
Use espresso for a deeper bitterness and aroma, or use strong brewed coffee (ideally concentrated, not watery drip). Whole-bean espresso or dark roast coffee works best because it creates contrast against the sweet mascarpone.
Ladyfingers (the structural element):
Savoiardi-style ladyfingers are traditional. They’re designed to absorb liquid but still hold shape—provided you soak them correctly. If you can only find “plain sponge biscuits,” test one: it should soften quickly but not disintegrate.
Cocoa powder (the finishing layer):
Use unsweetened cocoa powder. It delivers a bitter chocolate note that balances sweetness and enhances the tiramisu’s visual appeal.
Optional add-ins for flavor and stability:
– Sugar for sweetness and to help balance espresso bitterness
– Eggs for the classic Italian “sabayon” approach (egg yolks whipped and folded for a richer, lighter texture)
– Vanilla or coffee liqueur (e.g., a splash of coffee liqueur) to deepen aroma—especially if you want a more “grown-up” profile
If you want a quick procurement sanity check, this ingredient breakdown highlights what each component contributes to the final texture.
Tiramisu Ingredient Functions (Classic Build)
| # | Ingredient | Primary Job | Texture Impact | Flavor Strength |
|---|---|---|---|---|
| 1 | Mascarpone | Cream base | Silky, dense | ★ ★ ★ ★ ★ |
| 2 | Espresso / strong coffee | Moisture + bitterness | Soaks then holds | ★ ★ ★ ★ ☆ |
| 3 | Ladyfingers | Layer structure | Softens, doesn’t collapse | ★ ★ ★ ☆ ☆ |
| 4 | Egg yolks (optional) | Classic richness | Lightened, set cream | ★ ★ ★ ★ ☆ |
| 5 | Sugar | Balance + cream lift | Silkier sweetness | ★ ★ ★ ☆ ☆ |
| 6 | Vanilla / liqueur (optional) | Aroma boost | Fragrant, not structural | ★ ★ ★ ☆ ☆ |
| 7 | Cocoa powder | Finish + contrast | Dusting texture | ★ ★ ★ ★ ☆ |
—
Step-by-Step Tiramisu Recipe Instructions

– Brew espresso/coffee and prepare ladyfingers for quick soaking
– Whip mascarpone filling and layer carefully for the best texture
A dependable classic tiramisu is less about complicated technique and more about sequencing. You want the coffee ready, your mascarpone whipped to a stable consistency, and your assembly zone organized so you can work quickly.
1) Brew your espresso/coffee (and cool slightly)
– Brew espresso or strong coffee.
– Let it cool to warm or room temperature. Hot liquid can melt mascarpone and weaken structure.
Process insight: If your coffee is very hot, soak time increases because the ladyfingers expand faster, which can cause over-saturation.
2) Prep ladyfingers for quick soaking
– Set ladyfingers out so you’re not searching mid-assembly.
– Use a shallow bowl for coffee; that makes brief dips faster and more consistent.
Soaking target: “Moist, not falling-apart.” A brief dip is all you need.
3) Make the mascarpone filling (classic or easy approach)
Two common approaches exist:
– Classic egg-based method: Whip yolks (with sugar) until lighter, then fold into mascarpone for richness and a slightly airy mouthfeel.
– Easy eggless method: Whip mascarpone (and often sweeten with sugar) until smooth and pipe- or spread-ready.
Whichever you choose, aim for a filling that holds peaks or at least keeps distinct ridges when spread.
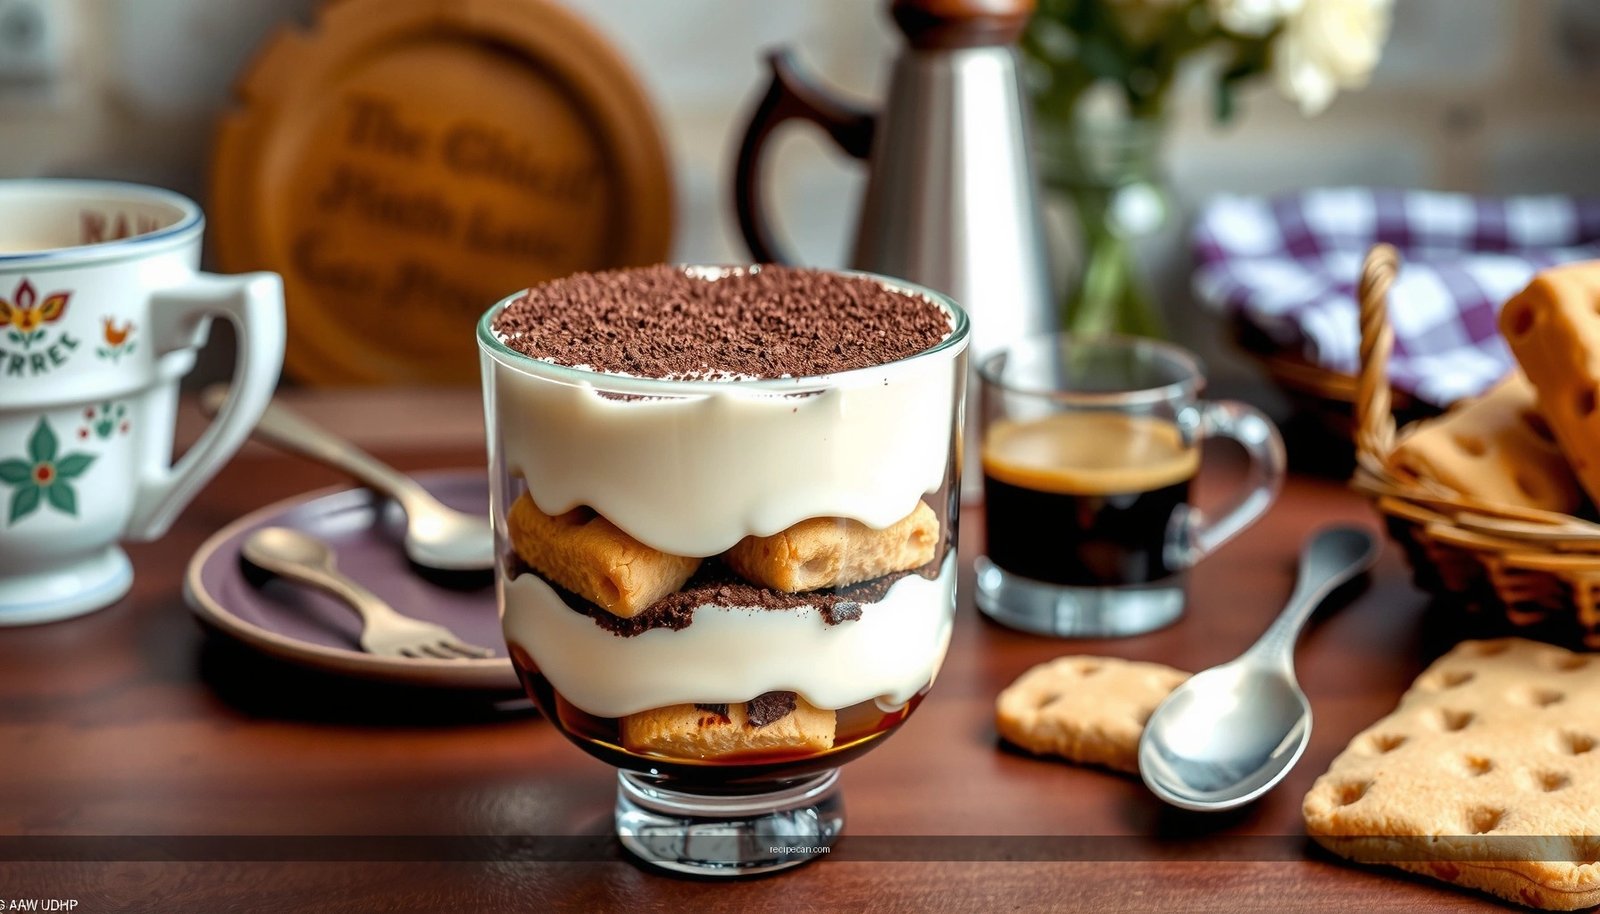
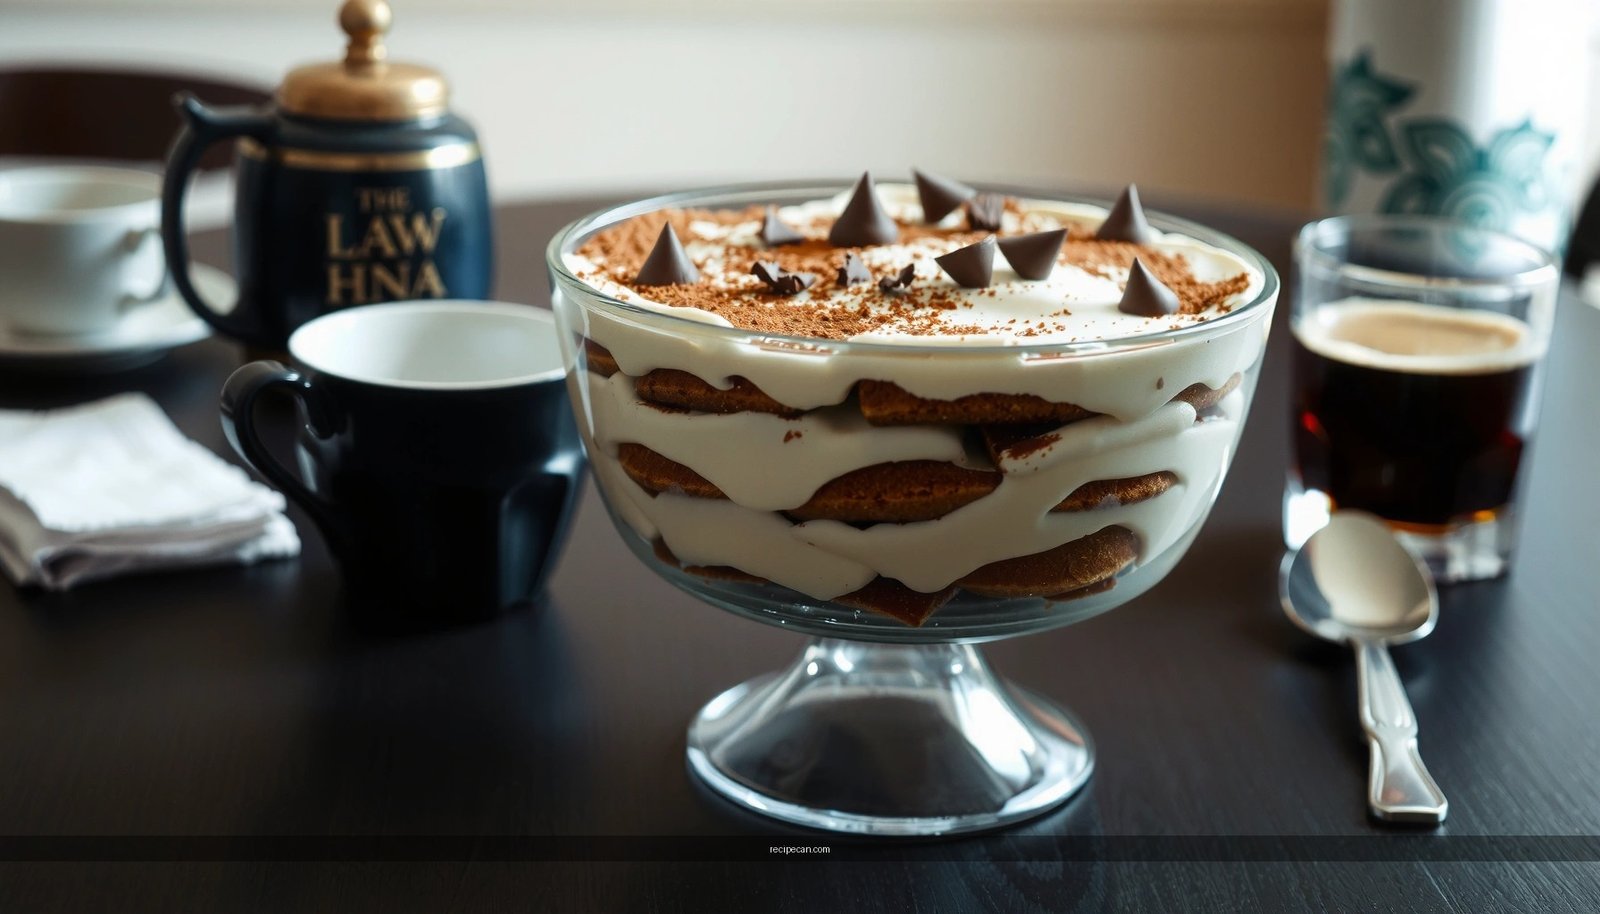
4) Layer for consistent moisture and cream ratio
– Dip ladyfingers briefly and place in the dish as the first layer.
– Spread a generous, even layer of mascarpone filling.
– Repeat (typically 2–3 layers depending on pan size).
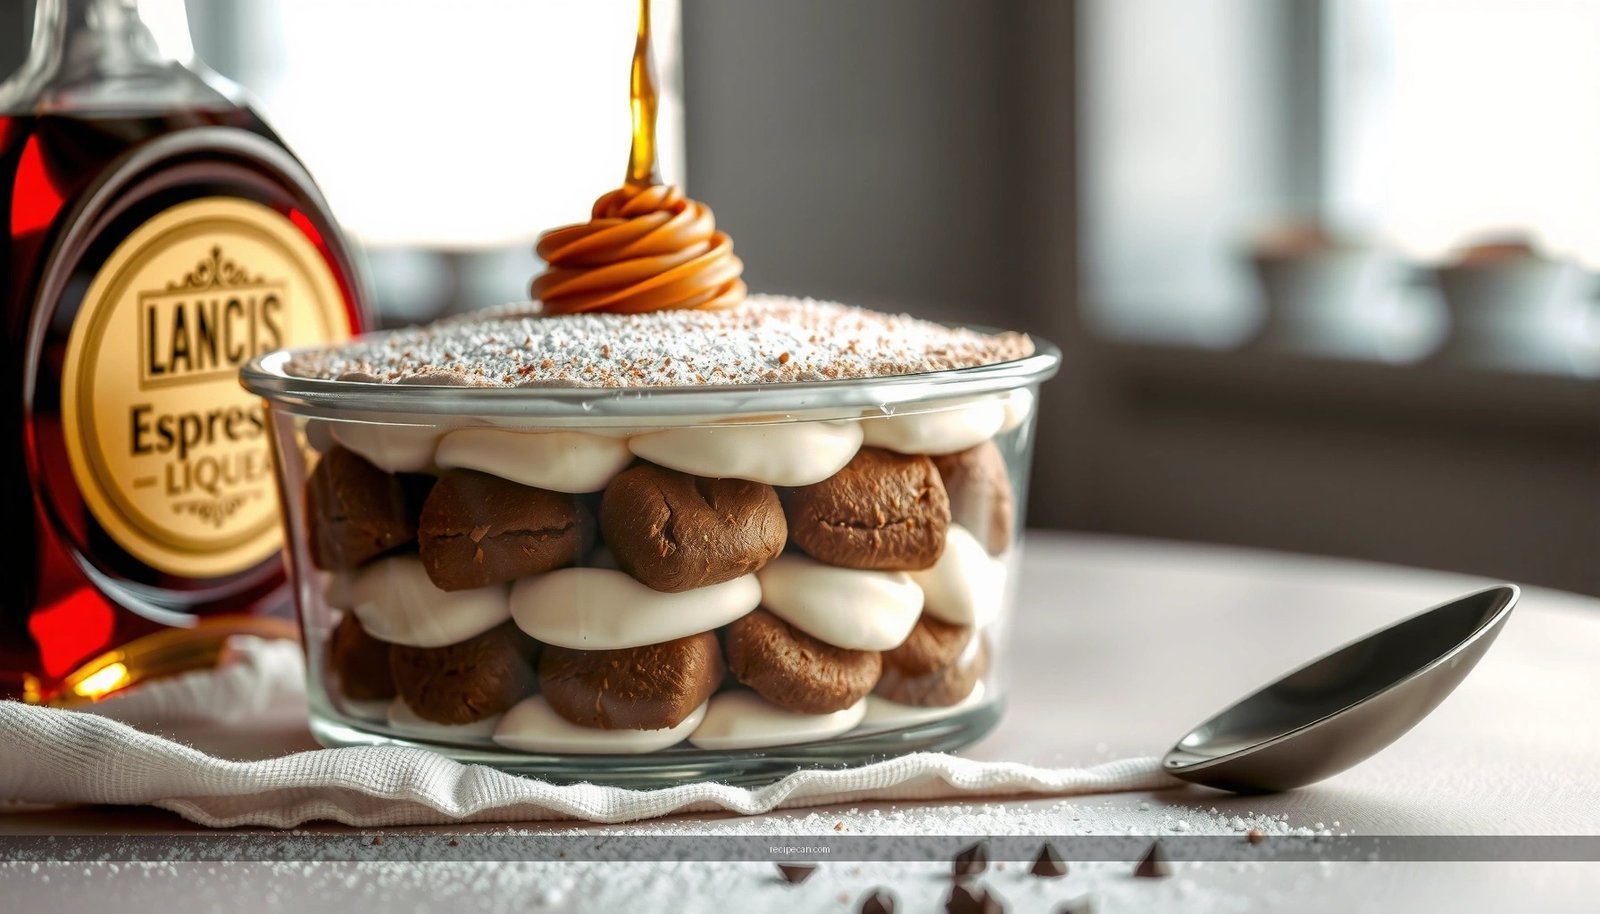
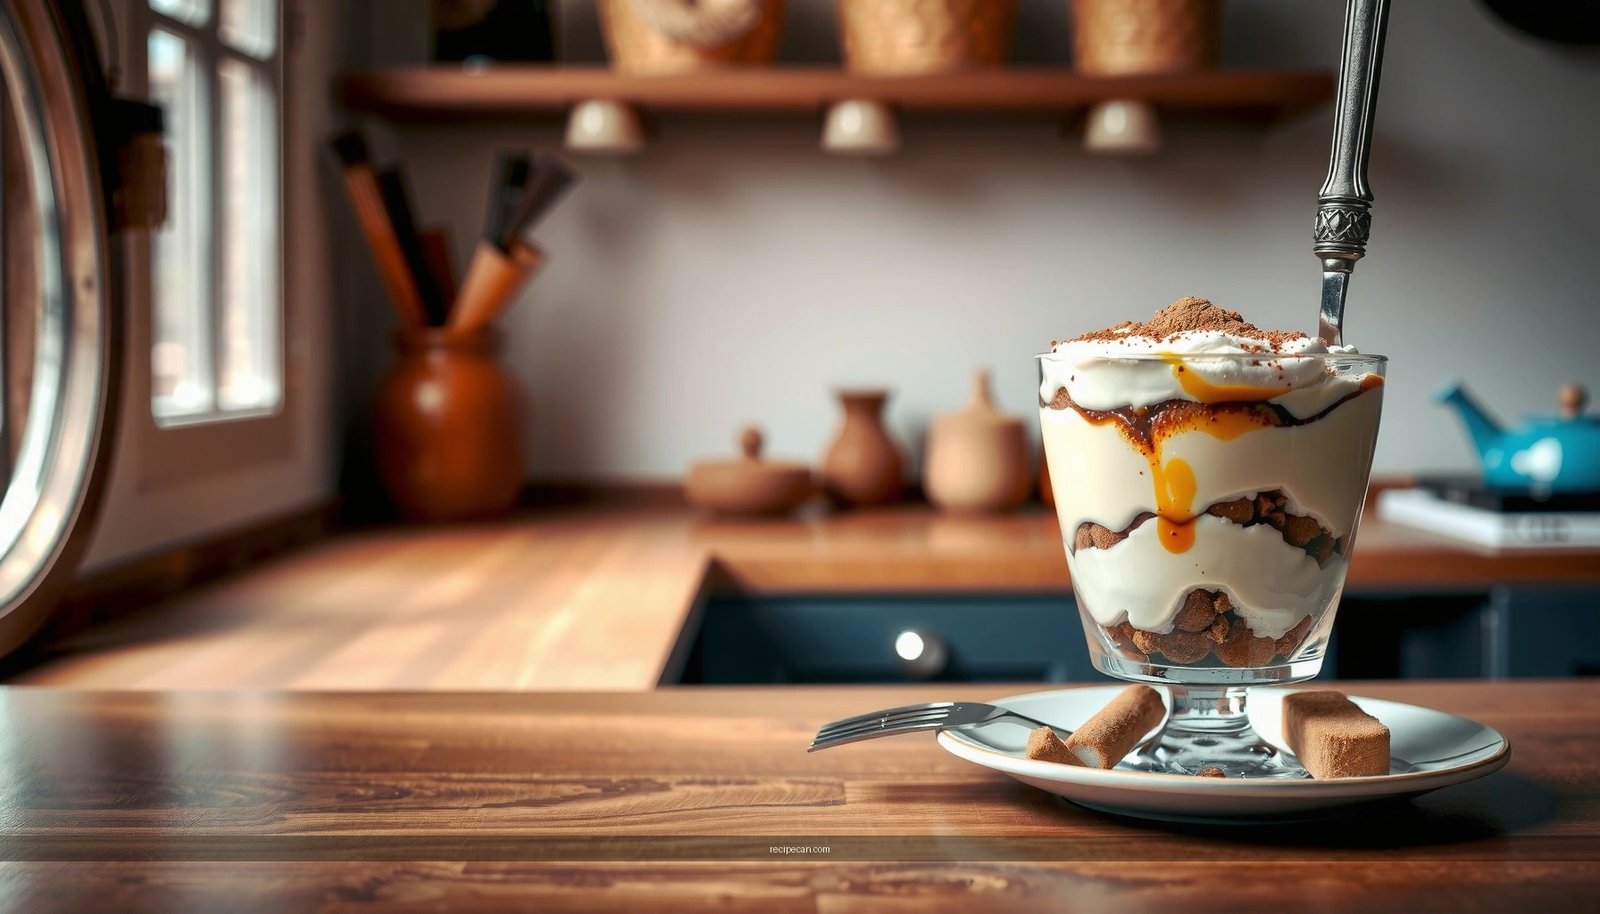
– Finish with cocoa powder dusted evenly across the top.
Analytical note: Uneven layering is the #1 reason some slices are watery at the bottom or overly dry at the edges. Even pressure and consistent scoop sizes keep the ratio correct.
5) Chill until set
Tiramisu is not meant to be served immediately. Chilling firms the cream, redistributes moisture, and melds coffee and cocoa notes.
—
Tips for Perfect Espresso Soaking

– Dip ladyfingers briefly so they’re moist, not soggy
– Let excess coffee drip off before layering
Soaking is where “easy tiramisu” either becomes truly classic—or turns into a soft, uneven dessert. The goal is controlled absorption.
Dip fast, not deep
Hold a ladyfinger at the surface so it absorbs liquid without becoming saturated. If you dip for too long, you’ll get:
– weakened structure,
– pooling coffee at the bottom,
– and a texture that tastes more bitter and watery.
Let excess coffee drip
After dipping, place the ladyfinger on a rack or directly over the bowl for a few seconds. This reduces drips that otherwise disrupt layer thickness.
Use the right bowl geometry
A shallow, wide bowl helps you dip quickly and consistently. Deep cups tend to encourage longer soaking because you have to “lift and wait” for dripping.
Flavor control: coffee intensity
If your coffee is extremely strong and bitter, you may want to slightly sweeten the soaking coffee (or use a milder brew). Many “classic tiramisu” failures come from aggressive coffee that overpowers mascarpone before chilling balances everything.
—
Layering and Texture Tips (All Recipes Style)
– Use even layers for consistent cream-to-cookie ratio
– Chill long enough for the flavors to set and meld
This section is the operational backbone of any tiramisu recipe, regardless of whether you’re using eggs, an eggless method, or liqueur.
Keep layers even with a repeatable method
Instead of “eyeballing,” measure and repeat:
– Use the same number of ladyfingers per layer.
– Use roughly the same amount of mascarpone per layer (e.g., 1/3, 1/3, 1/3 for three layers).
This approach ensures every slice has:
– enough cookie structure to hold,
– enough cream to feel luxurious,
– and enough coffee flavor to be present.
Spread filling with consistent pressure
When spreading mascarpone, use a spatula to create an even surface rather than thick peaks. Peaks can create air pockets and uneven soaking.
Chill time is non-negotiable
Chilling for at least several hours improves:
– cream firmness,
– moisture distribution,
– and overall flavor integration.
For best results, overnight chilling is the “restaurant texture” benchmark because the coffee migrates evenly into the ladyfingers without breaking them down.
—
Variations: Classic, Eggless, and Liqueur Options
– Egg-based filling vs. eggless mascarpone alternatives
– Choose liqueur or omit for a kid-friendly tiramisu
Tiramisu is flexible—your base formula can remain the same while you adjust the filling strategy and flavor intensity.
Classic egg-based tiramisu (traditional richness)
Best for: maximum classic flavor and a silkier, traditional mouthfeel.
What to watch: egg handling and folding technique. If the yolks are under-whipped or the mascarpone is too cold, you can end up with lumps. Fold gently to preserve smoothness.
Practical tip: If you’re new to the egg method, bring eggs to a safe temperature and whip thoroughly until visibly lighter.
Eggless tiramisu (easy, reliable, and still creamy)
Best for: convenience, simplified steps, and consistent assembly.
What to watch: stability. Eggless versions rely on proper whipping and chilling to hold the structure.
Professional-quality tweak: Whip mascarpone until smooth and airy, then spread evenly. Don’t skip chilling—eggless tiramisu especially benefits from overnight set time.
Liqueur options (adult vs. kid-friendly)
Add liqueur to coffee (optional):
– coffee liqueur for warm, aromatic depth,
– or omit entirely for a family-friendly version.
Balance insight: Liqueur adds flavor even in small amounts, so start conservatively if you’re not sure. You can always add a little more to future batches.
—
Serving, Storage, and Make-Ahead Guidance
– Best served after several hours of chilling (overnight ideal)
– Store covered in the fridge and keep texture fresh for days
Tiramisu is fundamentally a make-ahead dessert. The flavor improves while the texture stabilizes.
When to serve
– Minimum: chill several hours before serving.
– Best: overnight for optimal meld and slice integrity.
– Serve chilled or just slightly softened. If it’s too cold, flavors can feel muted; if it’s too warm, cream can loosen.
How to store
– Cover tightly and refrigerate.
– Keep it in the fridge for best texture for up to 3–4 days (tray and container size can affect how quickly the top dries).
Preventing texture issues
– Avoid repeated temperature swings: take from fridge in short intervals.
– Protect the top layer: cocoa dustings can absorb moisture and fade. If presentation matters, you can dust cocoa right before serving or re-dust lightly after unmolding/slicing.
Make-ahead workflow (efficient and predictable)
1. Assemble and refrigerate immediately after building layers.
2. Dust cocoa right before serving (or after 6–8 hours if you prefer the cocoa to adhere).
3. Portion and serve cold.
—
When you use the classic layering formula—espresso-dipped ladyfingers, rich mascarpone filling, and a final cocoa dusting—you’ll get a standout tiramisu with minimal effort. Follow the steps above, try one variation, then make it ahead and chill for the best results—pick your favorite “all recipes” version and enjoy!
Tiramisu succeeds when you control moisture (brief espresso soaking), maximize cream stability (proper whipping and careful folding), and commit to chilling time so the layers set and meld. Use the classic formula as your baseline, adjust with the eggless or liqueur variations you prefer, and you’ll consistently produce a rich, creamy tiramisu that cuts cleanly and tastes even better the next day.
Frequently Asked Questions
What is the best tiramisu recipe from Allrecipes-style instructions?
A classic tiramisu recipe typically includes mascarpone, eggs (or pasteurized egg alternatives), espresso, ladyfingers, sugar, and cocoa powder. Look for an Allrecipes-style method that clearly explains how to make the mascarpone filling, how to dip ladyfingers quickly (so they don’t get soggy), and how long to chill before serving. Following those core steps usually delivers the creamy, coffee-forward flavor most people expect from an authentic tiramisu recipe.
How do you make tiramisu step-by-step without curdled eggs?
Start by whisking egg yolks with sugar until lighter in color, then temper with warm coffee or warm dairy/butterfly-style mixture rather than adding hot liquid all at once. When mixing into mascarpone, stir gently and avoid high heat—most tiramisu recipe all recipes guidance relies on low temperature handling. If you’re concerned about curdling or using raw eggs, choose recipes that use pasteurized eggs or an alternative method like folding whipped ingredients.
Why is tiramisu watery or runny, and how can you fix it?
Watery tiramisu usually comes from over-soaking ladyfingers or using a filling that’s too loose—common issues when coffee is too warm or the mascarpone isn’t thickened properly. To fix it, chill the tiramisu longer (often 4–6 hours or overnight) so the layers set, and dip ladyfingers briefly so they absorb flavor without falling apart. Using quality mascarpone and measuring accurately can also help many tiramisu recipe all recipes readers achieve a stable, sliceable dessert.
Which espresso works best for tiramisu flavor in an all-recipes version?
Use strong brewed espresso or espresso concentrate for a robust coffee flavor that stands up to creamy mascarpone. Many tiramisu recipe all recipes recommend cooling the espresso before dipping ladyfingers so the cookies don’t become mushy. If you don’t have espresso, strong dark coffee can work, but taste and adjust sweetness to avoid a bitter or overly diluted result.
How long should you chill tiramisu before serving for the best texture?
Most tiramisu recipe all recipes suggest chilling at least 4 hours, though overnight is often best for flavor and texture. During chilling, the ladyfingers absorb moisture evenly and the mascarpone filling firms up so your slices hold shape. If you’re in a hurry, aim for a minimum chilling time while keeping layers level, since rushing can lead to a softer or less cohesive tiramisu.
References
- Tiramisu
https://en.wikipedia.org/wiki/Tiramisu - Mascarpone
https://en.wikipedia.org/wiki/Mascarpone - Lady finger
https://en.wikipedia.org/wiki/Ladyfinger - https://www.britannica.com/topic/tiramisu
https://www.britannica.com/topic/tiramisu - https://www.theguardian.com/food/2015/feb/11/tiramisu-recipe
https://www.theguardian.com/food/2015/feb/11/tiramisu-recipe - https://cooking.nytimes.com/recipes/1019496-tiramisu
https://cooking.nytimes.com/recipes/1019496-tiramisu - Google Scholar Google Scholar
https://scholar.google.com/scholar?q=tiramisu+recipe - Google Scholar Google Scholar
https://scholar.google.com/scholar?q=tiramisu+mascarpone+ladyfingers+coffee - https://scholar.google.com/scholar?q=italian+dessert+tiramisu+origin+recipe Google Scholar
https://scholar.google.com/scholar?q=italian+dessert+tiramisu+origin+recipe - Google Scholar Google Scholar
https://scholar.google.com/scholar?q=tiramisu+recipe+all+recipes