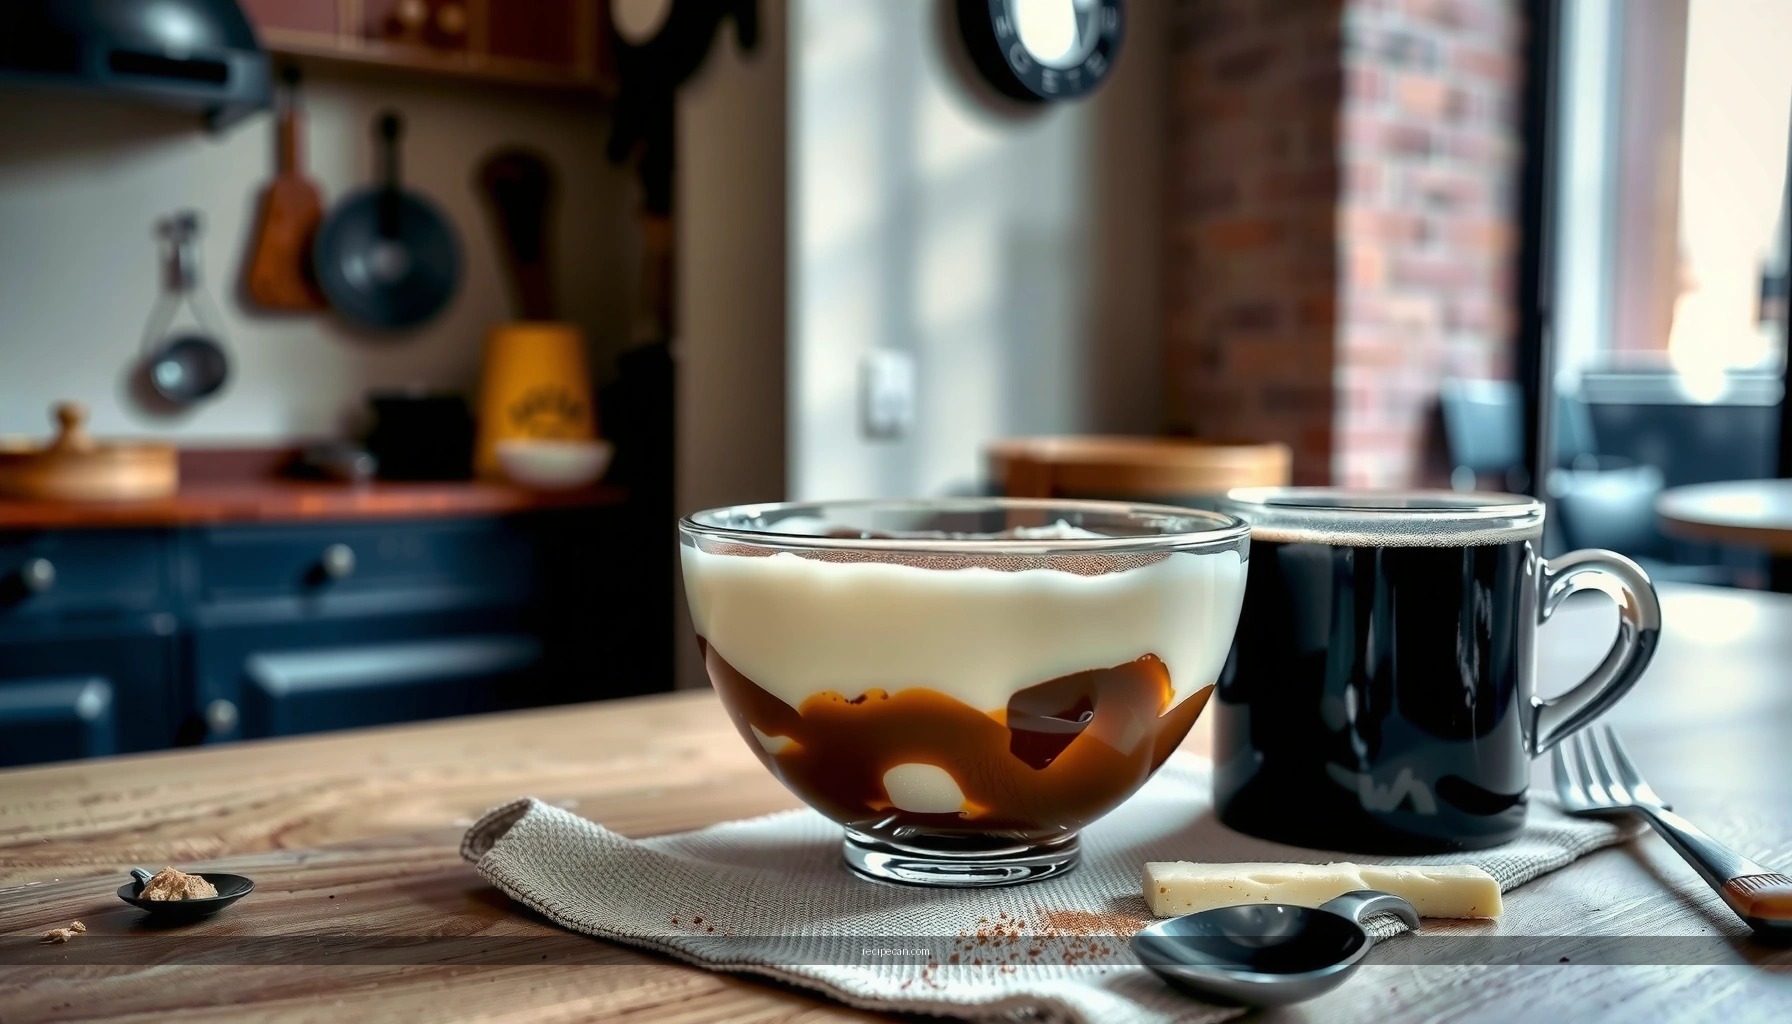
If you’re searching for a famous tiramisu recipe that delivers the classic, crowd-loved version every time, this is the one to follow. The question answered here is simple: which method, ingredients, and ratios produce the ideal balance of boozy espresso depth, silky mascarpone, and perfectly set layers. Expect a clear, dependable walkthrough designed to win over first-timers and die-hard tiramisu fans alike.
This famous tiramisu recipe reliably produces the classic coffee-soaked flavor with a stable, smooth mascarpone filling—no grainy cream and no watery layers. If you follow the correct cream technique, dip ladyfingers briefly, and chill long enough, you’ll get that restaurant-style texture every time.
A lot of tiramisu disappointments come from avoidable process errors: aggressive mixing that collapses air in the cream, coffee soaks that oversaturate the sponge, or insufficient chilling that prevents the layers from setting. The method below focuses on the physics of texture—emulsification, aeration, hydration control, and time—so you can consistently reproduce the crowd-loved result even when you’re cooking for guests.
Classic Ingredients for Famous Tiramisu

– Gather mascarpone, espresso (or strong coffee), ladyfingers, eggs, sugar, and cocoa powder
– Use high-quality cocoa and fresh coffee for the best flavor
For the most authentic, classic tiramisu flavor, use ingredients that perform well under “contrast”: bitter coffee against sweet cream and cocoa. Here’s what matters most in real kitchens:
Mascarpone: This is your creamy backbone. Choose mascarpone that’s fresh and smooth (not overly liquid). If it’s been sitting open in the refrigerator, check texture—some brands can separate slightly after extended storage.
Coffee / espresso: You want concentrated coffee flavor, not brewed bitterness from over-extraction or old beans. Espresso is ideal because it’s strong and intense, but strong coffee works well if it’s freshly brewed. Aim for coffee that tastes good on its own, because it’s a major flavor component.
Ladyfingers (savoiardi): These should be crisp-dry when dry and tender when dipped. If your ladyfingers are stale, they’ll absorb coffee too rapidly and break down unevenly.
Eggs and sugar: The classic method uses eggs to create a silky, lightly set cream. This also improves the “sliceability” once chilled.
Cocoa powder: Use natural or a mix of natural and Dutch-process cocoa depending on your preference:
– Natural cocoa tends to taste more acidic and “classic Italian.”
– Dutch-process cocoa is darker, smoother, and less sharp.
Recommended pantry add-ons (optional): A splash of vanilla extract, a small pinch of salt, or a few tablespoons of coffee liqueur can deepen flavor. Keep it minimal so you don’t lose the signature balance.
Classic Tiramisu Ingredient Readiness Checklist
| # | Component | Target Texture / Flavor | How to Verify | Quality Impact |
|---|---|---|---|---|
| 1 | Mascarpone | Creamy, spoonable, no separation | Stirs smoothly in 10–15 seconds | High |
| 2 | Egg yolks | Pale, creamy, slightly thickened | Ribbon forms when lifted | High |
| 3 | Egg whites | Glossy peaks that hold shape | Peak stands upright ~3 seconds | High |
| 4 | Coffee | Bold, not watery; room-temp to cool | Tastes strong without harshness | High |
| 5 | Ladyfingers | Elastic after dipping; not collapsing | Dip 1–2 seconds, still holds shape | High |
| 6 | Assembly time | Cream layers remain airy | Build within 20–30 minutes | Medium |
| 7 | Cocoa top layer | Fresh, dry dusting with defined contrast | Sift right before serving | Medium |
Make the Mascarpone Cream (No-Break Texture)

– Whip egg yolks with sugar until creamy before mixing in mascarpone
– Fold in whipped egg whites gently to keep the filling light and fluffy
This is where classic tiramisu becomes “legendary.” The goal is to create a stable emulsion with aeration: smooth mascarpone plus yolk richness, lifted by whipped whites.
1) Whip yolks and sugar until properly thick
Start by whisking egg yolks with sugar until the mixture becomes lighter and creamy. This step increases volume and helps the sugar dissolve fully. When sugar isn’t dissolved, you can get a gritty mouthfeel and an unstable texture that separates slightly later.
Actionable tip: Whisk until you can trace a ribbon on the surface for a moment before it sinks back.
2) Mix in mascarpone gently, just until unified
Fold mascarpone into the yolk mixture with a light hand. Overmixing can thin the cream as mascarpone’s fat network breaks down. Think of this as combining, not whipping to a super-smooth stage.
3) Fold whipped egg whites to preserve air
Whip egg whites to glossy peaks, then fold into the mascarpone base. Folding is deliberate: scrape along the bottom, lift, and rotate the bowl. Avoid beating after the whites go in. This is a common failure point—overmixing deflates the structure and leaves you with a denser, less luxurious filling.Food-safety note (important for professionals)
Many classic recipes use raw eggs. If you’re serving at scale or for guests who are immunocompromised, consider using pasteurized shell eggs or an approach that heats yolk/sugar (tempering) to reduce risk. Taste and texture remain excellent when done properly.
Dip Ladyfingers the Right Way

– Quickly dip ladyfingers in espresso so they soften without turning mushy
– Aim for a brief soak—just enough to absorb flavor
The ladyfingers should become tender, not saturated. Tiramisu is layered, meaning moisture must be distributed evenly and then “locked” by chilling.
The hydration target
When ladyfingers soak, liquid fills pores and softens the sponge. Too little dip = dry bites and weak coffee flavor. Too much dip = sponge collapses, releases extra liquid, and creates a watery layer.
Professional timing: Dip each side for about 1–2 seconds, then place immediately. If your espresso is hot, you’ll shorten the soaking further—heat accelerates breakdown. For consistency, chill coffee slightly or let it cool to near room temperature.
Avoid “pile-up” soaking
Don’t let dipped ladyfingers sit in the liquid while you move around. Work in a rhythm: dip → place → repeat. This keeps absorption consistent across the entire dish.
Spot-check method
As you assemble, lift a placed ladyfinger gently with a spatula. It should bend slightly but still hold its shape. If it tears easily, reduce dip time next round.
Layering for the Perfect Tiramisu Look
– Alternate layers of cream and dipped ladyfingers for even coverage
– Top with a final cocoa dusting for the signature finish
Layering affects both taste and presentation. Even coverage ensures each bite has the right ratio of coffee and cream—exactly why the “classic, crowd-loved” version is so consistent.
Build with structure
A standard approach is:
1. A thin layer of cream on the bottom (prevents ladyfingers from sticking and stabilizes the first layer).
2. A layer of dipped ladyfingers.
3. A layer of cream.
4. Repeat until your dish is filled.
5. Finish with cocoa dusted on top.
Why a thin bottom cream layer matters
It acts as a moisture barrier. Without it, the first ladyfingers can pull moisture downwards, leading to a soggier base and less-defined slices.
Final cocoa: do it right before serving
Cocoa dissolves into moisture over time. Dusting at the end preserves the signature look—matte, aromatic, and visually distinct from the cream. If serving later the same day, cover loosely after dusting to minimize moisture transfer.
Chill Time: The Secret to Better Tiramisu
– Refrigerate at least 4–6 hours (overnight is best) for set layers
– Let it come to room temperature slightly before serving for best taste
Chilling isn’t optional; it’s the stage where tiramisu becomes sliceable and balanced.
What chilling actually does
– Stabilizes the cream: The fat and proteins firm up, making the filling hold shape.
– Distributes coffee flavor: Moisture equilibrates gently between ladyfingers and cream, evening out intensity.
– Improves texture: The contrast between soft sponge and smooth mascarpone becomes more cohesive as it rests.
Timing guidance
– Minimum: 4–6 hours (you’ll get a good set).
– Best: Overnight, especially for larger pans (12–24 hours is ideal for structured slices).
Serve slightly softened
Right before serving, let tiramisu sit 10–20 minutes at cool room temperature. This softens the cocoa aroma and brings the cream to a silkier eating temperature without melting the layers.
Common Mistakes to Avoid
– Over-soaking ladyfingers can make tiramisu watery
– Overmixing after adding egg whites can deflate the cream
Even experienced cooks can miss a step. Here are the most common failure modes—plus what to do instead.
Mistake 1: Over-soaking ladyfingers → watery tiramisu
Symptoms: Pooling liquid around the edges, collapsed sponge, weak coffee-to-cream balance.
Fix: Shorten dip time to 1–2 seconds, cool coffee to room temperature, and build quickly after dipping. Also, use a thin bottom cream layer as a moisture buffer.
Mistake 2: Overmixing after folding egg whites → dense or grainy texture
Symptoms: Flat cream, less volume, airy texture gone, heavier mouthfeel.
Fix: Fold only until no streaks remain; stop mixing sooner than you think. When in doubt, fold gently for 20–30 seconds rather than “whipping” for longer.
Mistake 3: Not whipping yolks/sugar enough → less stable sweetness
Symptoms: Grainy sugar feel, cream that appears less smooth.
Fix: Whip yolks and sugar until creamy and pale, then combine with mascarpone briefly.
Mistake 4: Cocoa too early → dull top
Symptoms: Cocoa disappears into moisture, less contrast, slightly bitter puddling.
Fix: Sift cocoa right before serving.
A famous tiramisu recipe comes down to three things: the right mascarpone cream, properly dipped ladyfingers, and enough chilling time. Make this classic version, follow the layering steps, and dust with cocoa right before serving. Try it for your next gathering—and if you love it, share your results or tweak it with your favorite coffee.
If you want, tell me how many servings you’re making (and what pan size you have), and I’ll scale the ingredient amounts precisely while keeping the same classic texture and layering rhythm.
Frequently Asked Questions
What makes a famous tiramisu recipe taste so authentic?
A famous tiramisu recipe typically balances rich mascarpone with strong espresso-soaked ladyfingers and a light hint of cocoa. Authentic flavor comes from using good-quality mascarpone, freshly brewed espresso (not weak coffee), and proper dipping so the cookies absorb without turning mushy. A final dusting of cocoa—often unsweetened—adds the classic bitterness that makes the dessert taste like Italian tiramisu.
How do you make a famous tiramisu recipe without curdling the mascarpone?
To prevent curdling in a famous tiramisu recipe, mix mascarpone gently and avoid over-whipping, which can break its smooth texture. If your recipe uses eggs, temper them by slowly adding warm espresso/coffee mixture or heating slightly so the yolks don’t seize. Keep the cream cold while you fold it together, and stop mixing once everything is combined and glossy.
Why does tiramisu sometimes become watery, and how can you fix it?
Watery tiramisu usually happens when the ladyfingers are soaked too long or when espresso is too warm, causing them to release liquid quickly. Use quick dips (about 1 second per side) and let excess drip off before layering, then chill immediately so the famous tiramisu recipe sets properly. Using high-quality, slightly thickened mascarpone layers and a short resting time—typically a few hours to overnight—helps absorb moisture evenly.
Which espresso is best for a famous tiramisu recipe: strong coffee or cold brew?
For a famous tiramisu recipe, espresso is best because it provides concentrated flavor and a bold, traditional profile. If you don’t have espresso, use very strong coffee and ensure it’s cooled so it won’t prematurely soften the ladyfingers. Cold brew can work, but it may taste less intense, so consider using a stronger brew-to-water ratio for a similar punch.
What is the best way to layer and assemble tiramisu so it holds its shape?
Start with a clean, tight layering plan: a thin layer of cream, a single even row of espresso-dipped ladyfingers, then more cream—repeat until you reach the top. In a famous tiramisu recipe, consistency matters: the cream should be spread smoothly but not runny, and the ladyfingers should be dipped briefly for structure. Chill for at least 4 hours (or overnight) so the layers firm up and slice cleanly.
References
- Tiramisu
https://en.wikipedia.org/wiki/Tiramisu - Tiramisu | Meaning, Ingredients, Origin, Desserts, & Taste | Britannica
https://www.britannica.com/topic/tiramisu - Mascarpone
https://en.wikipedia.org/wiki/Mascarpone - Ladyfingers (biscuits)
https://en.wikipedia.org/wiki/Savoiardi - Lady finger
https://en.wikipedia.org/wiki/Ladyfinger - Espresso
https://en.wikipedia.org/wiki/Espresso - https://pubmed.ncbi.nlm.nih.gov/?term=tiramisu
https://pubmed.ncbi.nlm.nih.gov/?term=tiramisu - https://www.sciencedirect.com/search?qs=tiramisu&show=all&types=all
https://www.sciencedirect.com/search?qs=tiramisu&show=all&types=all - Google Scholar Google Scholar
https://scholar.google.com/scholar?q=tiramisu+recipe+mascarpone+ladyfingers - Google Scholar Google Scholar
https://scholar.google.com/scholar?q=tiramisu+ingredients+coffee+espresso+cocoa