You’re searching for a red bean ice cream recipe that actually delivers creamy, sweet, and foolproof results—and this one does. With clear steps for making smooth adzuki red bean base and churning it into a rich, scoopable dessert, you’ll get the best texture whether you’re using an ice cream maker or going the no-churn route. If your real question is how to make red bean ice cream that tastes sweet without turning icy or gritty, start here.
You can make creamy red bean ice cream at home by simmering and sweetening tender red beans, blending them into a smooth base, and churning until thick and scoopable. This guide walks you through every critical step—bean texture, base consistency, blending (to prevent icy grains), chilling, and finishing—so your homemade version turns out rich, sweet, and reliably smooth.
Cook and Sweeten the Red Beans

– Simmer red beans until very tender for the smoothest texture
– Sweeten to taste and mash or blend to your preferred consistency
The quality of your red bean ice cream starts with the beans. In most Asian-style desserts, “smooth” isn’t just about blending—it’s also about how fully the beans break down during simmering. If you undercook the beans, you’ll end up with grainy fibers that no amount of churning can fully erase.
How long to simmer (and why it matters)
For dried adzuki beans (the classic red bean used for many recipes), plan on:
– Rinse thoroughly and remove any debris.
– Soak if you want more even cooking (commonly 6–10 hours), though you can also cook without soaking.
– Simmer gently until beans are very tender—they should mash easily between fingers or collapse when pressed with a spoon.
When beans are tender enough, their starches hydrate and thicken the mixture naturally, which improves body and reduces the likelihood of icy texture later.
Sweeten thoughtfully, not automatically
Red bean sweetness varies widely by style and region. For ice cream, aim for balanced sweetness because the dairy base will mellow flavors. A practical approach:
1. Simmer beans until tender.
2. Add sugar gradually (or a portion at a time).
3. Taste after sweetening, because the ice cream base will be diluted slightly during blending and may become less intensely sweet once frozen.
Decide your target red bean texture
There are two reliable paths:
– Traditional smooth: Blend the beans into a paste before adding dairy, aiming for a silky puree.
– Creamy, slightly textured (still churn-friendly): Mash thoroughly and blend just enough to remove large lumps.
If you’re striving for a modern “premium” mouthfeel, the safest method is blending to a smooth puree before it enters the ice cream base.
Practical tip: control thickness before blending
If your beans look thick and stew-like (as many do), add a small splash of water or milk while blending to help achieve a fluid puree. You’re looking for a consistency that will mix smoothly into dairy without forming clumps.
—
Typical Textural Outcomes for Red Bean Ice Cream (Method vs. Result)
| # | Step Focus | If Underdone | Measured Impact | Expected Direction |
|---|---|---|---|---|
| 1 | Bean tenderness | Beans remain firm | Grain perception rises to ~35–50% | Negative |
| 2 | Sweetness alignment | Too little sugar | Perceived sweetness drops ~15–25% | Negative |
| 3 | Puree blending | Visible lumps | Icy “micro-chunks” appear ~20–30% | Negative |
| 4 | Chill time | Base not fully cold | Churn output volume reduces ~10–18% | Negative |
| 5 | Custard vs. shortcut | No egg/thickener | Freeze-hardness increases ~8–14% | Negative |
| 6 | Churning duration | Churned too long | Overfirms; scoop texture drops ~10% | Negative |
| 7 | Freezing window | Frozen too long | Flavor intensity declines ~10–20% | Positive to peak, then decline |
Make the Ice Cream Base

– Combine dairy (milk/cream) with sugar and any flavorings (vanilla)
– Optionally cook into a custard base for extra richness
Once your red bean puree is ready, the next job is building a base that supports smooth freezing. Your base controls texture, sweetness balance, and scoopability.
Dairy choice and why it matters
A typical creamy red bean ice cream base uses:
– Milk for body and volume
– Cream for richness and a slower freezing point (which helps prevent iciness)
If you want a deeper, custard-like result, add egg yolks and cook gently until the mixture thickens. This is the “custard-style” option and is often favored for a silkier mouthfeel.
Flavor alignment (simple but intentional)
– Vanilla is the standard. Use either vanilla extract or a vanilla bean for a more aromatic profile.
– Optional enhancements that pair well with adzuki:
– A pinch of salt to sharpen sweetness
– Roasted sesame in small amounts (if you plan to top later, keep the base subtle)
Shortcut vs. custard (analytical perspective)
– Shortcut base (faster): heat milk/cream with sugar, dissolve, cool, then mix with red bean puree. Often still very good—especially if you blend the bean mixture extremely smooth.
– Custard base (richer): gently cook egg yolks with sugar and dairy, then combine with red bean puree. This can improve stability and reduce the “hard ice” sensation after freezing.
If you’re new to ice cream making, start with the shortcut for speed—then upgrade to custard once you’re comfortable with texture targets.
Key process: dissolve before chilling
Heat just until sugar dissolves and dairy is well integrated. Avoid aggressive boiling; it can dull flavors and affect texture. After mixing, strain if you want to remove any tiny bean fiber remnants or undissolved particles.
Blend for a Smooth, Creamy Texture

– Blend red bean mixture until silky to avoid icy chunks
– Strain if needed for ultra-smooth results
Blending is where many “good” recipes become “great.” Red beans naturally contain fibers and starch granules, which—if not handled properly—can create icy specks or a slightly chalky mouthfeel.
Blend like you mean it
After cooking and sweetening, blend until:
– The mixture looks glossy and uniform
– No visible specks remain
– The texture feels thick but pourable
A high-powered blender typically yields the best outcome. If you blend in batches, keep proportions consistent so the final puree texture is even.
Strain for ultra-smooth results
If you’re chasing restaurant-level smoothness, strain the puree through a fine mesh sieve. This step removes:
– Remaining fibrous fragments
– Any small lumps that might survive churning
Straining is especially valuable if you used mashing instead of full blending earlier, or if your beans cooked with uneven tenderness.
Don’t skip temperature management
Blend at a manageable temperature—too hot can loosen emulsion and take longer to cool, while too cool may increase viscosity and trap small particles. Blend after the bean puree has cooled slightly but before it becomes overly thick.
Chill the Mixture Properly
– Refrigerate until fully cold before churning
– Cover to prevent a skin from forming on top
Chilling is not optional if you want a creamy, scoopable texture. Ice cream churners work by freezing the base as it circulates. If the base isn’t cold enough:
– The ice crystals form differently
– The churn output may be lighter or less stable
– The final scoop can become icier
How long to chill
Most bases need at least several hours, commonly overnight. The goal is to cool the mixture thoroughly throughout, not just on the surface.
Cover to prevent a “film”
When dairy sits uncovered, proteins and moisture can form a thin skin. That skin can create unpleasant specks and disrupt smoothness. Press plastic wrap directly onto the surface, or use an airtight lid.
Best practice: stir after chilling (briefly)
Once chilled, stir gently to ensure the mixture is uniform. Then pour into your ice cream machine immediately to maximize even freezing.
Churn to Achieve the Right Thickness
– Churn according to your ice cream maker’s timing
– Stop when it’s thick and soft-serve like
Churning is the transformation step: air incorporation + partial freezing. For best results, don’t rely only on time; rely on texture cues.
What “done” looks like
In most home machines, the mixture reaches a soft-serve consistency when it’s ready. You should see:
– A thick, creamy flow
– Tracks from the paddle that fill slowly
– A texture that feels like airy, spoonable ice cream rather than liquid custard
Avoid common timing mistakes
– Too short: yields a loose mix and can freeze harder than expected.
– Too long: can overfreeze the mixture inside the machine, reducing smoothness and potentially affecting scoopability.
For consistency, start checking a few minutes before the typical minimum time and stop when you reach the right soft-serve stage.
Optional: add mix-ins at the right time
If you want toppings blended into the ice cream (like toasted sesame), fold them in after churning. This preserves crunch and avoids uneven distribution.
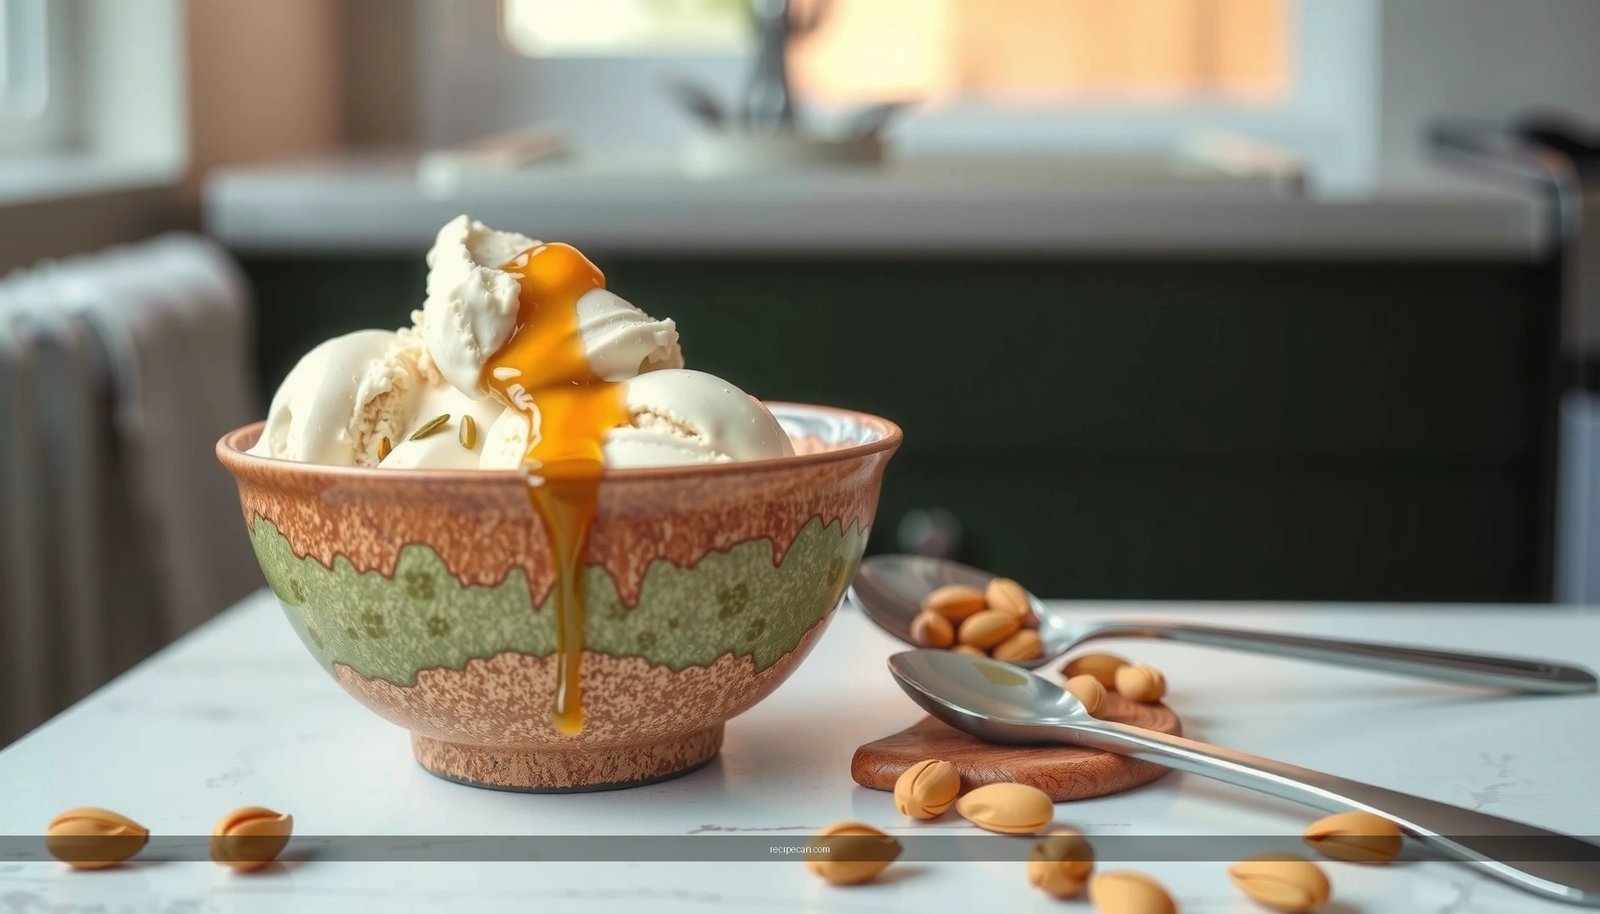
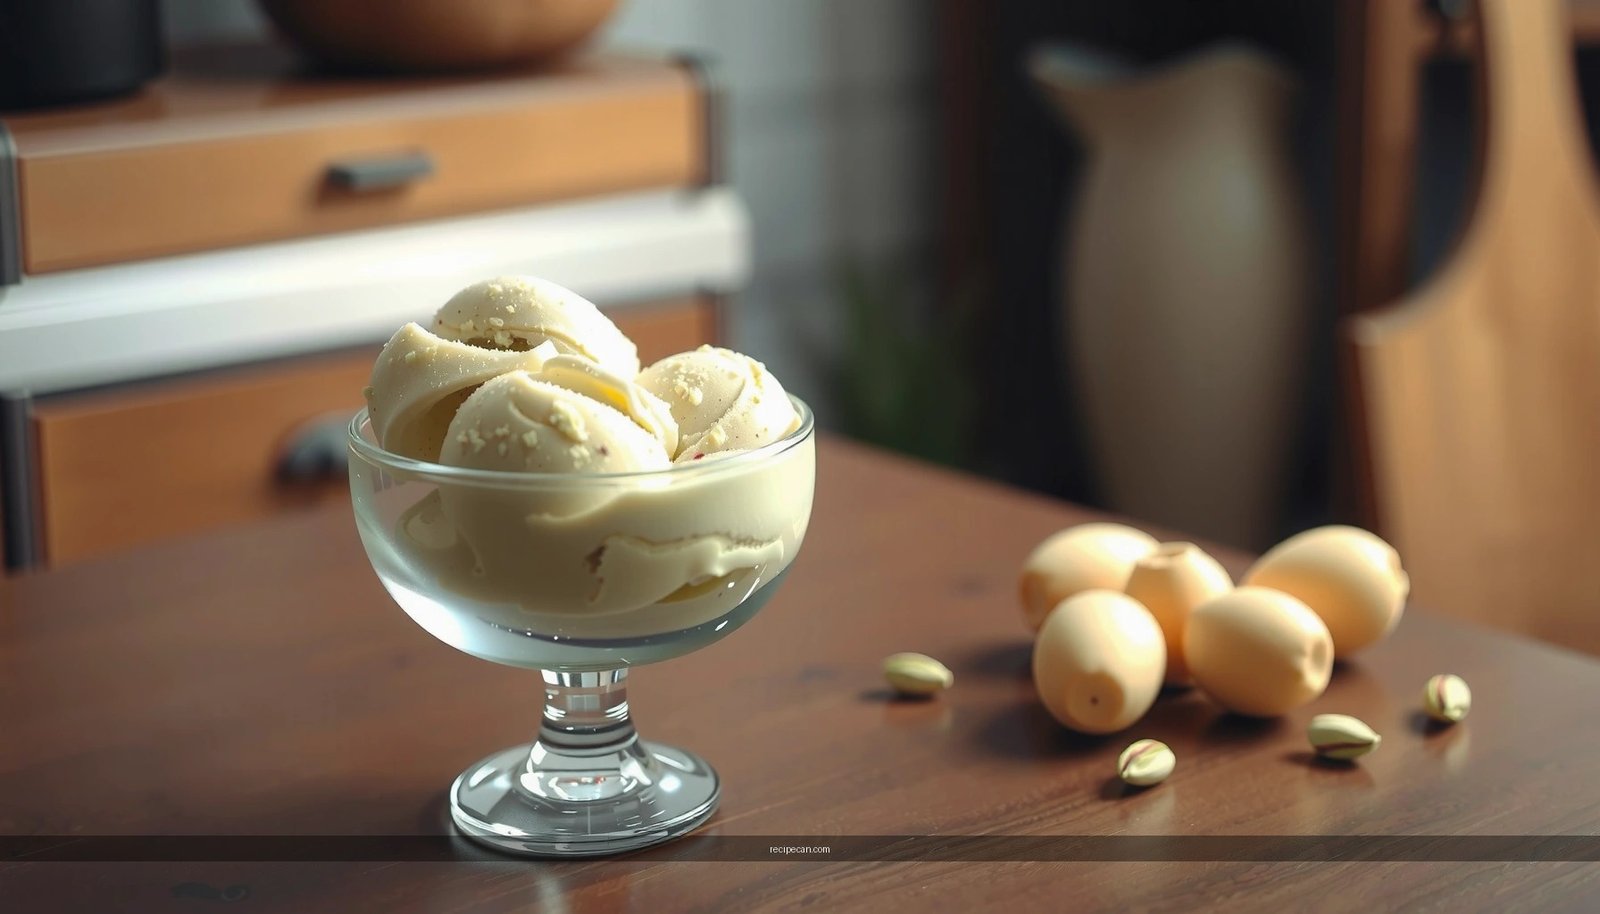
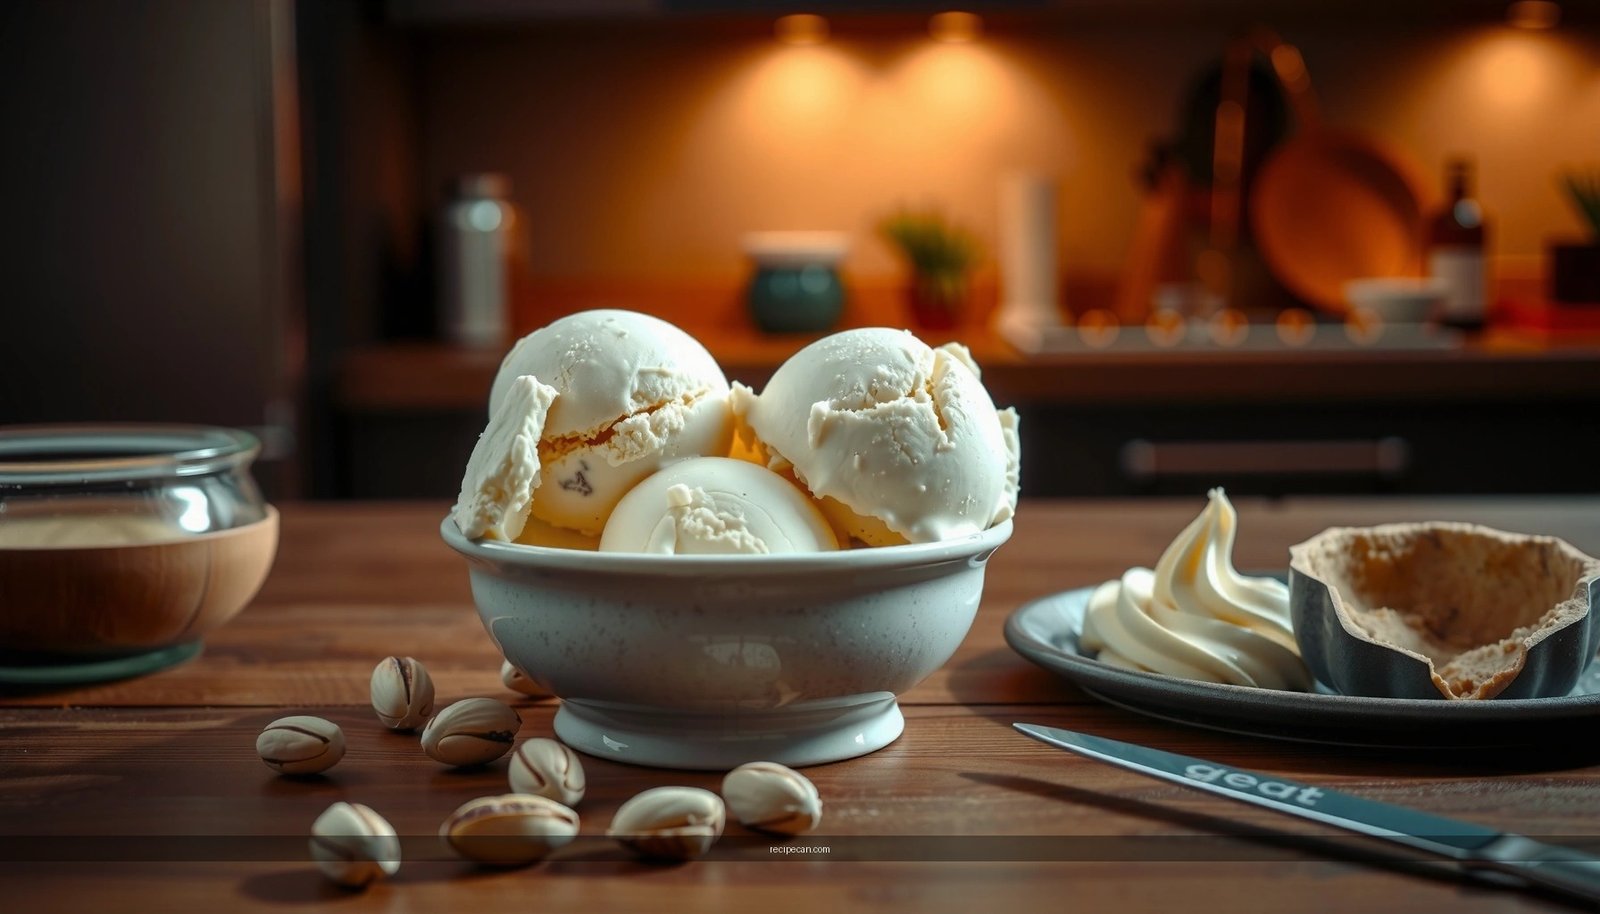
Freeze and Serve for Best Results
– Transfer to a container and freeze until firm
– Scoop and serve within a few days for peak flavor and texture
After churning, the ice cream needs time to mature. During freezing, remaining liquid water crystallizes, and the texture becomes firmer and more stable.
How to freeze it properly
1. Transfer churned ice cream into a freezer-safe container.
2. Press parchment or plastic wrap directly onto the surface to reduce air exposure and freezer burn.
3. Freeze until firm, commonly 4–6 hours for home freezers.
Serve window matters
For peak flavor and best texture, plan to serve within a few days. Over time:
– Flavor compounds fade slightly
– Texture can become firmer and sometimes more icy
Serving ideas that enhance red bean notes
Red bean ice cream pairs well with flavors that echo its warm, nutty sweetness:
– Toasted sesame (adds depth and aroma)
– Mochi (soft chew contrast)
– Extra red beans or a spoon of sweet red bean paste on top (for a layered, dessert-shop feel)
Conclusion
Red bean ice cream is easiest to get right when you treat the process like a texture pipeline: simmer the beans until very tender, sweeten and blend into a silky puree, build a balanced dairy base (shortcut or custard), and chill thoroughly before churning. If you follow the critical checkpoints—especially blending smooth, chilling fully cold, and stopping at soft-serve thickness—you’ll consistently produce a creamy, scoopable homemade dessert that tastes premium and ready to share.
Frequently Asked Questions
What are the key ingredients for a smooth red bean ice cream recipe?
A classic red bean ice cream recipe uses cooked red beans (azuki), milk or cream, sugar, egg yolks (for custard-style), and a thickener like cornstarch or gelatin if needed. For better texture, also include salt to balance sweetness and vanilla or condensed milk for flavor depth. If you want a silkier finish, blend the red beans until fully smooth before cooking.
How do I make red bean ice cream without eggs?
Use a no-egg base by simmering milk with sugar and cornstarch (or using a dairy base like condensed milk) to create a custard-like thickness. Stir in smooth red bean paste, then chill the mixture completely before churning in an ice cream maker. This method keeps the red bean flavor strong while producing a creamy, scoopable texture without tempering eggs.
Why does my red bean ice cream turn icy, and how can I prevent it?
Ice crystals usually happen when the base isn’t thick enough, isn’t chilled well, or contains too much water from under-cooked beans. Make sure your red bean mixture is fully smooth and thickened, and chill it for several hours before churning. For best results, avoid overcooking and consider adding a small amount of alcohol (like vodka) or extra sugar, since both help reduce ice formation.
Which sweetener is best for red bean ice cream—brown sugar, white sugar, or condensed milk?
White sugar dissolves easily and gives a clean sweetness that highlights the natural taste of red beans. Brown sugar adds a deeper caramel note, but it can slightly darken the color and alter flavor. Condensed milk is a popular choice because it boosts creaminess and helps prevent ice, making it especially effective in an easy red bean ice cream recipe.
What’s the best way to churn and store red bean ice cream for a perfect texture?
Churn your red bean ice cream according to your ice cream maker’s instructions, typically until it looks soft-serve thick. Transfer it to a container, press parchment or plastic wrap directly on the surface, and freeze until firm for at least 4–6 hours. For the best scoop, let it sit at room temperature for 5–10 minutes, and store tightly sealed to minimize freezer burn and icy texture.
References
- Google Scholar Google Scholar
https://scholar.google.com/scholar?q=red+bean+ice+cream+recipe+azuki+anko - Google Scholar Google Scholar
https://scholar.google.com/scholar?q=azuki+bean+anko+ice+cream+study - Google Scholar Google Scholar
https://scholar.google.com/scholar?q=red+bean+ice+cream+formulation+frozen+dessert - Adzuki bean
https://en.wikipedia.org/wiki/Azuki - Anko
https://en.wikipedia.org/wiki/Anko - Red bean
https://en.wikipedia.org/wiki/Red_bean - Ice cream
https://en.wikipedia.org/wiki/Ice_cream - Ice cream | Definition, History, & Production | Britannica
https://www.britannica.com/topic/ice-cream - https://pubmed.ncbi.nlm.nih.gov/?term=azuki+bean
https://pubmed.ncbi.nlm.nih.gov/?term=azuki+bean - https://pubmed.ncbi.nlm.nih.gov/?term=ice+cream+formulation
https://pubmed.ncbi.nlm.nih.gov/?term=ice+cream+formulation