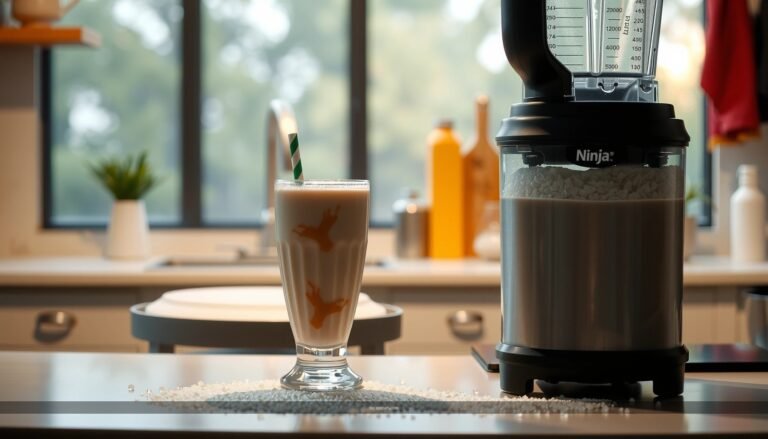
Looking for the best milkshake recipe for a Ninja Slushie that turns out creamy and thick fast? This recipe gives you the exact steps to blend milkshake-style sweetness into a smooth slushy texture—no guesswork, no complicated equipment beyond your Ninja. If you want a reliably rich result every time, follow these easy instructions and you’ll get the winning Ninja Slushie milkshake on the first try.
Make a thick, creamy milkshake-style slushie in your Ninja Slushie by blending milk, ice, and your flavor of choice until it reaches a smooth, spoonable consistency. Use the simple milk-to-ice starting ratio below, blend in short pulses first, then finish continuously—so your texture comes out creamy instead of watery.
A Ninja Slushie is designed to crush and circulate ice quickly, which is exactly what you want for a “milkshake slush” texture: cold, dense, and evenly mixed, without large ice shards. The key is balancing three variables—(1) liquid (milk), (2) solids (ice and any add-ins like cocoa or syrup), and (3) fat/protein from your milk or ice cream—so the blend forms a stable, creamy body that holds its shape for sipping.
Best Milk & Add-In Choices for a Ninja Slushie Milkshake Texture
| # | Base / Add-in | Recommended Use | Texture Impact | Mixing Ease |
|---|---|---|---|---|
| 1 | Whole milk (3.25%) | Classic milkshake body | ★ ★ ★ ★ ★ | Very High |
| 2 | 2% milk | Slightly lighter slush | ★ ★ ★ ★ ☆ | High |
| 3 | Oat milk (barista-style) | Creamy dairy-free slush | ★ ★ ★ ★ ★ | Very High |
| 4 | Almond milk (unsweetened) | Light base; best with extra ice cream | ★ ★ ★ ☆ ☆ | Medium |
| 5 | Vanilla ice cream (2–3 scoops) | Thick, classic milkshake feel | ★ ★ ★ ★ ★ | Very High |
| 6 | Cocoa powder (1–2 Tbsp) | Chocolate depth without extra sweetness | ★ ★ ★ ★ ☆ | High |
| 7 | Fruit puree (1/4–1/3 cup) | Strawberry-style slush with body | ★ ★ ★ ★ ☆ | High |
What You Need for a Ninja Slushie Milkshake

To get a truly “milkshake-style slushie” texture, you only need a few ingredients—but each one plays a specific role. Think of your Ninja Slushie as a controlled ice-crushing system: the liquid helps the blades circulate, ice forms the slushy structure, and your flavor add-ins create taste without breaking the texture.
– Choose your milk base (dairy, oat, or almond works well)
– Whole milk is the most consistent for classic creaminess because it has higher fat.
– Oat milk (especially barista-style) tends to emulsify well with crushed ice, keeping the slush smooth.
– Almond milk can work, but it may feel lighter—so you’ll often need a bit more ice cream or ice to compensate for lower fat.
– Pick a flavor add-in (ice cream, syrup, or cocoa)
Use one main flavor approach to avoid diluting the taste.
– For a “true milkshake” vibe: ice cream provides fat + sweetness + thickness.
– For faster customization: syrup (vanilla, caramel, chocolate) adds intense flavor with minimal prep.
– For a deeper, less sugary profile: cocoa powder or mix-in chocolate gives richness—just ensure it fully dissolves by blending long enough.
– Have ice ready for the slushy thickness you want
For Ninja Slushie recipes, ice is your texture engine. Small, uniform ice cubes blend faster and more evenly. If you want extra creaminess, use a steady ice load rather than adding lots of milk; the goal is to keep the blend thick while still mobile.
Quick practical benchmark
If you spoon the mixture and it holds a mound briefly before slowly relaxing, your slushie is in the ideal zone—thick, not icy, and ready to drink.
Simple Milkshake Base Ratio

A reliable ratio is what turns “it tasted okay” into a repeatable Ninja Slushie milkshake recipe. Since different flavors add different amounts of sweetness and thickness, treat this as a starting point and adjust by feel.
– Use a starting combo: milk + ice + flavor (then adjust)
Start with a base that has enough liquid to circulate, then build thickness with ice. A practical starting point for a single Ninja Slushie batch is:
– Milk: ~1/2 cup (120 ml)
– Ice: ~2 to 3 cups (about 500–750 g depending on cube size)
– Flavor:
– 2–3 scoops ice cream *or*
– 2–3 Tbsp syrup *or*
– 1–2 Tbsp cocoa + sweetener if needed
– Aim for a thicker blend by increasing ice gradually
Add ice in small increments during your first attempts. If you dump in too much at once, the unit may struggle to circulate, leading to uneven blending and icy pockets.
– Keep flavors balanced so the milkshake doesn’t taste watery
When ice melts, it dilutes. To prevent that:
– Use a slightly richer flavor source (ice cream, cocoa, or concentrated syrup).
– If you’re using fruit puree, consider reducing added milk slightly so the puree doesn’t thin the slush.
Ninja Slushie Setup and Blending Tips

Even with the right ingredients, blending technique determines whether you get a smooth slushy milkshake or a partially crushed, uneven drink. Ninja Slushie recipes should prioritize controlled blending: start by breaking down ice, then smooth out the texture.
– Blend in short pulses, then run continuously for smoothness
– Pulse first (2–4 short bursts) to knock down large ice pieces.
– Then blend continuously for 20–40 seconds, depending on batch size, until thick and uniform.
– Scrape down the sides if needed for even texture
If you notice thick material clinging to the container walls, stop and scrape down. This prevents “hot zones” where one part blends fine while another stays chunkier.
– Stop when thick—overblending can make it too runny
Overblending accelerates melt, reducing the density of your slush. The best practice is to stop when it looks thick in the cup and pours slowly, not freely.
Professional consistency check
A stable slushie should be creamy and thick enough to resist immediate separation. If your drink looks glossy and watery within a minute, you likely blended too long or used too much milk.
Popular Flavor Ideas (Choose Your Milkshake Vibe)

Here are reliable flavor formulas that work particularly well in a Ninja Slushie milkshake recipe because they either add fat (ice cream), concentrate cocoa/chocolate, or provide flavor intensity without breaking texture.
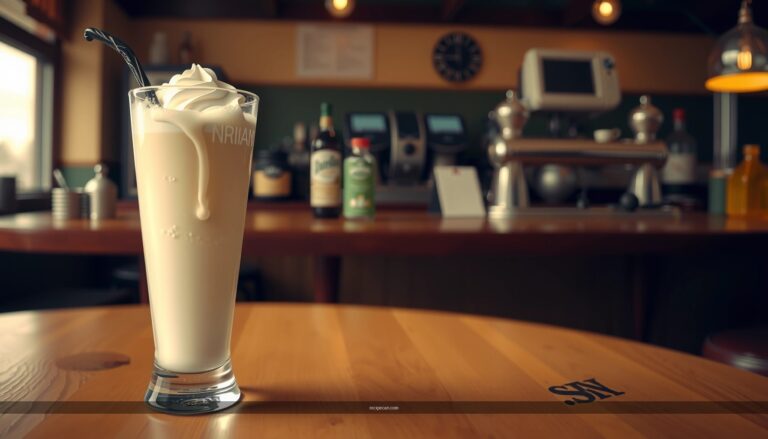
– Classic vanilla with ice cream and a splash of vanilla
– Vanilla ice cream + a small splash of vanilla extract
– Optional: pinch of salt to sharpen sweetness and reduce “flat” flavor
– Chocolate version with cocoa powder or chocolate syrup
– Cocoa powder for depth, or chocolate syrup for sweetness and easy mixing
– Optional: add 1 Tbsp peanut butter for a cookies-and-cream style thickness (great if you want a richer mouthfeel)
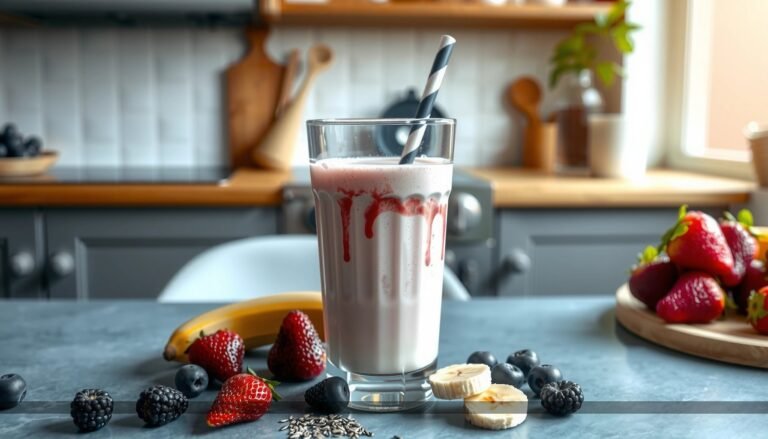
– Strawberry-style with fruit puree or strawberry syrup
– Fruit puree for a natural flavor profile
– If using syrup, reduce added sweeteners—strawberry syrups can be concentrated
Flavor balancing tip
If your flavor source is liquid-forward (fruit puree, syrup), keep your milk slightly lower and ice slightly higher to maintain that thick “milkshake slush” body.
Texture Fixes: Make It Thicker or Smoother
Even the best Ninja Slushie recipes benefit from fast adjustments. Use these corrective steps immediately—before the slush warms up too much.
– Too thin? Add more ice and blend briefly
Add a small handful of ice (start with ~1/2 cup), then blend for 10–20 seconds. Keep pulses short if you want to avoid turning it too watery again.
– Too thick? Add a small splash of milk and blend again
Add 1 to 2 Tbsp milk at a time. Blend 10–15 seconds between additions. This prevents the common mistake of “fixing” thickness by over-pouring liquid.
– For extra creaminess, add a bit more ice cream (if using)
If you’re aiming for a dessert-like milkshake consistency, a little more ice cream often improves texture faster than adding more milk—because it adds fat and emulsifiers that help the slush stay smooth.
Analytical note: why these fixes work
– Ice increases density and reduces melt-driven separation.
– Milk increases mobility so crushed ice circulates and emulsifies better.
– Ice cream improves emulsification—the blend becomes thicker and smoother at the same time.
Serving and Storage Best Practices
Milkshake-style slushies are best when freshly blended because ice continues melting and the texture will naturally loosen over time. Plan to serve immediately, and store only if needed.
– Serve immediately for the best slushy consistency
Pour into a chilled glass if possible. Cold glass helps slow melt and supports that creamy, drinkable thickness.
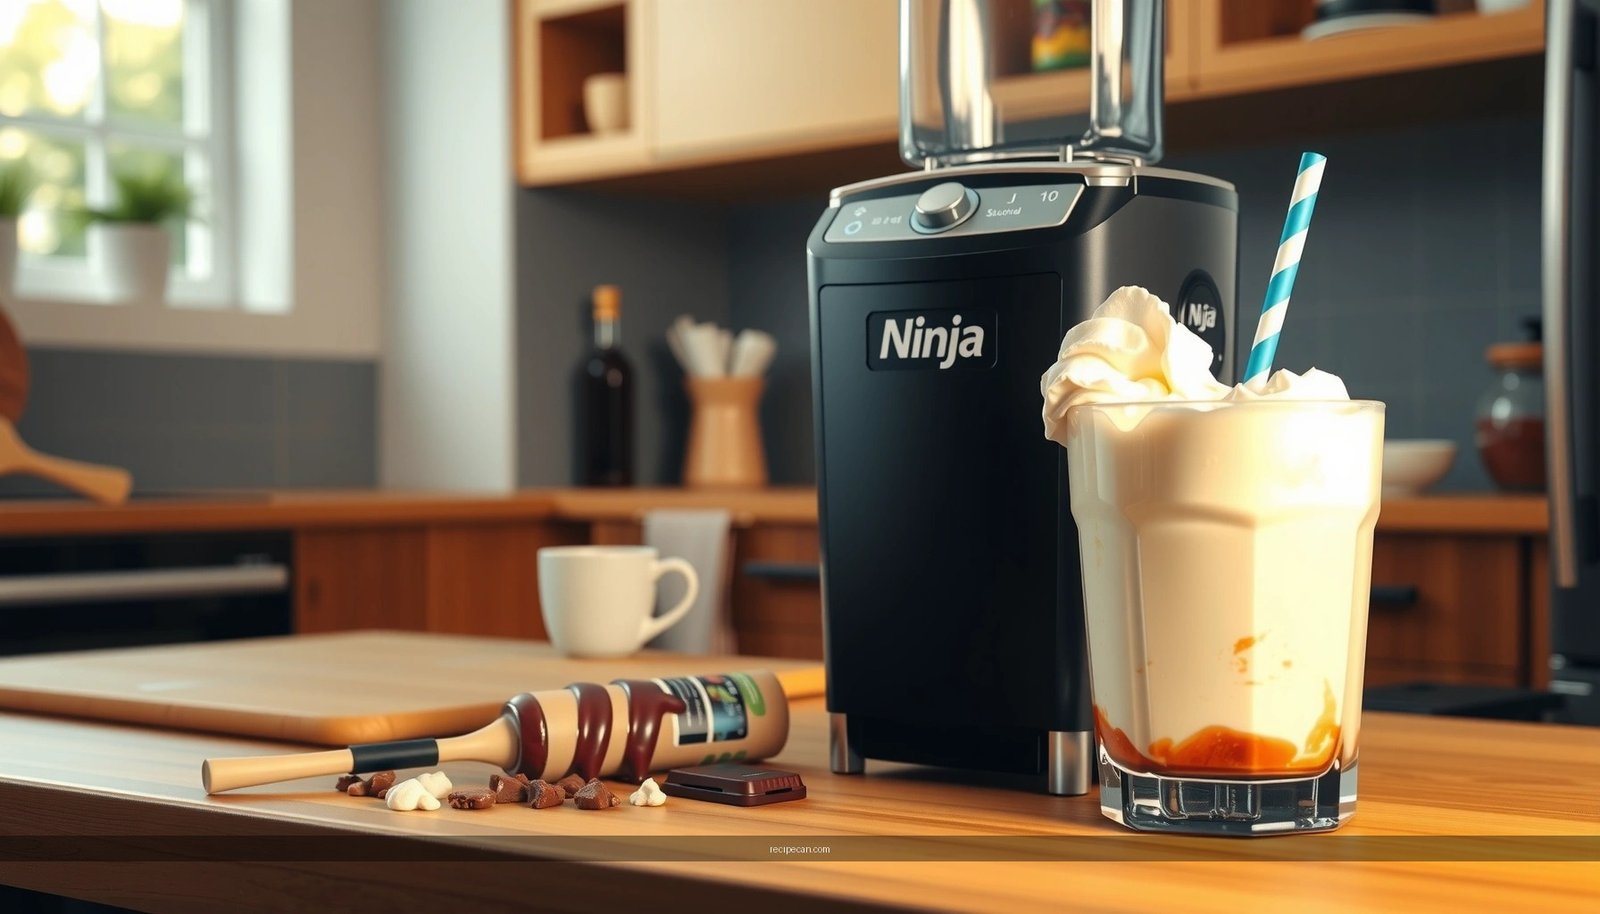
– Garnish with whipped cream, sprinkles, or a drizzle
Garnishes also help “sell” the milkshake experience—especially for classic vanilla or chocolate versions. Drizzles (caramel or chocolate) add aroma, not just visual appeal.
– If it sits, stir and blend for a quick refresh before serving
If your slush is slightly looser after 5–15 minutes, a brief stir and 10–15 seconds of blending can restore much of the original texture.
Storage reality (so you don’t get surprised)
For best results, store only briefly in a covered container and expect some texture softening. Freezing again is not ideal because it can form large ice crystals, making the next blend less smooth.
Make this milkshake recipe for your Ninja Slushie and enjoy a fast, creamy slushy at home with the right ratios and blending steps. Pick a flavor, start with the base guide, and adjust ice or milk until it’s perfect—then whip up your next batch right away.
With the correct milk choice, a controlled milk-to-ice starting ratio, and a pulse-then-continuous blending method, your Ninja Slushie milkshake-style slushies can be consistently thick, smooth, and dessert-like. Use the texture fixes early (before the blend warms), serve immediately for peak body, and treat your favorite flavor add-in as the main variable to personalize every batch.
References
- Milkshake
https://en.wikipedia.org/wiki/Milkshake - Smoothie
https://en.wikipedia.org/wiki/Smoothie - Ice cream
https://en.wikipedia.org/wiki/Ice_cream - Emulsion
https://en.wikipedia.org/wiki/Emulsion - Google Scholar Google Scholar
https://scholar.google.com/scholar?q=milkshake+recipe+blender+emulsion - Google Scholar Google Scholar
https://scholar.google.com/scholar?q=frozen+dessert+milkshake+processing+temperature+stabilization - Google Scholar Google Scholar
https://scholar.google.com/scholar?q=slushie+frozen+beverage+making+home+blender - https://pubmed.ncbi.nlm.nih.gov/?term=milkshake
https://pubmed.ncbi.nlm.nih.gov/?term=milkshake - https://pubmed.ncbi.nlm.nih.gov/?term=ice+cream+milk+fat+emulsion+stability
https://pubmed.ncbi.nlm.nih.gov/?term=ice+cream+milk+fat+emulsion+stability - https://www.britannica.com/topic/milkshake
https://www.britannica.com/topic/milkshake