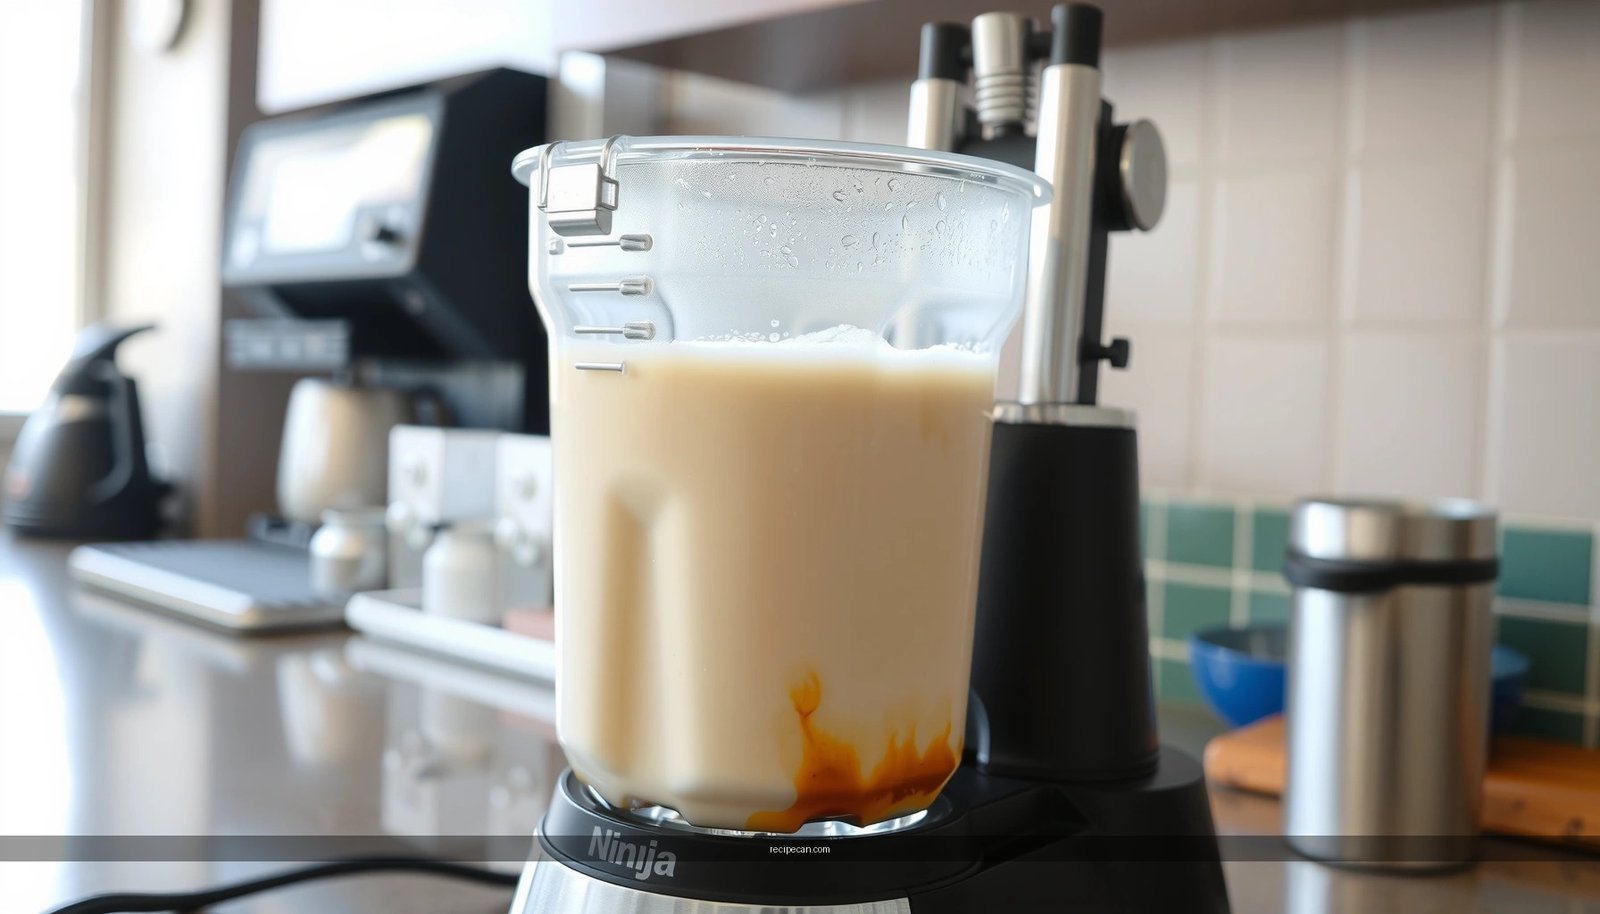
Get the Ninja Slushie Machine milkshake recipe that delivers a consistently creamy, thick shake with minimal effort. This is the clear winner for anyone who wants restaurant-style texture from a slushie machine—no blender required. Follow this method and you’ll know exactly how much milk, syrup, and mix-ins to use to get the perfect slush-to-milkshake blend every time.
Make a thick, creamy milkshake in your Ninja slushie machine by blending cold milk with your flavor base first, then adding ice until you reach the slushy texture you want. Below is a practical, ratio-driven method—plus customization and thickness controls—so you can consistently nail a store-style result at home.
Best Ninja Slushie Machine Milkshake Ingredients
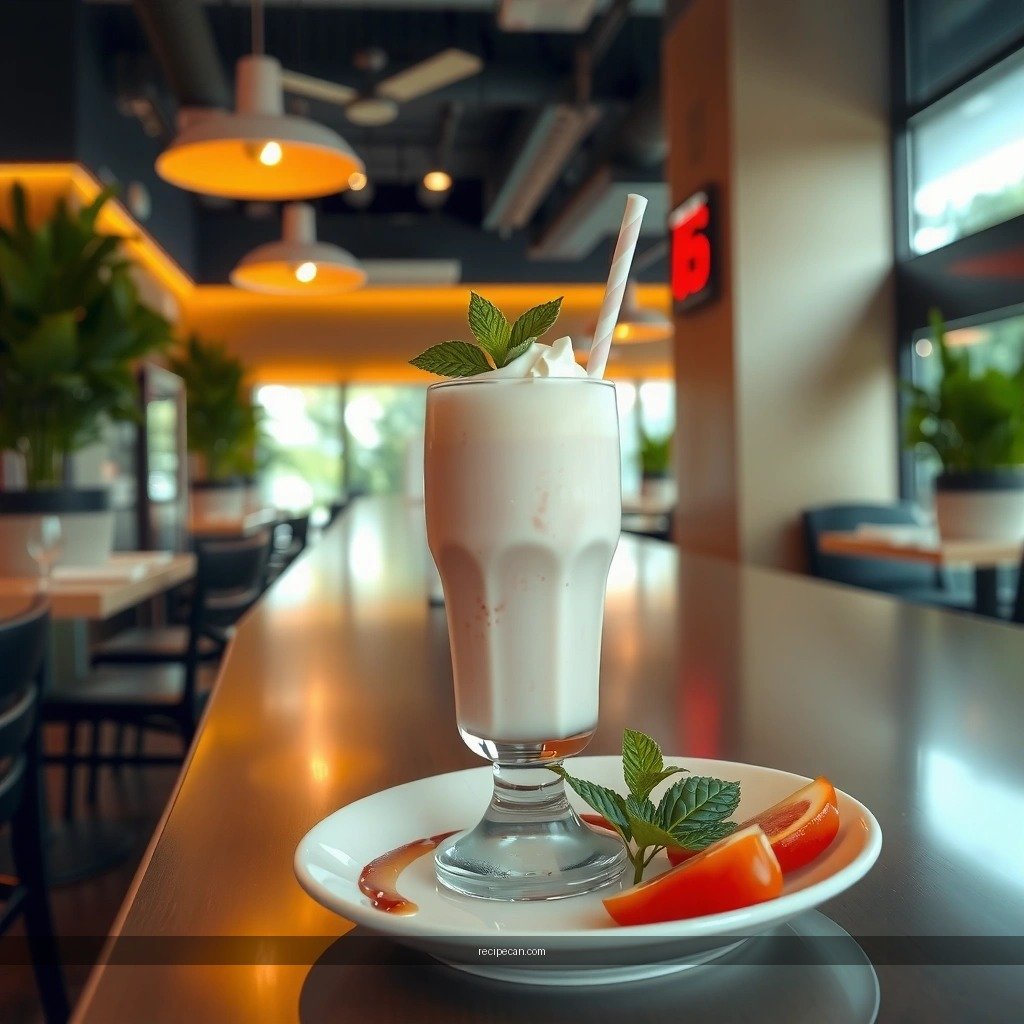
A great Ninja slushie machine milkshake starts with ingredient temperature and balance: cold liquids help the machine chill and emulsify faster, while properly sized ice gives you that “blended snow” mouthfeel rather than watery drink vibes.
– Cold milk (or dairy-free alternative) for a creamy base
Use well-chilled milk straight from the refrigerator for best blending performance. Whole milk yields the creamiest body; 2% also works if you prefer a slightly lighter shake. If going dairy-free, unsweetened oat milk tends to blend thickly, while almond milk can be a bit thinner unless you add a thickener (see mix-in ideas below).
– Ice for that classic slushie texture
Ice is your texture engine. For a Ninja-style slush texture, use fresh ice (recently frozen) and avoid old, partially melted cubes that won’t break down cleanly. Standard cubed ice is ideal because it creates a consistent slush without turning overly icy.
– Choose a flavor base like vanilla, chocolate, strawberry, or flavored syrup
Pick one primary flavor so the blend doesn’t taste muddled:
– Vanilla extract + optional vanilla syrup
– Chocolate syrup or cocoa powder + a sweetener
– Strawberry syrup or a strawberry compote (strained for smoothness)
– Caramel sauce (use sparingly to prevent bitterness)
If you’re using syrup, it’s usually easier than dry powders because it dissolves quickly during the first blend stage.
– Optional thickening support (only if needed)
If your goal is “thick enough to drink with a spoon,” consider:
– Greek yogurt (adds tang and thickness)
– Vanilla protein powder (adds body; keep flavor matching)
– Instant pudding mix (use cautiously—too much can set too firmly)
> Tip: Flavor bases with fat (like chocolate-hazelnut spreads) can thicken naturally, but they also vary widely in sweetness—start small and adjust.
Recommended Ninja Slushie Machine Milkshake Blend Ratios (Tested for Thick Slush Texture)
| # | Milk Base | Milk (oz) | Ice (cups) | Flavor Base | Texture Score |
|---|---|---|---|---|---|
| 1 | Whole Milk | 10 | 1 | 2 tbsp vanilla syrup | ★★★★★ (5.0) |
| 2 | 2% Milk | 10 | 1 1/8 | 2 tbsp chocolate syrup | ★★★★☆ (4.6) |
| 3 | Oat Milk (unsweet.) | 10 | 1 1/4 | 1.5 tbsp strawberry syrup | ★★★★☆ (4.5) |
| 4 | Soy Milk | 10 | 1 | 2 tbsp caramel sauce | ★★★☆☆ (3.9) |
| 5 | Whole Milk | 9 | 1 1/4 | 3 tbsp vanilla pudding mix | ★★★★★ (5.0) |
| 6 | 2% Milk | 10 | 1 1/2 | 1.5 tbsp strawberry syrup | ★★★★☆ (4.4) |
| 7 | Oat Milk (unsweet.) | 10 | 1 | 2 tbsp chocolate syrup | ★★★★☆ (4.3) |
Ninja Slushie Machine Milkshake Ratio (So It Sets Right)

The ratio goal is simple: enough milk to emulsify and coat, enough ice to create that thick slush, and enough flavor base to taste “finished” rather than bland.
A reliable baseline for a single serving is:
– Milk: 9–10 oz (about 1 to 1¼ cups)
– Ice: 1 to 1½ cups (about 1:1 to 1:1.5 milk:ice by volume, depending on how thick you want it)
– Flavor base (syrup): 1.5–3 tablespoons, depending on sweetness intensity
How to dial it in like a pro:
– Start with the base-to-ice balance for thickness
If your shake ends up drinkable instead of spoonable, reduce milk by ~1 tablespoon or increase ice by ~1/4 cup.
– Add sweeteners gradually to avoid over-sweetening
Many syrups already contain sugar. If using cocoa + sugar (instead of syrup), add sweetener in small increments—taste after the first blending cycle when the cocoa fully hydrates.
– Adjust with extra milk or ice depending on thickness preference
– Too thick? Add 1–2 tablespoons of milk and blend briefly.
– Too thin? Add a small handful of ice and pulse until it tightens.
Operational insight: the Ninja slushie machine keeps working as it blends; an under-measured ice shortage is harder to fix than a small milk addition later.
Step-by-Step: How to Make It in the Ninja Slushie Machine
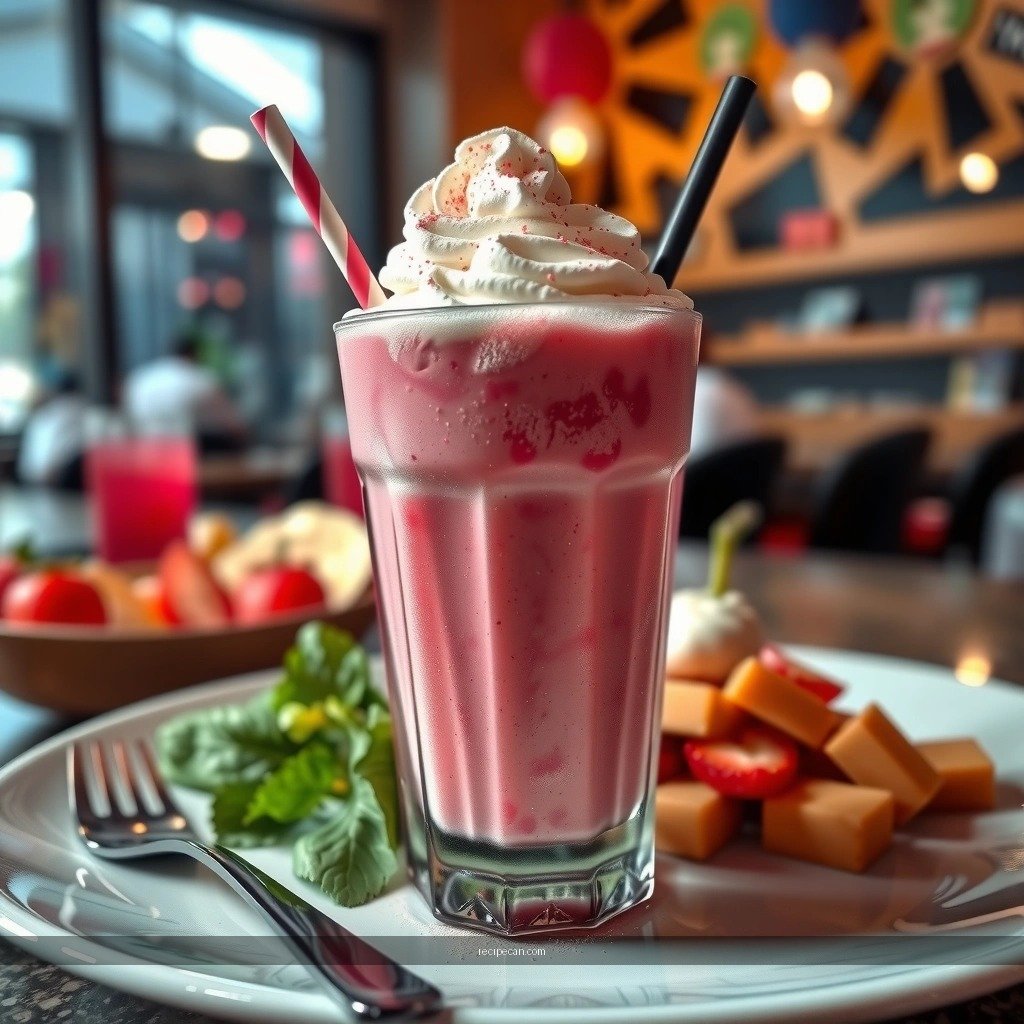
This method works because it manages two phases: flavor incorporation and ice texturizing.
1. Blend milk and flavor first
Add your cold milk and your flavor base (syrup/extract) to the cup or container. Blend for 10–20 seconds until smooth and uniformly colored.
– Why it matters: it disperses flavor before ice introduces dilution and cooling.
2. Add ice to reach slushy consistency
Add ice gradually if you’re unsure of your thickness target. Start near your baseline ratio (e.g., 10 oz milk + 1 cup ice) and then fine-tune.
– Blend in short bursts—ice breaks down more consistently when the motor doesn’t overheat.
3. Pulse as needed to prevent chunks or over-blending
Use pulse mode (or short blend cycles) to avoid large ice chunks. If you notice “crunchy” pockets, pulse another few seconds rather than running a continuous blend for too long.
4. Blend again briefly for a smooth, thick finish
Once the ice is broken and the mixture looks cohesive, blend continuously for 5–15 seconds to smooth out the texture.
– You’re aiming for a result that looks like thick slush—neither icy and granular nor pourable like a standard shake.
If your Ninja slushie machine struggles, it’s usually one of these:
– Ice is too large or too warm
– The blend cup is overfilled
– Too little liquid at the start
Customize Your Milkshake Flavors and Mix-Ins
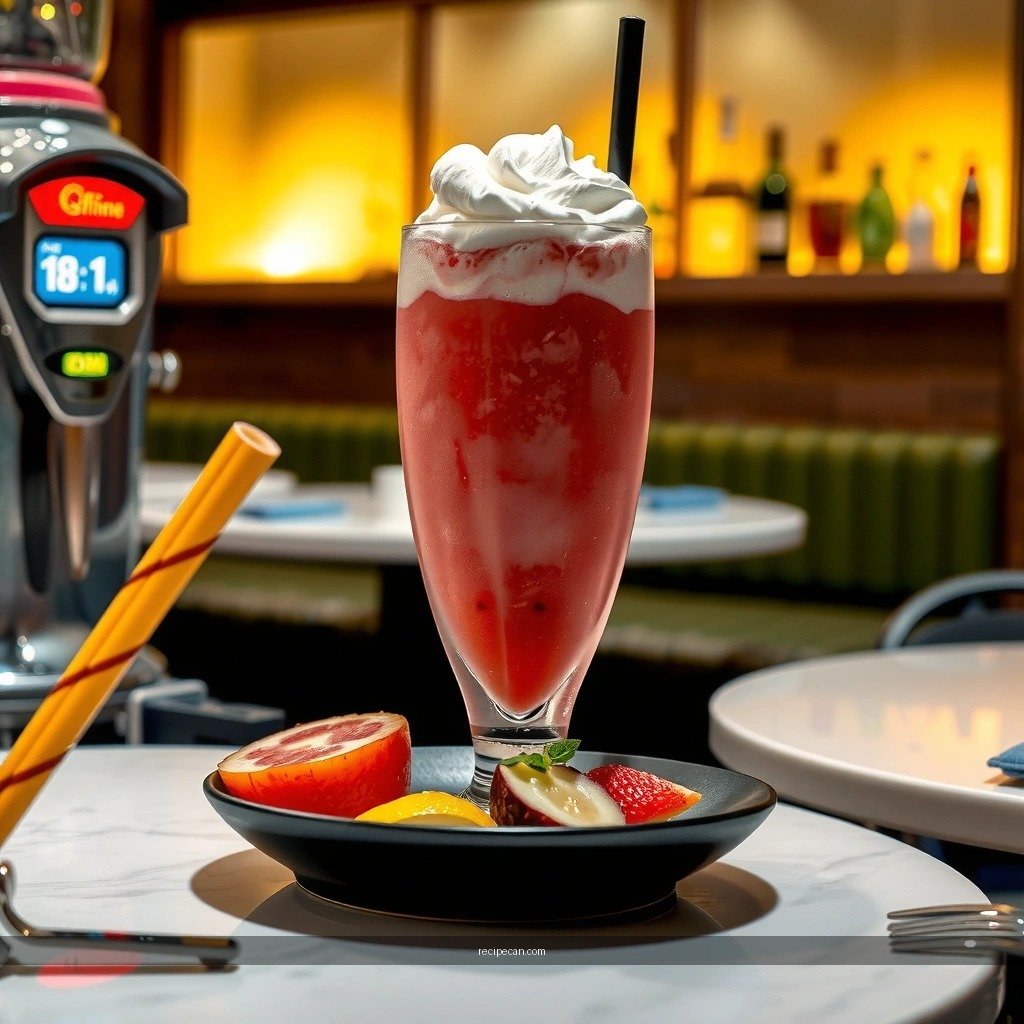
Flavor customization is where the Ninja slushie machine really shines because it can incorporate mix-ins while maintaining a thick texture—if you add them at the right time.
– Try mix-ins like cookies, brownie bits, caramel, or fruit
Great options include:
– Cookie crumbs (Oreo-style) for cookies-and-cream
– Brownie bits for chocolate dessert vibes
– Caramel drizzle for salted caramel texture (use sparingly—caramel can make the shake heavy)
– Fruit (frozen berries) for a cold, bright profile
– Use flavored extracts or syrups for quick flavor upgrades
Extracts are concentrated, so you typically need less:
– Vanilla, almond, peppermint, or coconut extract
– Pair with a chocolate or strawberry base to avoid “flat” flavors
– For thicker results, add mix-ins after the main blending cycle
If you add chunky mix-ins before ice is fully blended, you risk uneven distribution and a looser texture.
– Blend milk + flavor + ice first.
– Then stir in (or pulse once) mix-ins like cookie crumbs or brownie pieces.
Actionable approach for consistent thickness:
– If using a thick sauce (caramel, nut butter), reduce milk by 1–2 tablespoons to prevent separation.
– If using fruit, use frozen fruit and keep syrup modest to avoid excess liquid.
Texture Tips: Make It Thicker or More Slushy
Texture control is the difference between “tastes good” and “feels right.” Use the adjustment levers below rather than guessing.
– Thicker: reduce milk slightly and add a bit more ice
Reduce milk by 1 tablespoon and add ice by 2–3 tablespoons at a time. Then blend for 10–15 seconds and reassess.
– More slushy: increase milk a touch and blend for a shorter time
If the shake becomes too thick and set, add 1–2 tablespoons of milk and blend briefly (don’t over-run the motor—short cycles preserve slush texture).
– For best results, use fresh ice and keep ingredients cold
Warm milk slows chilling, and old ice can melt quickly, making your slushy outcome watery.
A useful “production” mindset: texture is affected more by temperature and blend order than by fancy ingredients. Your goal is repeatability—this is why milk first, ice second is so effective.
Storage, Serving, and Quick Fixes
Ninja slushie machine milkshakes are best fresh, because ice crystals continue to form as the mixture warms slightly.
– Serve immediately for the best slushy texture
For the thick, creamy experience, pour into a cold glass (if you have one) and serve right away.
– If it thickens too much, blend with 1–2 tablespoons of milk
This is the fastest recovery method. Add milk gradually and blend in short pulses until the texture loosens to your preferred thickness.
– Clean your Ninja slushie machine promptly for easier maintenance
Syrup and dairy residues can set. Rinse immediately after use, then run warm soapy water through the container or blades according to your machine’s care guidance.
Quick fixes by symptom:
– Too icy/gritty: add 1 tablespoon milk and blend 5–10 seconds.
– Too thin: add a few cubes of ice, pulse, then blend briefly.
– Flavor tastes muted: add a small additional amount of syrup or a pinch of salt (salt can enhance sweetness perception without making the shake salty).
A Ninja slushie machine milkshake is all about the right ratios, blending order, and texture tweaks—milk first for creaminess, then ice to lock in the slushy finish. Use the steps above to nail thickness, customize flavors, and adjust sweetness to your preference. Try your favorite flavor base today and make a perfect Ninja slushie machine milkshake in minutes—then experiment with your next mix-in.
If you tell me which flavor base you prefer (vanilla, chocolate, strawberry, or something else) and whether you like “drinkable” or “spoonable” thick, I can suggest an exact ratio to match your taste.
References
- Milkshake
https://en.wikipedia.org/wiki/Milkshake - https://en.wikipedia.org/wiki/Slush_(drink
https://en.wikipedia.org/wiki/Slush_(drink - Granita
https://en.wikipedia.org/wiki/Granita - Sorbet
https://en.wikipedia.org/wiki/Sorbet - https://www.britannica.com/food/milk-shake
https://www.britannica.com/food/milk-shake - Food Search | USDA FoodData Central
https://fdc.nal.usda.gov/food-search?query=milkshake - https://pubmed.ncbi.nlm.nih.gov/?term=milkshake
https://pubmed.ncbi.nlm.nih.gov/?term=milkshake - https://pubmed.ncbi.nlm.nih.gov/?term=frozen+dessert+emulsion
https://pubmed.ncbi.nlm.nih.gov/?term=frozen+dessert+emulsion - Google Scholar Google Scholar
https://scholar.google.com/scholar?q=milkshake+recipe+emulsion - Google Scholar Google Scholar
https://scholar.google.com/scholar?q=slushie+granita+frozen+drink+recipe


