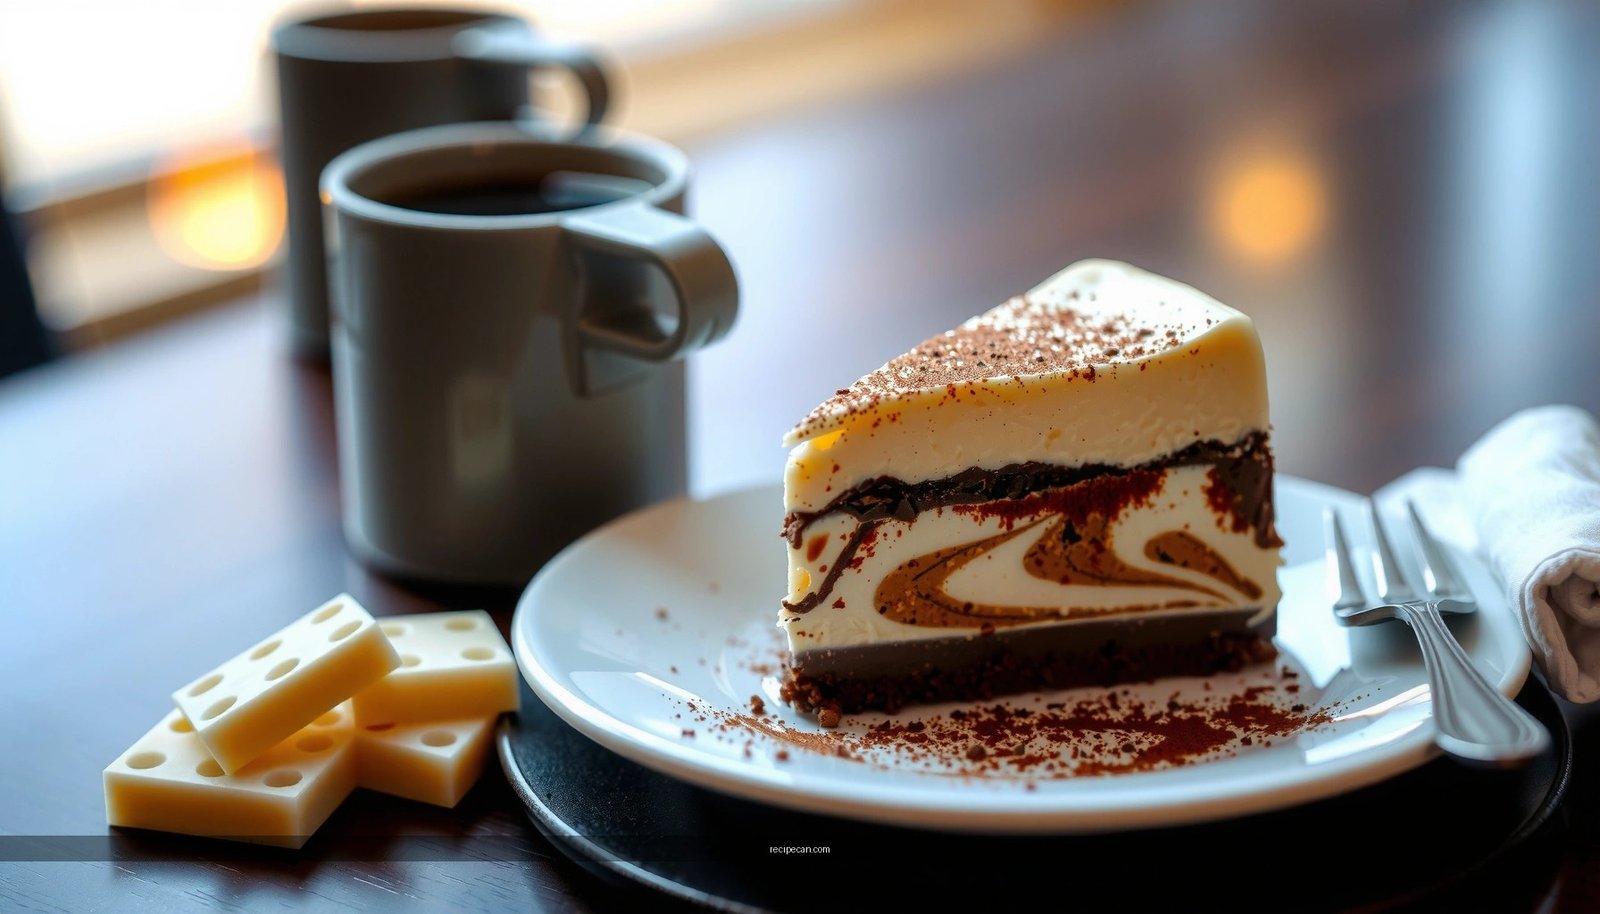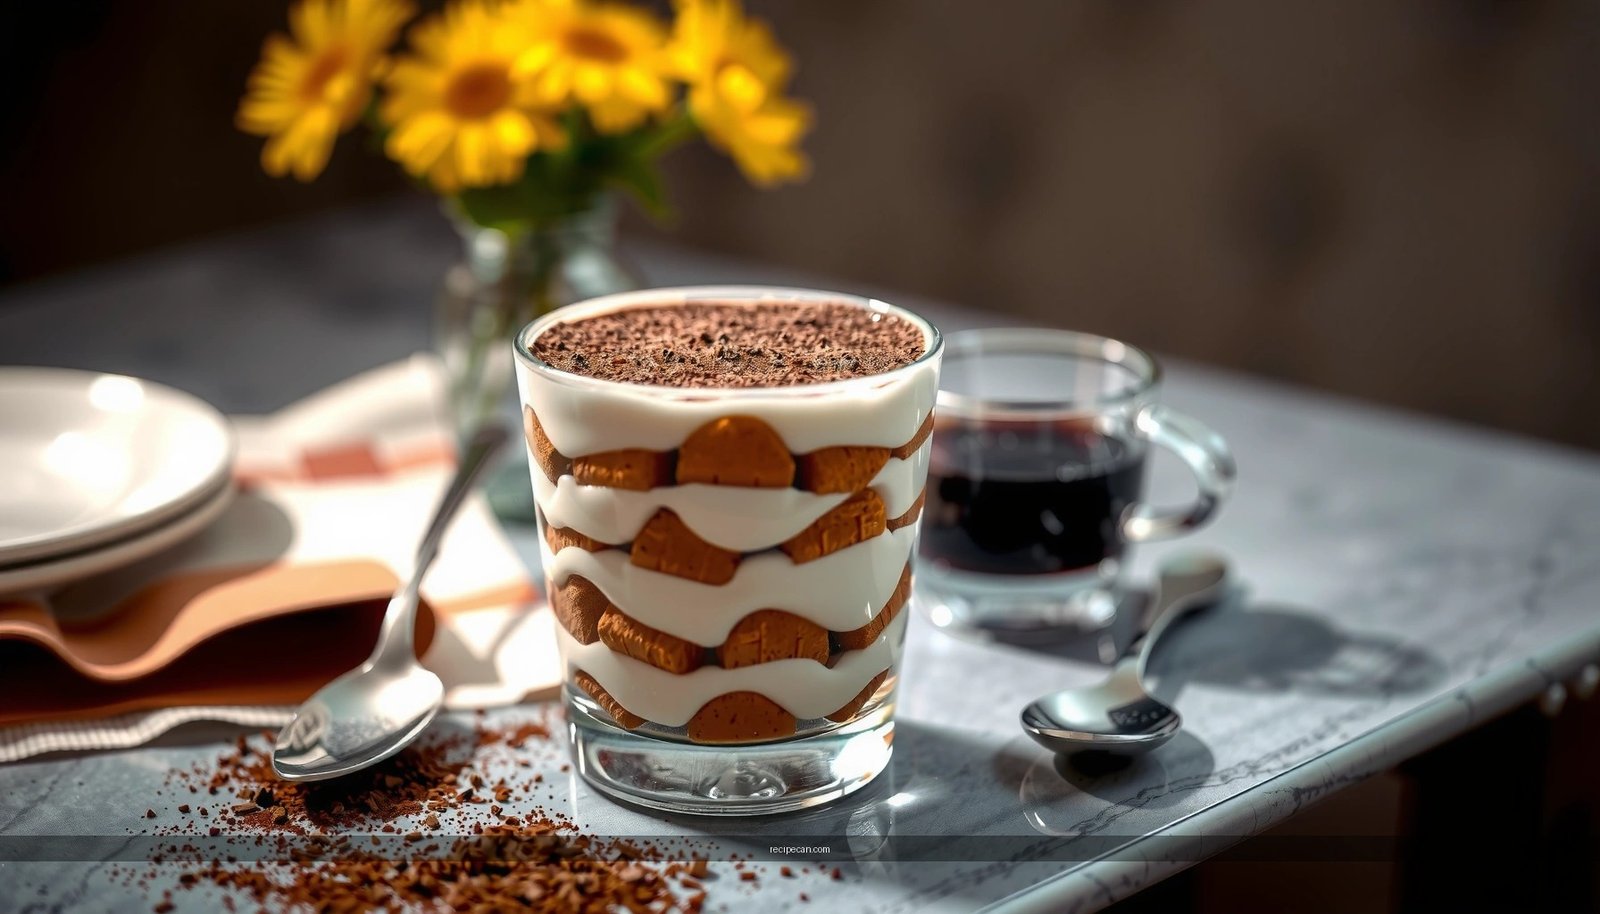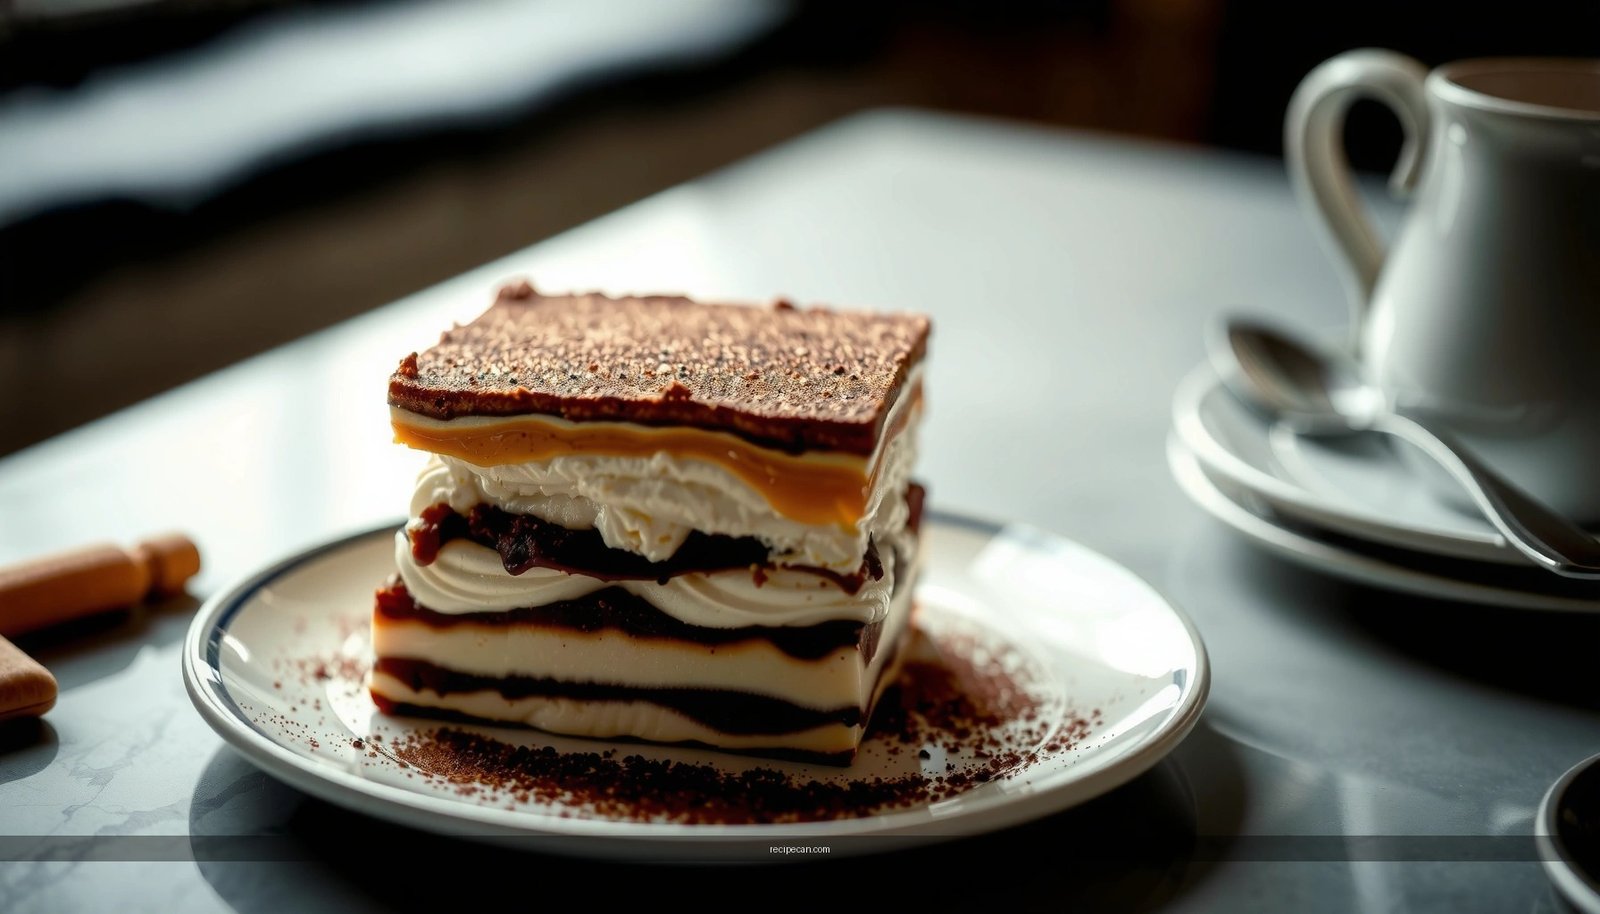
Want the best tiramisu cake recipe with ladyfingers? This version delivers the firm-yet-silky cream, bold espresso flavor, and clean layered slices—without sogginess—so it holds up for serving. Follow the exact method and you’ll know precisely how to soak the ladyfingers, build the cake, and chill it to the right texture every time.
Make a classic tiramisu cake by layering quick-dipped ladyfingers with espresso–rum coffee and a stabilized mascarpone cream, then chilling until firm. This recipe is built for clean, sliceable layers—so you get the signature flavor and texture without soggy cookies, even when served from the fridge.
Gather Ingredients for Tiramisu Cake
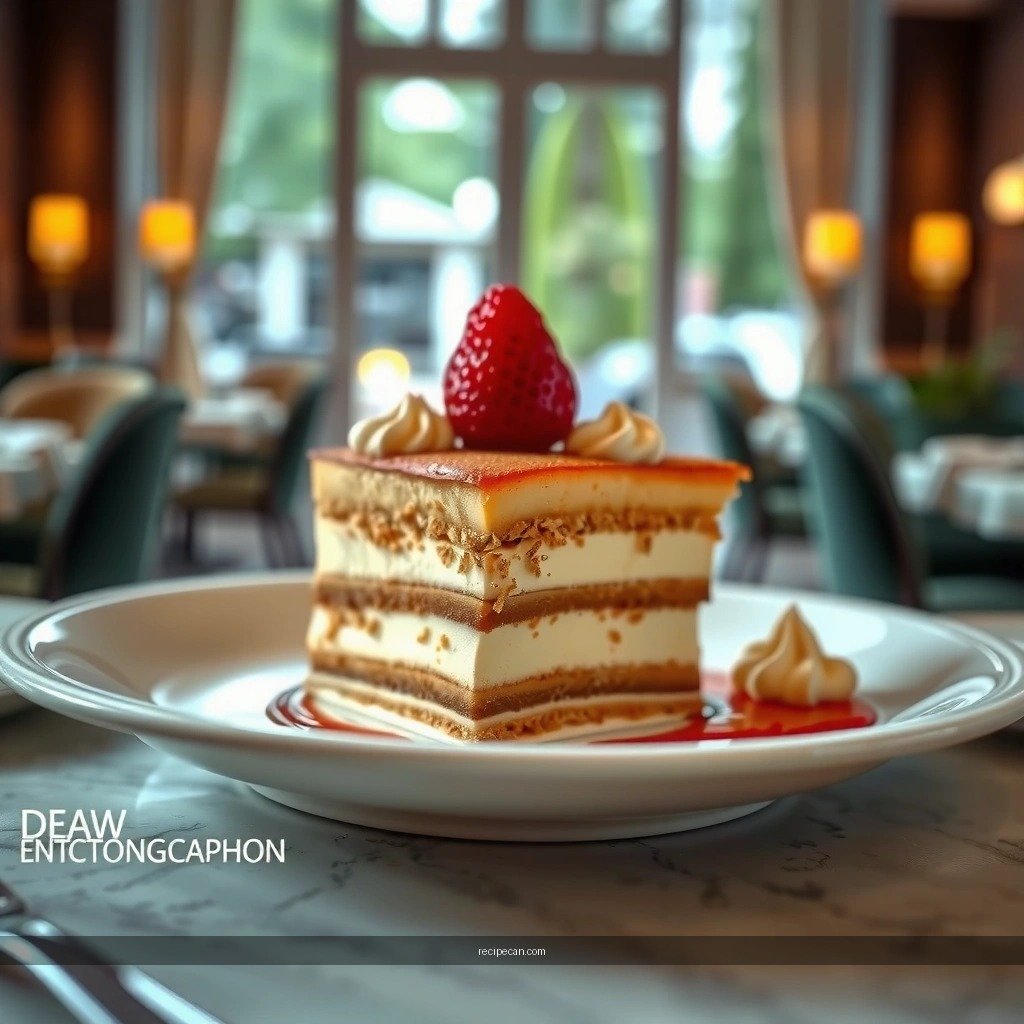
A tiramisu cake is fundamentally a layering system: crisp-enough ladyfingers, a flavorful soak, and a mascarpone filling that holds its structure. Before you start, confirm you have the right balance of dairy richness, sweetness, and coffee intensity.
Key ingredients and what they do
– Ladyfingers (savoiardi): They provide the “cake” portion of the tiramisu. Choose sturdy, dry-style ladyfingers so they don’t collapse during dipping and chilling.
– Espresso (or strong coffee): Delivers the bitter-sweet backbone. Fresh espresso gives the most aromatic profile, but strong brewed coffee works well.
– Rum (optional) / vanilla (optional): Rum adds classic depth and slightly boosts perceived sweetness. Vanilla softens coffee sharpness.
– Mascarpone: The star of the cream—fat-rich and silky, but it must be handled gently to keep it smooth.
– Eggs (and sugar): Used to build a stable, airy cream base. Proper tempering and whisking are critical to avoid grainy texture.
– Cocoa powder: For the final dusting. Use unsweetened cocoa for a balanced finish.
Practical ingredient quality notes
– Mascarpone temperature: Cold mascarpone whips more predictably, but not frozen. If it’s very cold and stiff, let it sit at room temperature for 5–10 minutes.
– Egg safety: If serving to guests, use pasteurized eggs (or pasteurized egg products) when possible.
– Coffee strength: You want “dip-friendly” coffee—bold flavor with enough concentration to taste present after chilling.
Time and yield guidance (so you can plan)
– Expect a total hands-on time of about 30–45 minutes, plus chilling.
– For best sliceability: chill at least 6 hours, ideally overnight.
—
Tiramisu Layering Parameters for Sliceable Results
| # | Layer or Technique | Target Metric | Best Outcome Signal | Risk Level |
|---|---|---|---|---|
| 1 | Ladyfinger dip time | 1–2 seconds per side | Bends without tearing | Low |
| 2 | Coffee temperature | Warm, not hot (≈35–45°C) | No steam near cream | Low |
| 3 | Cream consistency before layering | Pipes and holds peaks | Glossy, not runny | Low |
| 4 | Mascarpone mixing speed | Medium-low for 1–2 min | Smooth, uniform texture | Low |
| 5 | Chill minimum (set time) | 6 hours | Cuts clean with slight resistance | Low |
| 6 | Overnight chill (ideal) | 12–18 hours | Even layers, stable structure | Low |
| 7 | Cocoa dusting timing | Right before serving | Dry, aromatic top crust | Med |
Prep and Make the Espresso Soak
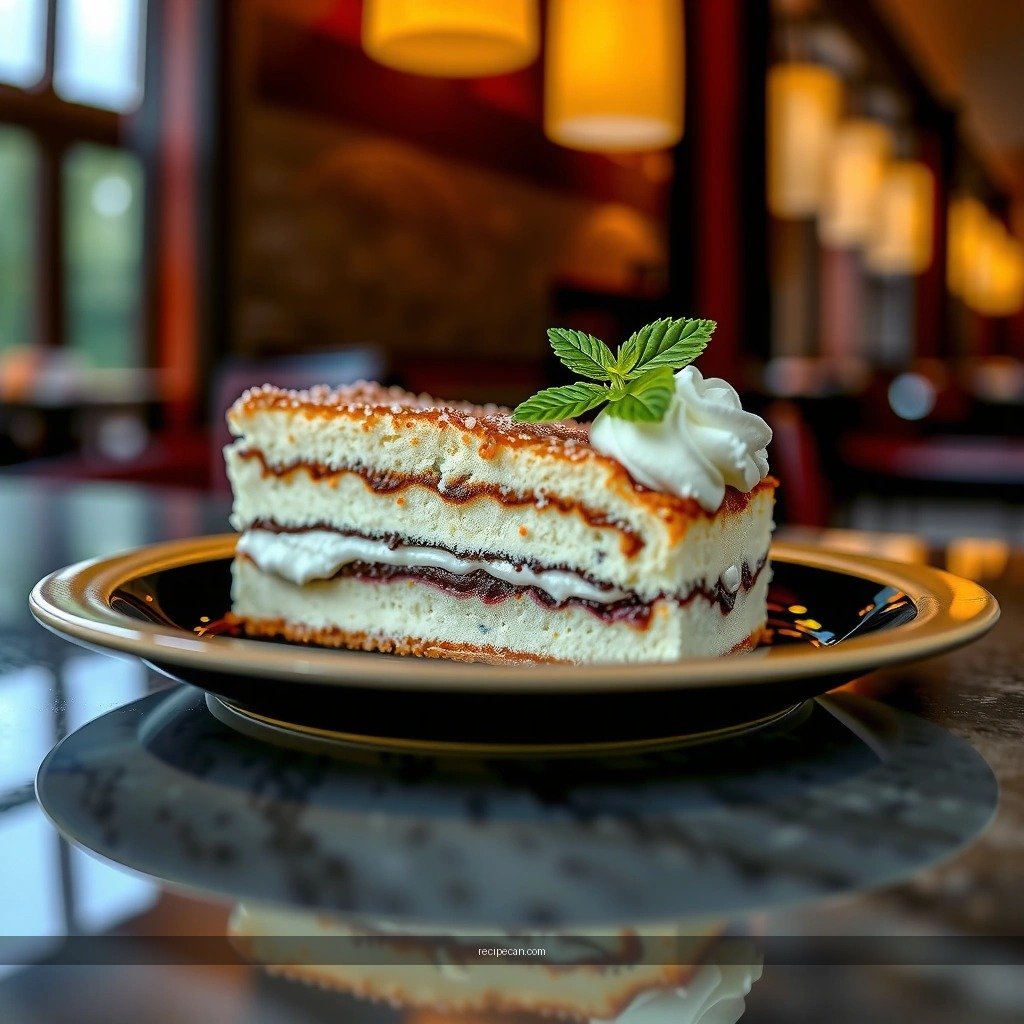
The espresso soak is where many tiramisu cakes go wrong: either the ladyfingers don’t taste infused, or they over-absorb and turn pasty. Your goal is high flavor with controlled moisture.
Step-by-step
1. Brew strong espresso (or strong coffee) and pour it into a shallow bowl.
2. Cool slightly—you want the coffee warm to the touch but not hot. Hot coffee can loosen cream and accelerate sogginess.
3. Optional rum or vanilla: Stir in a small amount (start modestly). In a cake format, the cream also tastes like coffee, so the soak doesn’t need to be intensely boozy to be noticeable.
Analytical perspective (why it works)
– Ladyfingers are porous. When coffee is warm, diffusion happens faster; when coffee is cooler, the soak rate slows. That’s why temperature matters for sliceability.
– Rum adds aroma at lower concentrations than additional sweetness would—so you can keep the dessert balanced while still feeling “classic.”
Actionable tip
– If you’re doing this ahead, keep the coffee covered in the fridge after cooling. Re-warm slightly (or just use lukewarm) so dipping remains efficient.
—
Make the Mascarpone Cream
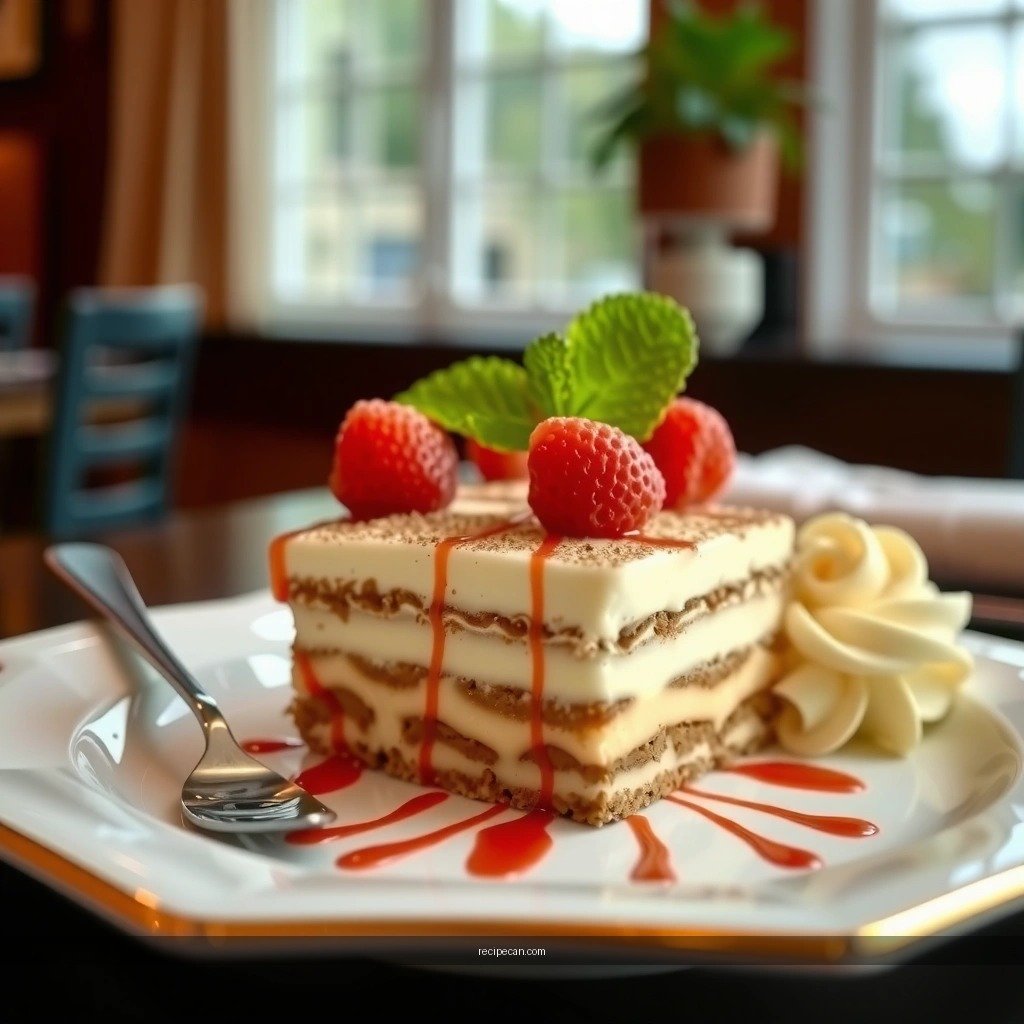
A high-quality mascarpone cream is smooth, airy, and stable. For businesslike consistency—meaning it holds its shape for serving—you need disciplined mixing and (if using eggs) correct handling.
Core method
– Whip mascarpone with sugar until smooth and light. Don’t rush at high speed; mascarpone can become grainy if overworked.
– Whisk eggs separately (if using) so they incorporate evenly. Then combine them with the mascarpone base gradually.
If using eggs: stability considerations
– The safest, most controlled approach is to temper the yolks/egg mixture before combining with warm components (if any). Tempering reduces the chance of curdling and yields a consistent mouthfeel.
– Whipping eggs properly helps the cream set during chilling, giving you the sliceable structure expected from a layered “cake,” not just a trifle.
Texture diagnostics
– Correct: smooth, glossy, thick enough to spread and hold ridges.
– Too thick: you may have over-chilled or over-whipped; gently fold to loosen.
– Runny: you likely need better whipping time or the mascarpone/eggs may be too warm; chill the cream briefly, then re-check.
—
Layer the Ladyfingers and Cream
This is the “slice test” phase. The layering technique determines whether your tiramisu cake is creamy and cohesive—or soggy and collapsing.
Dip correctly (the core rule)
– Quick dunk, not soak: dip each ladyfinger for 1–2 seconds per side.
– Lay them immediately and press gently into position.
– You should see coffee absorption, but the cookie should still look intact—especially at the edges.
Layering logic for clean sections
– Alternate ladyfingers and mascarpone cream in even thickness. Think in terms of repeatable layers, not “dumping” cream randomly.
– Use an offset spatula to spread cream to the edges so each bite has consistent flavor.
Quality control during assembly
– If you notice excess coffee pooling, pause and let the coffee absorb off the cookie before placing.
– Keep a consistent pace so cookies don’t sit too long after dipping.
Serving-readiness strategy
– Since this is a cake format, aim for uniform layers so chilling sets them evenly. Uneven layers tend to create “soft zones” where coffee moisture concentrates.
—
Assemble, Chill, and Serve
Chilling is not optional for a cake-style tiramisu. Refrigeration firms the cream and lets the layered structure stabilize—turning your assembly into a sliceable dessert.
Chill schedule
– Refrigerate at least 6 hours.
– For best texture and clean cutting, chill overnight (12–18 hours).
Serving steps
1. Remove from the fridge and let it sit at cool room temperature for 5–10 minutes (this makes cutting easier without melting the cream).
2. Dust with unsweetened cocoa powder right before serving.
– Dusting early can cause cocoa to absorb moisture and look uneven.
Slicing technique (important)
– Use a sharp knife.
– Wipe/clean the blade between cuts for neat, defined layers.
– Use a gentle sawing motion rather than pressing down hard.
—
Troubleshooting Common Tiramisu Cake Issues
Even with excellent ingredients, small process deviations can affect texture. Use these targeted fixes to bring your tiramisu cake back on track.
– Too soggy:
– Shorten the dip time to 1 second per side.
– Ensure coffee is warm, not hot.
– Chill longer—overnight often corrects subtle softness.
– Too thick or runny cream:
– If thick: fold gently to restore spreadability, or let the cream sit briefly at cool room temperature.
– If runny: your mascarpone/eggs may be too warm or whipping was insufficient—chill the cream 15–20 minutes, then re-whip briefly to re-stabilize.
– Grainy cream:
– Avoid overmixing mascarpone at high speed.
– If using eggs, temper properly and combine slowly to prevent partial curdling.
– Layers won’t cut cleanly:
– Likely under-chilled. Use the full chill time and wipe your knife between slices.
– Also consider thicker cream layers next time; thin cream can’t fully buffer moisture.
—
Tiramisu cake with ladyfingers is all about quick-dipping the cookies, making a stable, fluffy mascarpone cream, and chilling long enough to set the layers. Follow the espresso soak discipline, keep the dip brief, and dust cocoa only at the last moment—then slice straight from the fridge for clean edges and rich, not soggy, flavor. If you’d like variations, try an extra-espresso coffee for deeper bitterness, a rum-free version with vanilla for a family-friendly profile, or experiment with different cocoa styles (natural vs. Dutch-process) to fine-tune the finish.
Frequently Asked Questions
What are the key ingredients for a tiramisu cake using ladyfingers?
A classic tiramisu cake with ladyfingers relies on ladyfingers, mascarpone cheese, eggs (or egg-free alternatives), brewed espresso or strong coffee, and sugar. You’ll also need cocoa powder for dusting and vanilla (optional) to round out the flavor. For structure, many recipes include whipped cream or additional mascarpone to help the cake set properly.
How do you make a tiramisu cake from scratch with ladyfingers without making it soggy?
Dip ladyfingers briefly in espresso—usually just 1–2 seconds per side—so they absorb flavor without collapsing. Use cool or room-temperature coffee so the ladyfingers don’t break down too quickly, and assemble the layers promptly. Chilling the tiramisu cake for several hours (or overnight) helps it set and improves sliceable texture.
How can you prepare an eggless tiramisu cake with ladyfingers while keeping it creamy?
For an egg-free tiramisu cake, use mascarpone mixed with sweetened whipped cream to recreate the creamy filling without raw eggs. If you want extra stability, use mascarpone at room temperature and fold gently so the mixture stays light. Chill thoroughly so the tiramisu cake layers hold shape, especially when using espresso-soaked ladyfingers.
Why does my tiramisu cake taste bitter or too strong, and how can I fix it?
Tiramisu can taste bitter if your espresso is over-extracted or if the ladyfingers absorb too much coffee. Choose strong but not harsh coffee and consider diluting it slightly with a bit of water or using a sweeter coffee base. If it’s already assembled, you can balance bitterness by adding a lightly sweetened mascarpone layer next time or dusting with extra cocoa (which can help round out sharp flavors).
Which baking method works best for a tiramisu cake using ladyfingers—no-bake or baked?
Most tiramisu cake recipes with ladyfingers are no-bake and depend on chilling to set the layers, which keeps the texture tender and creamy. A baked version can be trickier because ladyfingers may dry out or become gummy, especially if over-baked. If you want the easiest, most reliable results, follow a no-bake tiramisu cake approach and refrigerate until firm for clean slices.
References
- Tiramisu
https://en.wikipedia.org/wiki/Tiramisu - https://en.wikipedia.org/wiki/Ladyfinger_(biscuit
https://en.wikipedia.org/wiki/Ladyfinger_(biscuit - Mascarpone
https://en.wikipedia.org/wiki/Mascarpone - Espresso
https://en.wikipedia.org/wiki/Espresso - Tiramisu | Meaning, Ingredients, Origin, Desserts, & Taste | Britannica
https://www.britannica.com/topic/tiramisu - Google Scholar Google Scholar
https://scholar.google.com/scholar?q=tiramis%C3%B9+recipe+ladyfingers+mascarpone - Google Scholar Google Scholar
https://scholar.google.com/scholar?q=tiramisu+ladyfingers+coffee+cocoa+food+science - Google Scholar Google Scholar
https://scholar.google.com/scholar?q=mascarpone+ladyfingers+tiramis%C3%B9+formulation - https://pubmed.ncbi.nlm.nih.gov/?term=tiramis%C3%B9
https://pubmed.ncbi.nlm.nih.gov/?term=tiramis%C3%B9 - https://www.sciencedirect.com/search?qs=tiramis%C3%B9+ladyfingers+mascarpone
https://www.sciencedirect.com/search?qs=tiramis%C3%B9+ladyfingers+mascarpone