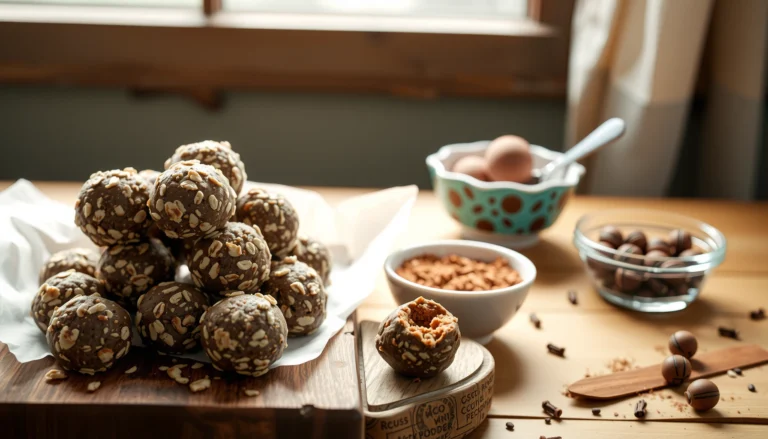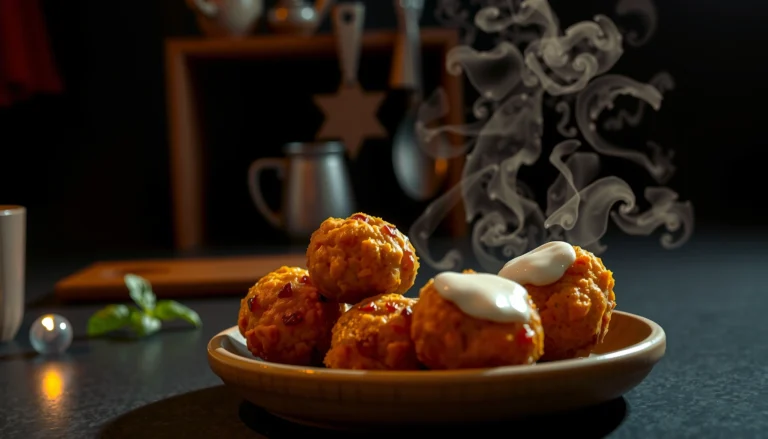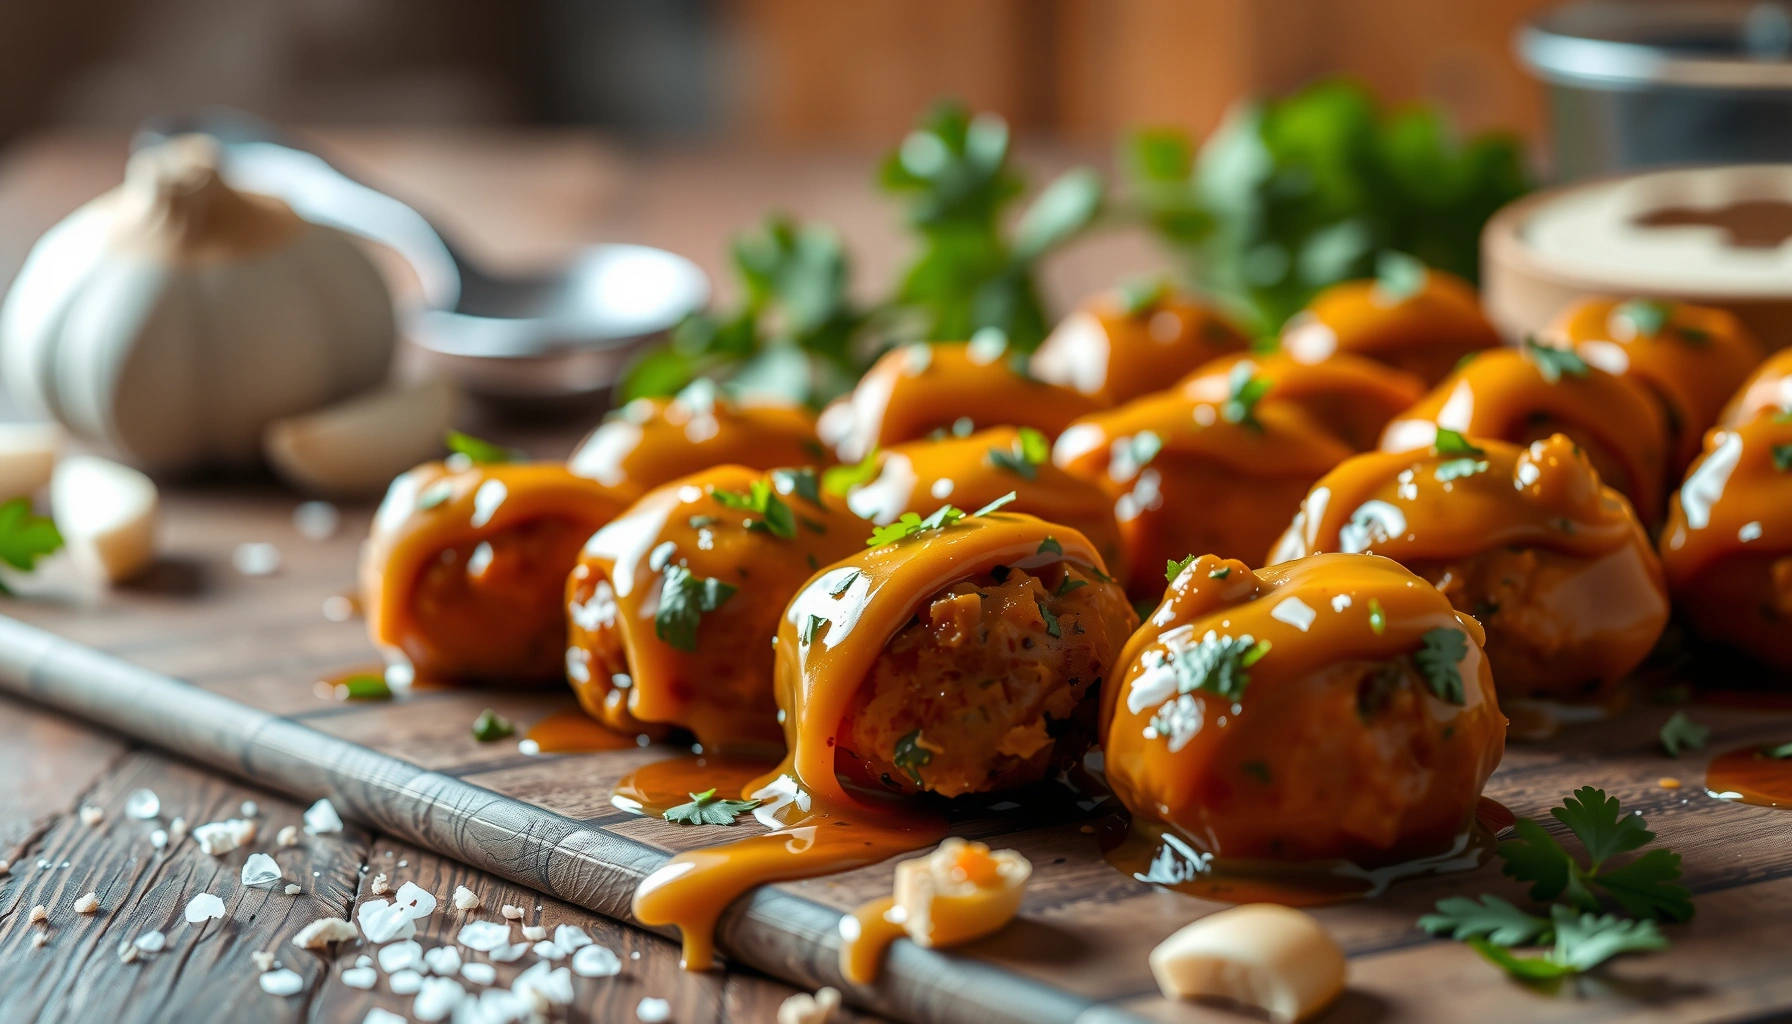
Find out how to make a classic, flavorful dressing balls recipe that actually holds together and tastes right—no guesswork, no bland results. This step-by-step guide gives you the exact mix, seasoning, and shaping method for tender interior and crisp edges. If you want dressing balls that bake evenly and deliver full holiday flavor, this is the version to follow.
Dressing balls are made by mixing seasoned stuffing with a binding agent (most commonly egg), shaping into small portions, and baking or pan-frying until golden and heated through. Use the right crumb-to-liquid ratio and cook method to ensure tender centers with a satisfying exterior—then you’ll get classic, flavorful dressing balls every time.
This guide breaks down the “why” behind each step—so you can troubleshoot texture, intensify savory flavor, and choose baking or frying based on the result you want (lightly crisp versus fully browned). Whether you’re making them for a holiday spread, a comfort-food side, or a make-ahead meal, the approach below is consistent, practical, and easy to scale.
Ingredients for Dressing Balls
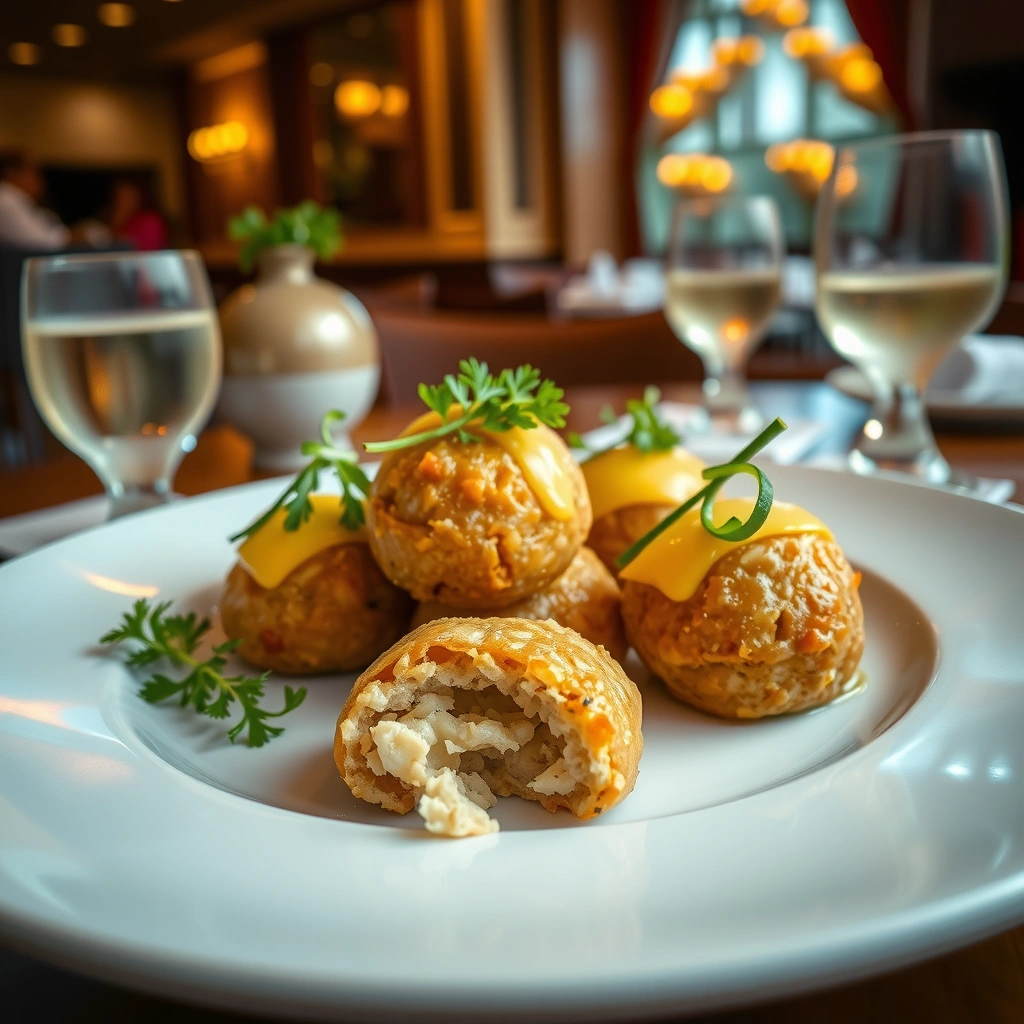
The foundation of any great dressing balls recipe is a stuffing base that’s flavorful and capable of holding structure once bound. Most failures come from using the wrong starting texture (too dry to bind, or too wet to shape) rather than from seasoning alone.
– Use bread crumbs or prepared stuffing as the base for the right texture
Prepared stuffing already contains aromatics and seasoning, but it may also be softer or moister than you expect. If you’re building from scratch, bread crumbs (plain or seasoned) give you more control over the texture. For classic dressing balls, aim for a crumb that feels “able to pack” when squeezed—neither sandy nor paste-like.
– Add aromatics (onion/celery/garlic) and herbs for classic flavor
Onion and celery are the backbone of traditional dressing flavor. Sautéing them briefly in butter (instead of adding raw) reduces harshness and creates a sweeter, deeper profile. Garlic adds the finishing savory note—use it in modest amounts so it doesn’t overwhelm sage and thyme.
– Bind with egg or broth so the balls hold together
Egg is the most reliable binder because it sets as it bakes. Broth (or stock) improves moisture and flavor, but it should be added gradually. If you add too much liquid, the mixture won’t hold its shape and will spread; too little liquid yields dry, crumbly balls.
Practical ingredient guidance:
– If your stuffing is already wet (especially pre-made boxed stuffing), you may need less broth—start small.
– If your crumbs are very dry (like panko-style breadcrumbs), you’ll usually need extra moisture to bind properly.
– Fresh herbs are excellent, but dried herbs are consistent—use a slightly smaller amount if your dried herbs are very potent.
Dressing Ball Mixture: Consistency & Binding (Practical Targets)
| # | Mix Scenario | What to Aim For | Common Fix | Outcome |
|---|---|---|---|---|
| 1 | Dry bread crumbs | Mixture packs firmly when pressed | Add broth 1 tbsp at a time | Bolds well in shape |
| 2 | Pre-made stuffing (moist) | Slight tackiness, not paste | Add 2–4 tbsp crumbs if loose | Tender, cohesive crumb |
| 3 | Undersalted mixture | Balanced savory, no “flat” taste | Salt in 1/4 tsp increments | Brighter flavor throughout |
| 4 | Broth-heavy mixture | Holds shape after a squeeze test | Fold in crumbs until packable | May spread while baking |
| 5 | Egg-light binder | Balls stay intact during handling | Add 1 additional egg | Crumbly or fragile texture |
| 6 | Herbs under-measured | Noticeable sage/thyme aroma | Add 1 tsp dried herbs total | Can taste muted after cooking |
| 7 | Unevenly sized balls | Uniform size for predictable timing | Aim for ~1 1/2 tbsp per ball | Consistent browning and doneness |
Step-by-Step Instructions
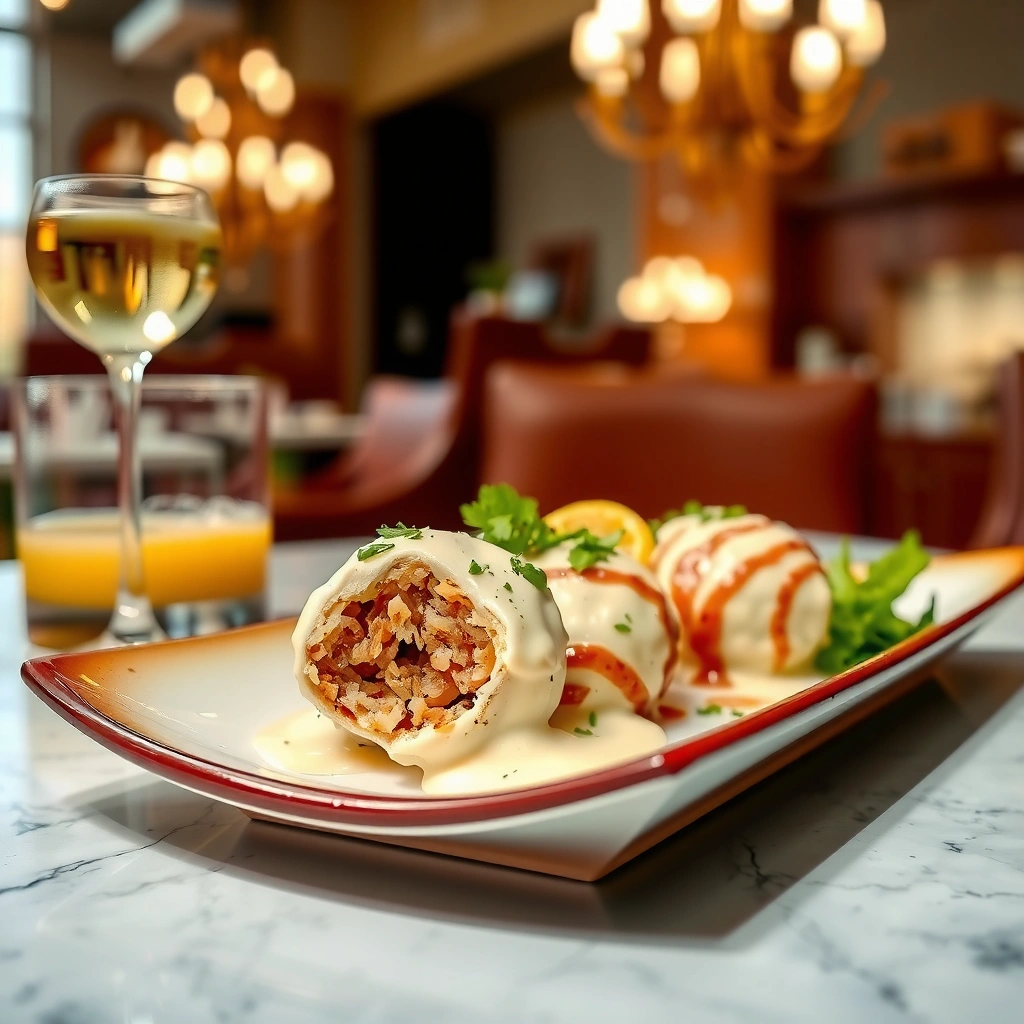
A reliable dressing balls recipe is more process-driven than ingredient-driven. Follow these steps to consistently get tender centers and a browned exterior.
– Mix ingredients until evenly combined, then shape into balls
Start by sautéing onion and celery until softened—about 4–6 minutes—then cool slightly. Combine the stuffing or breadcrumbs, sautéed aromatics, herbs, salt, pepper, and a fat source (melted butter or a small amount of broth). Finally, add beaten egg and mix until the mixture is uniform.
When shaping, use a scoop or portioning spoon so all balls cook at the same rate. Aim for bite-size: roughly 1 to 1.5 tablespoons each, depending on how large you want them to be.
– Bake or fry based on your preferred texture (lightly crisp or fully browned)
Baking is the easiest method for even cooking, especially for large batches. Place balls on a parchment-lined sheet with space around them. Brush or mist lightly with oil or butter to encourage browning.
Pan-frying gives deeper browning and a crisp crust. Use a moderate heat to avoid burning the outside before the center heats through. If you pan-fry, you can later finish them in the oven briefly if needed.
– Check doneness by ensuring the center is heated through
Because dressing balls are compact, they can brown before fully heating in the middle. The most dependable approach is to check internal temperature or cut-test. For classic results, target centers that are hot all the way through (often 160°F/71°C for safe, set egg binding). The exterior should be golden, and the interior should look cohesive rather than watery.
Timing expectations (typical ranges):
– Baking: often 18–28 minutes at 400°F/200°C depending on size and moisture level
– Pan-frying: about 6–10 minutes total, turning as needed, then resting (and optionally a short oven finish)
Best Seasonings and Flavor Boosters
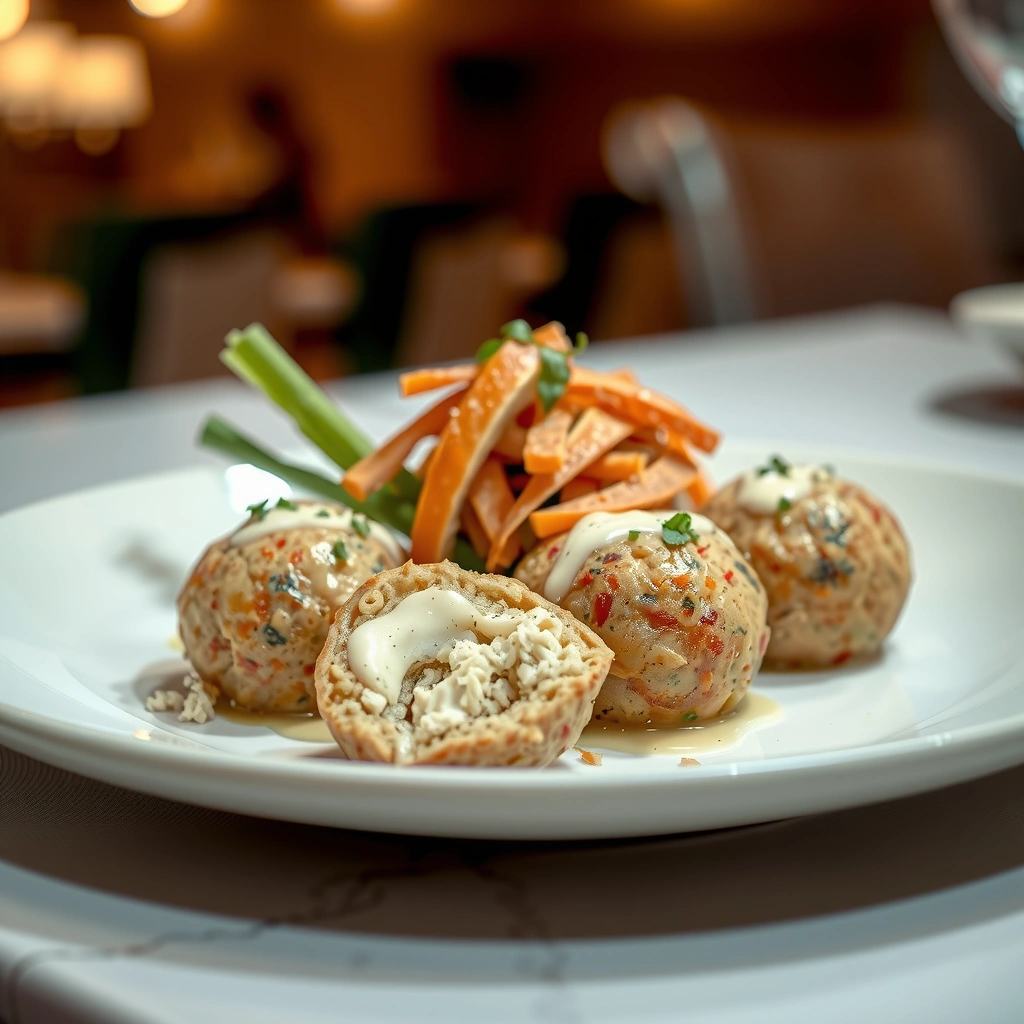
Seasoning is where dressing balls go from “good side” to “people ask for the recipe.” The goal is balance: savory herbs, adequate salt, and enough moisture and fat to carry flavor.
– Balance savory herbs (sage/thyme/parsley) with salt and pepper
Sage is the signature herb in many classic dressing variations. Thyme adds an earthy, aromatic note, while parsley brightens the mix. Start with moderate measurements and taste if possible. If you’re using stuffing, taste the stuffing first—some products already contain salt and seasoning, so you may not need as much.
– Add a splash of broth or a little melted butter for moisture
Moisture improves mouthfeel and helps the interior stay tender rather than dry. Add broth gradually during mixing, then stop once the mixture is packable. A small amount of melted butter also boosts richness and helps with browning.
– Consider optional extras like dried cranberries or chopped nuts
Dried cranberries add tart contrast that cuts through the savory herbs—especially effective for holiday menus. Chopped nuts (like pecans or walnuts) bring crunch and a roasted flavor that pairs well with sage and onion. Add them sparingly so the balls stay cohesive and don’t crumble when shaped.
Flavor layering tip:
If you want a “restaurant-consistent” profile, sauté aromatics in butter, toast or lightly warm the herbs in the fat for 30–60 seconds, and then mix with your base. This wakes up dried herbs and creates a more complex aroma.
Baking vs. Frying Tips
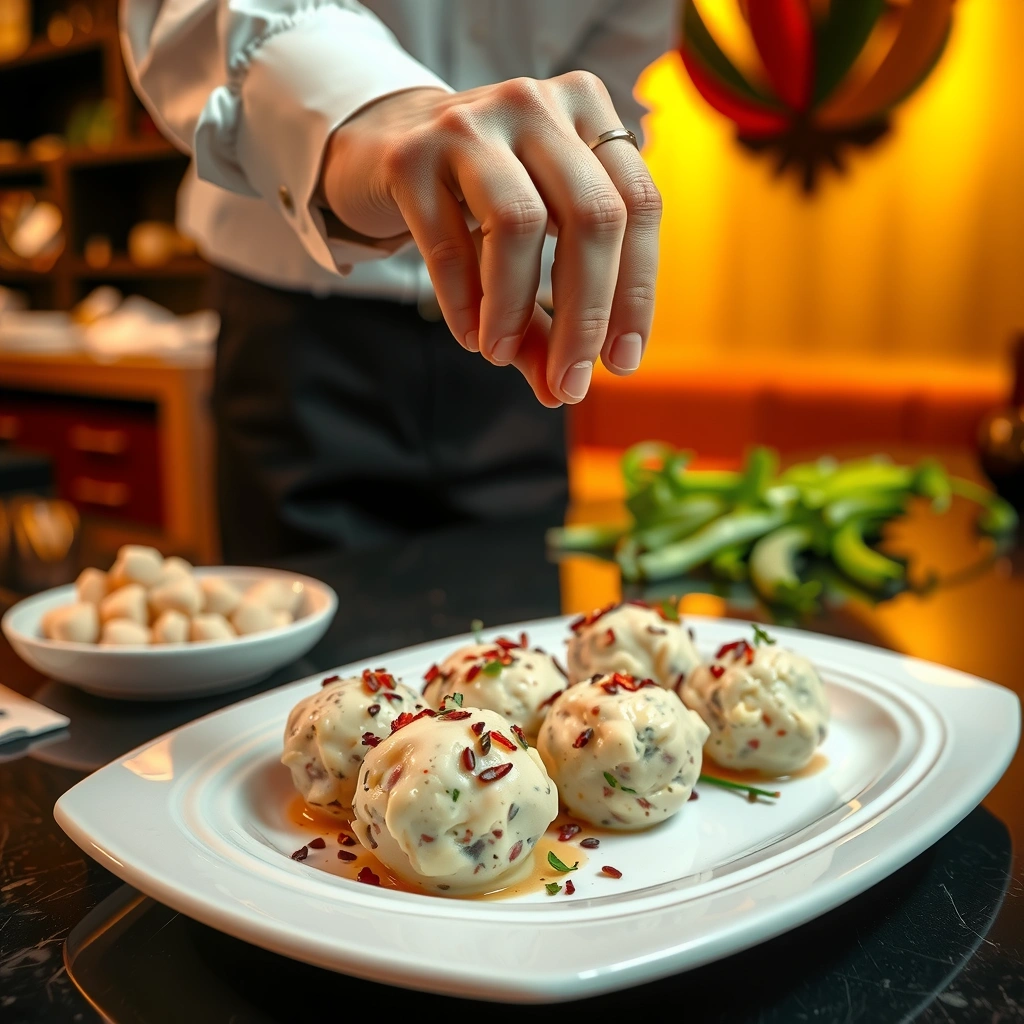
Both methods work; the best choice depends on the texture you’re targeting and the time you have.
– Bake for hands-off cooking and consistent results
Baking is ideal for feeding groups. It reduces the risk of uneven crust. Use enough oil or butter on the tray or on the balls to encourage browning. For extra crispness, you can finish under the broiler for 1–2 minutes at the end—watch closely to prevent burning.
– Pan-fry for a crisp exterior and extra browning
Pan-frying creates a more pronounced crust and a “toasty” flavor. Use medium heat so the interior warms as the exterior browns. If you notice the bottoms darkening too quickly, lower the heat and cook longer rather than increasing temperature.
– Let cooked balls rest briefly to improve texture
Resting is not optional if you want the best structure. Give them 3–5 minutes after baking or frying so moisture redistributes and the exterior firms up slightly. Resting also reduces crumbling when you move them to a serving platter.
Texture decision guide:
– Want uniform, soft-tender centers with reliable browning? Bake.
– Want crisp, browned surfaces and more “fried” character? Pan-fry.
Serving Ideas and Pairings
Dressing balls are flexible: they can stand alone as a side, complement roast entrées, or serve as a hearty snack.
– Serve alongside roast meats, gravy, or a holiday-style spread
Dressing balls are particularly strong next to roast turkey, chicken, pork, or beef. Add gravy for moisture and to amplify herb flavors. For a festive presentation, garnish with chopped parsley and a light drizzle of pan gravy.
– Pair with roasted vegetables or a fresh salad for contrast
Roasted vegetables like Brussels sprouts, carrots, or butternut squash provide caramelized sweetness. A fresh salad with citrusy dressing (or a crisp slaw) balances the richness of stuffing and egg binding.
– Use leftover dressing balls in sandwiches or as a side reheated with sauce
Leftovers are where this recipe becomes a weeknight advantage. Reheat them with a spoonful of gravy for instant comfort-food flavor. For sandwiches, slice reheated balls and layer with cranberry sauce, greens, and a smear of mayo or herb aioli.
Pro tip for leftovers:
Reheat gently first (in an oven or air fryer) and finish quickly to restore crispness. Avoid microwaving for extended periods, as it can soften the exterior.
Storage and Reheating
Storage planning matters because dressing balls can lose crispness if handled incorrectly.
– Store leftovers in an airtight container in the fridge
Cool balls completely before sealing to prevent condensation. Refrigerate up to 3–4 days for best quality.
– Reheat in the oven or air fryer to restore crispness
Use a preheated oven or air fryer at a moderate-high temperature so the exterior re-crisps. A light oil spray can help revive browning.
– Freeze shaped, uncooked balls or cooked leftovers for later use
You can freeze shaped balls on a tray first, then transfer to a freezer bag once solid. This prevents sticking and keeps portions neat. Bake from frozen (you may need a few extra minutes). Cooked leftovers can also be frozen, then reheated in the oven/air fryer for best texture.
Make-ahead workflow:
Shape, portion, and chill before cooking to streamline holiday prep. If you’re cooking for an event, you can bake earlier in the day and reheat right before serving.
Dressing balls are a flavorful, crowd-pleasing side made by seasoning, binding, shaping, and cooking until golden and tender. Choose the right stuffing or crumb base, bind with egg for reliable structure, and adjust moisture so the mixture packs cleanly—then bake for consistent convenience or pan-fry for maximum browning. Make a batch for your next meal, store leftovers properly, and enjoy a quick reheat upgrade for days to come.
References
- https://www.foodsafety.gov/keep-food-safe/food-safety-basics/turkey-and-food-safety
https://www.foodsafety.gov/keep-food-safe/food-safety-basics/turkey-and-food-safety - https://www.fsis.usda.gov/food-safety/safe-food-handling-and-preparation/cooking-raw-meat-and-poultry
https://www.fsis.usda.gov/food-safety/safe-food-handling-and-preparation/cooking-raw-meat-and-poultry - https://en.wikipedia.org/wiki/Stuffing_(food
https://en.wikipedia.org/wiki/Stuffing_(food - https://en.wikipedia.org/wiki/Dressing_(food
https://en.wikipedia.org/wiki/Dressing_(food - Meatball
https://en.wikipedia.org/wiki/Meatball - Stuffing | fiber manufacturing | Britannica
https://www.britannica.com/topic/stuffing - Google Scholar Google Scholar
https://scholar.google.com/scholar?q=dressing+balls+recipe - Google Scholar Google Scholar
https://scholar.google.com/scholar?q=stuffing+balls+recipe - Google Scholar Google Scholar
https://scholar.google.com/scholar?q=bread+stuffing+food+handling+temperature+safety - https://pubmed.ncbi.nlm.nih.gov/?term=food+safety+stuffing+temperature
https://pubmed.ncbi.nlm.nih.gov/?term=food+safety+stuffing+temperature