If you’re searching for a classic cheese ball recipe that delivers a creamy, crowd-ready holiday centerpiece, this one is the clear winner. It guides you to the ideal blend of tangy cheese, smooth texture, and easy prep so you get a bold flavor without guesswork. Make it ahead, roll it cleanly, and serve with crackers with confidence—this is the easiest path to the holiday favorite everyone asks for.
Mix softened cream cheese with shredded cheddar, season aggressively for depth, then chill until firm—this simple process delivers the rich, sliceable holiday cheese ball that reliably impresses. With a clear ingredient formula, easy prep steps, and proven shaping and coating techniques, you’ll be able to serve a crowd-pleasing appetizer that tastes even better the next day.
You can think of a classic cheese ball as an engineered texture: the dairy base provides creaminess, the aged cheddar supplies bold flavor and structure, and the chill time locks everything into a neat, scoopable, or sliceable shape. Whether you’re hosting for the first time or cooking at scale for a holiday party, this recipe is designed to be straightforward, flexible, and consistent.
Ingredients for a Classic Cheese Ball
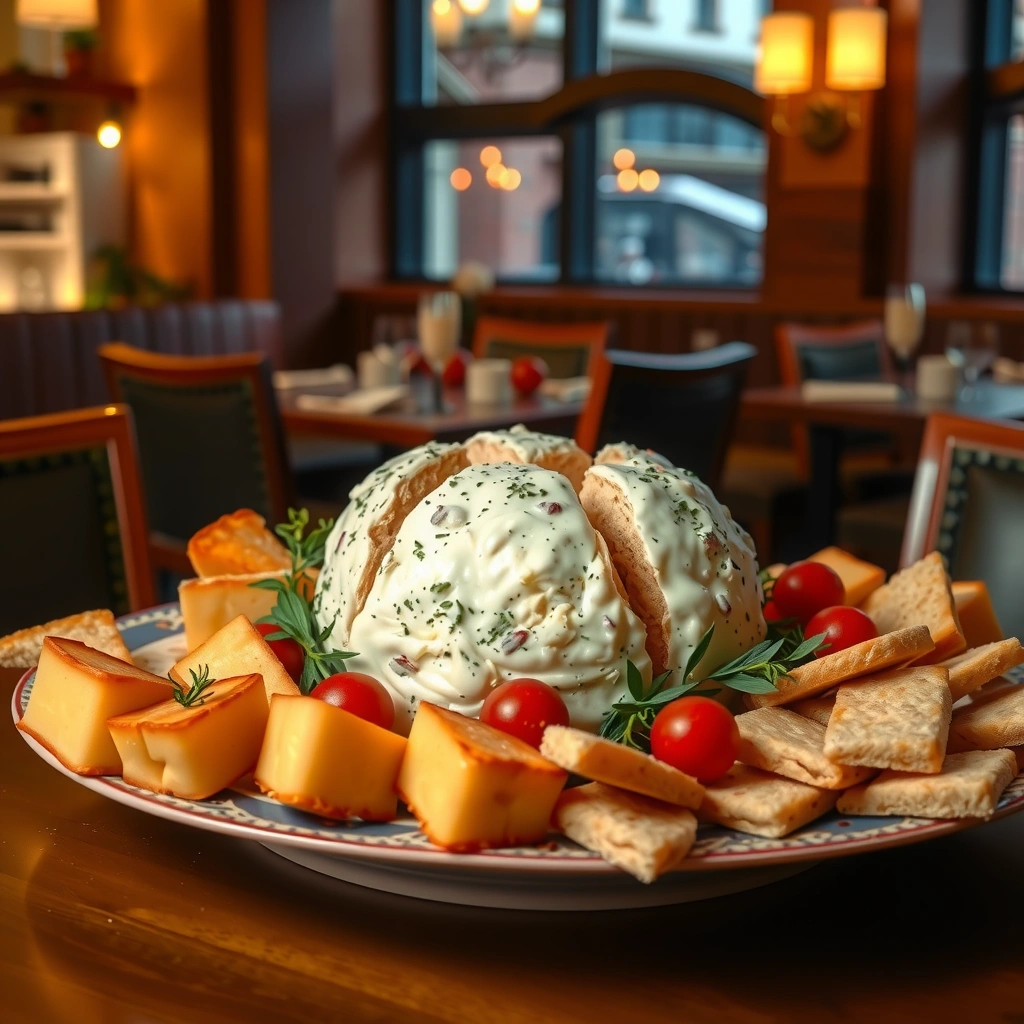
– Use softened cream cheese as the base and shredded cheddar for bold flavor
– Add garlic powder, onion powder, and a little Worcestershire or hot sauce for depth
A reliable classic cheese ball starts with the right ratio. Cream cheese gives you the creamy binder, while shredded cheddar provides flavor intensity and helps the mixture set up when chilled. For holiday favorites, “bite” matters—sharp or extra-sharp cheddar is usually the difference between “tasty spread” and “people ask for the recipe.”
Core ingredients (the flavor backbone):
– Cream cheese (softened): Aim for a smooth, spreadable texture. Cold cream cheese will lead to lumps and uneven seasoning distribution.
– Shredded cheddar (sharp/extra-sharp): Shredding matters—freshly shredded cheddar melts and blends more predictably than pre-shredded blends (which often contain anti-caking starches).
– Garlic powder + onion powder: These are the classic savory notes that make a cheese ball feel “holiday-ready” without requiring fresh mincing.
– Worcestershire sauce or hot sauce: A small amount adds complexity (umami and tang) and makes the cheese taste deeper, not flatter.
Flavor and texture add-ins (optional, but high-impact):
– Chopped green onions for freshness and mild bite
– Cooked, crumbled bacon for smoky richness (just be mindful of salt—taste before final adjustments)
– Chopped toasted nuts (mixed into the center) for extra crunch contrast
Recommended “classic” ingredient formula (scales well for entertaining):
A typical holiday cheese ball uses about 16 oz (2 blocks) softened cream cheese plus 2 to 3 cups shredded cheddar, depending on how firm you want the final set and how bold you want the cheesiness. If you add mix-ins like bacon or green onions, you can usually keep the cheddar amount steady and let those flavors carry through.
To help you plan efficiently, here’s a practical reference for how common cheese ball ingredients translate into serving outcomes and texture targets.
Cheese Ball Planning Guide: Size, Set Time, and Expected Servings
| # | Cheese Ball Style | Typical Yield | Chill Time | Best Texture Goal | Crowd Fit Score |
|---|---|---|---|---|---|
| 1 | Classic round (single ball) | 6–10 servings | 2–3 hours | Scoopable, soft slices | ★★★★☆ |
| 2 | Standard round (2-ball party pack) | 14–20 servings | 3–4 hours | Neat slices, firm center | ★★★★★ |
| 3 | Log/oval (easy slicing) | 10–16 servings | 3–4 hours | Clean wedges | ★★★★☆ |
| 4 | Low-profile platter set (spread) | 20–30 servings | 4–6 hours | Butter-soft spread | ★★★★☆ |
| 5 | Bacon classic (center-studded) | 12–18 servings | 3–4 hours | Firm enough to hold coating | ★★★★★ |
| 6 | Green onion + herb (fresh-forward) | 10–14 servings | 2–3 hours | Creamy bite with herbal lift | ★★★★☆ |
| 7 | Extra-sharp cheddar version (firmer set) | 8–12 servings | 3–5 hours | Sharper flavor, clean slices | ★★★★★ |
How to Make the Cheese Ball Mixture
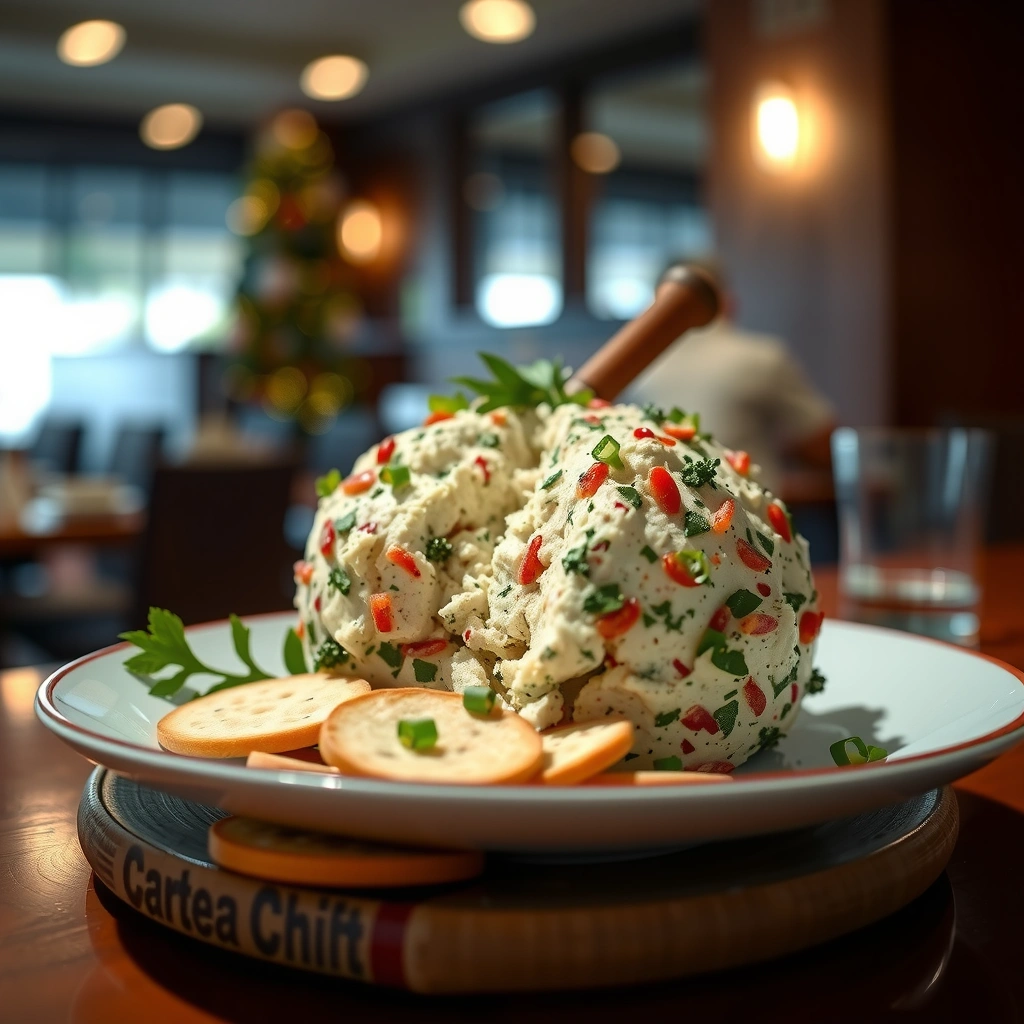
– Stir until smooth and fully combined, then taste and adjust seasoning
– Fold in mix-ins like chopped green onions or bacon if desired
The mixture stage is where most home cooks either succeed effortlessly or run into issues like lumps, bland flavor, or a soft set. Use the same technique used in dependable holiday kitchens: mix thoroughly first, season second, then add delicate mix-ins last.
Step-by-step mixing process
1. Soften cream cheese to working temperature.
Leave it at room temperature until pliable—usually 30–60 minutes depending on your kitchen. If it’s too firm, it won’t incorporate cheddar evenly.
2. Combine cheddar and cream cheese.
Use a bowl and a sturdy spoon (or an electric mixer on low). Break up the cream cheese and mix until the texture becomes uniform.
3. Add seasonings and a small splash of Worcestershire or hot sauce.
Start conservatively (especially with Worcestershire). These ingredients can bring salt and intensity quickly.
4. Taste and adjust.
This is non-negotiable for a “classic cheese ball recipe.” If it tastes good by itself, it’ll taste even better after chilling when flavors meld.
5. Fold in mix-ins last.
Green onions and bacon should distribute without turning the mixture watery or chunky.
Analytical “why it works” (so you can fix problems fast)
– Seasoning uniformity: If you season only at the end, you may get uneven pockets of garlic/onion powder. Mixing spices into the dairy base creates consistent flavor.
– Acidity and umami: Worcestershire adds savory depth that makes cheddar taste more complex. Hot sauce adds heat plus tang—both can lift rich dairy.
– Cold dairy inhibits mixing: If you start with cream cheese that’s too cold, you’ll get a gritty texture and inconsistent set.
Common adjustments
– Too soft? Add a bit more shredded cheddar (or chill longer).
– Too mild? Add a pinch more garlic powder, onion powder, or Worcestershire—then taste again.
– Too salty? Mix in a small amount of extra cream cheese to rebalance.
Shape, Chill, and Set
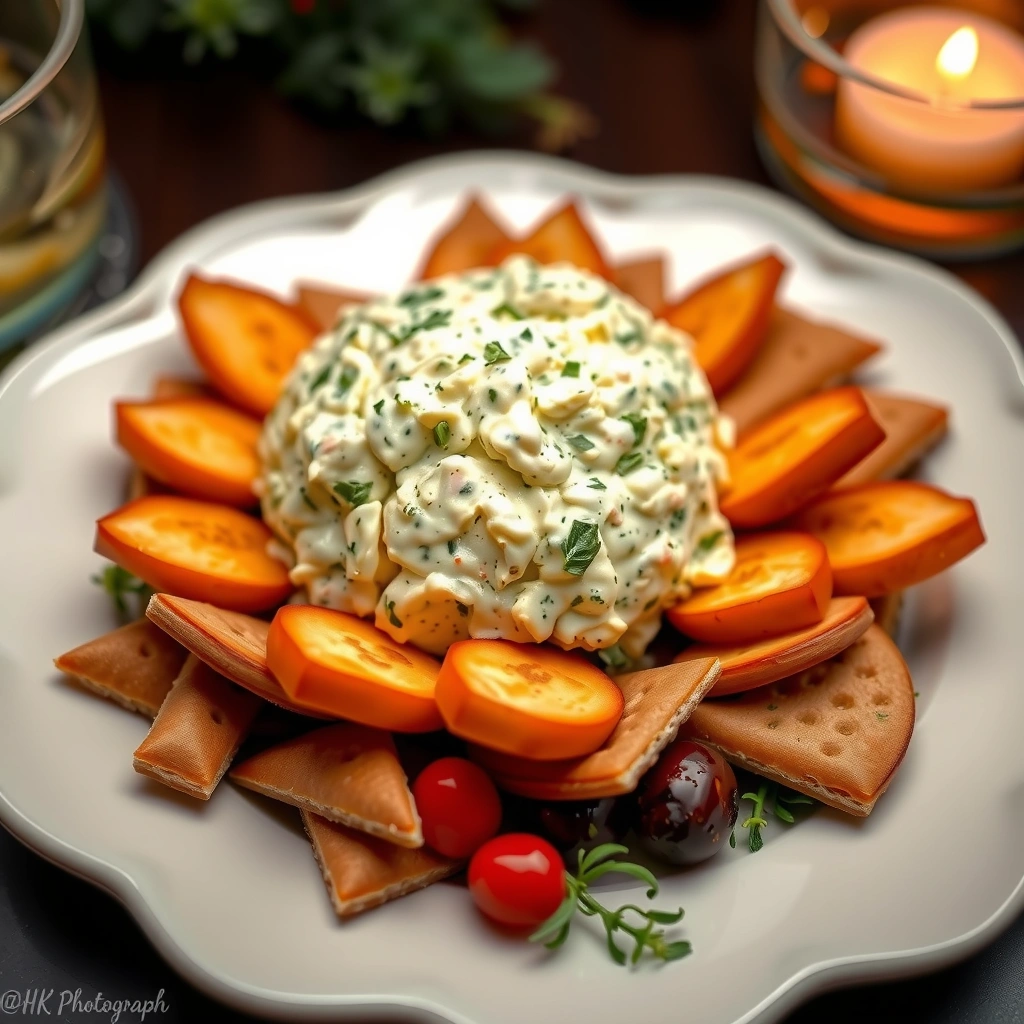
– Form into a ball (or log) and place on parchment or a serving plate
– Chill 2–4 hours so it firms up and slices/spreads neatly
Shaping is not just presentation—it’s structural prep. When you chill, the fat and moisture in the dairy firm up, and the shredded cheddar provides internal scaffolding. That’s why the chill window matters.
Best shaping practices
– Use parchment under the cheese ball to prevent sticking and to make coating cleanup easier.
– Shape with clean hands or a small spatula. If your hands are warm, the exterior can soften and smear.
– Aim for even thickness. A lopsided ball may chill unevenly, leading to softer spots and messy slicing.
Chill timing: how to choose
– 2–3 hours: good for a single round or smaller cheese ball
– 3–4 hours: ideal for logs and “party pack” portions
– 4–6 hours: best for platter-style spread or when your kitchen runs warm
If you’re planning to slice for a buffet, chill closer to the longer end. For scooping with crackers, shorter chilling still works and can feel extra “creamy.”
Coating Ideas and Presentation
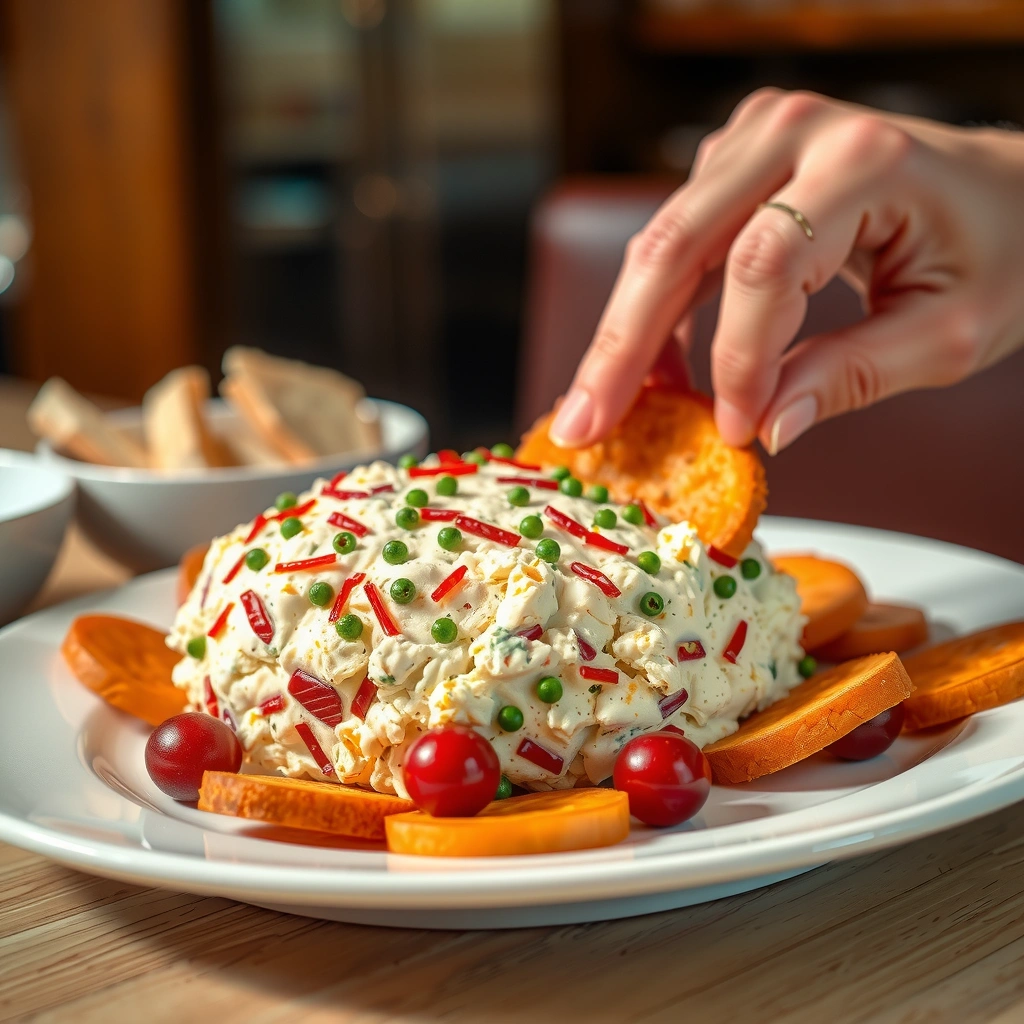
– Roll in toasted pecans, walnuts, or almonds for a classic crunch
– Swap coatings with everything bagel seasoning, chopped parsley, or crushed crackers
A cheese ball’s coating is the finishing layer that turns a simple mixture into a centerpiece. Coatings also manage texture: crunch contrast keeps the appetizer interesting and reduces the sense of “just dairy.”
Classic nut coatings (reliable and crowd-pleasing)
– Toast the nuts first. Raw nuts can taste flat and oily. Toasting adds aroma and a deeper flavor.
– Press gently but firmly. Roll the ball evenly so the nuts adhere rather than fall off.
Best nut pairings:
– Pecans: slightly sweet, complements sharp cheddar
– Walnuts: bold flavor that stands up to garlic-heavy seasoning
– Almonds: crisp and neutral, letting cheddar lead
Modern or lighter coatings (high variety for holidays)
– Everything bagel seasoning: provides a savory “top note” with sesame, garlic, and onion
– Chopped parsley: fresh look, clean herbal aroma
– Crushed crackers: extra crunch and a baked, snack-like texture
Pro presentation tip:
If you’re serving multiple cheese balls, coordinate coatings by “flavor family.” For example: one coated in toasted pecans (warm, classic), one in everything bagel seasoning (savory, punchy), and one in chopped parsley (fresh, bright). Guests intuitively understand the differences.
Serving Suggestions and Pairings
– Serve with crackers, sliced baguette, or fresh vegetables
– Pair with sparkling wine, beer, or a simple citrusy drink for balance
The best cheese ball serving strategy is to build a “texture board.” Offer crisp, chewy, and fresh options so guests can customize each bite.
Dippers that work immediately
– Crackers: variety helps—choose plain salted and a few sturdier favorites
– Sliced baguette: toasts well and gives a satisfying crunch
– Fresh vegetables: celery sticks, cucumber rounds, bell pepper strips, and carrot coins provide cooling balance
If your cheese ball is firmer (log style), chilled crackers and toast points pair exceptionally well. If it’s softer (shorter chill), serve with room-temperature crackers to keep spreading easy.
Beverage pairings (practical guidance)
– Sparkling wine: bubbles cut richness and cleanse the palate
– Beer: especially crisp lagers or hoppy-but-balanced ales—flavor echoes cheddar without overwhelming it
– Citrusy non-alcoholic drink: lemon-lime soda, ginger citrus spritz, or iced tea with citrus for a bright counterpoint
Balance principle: rich dairy + bold flavor benefits from acid and carbonation. That’s why sparkling drinks and citrus-forward beverages consistently perform at parties.
Storage and Make-Ahead Tips
– Refrigerate covered up to 3–5 days for best flavor and texture
– Prepare ahead and roll/coating right before serving for the freshest finish
Cheese balls are inherently suited to holiday planning because their flavor improves after chilling. The key is to manage moisture and coating freshness.
Storage best practices
– Refrigerate covered to prevent the cheese ball from absorbing fridge odors.
– Expect best quality within 3–5 days. After that, the texture can become slightly softer and the aroma can dull.
Make-ahead workflow (efficient and stress-free)
1. Make the mixture up to a day ahead, then shape and chill.
2. Coat close to serving time for maximum crunch and visual appeal.
3. If needed, you can pre-toast nuts and prep everything else the day before.
Freezing (usually not recommended)
While freezing can technically preserve flavor, it can change the texture of cream cheese, which may become softer or grainier after thawing. For classic holiday results, refrigeration is the better option.
—
This classic cheese ball recipe comes together quickly, tastes rich and savory, and improves after chilling. Make the mixture, shape it, coat it, and serve with your favorite dippers—then try a different coating next time for a new twist. With the right cheddar sharpness, thoughtful seasoning, and a dependable chill window, you’ll have a repeatable holiday favorite that consistently delivers big flavor and clean presentation for any crowd.
References
- Cheese ball
https://en.wikipedia.org/wiki/Cheese_ball - https://scholar.google.com/scholar?q=classic+cheese+ball+recipe Google Scholar
https://scholar.google.com/scholar?q=classic+cheese+ball+recipe - Google Scholar Google Scholar
https://scholar.google.com/scholar?q=cheese+ball+ingredients+cream+cheese+process - Google Scholar Google Scholar
https://scholar.google.com/scholar?q=cheese+ball+appetizer+recipe+history - Google Scholar Google Scholar
https://scholar.google.com/scholar?q=cheese+ball+food+safety+cream+cheese - Google Scholar Google Scholar
https://scholar.google.com/scholar?q=cream+cheese+cheeseball+technique+lectin+emulsion - Google Scholar Google Scholar
https://scholar.google.com/scholar?q=cheese+ball+horseradish+walnut+recipe - Google Scholar Google Scholar
https://scholar.google.com/scholar?q=cheese+ball+pH+microbial+growth+refrigerated+foods - Google Scholar Google Scholar
https://scholar.google.com/scholar?q=cheese+ball+gelation+texture+study+cream+cheese - Google Scholar Google Scholar
https://scholar.google.com/scholar?q=cheeseball+recipe+condiment+rolling+herbs+nuts