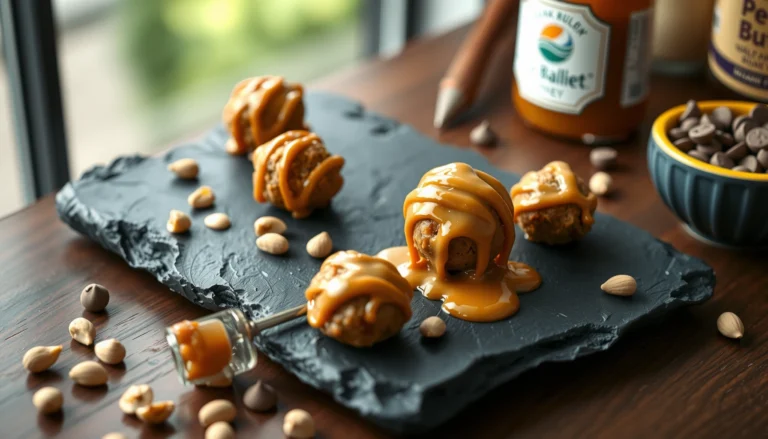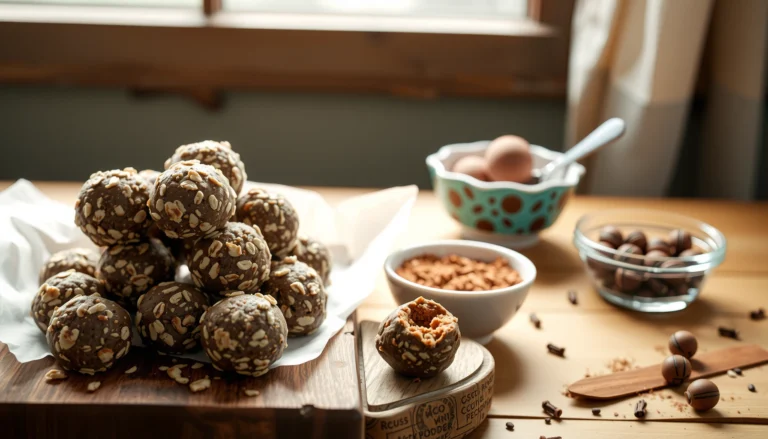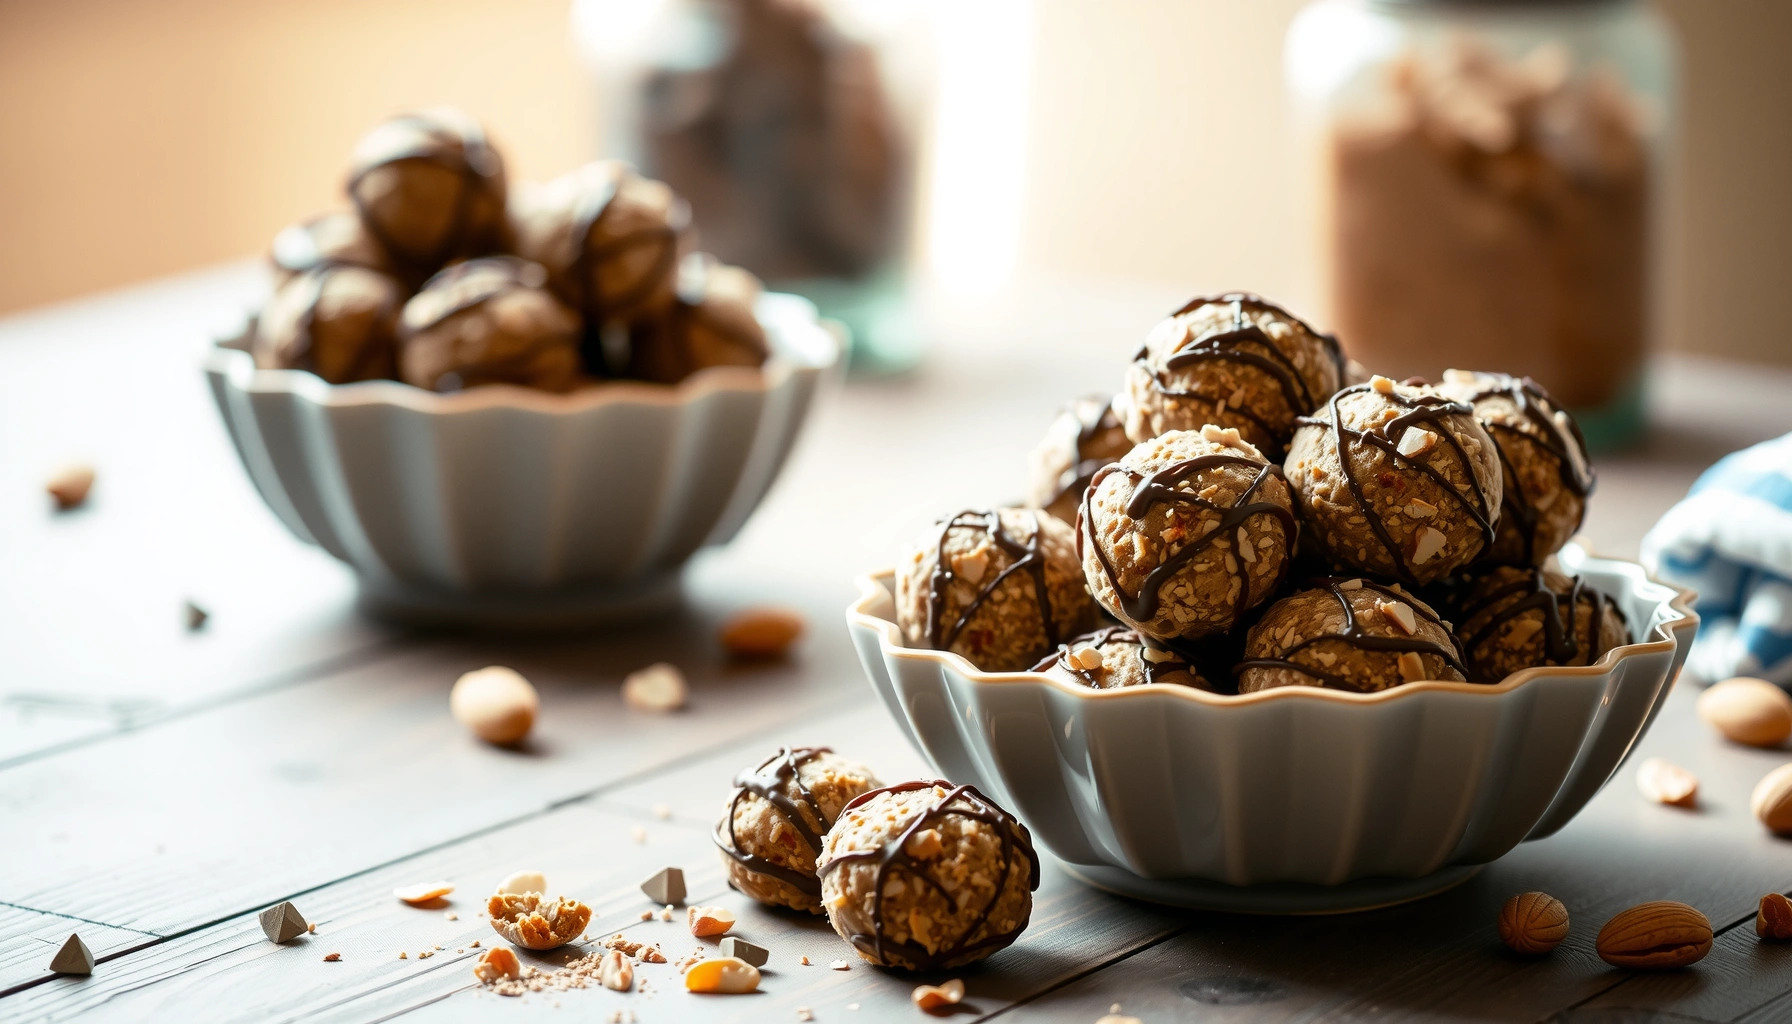
Want an easy protein balls recipe no bake that actually sets and tastes like a treat? This no-bake bites guide delivers a quick, beginner-friendly method with minimal prep and no oven required—so you get satisfying, protein-packed balls in a hurry. If you’re choosing between raw-mix chaos and a reliable result, this recipe is the clear winner.
Make protein balls without baking by combining a protein base with a binder, rolling into bite-size portions, and chilling until firm—no oven required. This no-bake protein balls recipe breaks down the exact ingredient roles, the best add-ins for flavor, and troubleshooting tips so you consistently get a rollable texture.
What You Need for No-Bake Protein Balls
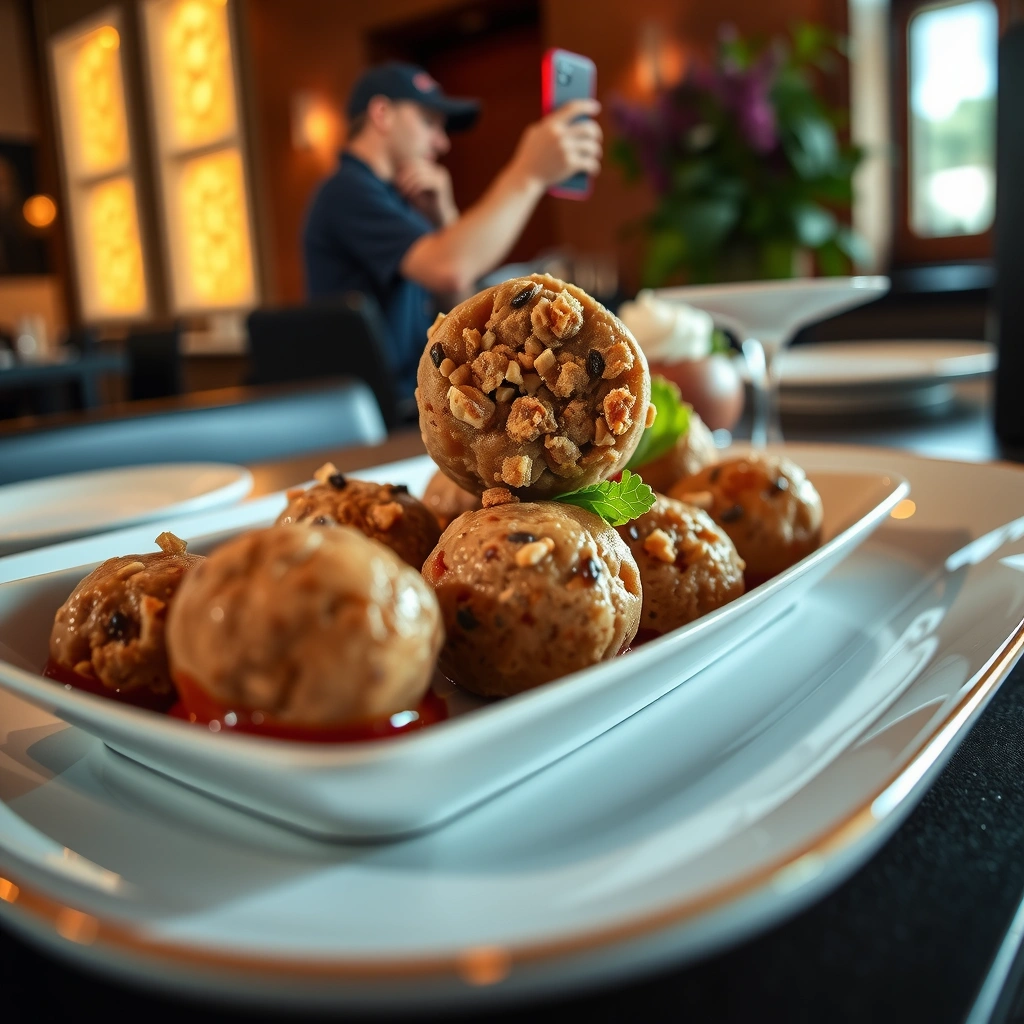
No-bake protein balls are essentially a structured snack: you’re building (1) protein for satiety and muscle support and (2) a binder that “sets” the shape when chilled. Because there’s no oven to drive off moisture or cook flour, the ratio of protein to binder determines whether your bites hold form or crumble.
Choose a protein base (protein powder, nut butter, or both)
– Protein powder (whey or plant-based): Adds protein density and helps absorb moisture. Whey typically yields a smoother, slightly softer bite; plant-based proteins vary by brand, so start with conservative amounts and adjust for texture.
– Nut butter (peanut, almond, cashew, sunflower seed): Contributes fat for tenderness and natural stickiness for binding. Nut butter is often the “texture anchor” in no-bake recipes because it stays pliable when cold.
– Using both: This is a common approach for higher protein with better structure. For example, nut butter supplies the hold, while protein powder boosts protein and thickness.
Gather binder ingredients like oats or dates for holding shape
Binders do the heavy lifting in no-bake protein balls:
– Rolled oats or oat flour: Provide a chewy structure and help absorb liquid. For a smoother bite, pulse oats into a coarse flour.
– Dates (pitted) or date paste: Dates are a natural sticky binder thanks to their natural sugars and fiber. They’re especially effective when you want firmer, candy-like bites.
– Optional moisture-control helpers: Chia seeds, ground flax, or a spoon of honey/maple syrup can improve cohesion, but too much liquid will make the mixture sticky and harder to roll.
Practical benchmark for most batches
A dependable starting point is roughly:
– 1/2 to 1 cup binder (oats and/or dates),
– 1/3 to 2/3 cup nut butter and/or yogurt,
– 1/4 to 1/2 cup protein powder (or adjust based on brand thickness).
Then chill and refine as needed with texture tweaks.
Typical Texture Outcome by Binder Choice (No-Bake Protein Balls)
| # | Binder (Primary) | Chill Set Time | Rollability | Best Texture | Satisfaction Score |
|---|---|---|---|---|---|
| 1 | Rolled oats (pulse to coarse flour) | 20–40 min | ★★★★☆ | Chewy, stable | 9.1 |
| 2 | Oat flour (fine) | 20–35 min | ★★★★★ | Soft-chewy, uniform | 9.4 |
| 3 | Date paste | 30–60 min | ★★★★☆ | Dense, fudgy | 9.0 |
| 4 | Chia gel (mixed first) | 45–75 min | ★★★☆☆ | Tighter gel bite | 6.9 |
| 5 | Ground flax (plus oats) | 30–60 min | ★★★★☆ | Thick, sliceable | 8.6 |
| 6 | Greek yogurt (with oats) | 60–90 min | ★★★☆☆ | Creamy, softer set | 6.4 |
| 7 | Nut butter only (minimal powder) | 20–30 min | ★★☆☆☆ | Slump-prone | 5.8 |
Simple No-Bake Protein Balls Recipe
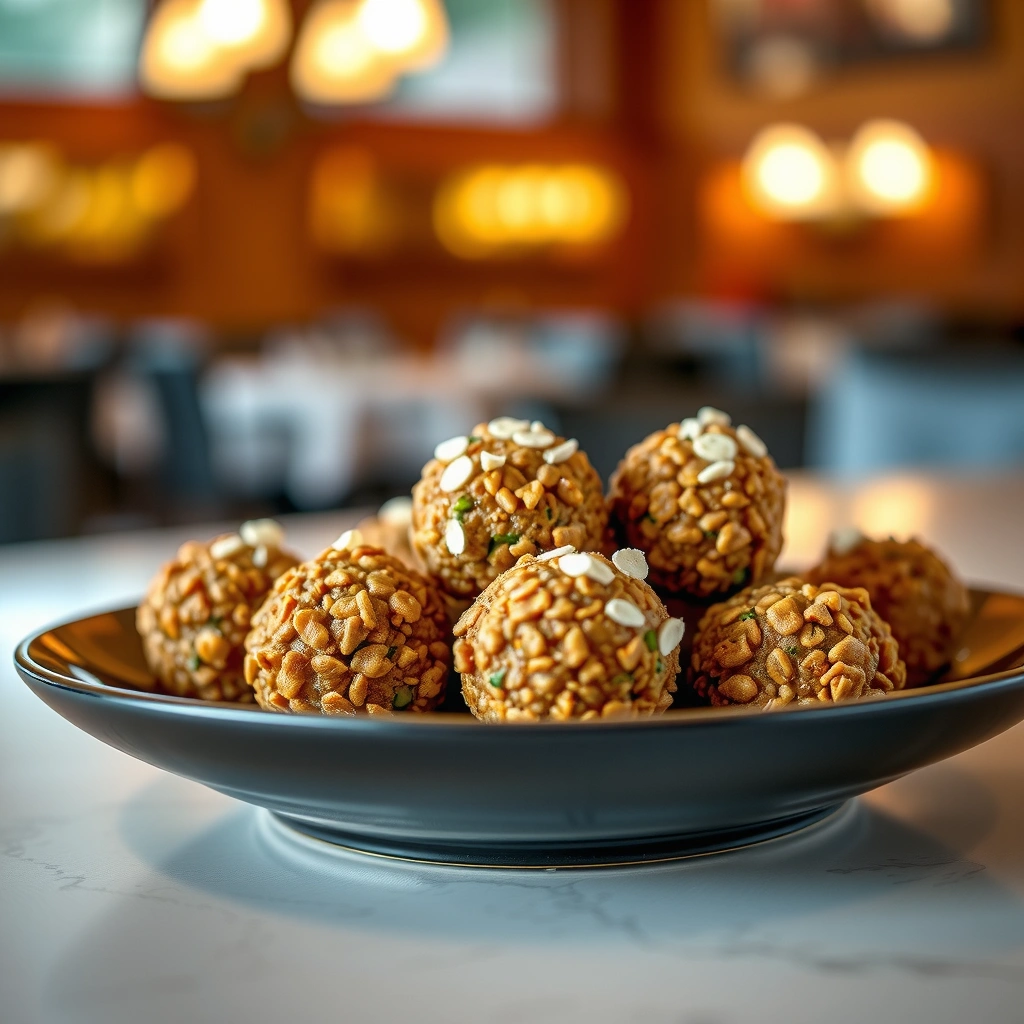
This easy no-bake protein balls recipe is built for consistency: thick dough first, then controlled chilling so the mixture firms without becoming crumbly.
Ingredients (makes about 12–16 balls)
– 1/2 cup rolled oats (or oat flour)
– 1/2 cup protein powder (vanilla or chocolate work well)
– 1/2 cup nut butter (peanut/almond/cashew)
– 1/4 cup honey or maple syrup (adjust to taste)
– 2–3 tbsp milk (dairy or non-dairy) as needed for texture
– 1 tsp vanilla extract (optional)
– Pinch of salt (optional but improves flavor)
Mix everything together until a thick, rollable dough forms
1. Combine dry ingredients first: In a bowl, mix oats and protein powder with salt (if using).
2. Add wet ingredients: Stir in nut butter, honey/maple syrup, and vanilla.
3. Adjust with milk gradually: Add 1 tablespoon at a time until the mixture becomes thick and rollable. It should clump and hold shape when pressed, not feel wet or loose.
4. Rest briefly: Let the dough sit 5 minutes. Many protein powders and oats absorb moisture over that window, improving rollability.
Roll into balls and chill to set for 20–60 minutes
1. Portion: Scoop 1–2 tablespoons per ball.
2. Roll: Use lightly oiled hands or a small dusting of oats to prevent sticking.
3. Chill: Refrigerate 20–60 minutes depending on your binder choice and how warm the kitchen is.
4. Know when they’re done: They should feel firm on the outside and not smear when you lift one.
Two quick quality checks
– If the dough breaks apart: Your binder is too low or your mixture is too dry—add 1 tablespoon nut butter or a small splash of honey and mix again.
– If the dough is tacky: Add oats or more protein powder, 1–2 tablespoons at a time, until rollable.
Best Add-Ins and Flavor Options
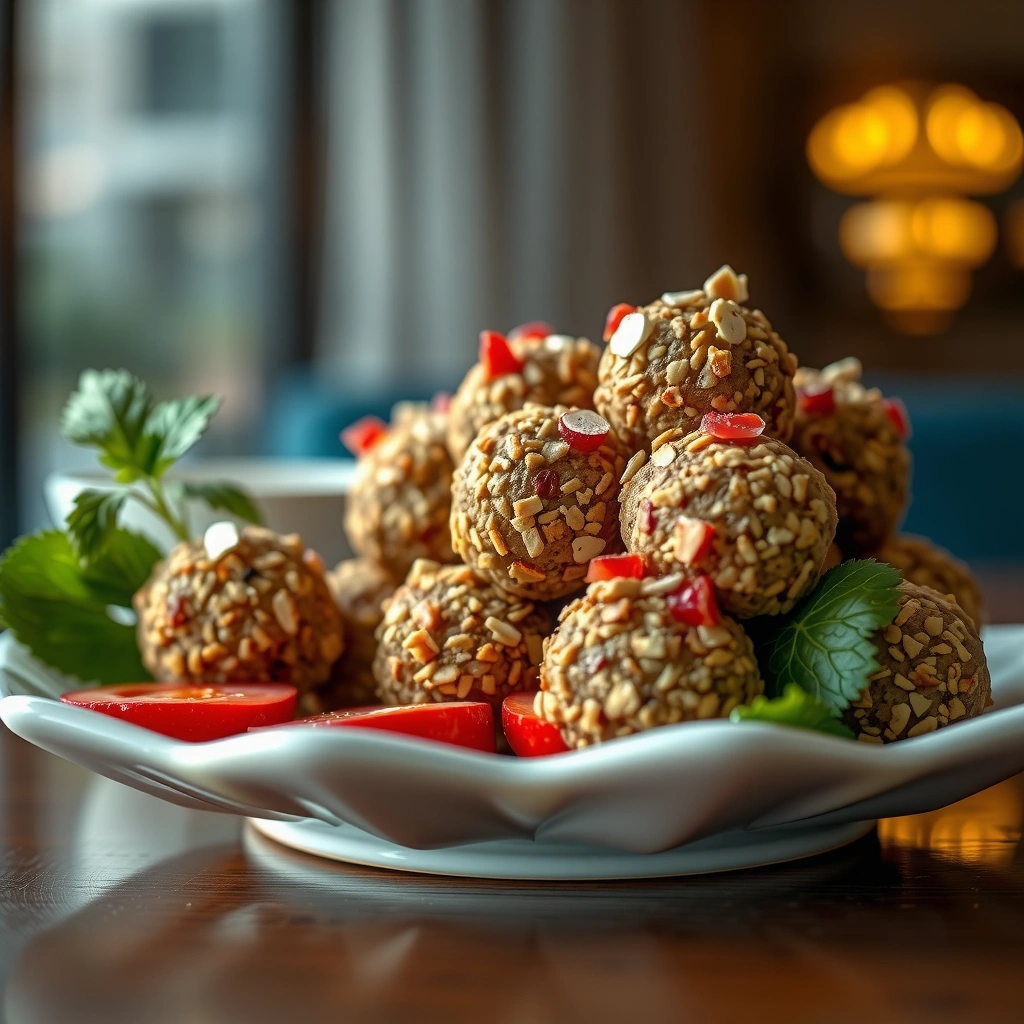
Flavor is where no-bake protein balls move from “functional” to genuinely enjoyable. Because the base is neutral (oats + protein + nut butter), you can build profiles easily—especially if you match add-ins to the texture you want.
Try cocoa, vanilla, cinnamon, or espresso for classic flavors
– Cocoa powder: Mix into the dry ingredients to deepen chocolate flavor without changing structure too much.
– Vanilla: Boosts sweetness perception and makes vanilla protein taste richer.
– Cinnamon: Adds warmth and pairs well with oats and nut butter.
– Espresso powder: Intensifies chocolate notes and creates a “mocha” profile without needing liquid coffee (which can make dough looser).
Add-ins like chocolate chips, shredded coconut, or chopped nuts for texture
Keep add-ins proportional so the dough remains rollable:
– Chocolate chips: Fold in 1/4 cup for pockets of sweetness. Use mini chips for more even distribution.
– Shredded coconut: Add 2–4 tbsp for chewy texture. If your mixture feels dry, coconut may absorb moisture—balance with a teaspoon of honey or milk.
– Chopped nuts: Add 2–4 tbsp for crunch. Nuts won’t dissolve, so they should be finely chopped for consistent bite.
High-performing “combination builds”
– Chocolate-peanut: cocoa + chocolate chips + peanut butter + pinch of salt
– Cinnamon-maple: cinnamon + maple syrup + chopped pecans
– Mocha-coconut: espresso powder + vanilla + shredded coconut
How to Get the Right Texture Every Time
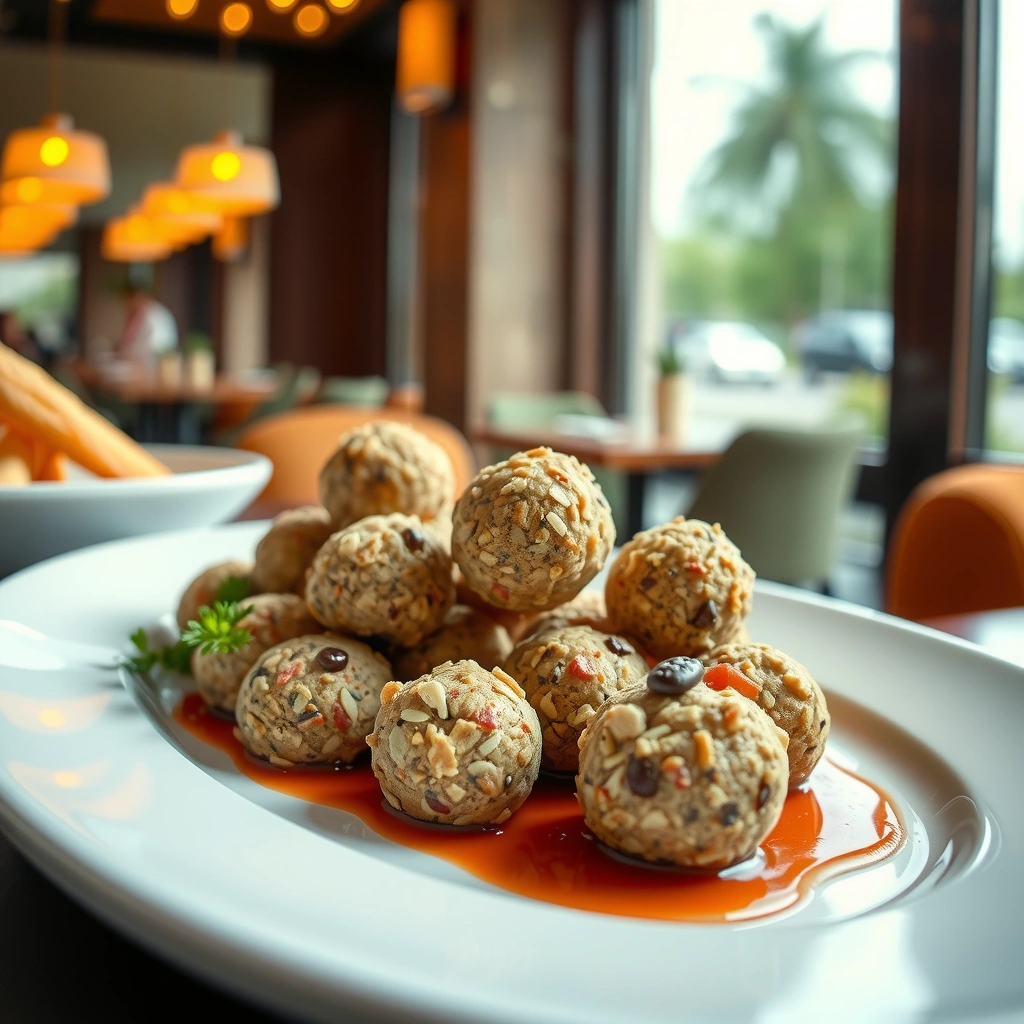
No-bake protein balls are a texture engineering problem: you’re balancing moisture, absorption, and fat. Protein powder brands differ in how much liquid they absorb, so troubleshooting matters more than exact measurements.
If too dry, add a bit more nut butter or liquid (like honey)
Common causes:
– Protein powder is more absorbent than you expected
– Oats are very dry or finely ground
– Dough hasn’t had time to hydrate
Fix:
– Add 1 tablespoon nut butter or honey at a time, mix thoroughly, and re-check.
– If still dry, add 1 tablespoon milk and mix again.
– If using dates, blend/paste consistency can vary—warm nut butter slightly to improve mixing.
If too sticky, add more oats or protein powder until rollable
Common causes:
– Too much honey/maple syrup
– Protein powder is under-measured
– Nut butter is warm and softer than typical fridge texture
Fix:
– Add 1–2 tablespoons oats first (improves rollability without making flavor harsh).
– If needed, add 1 tablespoon protein powder.
– Chill 10 more minutes after each adjustment—protein powder continues absorbing while cold.
A simple “dough target”
When you roll a ball, it should:
– Hold its shape when released
– Not leave wet residue on your fingers
– Feel slightly tacky but not mushy
If it fails one of those, adjust and re-chill before proceeding.
Storage and Make-Ahead Tips
One of the biggest advantages of no-bake protein balls is how meal-prep friendly they are. Correct storage reduces moisture loss, prevents flavor drift, and maintains texture.
Store in the fridge for up to about a week in an airtight container
– Use an airtight container to limit drying, especially for recipes with oats.
– For best texture, keep them toward the middle shelf (cooler, more consistent than the door).
– If they firm up too much, let them sit at room temperature for 5–10 minutes before eating.
Freeze for longer storage and thaw as needed
– Freeze balls on a tray first (so they don’t stick together), then transfer to a freezer bag or container.
– Thaw in the refrigerator overnight or at room temperature for 20–30 minutes.
– Expect a slight texture softening; that’s normal and usually improves chew.
Quality tip
If you’ve used add-ins like coconut or chocolate chips, they remain best when sealed tightly—especially in the freezer.
Portioning and Serving Ideas
Portioning affects both satisfaction and nutrition consistency. Protein balls are easy to overeat because they’re small—so having a repeatable portion size helps.
Aim for 1–2 tablespoon portions for consistent protein bites
– Use a tablespoon scoop to standardize size.
– Smaller balls = easier grab-and-go and often better “snack pacing.”
– Larger balls = more convenient for post-workout recovery without multiple bites.
Pair with coffee, yogurt, or a post-workout snack for quick energy
– Coffee or espresso: Complements chocolate and mocha flavor profiles.
– Greek yogurt: Adds creaminess and increases total protein for breakfast or a recovery snack.
– Fresh fruit: Strawberries, bananas, or berries improve fiber and micronutrient intake.
Serving ideas that work in real schedules
– On-the-go: Two balls with a piece of fruit in a lunch bag.
– After training: One to two balls immediately post-workout, plus water.
– Desk snack: Keep a small container at work for consistent portion control.
Chill, roll, and enjoy—this no-bake protein balls recipe gives you a fast, no-oven way to fuel your day. Make a batch today, choose your favorite add-ins, and try one the same day for the best texture.
Protein balls aren’t just convenient—they’re a reliable method to create a protein-forward snack with controlled ingredients. By focusing on the right protein base, using oats or dates as binders, chilling to set, and applying texture troubleshooting (dry vs. sticky), you’ll be able to reproduce consistent results and customize flavors with confidence.
References
- Google Scholar Google Scholar
https://scholar.google.com/scholar?q=protein+balls+no+bake+recipe - Google Scholar Google Scholar
https://scholar.google.com/scholar?q=high-protein+snacks+satiety+study - Google Scholar Google Scholar
https://scholar.google.com/scholar?q=energy+balls+nutritional+composition+analysis - https://en.wikipedia.org/wiki/Energy_ball
https://en.wikipedia.org/wiki/Energy_ball - https://en.wikipedia.org/wiki/No-bake_cookie
https://en.wikipedia.org/wiki/No-bake_cookie - Protein
https://en.wikipedia.org/wiki/Protein - https://ods.od.nih.gov/factsheets/Protein-HealthProfessional/
https://ods.od.nih.gov/factsheets/Protein-HealthProfessional/ - https://www.mayoclinic.org/healthy-lifestyle/nutrition-and-healthy-eating/in-depth/protein/art-20046214
https://www.mayoclinic.org/healthy-lifestyle/nutrition-and-healthy-eating/in-depth/protein/art-20046214 - Protein | Definition, Structure, & Classification | Britannica
https://www.britannica.com/science/protein - https://pubmed.ncbi.nlm.nih.gov/?term=high-protein+snack+satiety
https://pubmed.ncbi.nlm.nih.gov/?term=high-protein+snack+satiety