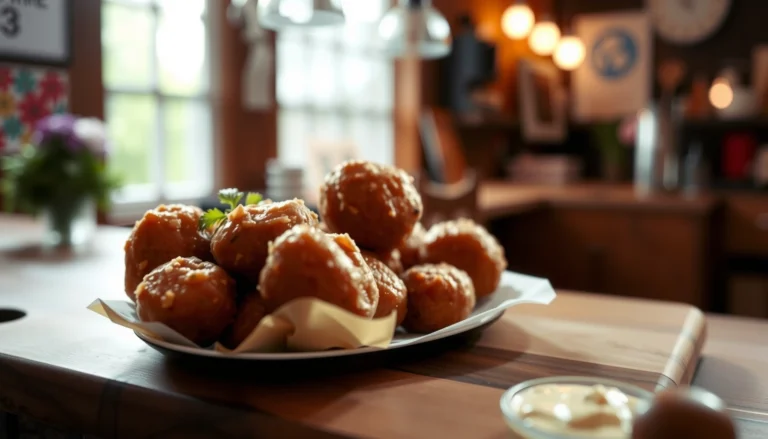
Looking for a peanut butter protein balls recipe you can make fast with no-bake steps? This easy, no-fuss method delivers rich, chewy protein balls with the right balance of peanut butter flavor and snackable nutrition—without turning on the oven. It answers whether you can get bakery-style results using simple ingredients and minimal prep time.
Make peanut butter protein balls in minutes by mixing peanut butter, protein powder, and a few add-ins, then rolling into bite-size no-bake bites. This recipe delivers fast, high-protein energy bites with customizable flavor (chocolatey, nutty, or lightly sweet) and a simple meal-prep storage plan.
Ingredients for Peanut Butter Protein Balls

The best peanut butter protein balls start with a reliable “base + binder + flavor” formula. Peanut butter provides the fat, flavor, and natural cohesiveness; protein powder increases the protein content and influences how firm the final energy bites become. Add-ins are what let you tune texture—thicker, chewier, or more spoonable.
Core ingredients (your base + protein):
– Peanut butter (creamy or natural): Choose natural peanut butter if you want a cleaner ingredient profile and a more intense nut flavor. Creamy versions are often easier for smooth rolling.
– Protein powder (whey or plant-based): Use a flavor you enjoy—vanilla and chocolate are the most flexible for mix-ins. Protein powder also absorbs moisture, which is why the texture can vary between brands.
Texture and nutrition add-ins (choose 1–3):
– Rolled oats or quick oats: Add chew and help the dough hold its shape.
– Cocoa powder: Creates a “chocolate protein ball” profile without needing baking.
– Chia seeds: Boost fiber and help thicken the mixture for better rolling.
– Ground flaxseed: Adds binding power and a slightly nutty finish.
– Optional sweeteners: Honey or maple syrup if your peanut butter/protein powder tastes less sweet.
Liquid adjustments (only if needed):
– Depending on your peanut butter and protein powder, you may need 1–2 teaspoons of milk (dairy or non-dairy) or a little extra peanut butter/oats to reach a rollable consistency. The goal is a dough that holds together without sticking aggressively to your hands.
No-Bake Peanut Butter Protein Ball Mix: Practical Ratios (Makes ~18–22 Bites)
| # | Ingredient | Amount | Role in Texture | Impact (Protein/Feel) |
|---|---|---|---|---|
| 1 | Peanut butter | 1 cup (256 g) | Binder + flavor foundation | High satiety |
| 2 | Protein powder | 1/2 cup (about 60 g) | Absorbs moisture; firms up dough | Higher protein density |
| 3 | Rolled oats | 1/2 cup (45–50 g) | Chew + structure buffer | Better roll stability |
| 4 | Chia seeds | 1 tbsp (10–12 g) | Thickens + binds | Fiber + improved firmness |
| 5 | Cocoa powder (optional) | 2–3 tbsp (10–15 g) | Chocolate flavor + slight dryness | ★ Chocolate profile |
| 6 | Honey or maple syrup (optional) | 1–2 tbsp (15–30 g) | Sweetness + a touch of moisture | ★ Sweetness control |
| 7 | Milk (only if needed) | 0–2 tsp | Adjusts for overly dry mixes | Avoid over-wetting |
Step-by-Step Peanut Butter Protein Balls Recipe

This peanut butter protein balls recipe is designed for consistency: mix, adjust, chill, roll. While exact measurements matter, the more important variable is texture—each brand of protein powder hydrates differently, so you should use the dough as your “real-time” guide.
1. Combine dry ingredients
– In a mixing bowl, stir together protein powder, oats (or oat flour), chia seeds/flax, and any dry flavor components like cocoa powder.
– This step prevents clumps and ensures even protein distribution across your energy bites.
2. Mix in peanut butter
– Add peanut butter to the dry mixture.
– Mix thoroughly until you get a cohesive “dough” that can be pressed with a spoon. The dough should look thick and slightly sticky, not wet or pourable.
3. Adjust consistency with small additions
– If it’s too dry and won’t come together: add milk, 1 teaspoon at a time.
– If it’s too sticky/runny for rolling: add extra oats (1–2 tbsp at a time) or let it rest.
4. Chill briefly (critical for rolling)
– Refrigerate 10–20 minutes. For no-bake energy bites, this is often enough to firm up the mixture and make rolling clean and consistent.
5. Roll into bite-size portions
– Scoop and roll into 1 to 1.5-inch balls (about the size of a tablespoon).
– For smoother handling, lightly oil your hands or keep a small bowl of water nearby.
6. Optional coating
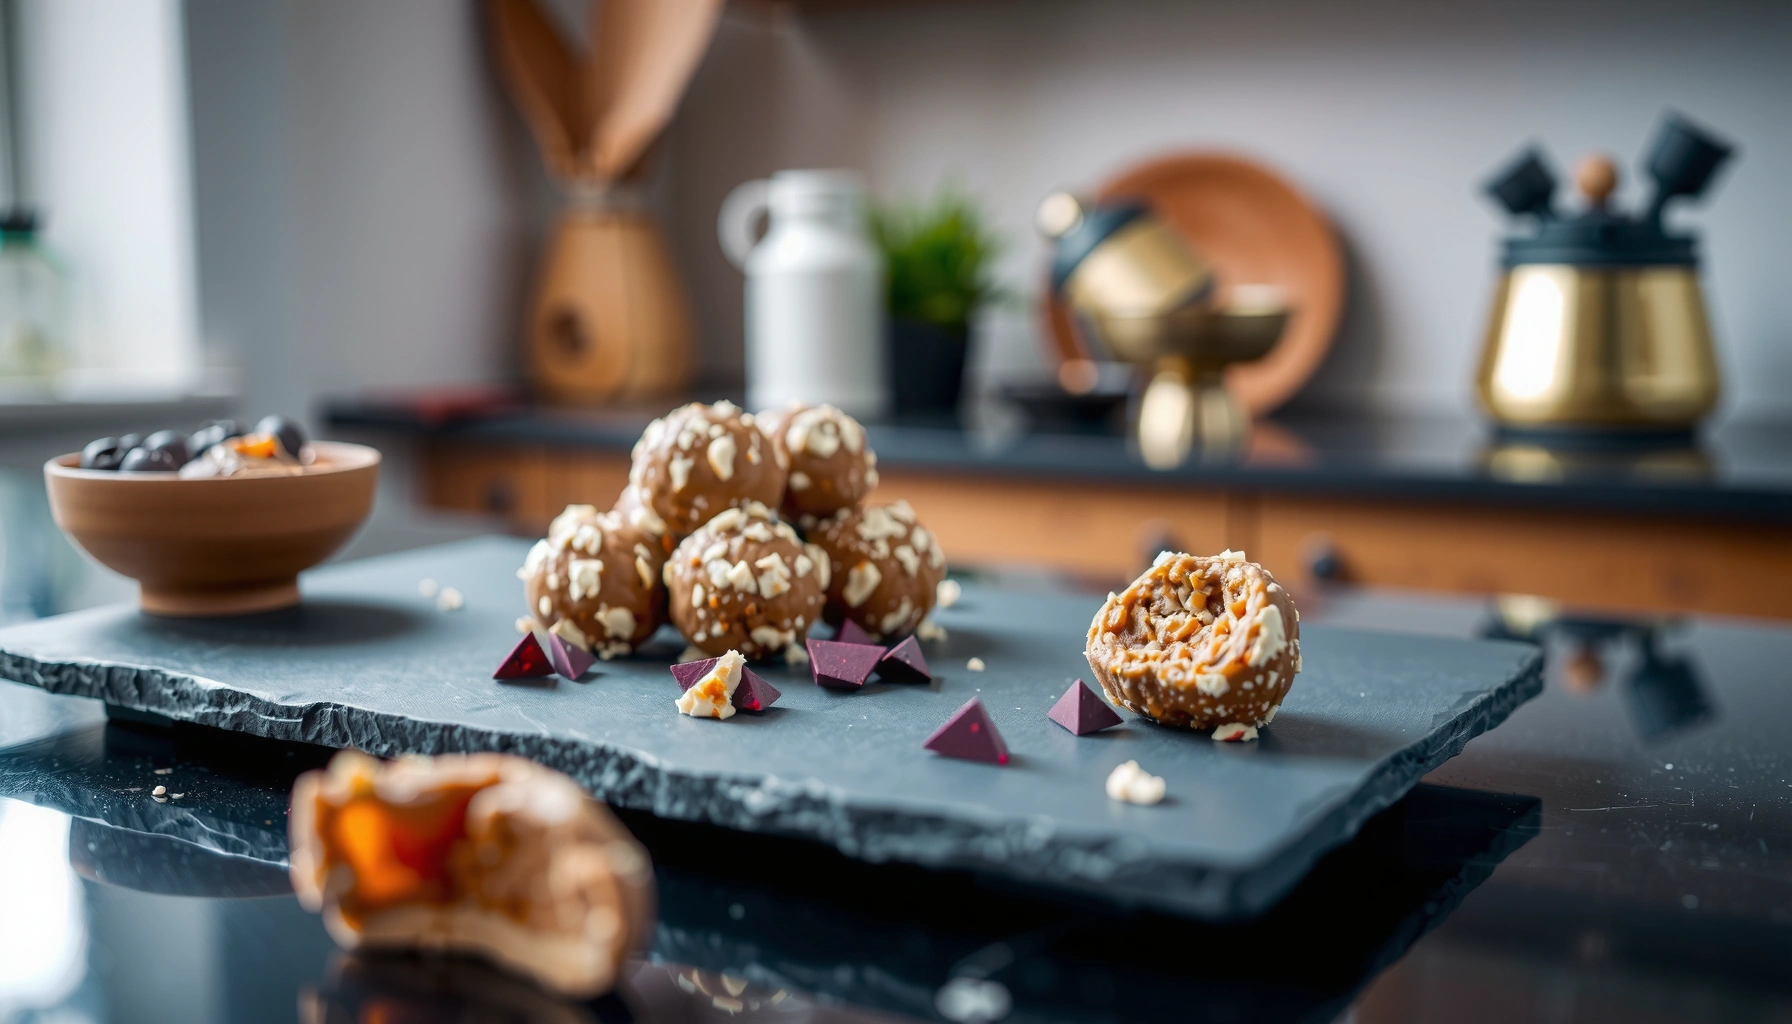
– Roll in cocoa powder, crushed nuts, or shredded coconut for an elevated finish and better texture variety.
Flavor & Texture Customizations

One reason peanut butter protein balls are so popular for workplace snack prep and gym routines is that they’re easy to tailor. Think of this section as a “flavor engineering” toolkit: you can change taste, sweetness level, and chewiness without changing the core method.
Chocolate-forward version
– Add cocoa powder (2–3 tbsp) and/or mini chocolate chips.
– Use chocolate or vanilla protein powder depending on how deep you want the flavor.
– If you add lots of chips, consider slightly more oats to maintain rollability.
Vanilla “classic” version
– Choose vanilla protein powder.
– Add 1 tsp vanilla extract (optional) and a pinch of salt to intensify peanut butter flavor.
– For a dessert-like mouthfeel, use extra oats for chew rather than adding more sweetener.
Chewy + fiber-focused version
– Use chia seeds and ground flax (or one, depending on preference).
– Add unsweetened shredded coconut for a textured, fiber-rich bite.
– If you notice the dough thickening too much, use a teaspoon of milk—protein balls should still roll easily.
Sweetness adjustment
– Start with 1 tbsp honey or maple syrup, then taste.
– Protein powder sweetness varies widely; some whey blends are already sweetened.
– If you’re cutting sugar, rely on naturally sweet peanut butter (like honey-roasted) and skip added sweetener.
Texture adjustment (chew vs. firm)
– More oats → chewier, firmer balls.
– More chia/flax → firmer and slightly “gel-like” texture after chilling.
– More peanut butter → richer, softer bites that may need extra chilling.
How to Store and Meal Prep

Refrigeration (best for short-term freshness)
– Store in an airtight container.
– Refrigerate for up to 5–7 days.
– Expect firmer texture over time; that’s normal and often desirable for easier handling.
Freezing (best for longer storage)
– Freeze balls on a tray until solid, then transfer to a freezer bag or container.
– Freeze for up to 2–3 months for best quality.
– Thaw in the refrigerator overnight for best texture and reduced condensation.
Meal prep workflow for busy schedules
– Make a batch on Sunday (or anytime you batch-cook snacks).
– Portion into small containers: “morning gym,” “afternoon desk,” “after training.”
– Keep one container in the fridge and one in the freezer so you’re never out of ready-to-eat protein snacks.
Common Mistakes to Avoid
Even a straightforward peanut butter protein balls recipe can miss its mark when a few variables aren’t controlled. Use these insights to troubleshoot quickly.
– Skipping chilling
– If your mixture won’t roll smoothly, it’s usually because the protein powder and binders haven’t fully hydrated.
– Chill 10–20 minutes before rolling for consistent no-bake energy bites.
– Overly runny dough
– Too much liquid (milk or sweetener) or under-measured oats can create a batter-like consistency.
– Fix: add oats gradually until the dough holds a shape when pressed.
– Overly dry dough
– Some protein powders absorb moisture more aggressively.
– Fix: add milk 1 teaspoon at a time until the dough becomes pliable.
– Inconsistent mixing
– Protein powder clumps can create uneven flavor and texture.
– Fix: thoroughly mix dry ingredients before adding peanut butter.
– Using warm peanut butter
– If your peanut butter is very warm, it can make the dough looser than expected.
– Fix: let the mixture sit for a few minutes, then chill before rolling.
This peanut butter protein balls recipe is an easy, no-bake way to make high-protein snack bites you can customize and prep ahead. Follow the simple mix-and-roll steps, tweak the add-ins to match your taste, and store or freeze for convenience. Try making a batch today and adjust your flavors next time!
References
- Peanut butter
https://en.wikipedia.org/wiki/Peanut_butter - https://en.wikipedia.org/wiki/Energy_ball
https://en.wikipedia.org/wiki/Energy_ball - Google Scholar Google Scholar
https://scholar.google.com/scholar?q=peanut+butter+protein+balls+recipe - Google Scholar Google Scholar
https://scholar.google.com/scholar?q=peanut+butter+energy+bites+recipe+oats - Google Scholar Google Scholar
https://scholar.google.com/scholar?q=no-bake+protein+balls+peanut+butter+recipe - https://pubmed.ncbi.nlm.nih.gov/?term=peanut+butter+snack
https://pubmed.ncbi.nlm.nih.gov/?term=peanut+butter+snack - https://pubmed.ncbi.nlm.nih.gov/?term=energy+ball+nutrition
https://pubmed.ncbi.nlm.nih.gov/?term=energy+ball+nutrition - https://www.cdc.gov/healthyschools/foodallergies/index.htm
https://www.cdc.gov/healthyschools/foodallergies/index.htm - Healthy diet
https://www.who.int/news-room/fact-sheets/detail/healthy-diet - https://www.fda.gov/food/food-allergens-major-food-allergens/peanuts
https://www.fda.gov/food/food-allergens-major-food-allergens/peanuts