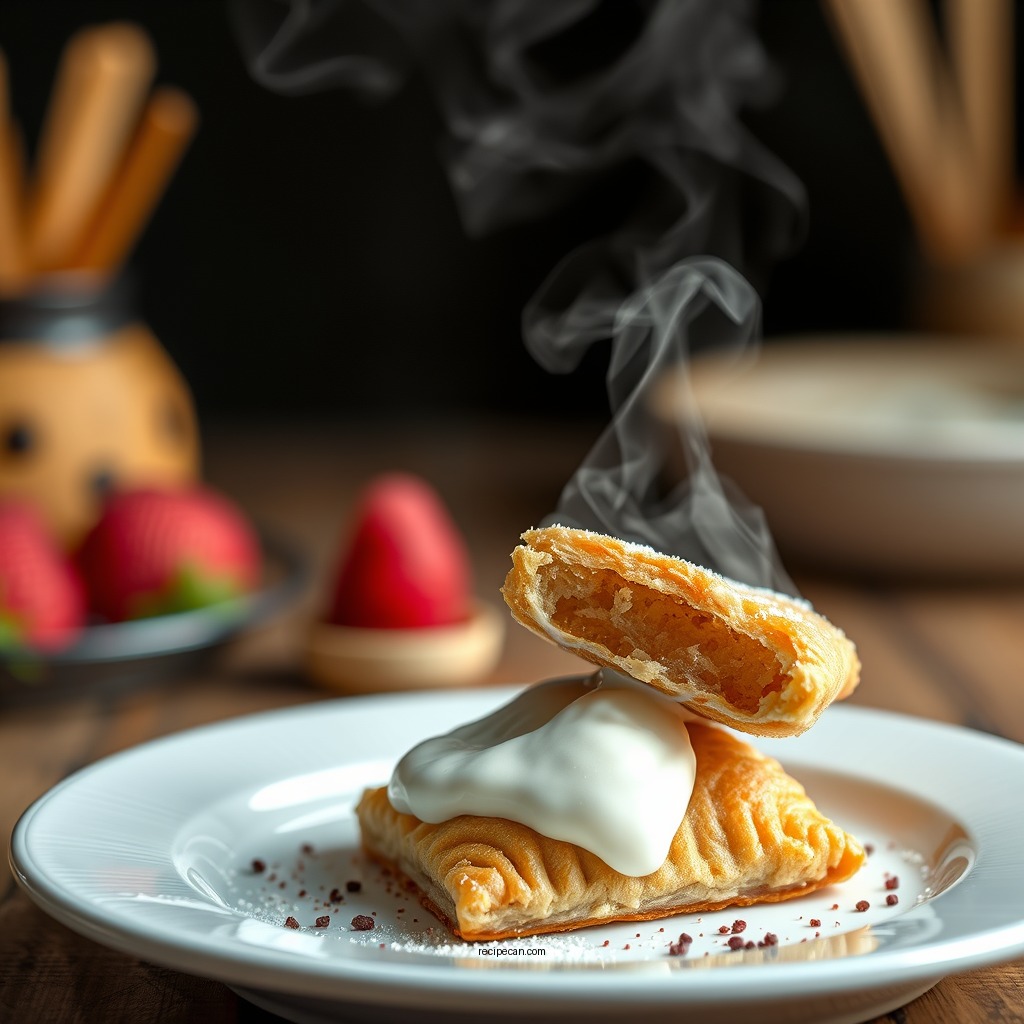
Making your own pop tarts inspired by Taylor Swift is a fun and creative way to enjoy a sweet treat. This recipe captures the essence of nostalgia while incorporating flavors that are sure to delight. You’ll learn how to make flaky pastry and flavorful fillings, giving you a delicious homemade version of this beloved snack. Whether you’re a fan of classic fruit preserves or prefer the indulgence of chocolate, this pop tart recipe lets you customize your creation to suit your taste.
Gather Your Ingredients

Before diving into the baking process, gather all your ingredients to ensure a smooth and enjoyable experience. The simplicity of this recipe allows for easy access to common kitchen staples, making it ideal for both novice bakers and experienced chefs.
– Flour: Use all-purpose flour to create a light, flaky crust.
– Sugar: Granulated sugar adds sweetness to the crust and the filling.
– Butter: Cold, unsalted butter is essential for a tender and flaky texture.
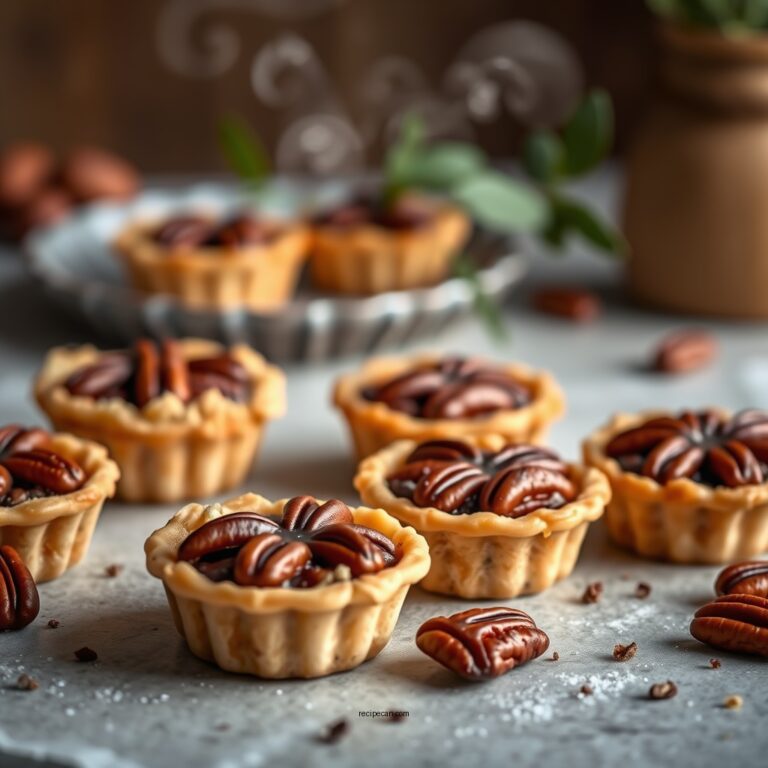
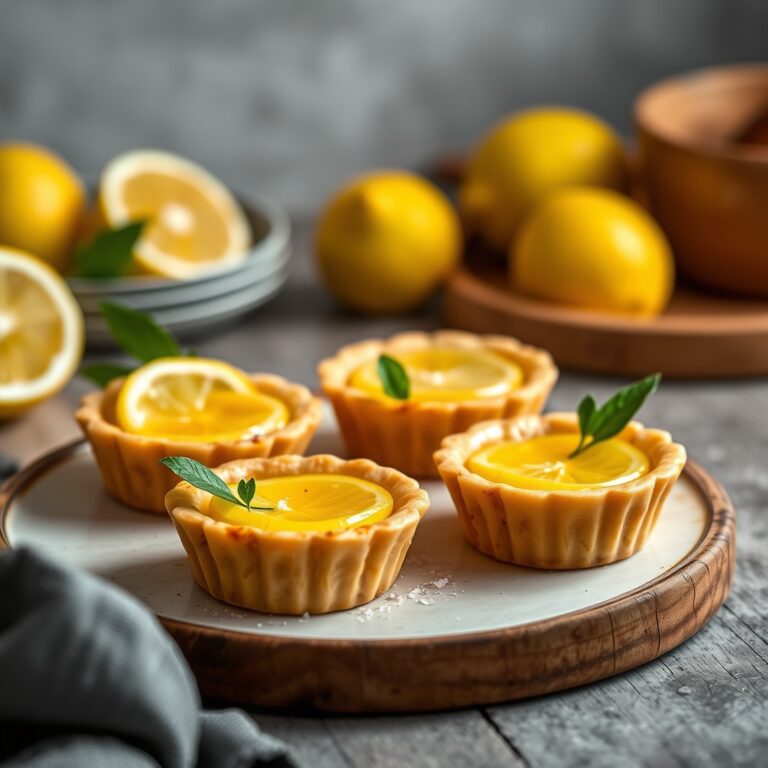
– Fruit Preserves or Nutella: Choose your favorite fruit preserves (like strawberry, raspberry, or blueberry) or decadent Nutella for a rich chocolate filling.
– Egg Wash: A mixture of beaten egg and water adds a beautiful, golden finish to your pop tarts.
Having these ingredients ready will set the stage for a delightful baking experience.
Prepare the Dough

Creating the perfect dough is crucial for achieving that signature pop tart texture. The following steps will guide you through the dough preparation process:
– Mixing: In a large mixing bowl, combine 2 cups of all-purpose flour and 1/4 cup of granulated sugar. Add 1/2 cup of cold, cubed unsalted butter and mix using a pastry cutter or your fingers until the mixture resembles coarse crumbs.
– Adding Water: Gradually add 4-6 tablespoons of cold water, one tablespoon at a time, mixing until the dough holds together. Be careful not to overwork the dough, as this can lead to a tough texture.
– Chilling: Once the dough is formed, wrap it in plastic wrap and chill in the refrigerator for at least 30 minutes. Chilling the dough allows the butter to firm up, resulting in a flakier crust after baking.
This step is essential for ensuring your pop tarts have a melt-in-your-mouth quality.
Roll Out and Cut the Dough
Once your dough has chilled, it’s time to roll it out and cut it into the desired shapes. Here’s how to do it effectively:
– Rolling: On a floured surface, roll the chilled dough out to about 1/8 inch thick. Using a rolling pin will help achieve an even thickness, which is important for uniform baking.
– Cutting: Use a sharp knife or a pizza cutter to cut the dough into rectangles, typically measuring about 3×4 inches. You can also create fun shapes using cookie cutters if you prefer a more whimsical presentation.
– Uniformity: Aim for even pieces to ensure that all pop tarts bake at the same rate. This will help avoid undercooked or overcooked edges.
The rolling and cutting process is where creativity can flourish, so feel free to experiment with shapes and sizes.
Fill the Pop Tarts
Now comes the fun part—filling your pop tarts! This step allows you to personalize each pastry with your favorite flavors:
– Adding Filling: Spoon a generous amount of your chosen filling (about 1-2 tablespoons) onto half of the dough rectangles. Be careful not to overfill, as this can lead to spillage during baking.
– Sealing the Edges: Leave about a 1/4-inch border around the filling to allow for sealing. Top each filled rectangle with a second piece of dough and press down the edges to seal securely.
– Crimping: For an extra touch, use a fork to crimp the edges, ensuring that the filling stays locked inside while baking.
This is where you can truly express your culinary creativity, as the filling can be tailored to suit your palate.
Bake to Perfection
Baking your pop tarts to perfection requires attention to temperature and timing:
– Preheating: Preheat your oven to 375°F (190°C) to ensure even cooking.
– Baking Sheet: Place the prepared pop tarts on a baking sheet lined with parchment paper. This will prevent sticking and make cleanup easier.
– Baking Time: Bake for 20-25 minutes, or until the pop tarts are golden brown. Keep an eye on them towards the end of the baking time to avoid burning.
The delightful aroma that fills your kitchen will be a testament to the deliciousness that awaits you.
Make the Icing
No pop tart is complete without a sweet glaze. Here’s a simple icing recipe to elevate your treats:
– Icing Ingredients: Combine 1 cup of powdered sugar with 2-3 tablespoons of milk and 1/2 teaspoon of vanilla extract. Adjust the consistency by adding more milk if necessary.
– Drizzling: Once the pop tarts have cooled, drizzle the icing over the top. You can use a spoon or a piping bag for more control over the design.
– Optional Toppings: Consider adding sprinkles or a dusting of cinnamon for an extra flair.
A well-iced pop tart not only looks appealing but also adds a deliciously sweet layer to the overall flavor.
Enjoy Your Homemade Treats
After all your hard work, it’s time to enjoy the fruits of your labor:
– Serving Suggestions: Serve the pop tarts warm or at room temperature. For an even more indulgent experience, pair them with a glass of cold milk or your favorite beverage.
– Storing: If you have leftovers, store them in an airtight container at room temperature for up to a week. You can also freeze them for longer storage.
Enjoying your homemade pop tarts is not just about the taste, but also about the joy of creating something delicious from scratch.
Top 7 Filling Options for Pop Tarts
| # | Filling | Popularity (%) | Sugar Content (g) | Calories (per pop tart) |
|---|---|---|---|---|
| 1 | Strawberry | 35% | 12g | 200 |
| 2 | Blueberry | 25% | 10g | 210 |
| 3 | Raspberry | 20% | 11g | 205 |
| 4 | Nutella | 15% | 14g | 230 |
| 5 | Peach | 10% | 9g | 190 |
| 6 | Chocolate | 8% | 16g | 240 |
| 7 | Lemon | 7% | 10g | 195 |
Popularity of Pop Tart Fillings
Indulging in Taylor Swift’s pop tart recipe is a delightful way to bring a bit of her charm into your kitchen. With simple ingredients and easy steps, you can create a nostalgic treat that’s perfect for any occasion. So grab your apron, get baking, and enjoy this sweet homage to one of pop culture’s favorite icons! Whether you’re enjoying them solo or sharing with friends, these pop tarts are sure to evoke smiles and satisfaction with every bite.
Frequently Asked Questions
What are the main ingredients for the Taylor Swift pop tart recipe?
The main ingredients for the Taylor Swift pop tart recipe include flour, sugar, butter, and a filling of your choice, typically fruit preserves or chocolate. Additionally, you will need eggs, vanilla extract, and a pinch of salt for the pastry dough, along with powdered sugar for the icing.
How do I make the homemade pop tarts inspired by Taylor Swift?
To make homemade pop tarts inspired by Taylor Swift, start by mixing your dry ingredients and then cutting in butter until the mixture resembles coarse crumbs. Next, combine the wet ingredients, form the dough, chill it, and roll it out. Cut into rectangles, fill with your desired filling, seal the edges, and bake until golden brown.
Why are Taylor Swift pop tarts so popular among fans?
Taylor Swift pop tarts have gained popularity among fans due to their unique blend of nostalgia and creativity, mirroring the artist’s playful personality. They also allow fans to recreate a fun, sweet treat that connects them to her music and brand, making it a delightful way to celebrate her artistry.
What is the best filling for Taylor Swift-inspired pop tarts?
The best filling for Taylor Swift-inspired pop tarts largely depends on personal preference, but popular options include strawberry jam, blueberry preserves, or Nutella for a chocolate twist. Each filling offers a different flavor experience, allowing fans to customize their pop tarts to their liking.
Which tools do I need to make Taylor Swift pop tarts at home?
To make Taylor Swift pop tarts at home, you’ll need basic baking tools such as a mixing bowl, rolling pin, pastry cutter, and a baking sheet. Having a fork to crimp the edges and a pastry brush for applying egg wash will also help achieve that perfect homemade look and texture.
References
- Taylor Swift
https://en.wikipedia.org/wiki/Taylor_Swift - https://www.bbc.com/news/entertainment-arts-49400512
https://www.bbc.com/news/entertainment-arts-49400512 - https://www.nytimes.com/2021/06/30/food/taylor-swift-pop-tarts-recipe.html
https://www.nytimes.com/2021/06/30/food/taylor-swift-pop-tarts-recipe.html - https://www.theguardian.com/music/2021/jun/30/taylor-swift-pop-tarts
https://www.theguardian.com/music/2021/jun/30/taylor-swift-pop-tarts - Google Scholar Google Scholar
https://scholar.google.com/scholar?q=taylor+swift+pop+tart+recipe - Google Scholar Google Scholar
https://scholar.google.com/scholar?q=pop+tart+recipe+influences+on+popular+culture - Google Scholar Google Scholar
https://scholar.google.com/scholar?q=Taylor+Swift+food+influence - https://www.nytimes.com/2022/10/18/food/taylor-swift-pop-tarts.html
https://www.nytimes.com/2022/10/18/food/taylor-swift-pop-tarts.html - https://www.reuters.com/lifestyle/taylor-swift-pop-tarts-recipe-2021-06-30/
https://www.reuters.com/lifestyle/taylor-swift-pop-tarts-recipe-2021-06-30/ - https://www.sciencedirect.com/topics/food-science/pop-tarts
https://www.sciencedirect.com/topics/food-science/pop-tarts