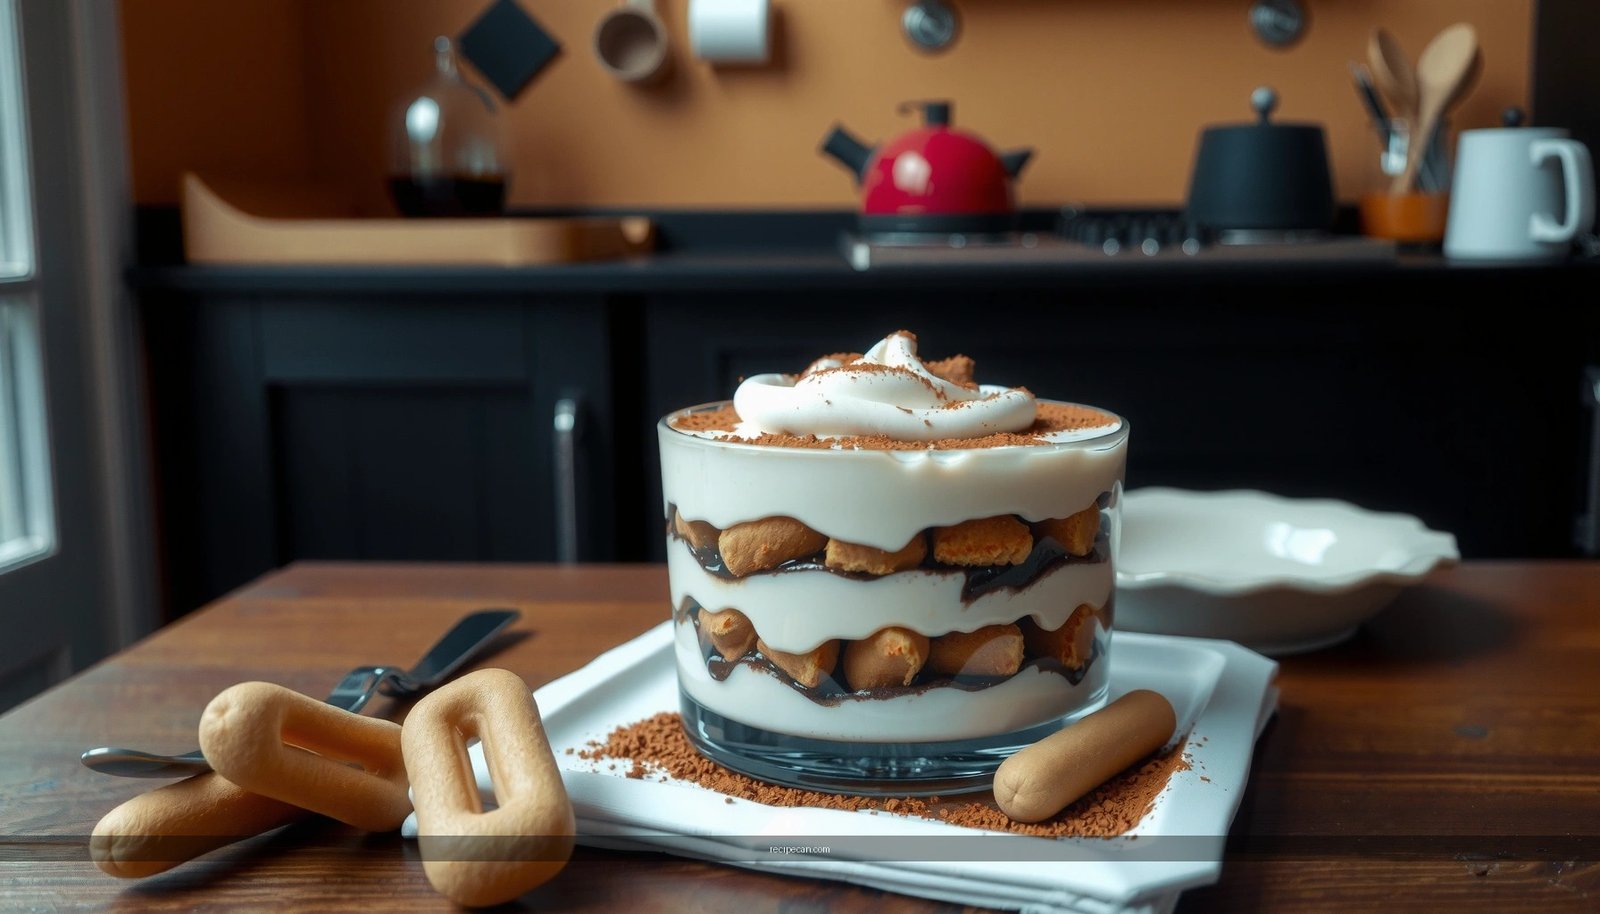
Get the classic tiramisu recipe with mascarpone cheese, including the exact steps and the no-fail tips that make the custard slice clean instead of runny. This recipe answers how to whip mascarpone to the right texture, fold it without deflating, and build distinct coffee-soaked layers that hold their shape. Follow it and you’ll get the traditional, restaurant-style finish every time.
Make a creamy tiramisu by whisking mascarpone into a stable, silky cream and layering it with quickly dipped ladyfingers—then chill long enough to set for clean slices. In the sections below, you’ll get exact assembly steps, professional folding technique for the mascarpone, and refrigeration timing so your classic tiramisu comes out smooth, not runny.
Ingredients for Tiramisu with Mascarpone

– Gather mascarpone cheese, eggs (or a no-egg option), sugar, espresso, and ladyfingers
– Add cocoa powder and optional vanilla for extra flavor
To make a truly “classic” tiramisu with mascarpone cheese, your ingredient quality matters as much as your method. Use mascarpone that is fresh and full-fat (typically 60–65% butterfat depending on brand), because its richness is what gives the dessert its characteristic creamy body. For espresso, choose a dark roast and brew it strong—tiramisu relies on bold coffee flavor to balance the sweetness of the mascarpone mixture.
Recommended ingredient details (practical guidance):
– Mascarpone: 500 g (about 2 cups). Cold mascarpone creams up more reliably.
– Eggs (classic version): 3 large eggs, separated (whites for optional airy lift).
– Sugar: 80–100 g granulated sugar, adjusted to taste based on how bitter your espresso is.
– Espresso: 1 to 1½ cups (about 240–360 ml), cooled to room temperature (or slightly warm, not hot).
– Ladyfingers: 24–36 pieces depending on pan size and how thick you layer.
– Cocoa powder: unsweetened, for the top (and optional light dusting between layers).
– Optional vanilla: a few drops or 1 tsp vanilla extract to round out the espresso notes.
Quick reference: ingredient choices that affect texture
Tiramisu Component Ratios for a 20×20 cm (8×8 in) Pan
| # | Component | Target Amount | Role in Texture | Quality Impact |
|---|---|---|---|---|
| 1 | Mascarpone | 500 g | Core cream body | High ★★★★★ |
| 2 | Egg yolks | 3 yolks | Emulsion & stability | High ★★★★☆ |
| 3 | Egg whites | 3 whites | Light, whipped lift | Medium-High ★★★★☆ |
| 4 | Sugar | 90 g | Sweetness + texture control | Medium ★★★☆☆ |
| 5 | Espresso (cooled) | 300 ml | Flavor + quick soak | High ★★★★★ |
| 6 | Ladyfingers | 30–34 pieces | Structure layers | High ★★★★☆ |
| 7 | Cocoa (final dust) | 2–3 tbsp | Aroma + visual finish | Medium ★★★☆☆ |
Make the Mascarpone Cream

– Whip the mascarpone with sugar until smooth and creamy
– If using eggs, separate and fold whipped whites for a lighter texture
The mascarpone cream is where professional tiramisu succeeds or fails. The target is smoothness, stability, and controlled air. If you overmix, mascarpone can become grainy; if you undermix, it won’t hold layers cleanly.
Classic (egg) method for best texture
1. Separate eggs: keep yolks in one bowl and whites in another. Ensure whites are free of yolk and grease.
2. Whip mascarpone + sugar: beat mascarpone and sugar until glossy and lump-free. Stop once smooth—don’t whip aggressively to the point of warming.
3. Whip egg whites to soft peaks: you want a creamy foam that holds shape but still looks supple. Soft peaks fold easily and won’t deflate as fast.
4. Fold whipped whites into mascarpone: add whites in 2–3 additions. Use a spatula and fold gently from the bottom up, turning the bowl as you go. This preserves volume and keeps the cream airy.
Why folding matters
Folding is essentially a low-shear technique: it maintains the air bubbles created by whipping the whites, so your mascarpone mixture feels lighter while still staying thick enough for slicing after chilling.
No-egg option (still classic-style)
If you prefer a no-egg mascarpone tiramisu, focus on stability:
– Use mascarpone at full fat.
– Whisk mascarpone with sugar until smooth.
– For lift, some cooks fold in lightly whipped heavy cream (e.g., 200–250 ml, whipped to soft peaks). This mimics the airiness that egg whites provide—without raw egg concerns.
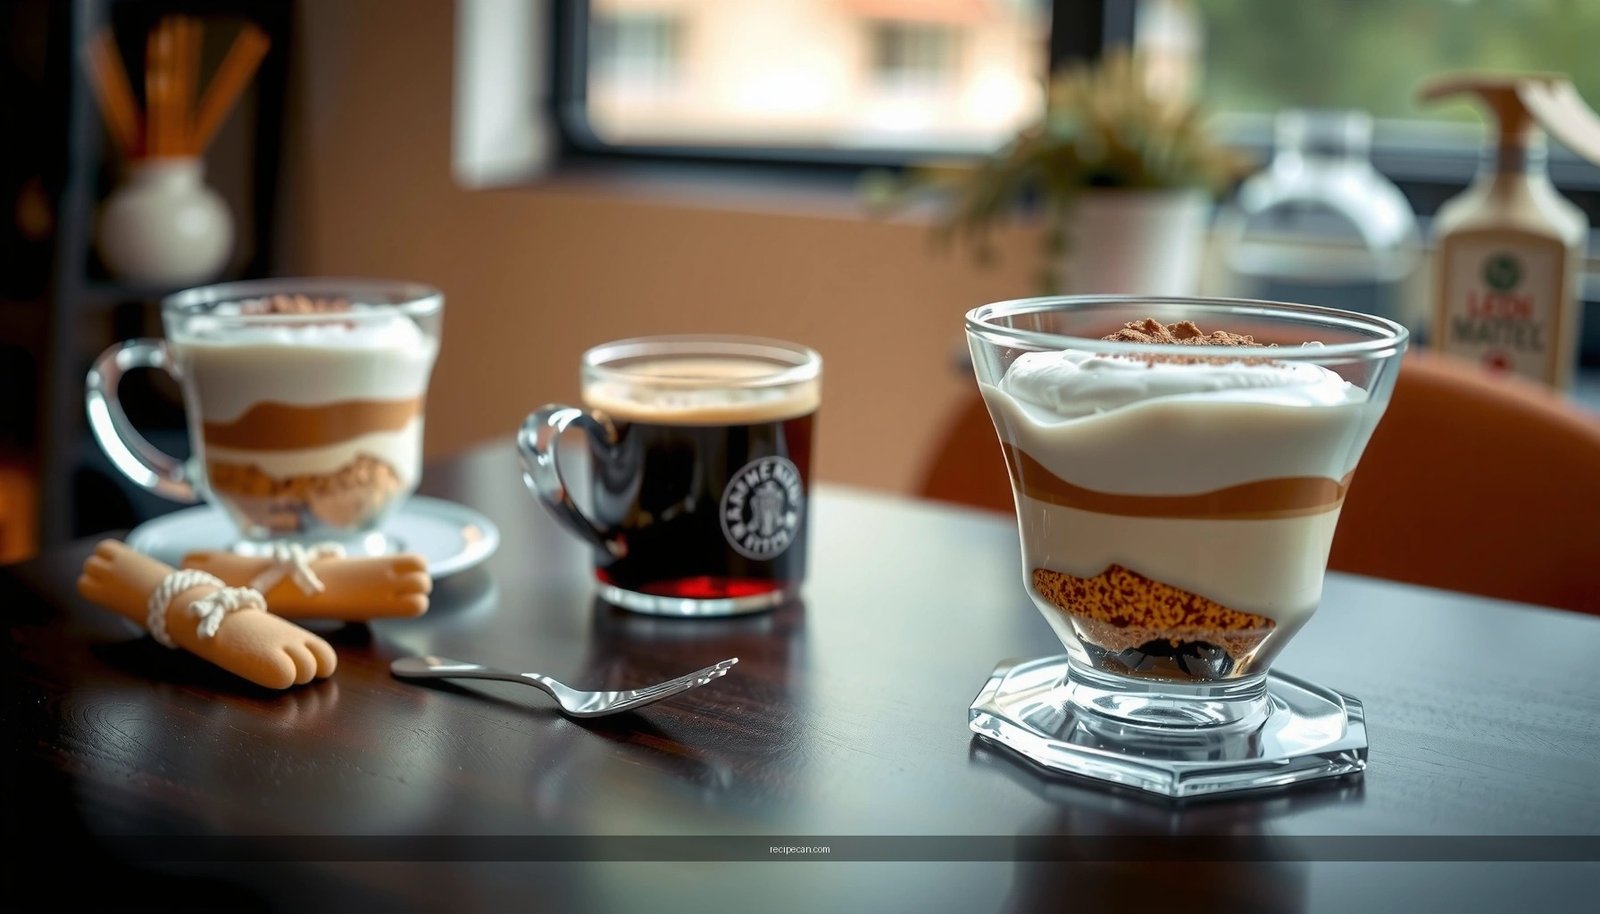
Prepare the Coffee Soak

– Brew strong espresso and let it cool slightly before dipping
– Dip ladyfingers quickly to prevent sogginess
Coffee soak strategy determines whether your tiramisu is elegant or soggy. Ladyfingers are designed to absorb liquid, so the technique is to control contact time and avoid oversaturation.
How to brew and cool
– Brew espresso (or very strong coffee) and cool it to room temperature.
– Hot espresso melts structure and can thin cream through condensation during layering.
– If you like, add a teaspoon of sugar to the espresso if your coffee is very bitter, but don’t make it sweet enough to become dessert syrup.
Exact dipping method
– Dip each ladyfinger just long enough to coat the surface, usually 1–2 seconds per side.
– Place dipped ladyfingers immediately on the tray or pan.
– If the ladyfingers soften too much, your espresso is too warm, your dipping time is too long, or the ladyfingers are unusually thin.
Operational tip: Work in batches. Dip, lay, then move on. This keeps the soaking consistent and avoids a “pooling” effect where excess coffee collects at the bottom.
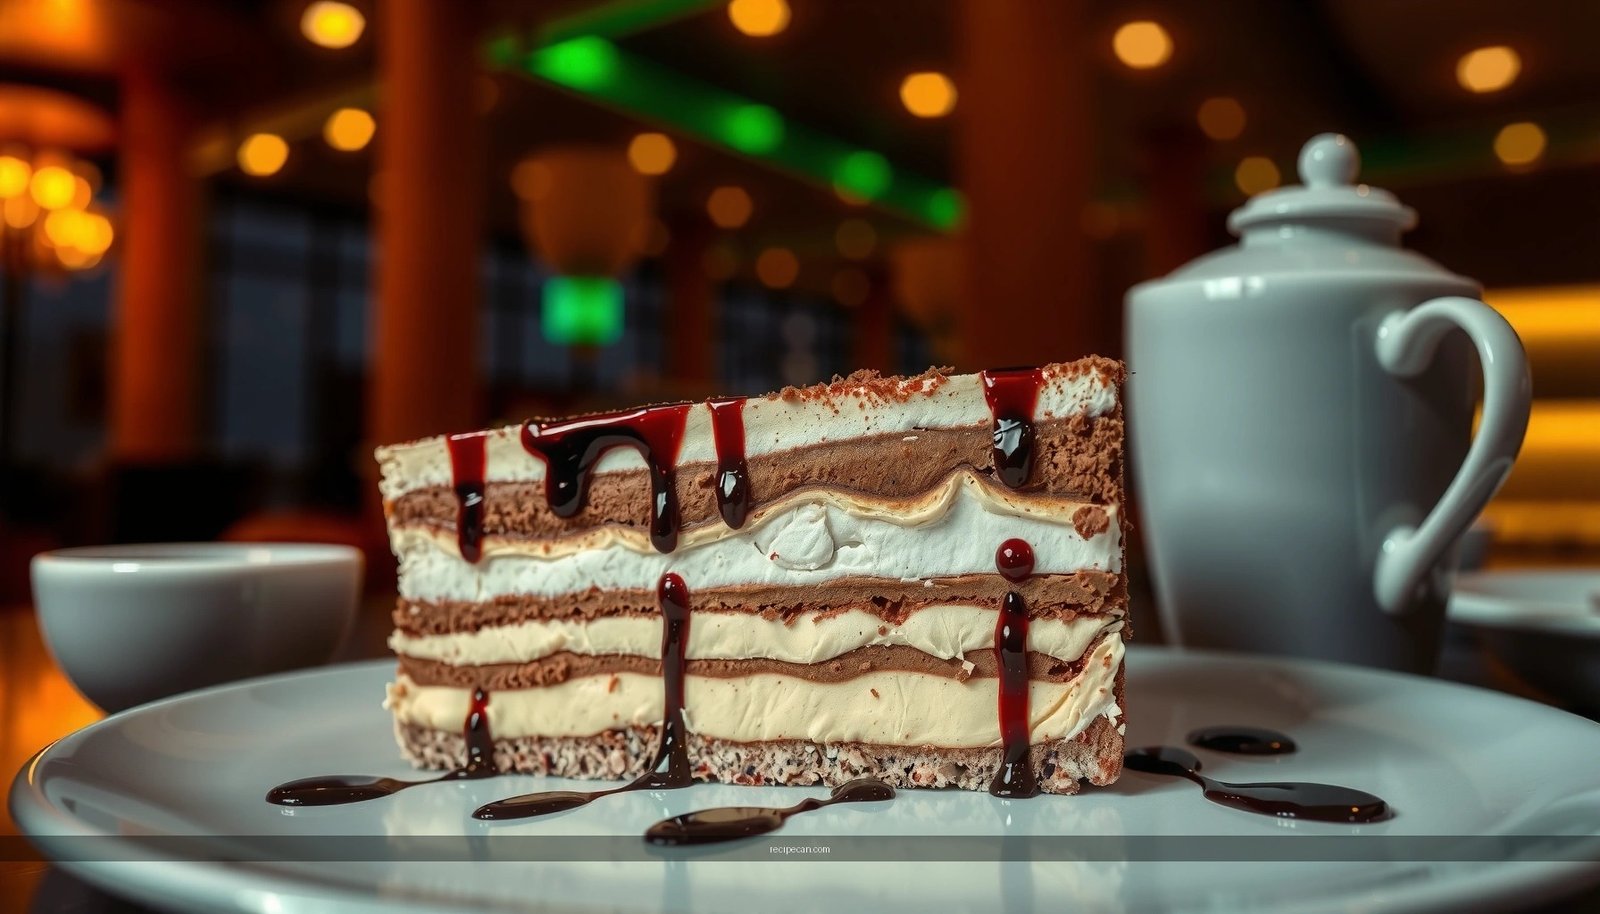
Assemble the Tiramisu Layers
– Layer dipped ladyfingers, then mascarpone cream, repeating until full
– Finish with a final cream layer for the best structure
Tiramisu assembly is both a craft and a logistics task. Your goal is evenly distributed layers that remain distinct after chilling.
Standard layering approach (for an 8×8 in / 20×20 cm pan)
1. Base layer: Arrange dipped ladyfingers to cover the bottom completely. It’s fine if they overlap slightly—this prevents cream gaps.
2. First cream layer: Spread half of the mascarpone cream evenly. Use an offset spatula for smooth, level coverage.
3. Second layer: Repeat with another layer of quickly dipped ladyfingers.
4. Final cream layer: Add the remaining mascarpone cream and smooth the top. A final cream layer is important because it:
– creates clean edges for slicing,
– protects the top from cocoa moisture absorption,
– enhances spoon-lifting texture.
Consistency checks
– If you see exposed ladyfingers at the top, the mousse/cream will be more porous and slices may crumble.
– If cream is spreading too thin, your mascarpone might be too warm or not fully whipped.
Make it neat for service
– Chill the filled pan for at least 4 hours before final cocoa dusting.
– Before serving, wipe the outside of the pan edges for crisp presentation.
When does tiramisu “set”?
Below is a practical timing guide that aligns with how mascarpone creams firm up in a refrigerator.
Recommended Chilling Windows for Clean Slices
| # | Chill Duration | Cream Set | Slice Cleanliness | Best Use |
|---|---|---|---|---|
| 1 | 2 hours | Partial | ★★☆☆☆ | Last-minute topping |
| 2 | 4 hours | Good | ★★★★☆ | Dinner-ready |
| 3 | 6 hours | Very good | ★★★★★ | Best slicing |
| 4 | Overnight (8–12 hours) | Optimal | ★★★★★ | Maximum texture & flavor melding |
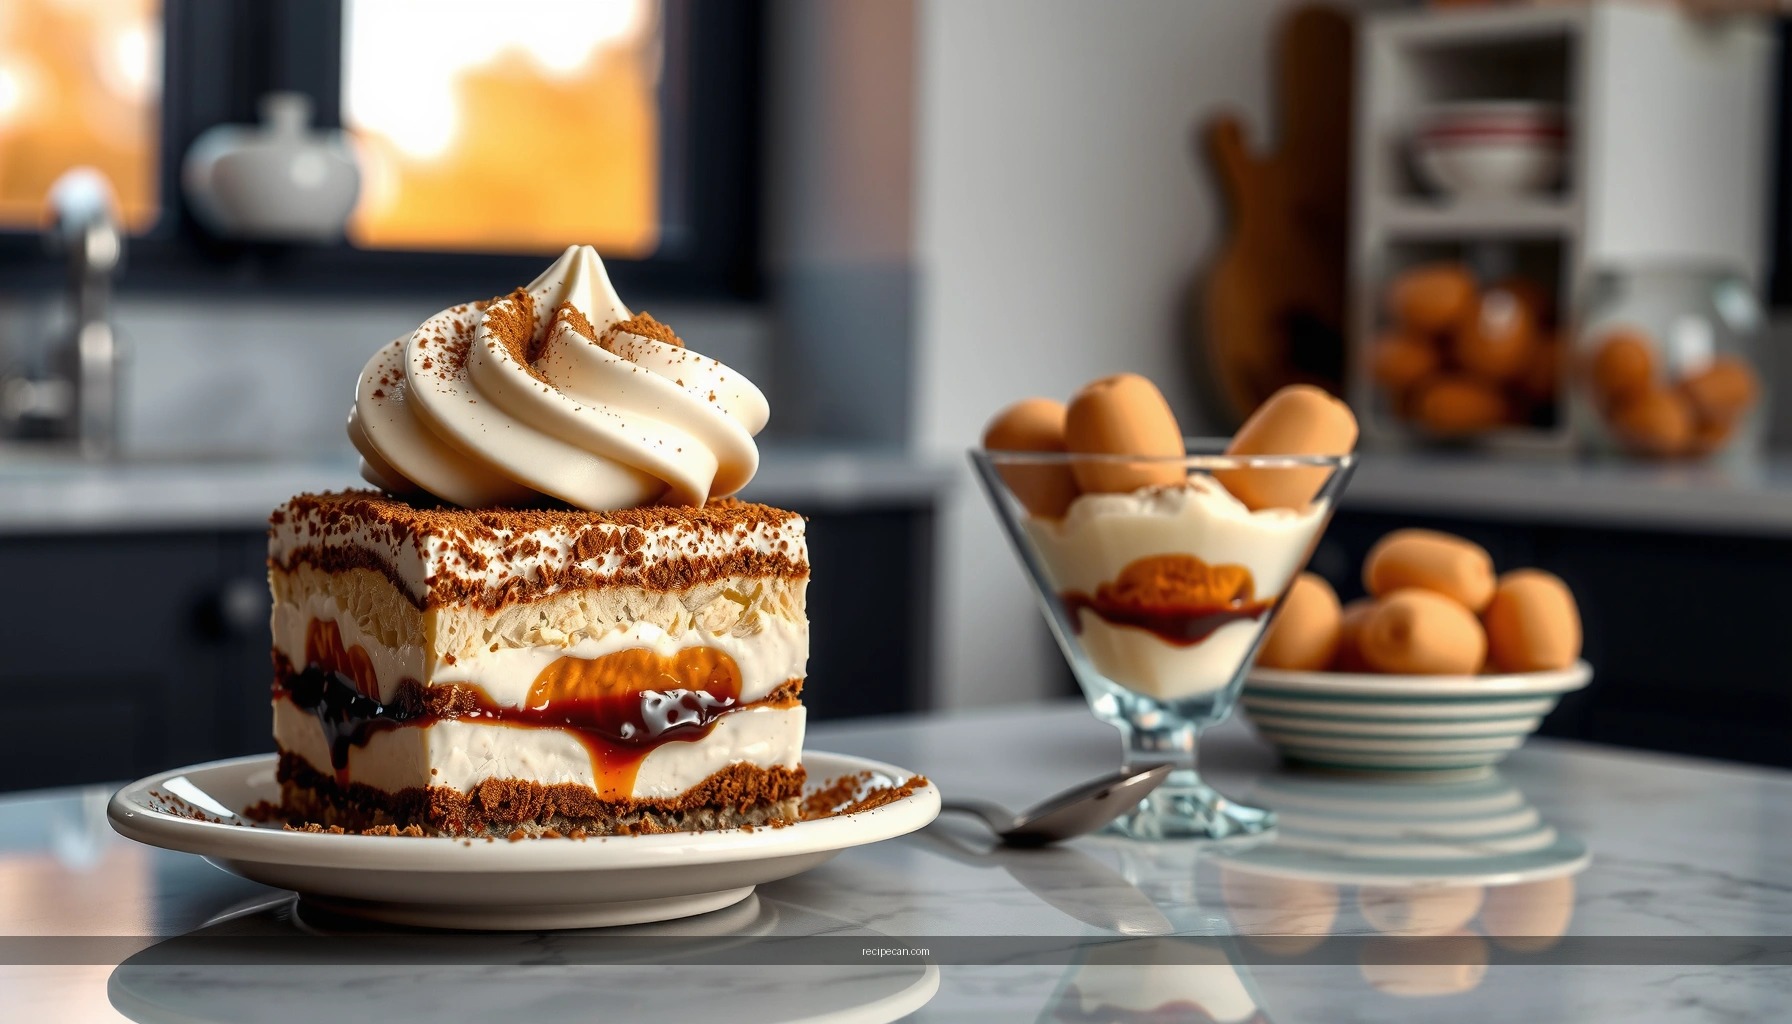
Chill and Serve
– Refrigerate at least 4–6 hours (overnight is best) to set the layers
– Dust generously with cocoa powder right before serving
Chilling does two jobs: it firms the mascarpone cream and lets the coffee soak distribute through the ladyfingers so each bite tastes balanced. Plan ahead—this is not a “make and eat immediately” dessert if you want clean slices and a cohesive texture.
Serving best practices
– Right before serving: dust cocoa powder generously. If you dust earlier, moisture from the cream can dull the cocoa’s aroma and cause it to clump.
– Slice with a warmed knife: run a knife under hot water, wipe, then cut. Warm blades reduce drag and keep the cream smooth.
– Portion size matters: use consistent squares for a professional presentation—especially if you’re serving guests or for catering.
Storage note (for quality)
– Cover and refrigerate. Tiramisu is best within 24–48 hours for peak texture, though it will still taste great after that if stored properly.
Troubleshooting Common Tiramisu Issues
– Fix runny cream by ensuring mascarpone is fully chilled and properly whipped
– Avoid watery layers by dipping ladyfingers briefly and not oversoaking
Even experienced cooks hit issues occasionally. The good news: most tiramisu problems come from a small number of controllable variables—temperature, technique, and timing.
1) Runny or thin mascarpone cream
What causes it
– Mascarpone was too warm before mixing.
– Not whipped enough to dissolve sugar and smooth texture.
– Egg whites (if used) were overfolded or collapsed.
How to fix
– Chill mascarpone (and bowls) before whipping.
– Whip mascarpone + sugar until fully smooth and slightly thickened.
– Fold in whites gently in a few additions—stop as soon as no streaks remain.
– If it already looks runny, chill the mixture briefly (15–20 minutes) to firm up before assembling.
2) Watery coffee layers / soggy ladyfingers
What causes it
– Espresso was hot or too warm.
– Ladyfingers were dipped too long.
– Excess coffee pooled before layering.
How to fix
– Cool espresso to room temperature.
– Dip 1–2 seconds per side and move on immediately.
– Build the layers promptly so the coffee absorbs evenly and doesn’t pool.
– Consider using slightly sturdier ladyfingers if yours are very thin or fragile.
3) Layers collapsing or messy slices
What causes it
– Insufficient chilling time.
– Too much dipping liquid.
– Cream spread unevenly, leaving weak spots.
How to fix
– Chill at least 6 hours (overnight is ideal).
– Ensure the final cream layer is thick and fully covers the top.
– Use an even spreading technique so every square has similar structure.
Tiramisu with mascarpone cheese is all about creamy layers, quick coffee dipping, and enough chilling time. Follow the steps above, let it rest in the fridge, and then serve with a fresh cocoa dusting—make this classic dessert tonight.
If you want, tell me whether you’re using the classic egg version or a no-egg mascarpone method, and what pan size you’re using—I can adjust the exact ladyfinger count and cream amounts for consistent results.
Frequently Asked Questions
What ingredients do I need for a classic tiramisu recipe with mascarpone cheese?
You’ll need mascarpone cheese, eggs (separated), sugar, espresso (or strong brewed coffee), ladyfingers, and cocoa powder for dusting. Many recipes also use vanilla extract and a splash of marsala wine or rum, but those are optional. For food safety and the best texture, use fresh eggs and make sure your mascarpone is at room temperature before mixing.
How do I make tiramisu with mascarpone cheese that doesn’t turn out runny?
Keep the mascarpone mixture properly emulsified by beating the mascarpone with sugar until smooth, then gently fold in egg whites or whipped components to keep it airy. Avoid over-soaking the ladyfingers—dip them quickly in espresso so they absorb flavor without becoming mushy. If your tiramisu seems loose, chill it for at least 4–6 hours (overnight is best) so the mascarpone cream firms up.
Why do I need to separate eggs in tiramisu, and how do I do it safely?
Separating eggs helps create a light, creamy tiramisu filling because yolks add richness while whipped whites add volume. To do it safely, separate the eggs one at a time into a separate bowl before combining, so you don’t ruin the whole batch if a yolk breaks. If you prefer not to use raw eggs, look for a recipe that uses pasteurized eggs or gently tempers the yolks with warm sugar before mixing into the mascarpone.
What’s the best way to soak ladyfingers for tiramisu with mascarpone?
Dip each ladyfinger into espresso for about 1–2 seconds per side, then layer immediately in your dish. This technique prevents sogginess while still giving you the signature coffee flavor in every bite. If your tiramisu uses a splash of liqueur, mix it into the espresso lightly so the balance remains smooth rather than overpowering.
Which cocoa powder and coffee work best for tiramisu with mascarpone cheese?
Use unsweetened cocoa powder (often Dutch-process for a deeper chocolate flavor) for the classic tiramisu finish, and dust it just before serving to keep it from dissolving. For the coffee, use freshly brewed espresso or very strong coffee so the tiramisu has a distinct, not watery, bitterness that balances the sweetness of mascarpone. Grinding and brewing fresh matters most—stale or weak coffee can make the mascarpone filling taste flat.
References
- Google Scholar Google Scholar
https://scholar.google.com/scholar?q=tiramis%C3%B9+mascarpone+recipe - Google Scholar Google Scholar
https://scholar.google.com/scholar?q=mascarpone+cheese+tiramis%C3%B9+emulsion+eggs - Google Scholar Google Scholar
https://scholar.google.com/scholar?q=traditional+Italian+tiramisu+procedure+ladyfingers+espresso - Tiramisu
https://en.wikipedia.org/wiki/Tiramisu - Mascarpone
https://en.wikipedia.org/wiki/Mascarpone - https://www.britannica.com/food/tiramisu
https://www.britannica.com/food/tiramisu - https://cooking.nytimes.com/recipes/1015268-classic-tiramisu
https://cooking.nytimes.com/recipes/1015268-classic-tiramisu - https://en.wikipedia.org/wiki/Ladyfinger_(biscuit
https://en.wikipedia.org/wiki/Ladyfinger_(biscuit - Espresso
https://en.wikipedia.org/wiki/Espresso - Google Scholar Google Scholar
https://scholar.google.com/scholar?q=recipe+for+tiramisu+with+mascarpone+cheese