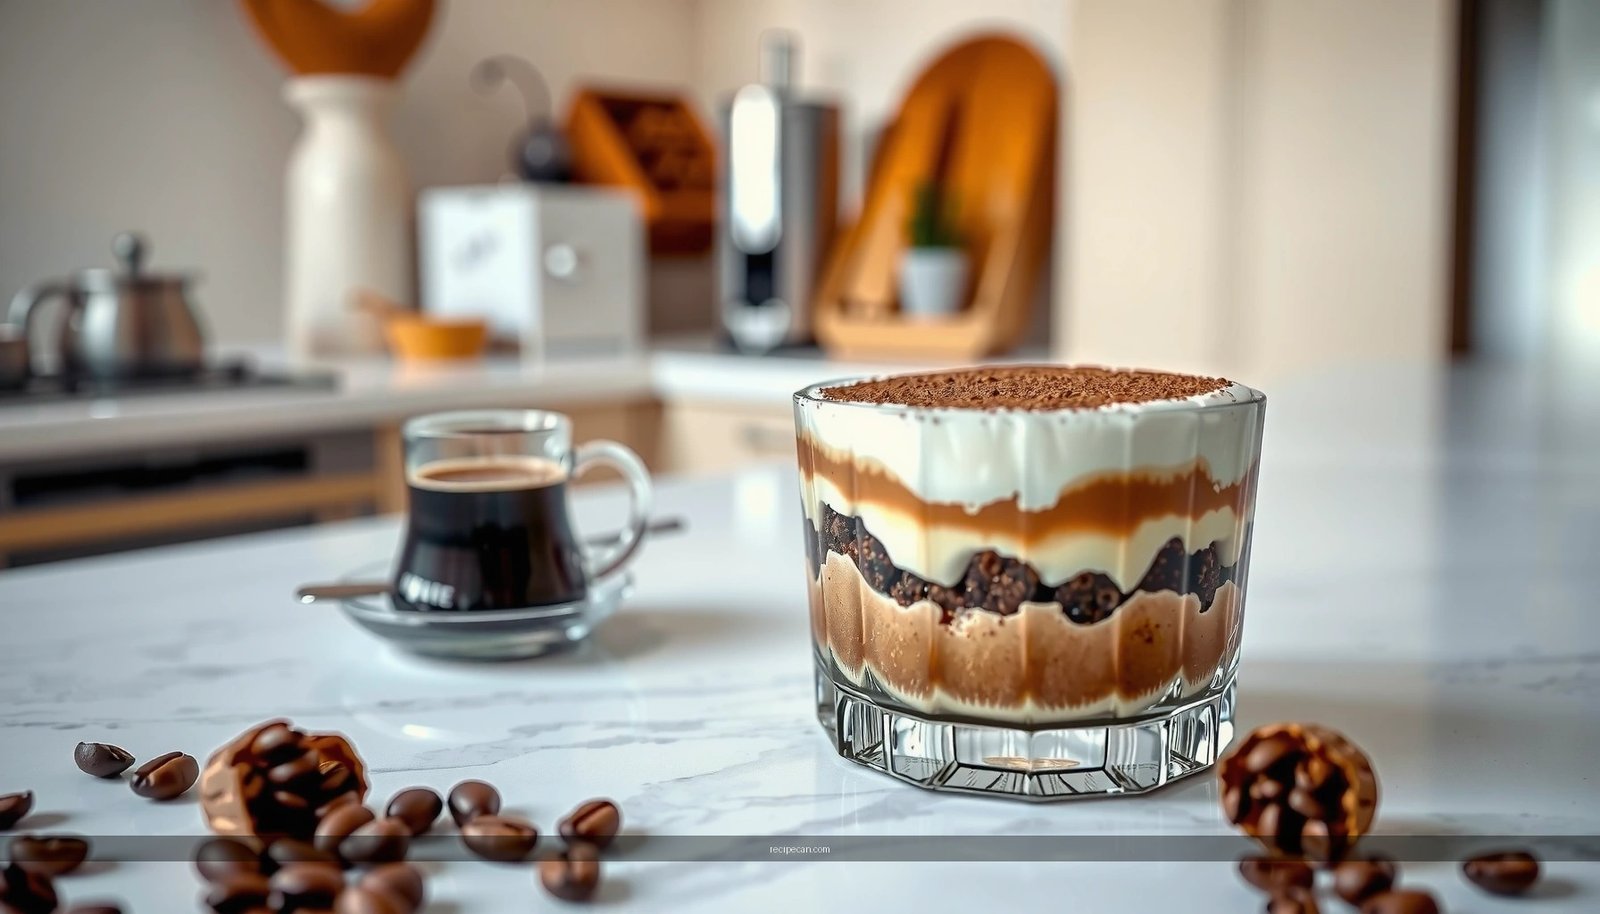
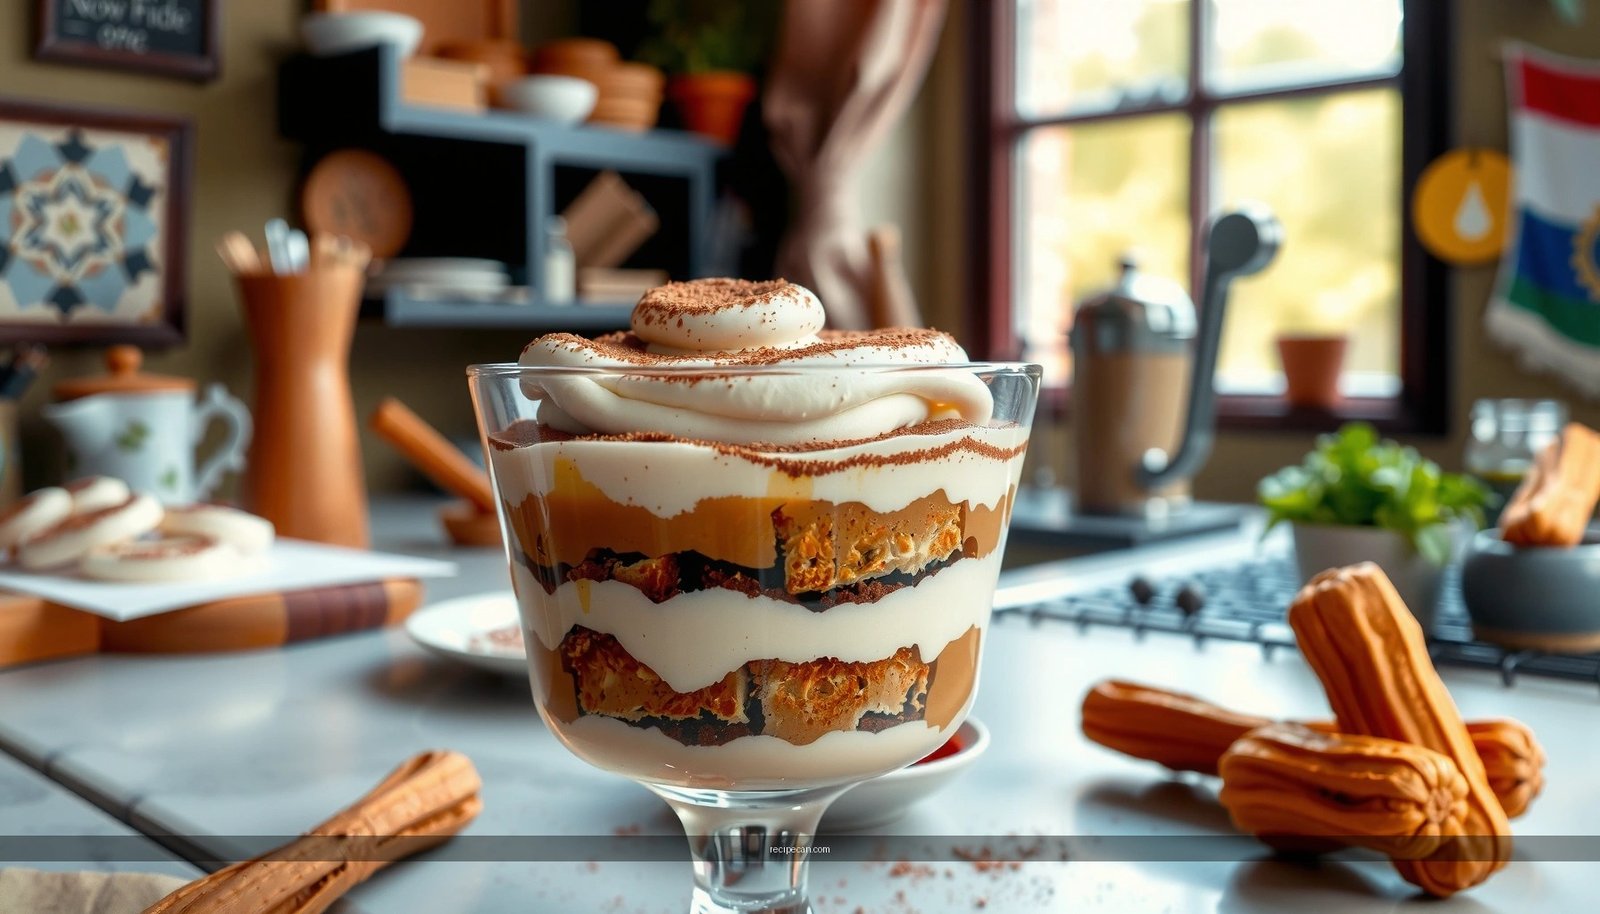
Get a tiramisu cheesecake recipe that lands a creamy, coffee-soaked dessert with a foolproof result—no-bake for the silkiest set or baked for a slightly firmer slice. This method answers the real question: which version you should use to get the texture you want, without risking a runny center. Expect clear steps for the mascarpone filling, espresso layer, and cocoa finish, so every layer holds up from first cut to last fork.
This tiramisu cheesecake recipe delivers the classic espresso-mascarpone flavor in a rich, creamy dessert with an effortless process you can finish either as a no-bake cheesecake or a baked cheesecake. You’ll layer coffee-soaked ladyfingers with a smooth espresso-kissed filling, chill until set, and finish with cocoa for that unmistakable tiramisu finish.
If you’ve ever struggled to choose between “tiramisu” (layered, light, coffee-forward) and “cheesecake” (dense, creamy, sliceable), this hybrid is designed to solve both problems at once. The key is balancing two textures: the creamy mascarpone-cream cheese base and the delicate ladyfinger layer that absorbs coffee without turning gummy. With the methods below, you can tailor the outcome to your schedule—overnight chill for maximum convenience, or a bake for a slightly firmer structure.
Ingredients You’ll Need

– Gather espresso or strong coffee, mascarpone, cream cheese, ladyfingers, and cocoa powder
– Use sugar and vanilla for sweetness and flavor depth
– Choose butter or a simple cookie base if you’re baking a crust
To make a reliable tiramisu cheesecake, treat ingredients as “functions,” not just items on a list. Espresso (or very strong brewed coffee) is the flavor engine—use it cold or at room temperature so you don’t melt the cheesecake filling. Mascarpone contributes the silky, tiramisu-like creaminess, while cream cheese provides structure and tang. Ladyfingers act like edible “sponges,” but only if you soak them briefly and efficiently.
Recommended ingredient choices (practical guidance):
– Coffee: Espresso is best for bold flavor; otherwise use strong coffee brewed at a higher ratio (more grounds or longer steep).
– Ladyfingers: For the cleanest layer, pick plain ladyfingers (savoiardi-style). If they’re very dry, soak even faster.
– Cocoa topping: Use unsweetened cocoa powder for that classic bitter-sweet contrast.
– Sweetener: Granulated sugar dissolves cleanly, helping the filling stay smooth.
– Vanilla: Add for warmth that rounds out espresso’s bitterness.
A note on optional components: Some recipes add gelatin for extra stability in no-bake cheesecake. This article’s approach can work without gelatin if you chill long enough and beat/mix carefully, but gelatin can be used if you want a more “restaurant-like” slice hold. (You’ll see where it fits in the method.)
Make the Tiramisu-Inspired Crust

– Combine crushed cookies (or ladyfingers) with melted butter and press into the pan
– Chill the crust to help it set before adding the filling
– Line the pan for easy removal if desired
A great cheesecake crust isn’t just flavor—it’s the barrier that prevents the coffee layer from “wandering” into the filling. For tiramisu cheesecake, a cookie crust also supports clean slicing because it sets firmly when chilled.
Two crust options (choose one):
1. Classic cookie crust (most reliable):
– Crush vanilla cookies (or digestive biscuits) into fine crumbs
– Mix with melted butter until evenly “sand-like”
– Press firmly into the pan base and up the sides slightly
2. Ladyfinger-style crust (more tiramisu-forward):
– Crush ladyfingers (or lightly toast them, then crush)
– Mix with melted butter
– Press and chill as above
Why chill the crust?
Pressing compacts the crumbs, but chilling firms the butter so the crust holds its shape when you add the filling. Aim for at least 15–30 minutes in the refrigerator.
Process tips that prevent common crust issues:
– Press with intent: Use the bottom of a measuring cup to compress evenly—uneven crust thickness can create soft spots.
– Line the pan if you plan to unmold: Parchment lining makes removal easier and protects your cocoa-dusted top when you slice.
Prepare the Cheesecake Filling

– Beat cream cheese until smooth, then fold in mascarpone
– Add espresso (or coffee) and vanilla for the signature tiramisu taste
– Sweeten to taste and keep the texture light by mixing gently
This is where the cheesecake transforms into tiramisu. You’re not just flavoring cream cheese—you’re creating a cohesive emulsion between tangy cream cheese and buttery mascarpone, then stabilizing it through gentle mixing.
Core technique:
– Beat cream cheese first until no lumps remain.
– Add mascarpone and mix gently until uniform. Overmixing can thin the texture.
– Add espresso and vanilla last, then blend only until incorporated. Espresso adds moisture, so the “mix time” matters.
How to avoid a broken or grainy filling:
– Keep ingredients at room temperature before mixing. Cold cream cheese tends to resist smooth blending.
– Add espresso gradually (especially if it’s strong and concentrated) to prevent thinning.
– Stop mixing once the filling looks glossy and consistent.
If you want extra stability (optional, especially for no-bake):
You can dissolve gelatin into warm coffee (or warm portion of coffee) and then blend it into the filling. This improves slice integrity after chilling. Without gelatin, a long chill time is the primary stabilizer—especially important for tall layers and warmer kitchens.
Coffee absorption strategy (the “texture control” layer)
The tiramisu effect depends on ladyfingers absorbing coffee—but not collapsing. Think of soaking like “welding,” not soaking like a sponge bath.
A good target:
– 1–3 seconds per side (depending on dryness)
– Or quick dip, then immediate placement in the pan
If ladyfingers are too wet, the bottom layer can turn into a soft coffee paste that bleeds into the filling.
Assemble the Tiramisu Layers
– Quick-soak ladyfingers in coffee (briefly to prevent sogginess)
– Layer ladyfingers between cheesecake filling for a classic tiramisu effect
– Smooth the top and tap the pan to remove air bubbles
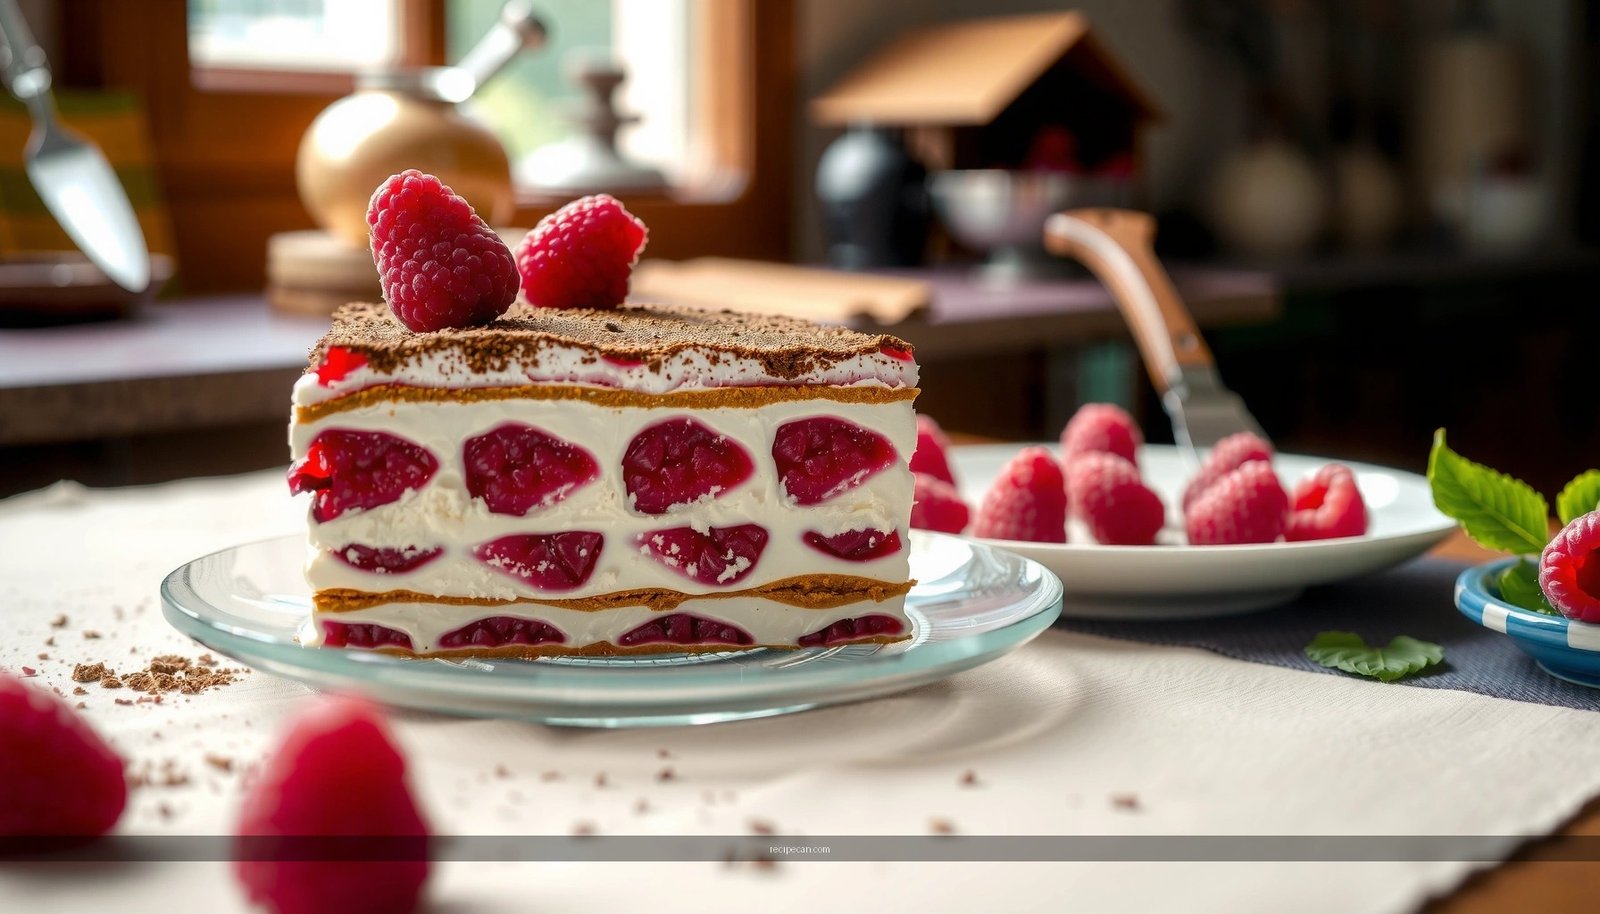
Assembly is where you earn the “professional” look. Cheesecake doesn’t just taste good—it should slice cleanly, with visible strata of ladyfinger and cream.
Step-by-step layering approach:
1. Lay a base layer of ladyfingers
– Dip quickly in coffee and arrange evenly over the crust.
– If you’re using a springform pan, press very gently so gaps don’t form.
2. Add a cheesecake layer
– Spoon filling over the ladyfingers and smooth with an offset spatula.
3. Add a second ladyfinger layer (optional but recommended for classic visuals)
– Repeat the brief soak and placement.
4. Finish with remaining filling
– Smooth the top so it chills evenly and doesn’t form hills.
Reduce air bubbles:
Tap the pan gently on the counter after each major filling addition. This helps air rise to the surface. A slightly smoother surface also makes cocoa dusting look more uniform later.
Suggested bake/no-bake timing comparison (so you plan efficiently)
Tiramisu Cheesecake Setting Time by Method (Chilled)
| # | Method | Prep Time | Active Cook Time | Total Chilling Needed | Slice Consistency |
|---|---|---|---|---|---|
| 1 | No-Bake (Long Chill) | 35 min | 0 min | 8–12 hours | High |
| 2 | No-Bake (Gelatin-Assisted) | 40 min | 5–10 min | 5–8 hours | Very High |
| 3 | Baked (Cooling + Chill) | 30–40 min | 50–70 min | 6–10 hours | High |
| 4 | Baked (Short Chill) | 30–40 min | 50–70 min | 3–5 hours | Medium |
| 5 | No-Bake (Quick Serve) | 35 min | 0 min | 2–3 hours | Low |
| 6 | No-Bake (Overnight) | 35 min | 0 min | 10–14 hours | Very High |
| 7 | Baked (Overnight) | 30–40 min | 50–70 min | 12–18 hours | Very High |
Chill and Set (No-Bake or Bake Options)
– No-bake: chill until fully firm (typically several hours or overnight)
– Bake: bake until set with a slight jiggle, then cool completely
– Refrigerate again before serving for clean slices
You can choose your method based on what your kitchen can support—especially temperature and time. Both approaches produce excellent tiramisu cheesecake results when you respect the set time.
No-bake method (best for convenience):
– After assembling, refrigerate until firm: usually 8–12 hours for best slices.
– If your kitchen is warm, extend the chill—no-bake cheesecakes need time to “lock in” structure.
Bake method (best for firmer texture):
– Bake until the edges are set and the center has a slight jiggle.
– Cool fully before chilling again—rapid temperature changes can affect texture.
– After cooling, refrigerate for 6–10 hours for neat cutting.
Common professional-grade mistake:
Trying to slice too early. Cheesecake needs chilling for fat to re-solidify and proteins to set. If you cut at the “almost there” stage, layers slide and coffee-soaked ladyfingers can smear.
Serve Like a Pro
– Dust generously with cocoa powder right before serving
– Add optional chocolate shavings or extra espresso drizzle
– Slice with a warm knife for neat edges
Serving is part of the final product experience, not an afterthought. A fresh cocoa dusting gives contrast and prevents the top from absorbing moisture too quickly.
Finishing moves that reliably improve presentation:
– Cocoa right before serving: This keeps cocoa from dissolving into a dark, wet surface.
– Add espresso drizzle (optional): Use a light stream or zig-zag pattern for visual cues and intensified coffee aroma.
– Chocolate shavings: They complement cocoa powder and increase perceived decadence.
Slice technique for clean results:
– Use a warm, clean knife (dip in hot water, wipe dry).
– Cut straight down, then wipe the blade between slices.
– Serve chilled; let it sit only briefly if you want a softer bite.
This tiramisu cheesecake recipe combines creamy cheesecake texture with bold espresso-mascarpone flavor and a cocoa-topped finish. Pick the no-bake or bake method that fits your schedule, then follow the layering and chilling steps for the best results. Make it today, chill overnight if possible, and serve it to impress with classic tiramisu vibes in cheesecake form.
Frequently Asked Questions
What makes a tiramisu cheesecake different from classic tiramisu and regular cheesecake?
A tiramisu cheesecake combines the creamy, rich texture of cheesecake with tiramisu flavors like espresso, mascarpone, and cocoa. Unlike classic tiramisu (usually made as layered ladyfingers and custard), this version is baked or set like a cheesecake, giving a denser yet still creamy slice. If you want the bold coffee-and-cocoa taste of tiramisu with the sliceable stability of cheesecake, this hybrid is ideal.
How do I prevent my tiramisu cheesecake from cracking when baking?
Use a water-bath (or place a pan of hot water on the lower rack) to keep the oven temperature more even and reduce cracking. Avoid overmixing the batter once eggs are added, and bake just until the center has a slight wobble, then cool slowly before refrigerating. After baking, let the tiramisu cheesecake cool at room temperature and chill for several hours to help the texture set properly.
Why does my cheesecake taste too bitter or too weak in coffee, and how can I fix it?
Coffee bitterness often comes from using espresso that’s too strong or using it while it’s overly concentrated, while weak flavor usually means the espresso isn’t enough or isn’t absorbed into the dessert. For a balanced tiramisu cheesecake flavor, brew a good espresso and dilute it slightly with milk or cream before folding into mascarpone or soaking components. Taste the mixture before assembling, and consider adding a small amount of cocoa or vanilla to round out the coffee notes.
Which mascarpone substitutes work best if I can’t find mascarpone for tiramisu cheesecake?
If you can’t find mascarpone, common substitutes include a thickened cream cheese blend (mix cream cheese with a bit of heavy cream) or using Greek yogurt with strain-to-thicken for similar tang and creaminess. For the closest tiramisu cheesecake result, aim for a rich, smooth texture and avoid overly watery ingredients. Keep in mind that substitutes can slightly change sweetness and acidity, so you may need to adjust sugar and espresso balance.
What’s the best way to assemble and chill tiramisu cheesecake for clean slices?
For the best texture, chill the tiramisu cheesecake at least 6–8 hours (or overnight) so the filling fully sets and the flavors meld. If you’re adding ladyfingers, quickly dip them in espresso (don’t soak) so they don’t turn the crust or filling watery. Use a warm knife for slicing, wiping between cuts, to keep layers crisp and give consistent, professional-looking slices.
References
- Tiramisu
https://en.wikipedia.org/wiki/Tiramisu - Cheesecake
https://en.wikipedia.org/wiki/Cheesecake - Mascarpone
https://en.wikipedia.org/wiki/Mascarpone - Cheesecake | Dessert, Cream Cheese, Graham Cracker | Britannica
https://www.britannica.com/topic/Cheesecake - Tiramisu | Meaning, Ingredients, Origin, Desserts, & Taste | Britannica
https://www.britannica.com/topic/Tiramisu - Good Food
https://www.bbcgoodfood.com/search?q=tiramisu%20cheesecake - https://pubmed.ncbi.nlm.nih.gov/?term=tiramisu
https://pubmed.ncbi.nlm.nih.gov/?term=tiramisu - Google Scholar Google Scholar
https://scholar.google.com/scholar?q=tiramisu+cheesecake+recipe - Google Scholar Google Scholar
https://scholar.google.com/scholar?q=mascarpone+cheesecake+tiramisu - Google Scholar Google Scholar
https://scholar.google.com/scholar?q=cheesecake+dessert+ingredients+espresso+cocoa+tiramisu