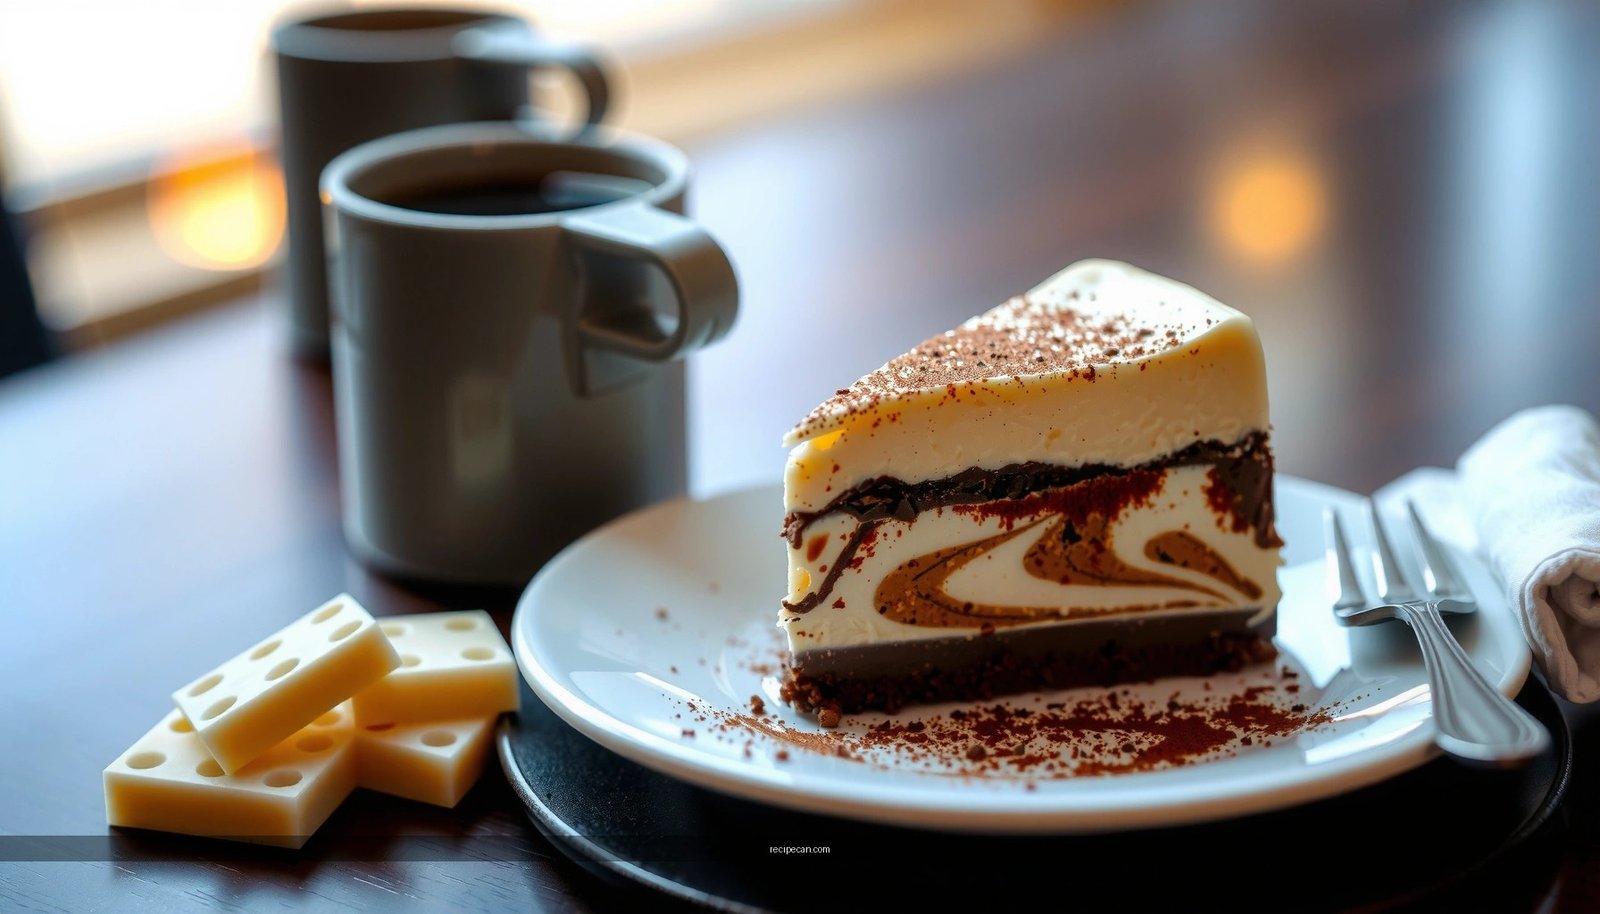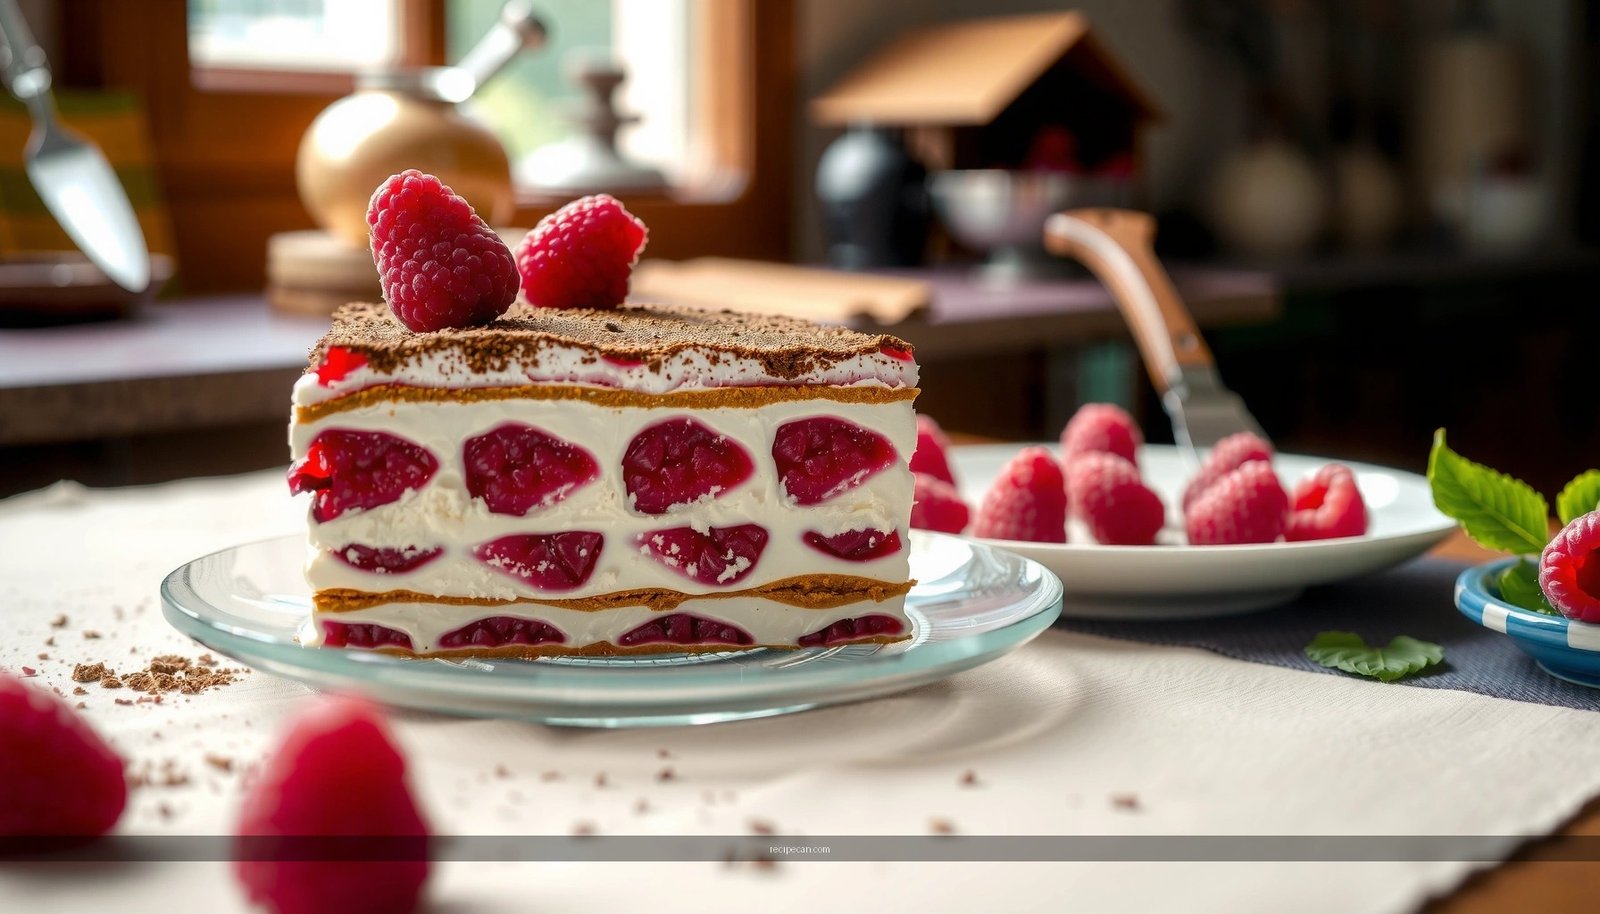
Find out whether a tiramisu raspberry recipe delivers a creamier, fruit-forward dessert without losing the classic coffee-and-cocoa character. This recipe is the clear winner if you want bright raspberry flavor woven into mascarpone, not layered on top. You’ll get the exact method, portions, and finishing steps that produce a sliceable, crowd-pleasing tiramisu every time.
This tiramisu raspberry recipe delivers the classic coffee-mascarpone balance, but with a fresh raspberry layer that tastes bright instead of heavy. Build the dessert with quick coffee dipping (not soaking), a chilled raspberry sauce, and cold, well-whipped mascarpone cream to achieve clean, sliceable layers every time.
This twist works because it respects the physics of tiramisu: ladyfingers are porous and will absorb liquid fast; mascarpone is sensitive to warmth; and fruit mixtures need time to thicken slightly so they don’t bleed into the cream. When you control those three variables, you get a dessert that’s creamy, fruity, and structurally sound—ideal for serving guests or meal-prepping ahead.
Ingredients for Tiramisu Raspberry Recipe

Start by gathering ingredients that map directly to each layer: ladyfingers for structure, coffee for flavor depth, mascarpone cream for richness, and raspberries for tangy fruit brightness.
Essentials
– Mascarpone (full-fat, cold)
– Mascarpone substitute (if needed): pressable “cream cheese-style” alternative such as thick, strained Greek yogurt *or* a high-fat cream cheese blended until smooth (notes on texture below)
– Coffee (espresso or strong brewed coffee, cooled)
– Ladyfingers (savoiardi)
– Raspberries (fresh or frozen)
Sweeteners and flavor boosters
– Sugar for the raspberry layer (granulated or superfine)
– Honey or powdered sugar (optional) to sweeten the mascarpone cream more gently
– Vanilla extract (classic tiramisu flavor pairing)
– Lemon zest or a splash of lemon juice (optional, but helpful for balancing tart berries)
Prep ahead (saves time and prevents mistakes)
– Chill your mascarpone and bowl(s) before whipping.
– Cool the coffee completely before dipping—warm liquid quickly collapses structure.
– Thaw frozen raspberries (if using), and drain excess liquid for a controlled sauce thickness.
– Set up a shallow dish of coffee for fast dipping and a clean spatula for layering.
How Different Liquid Levels Affect Ladyfinger Texture (Tiramisu Raspberry)
| # | Dipping Style | Coffee Contact Time | Expected Result After Chilling | Layer Stability |
|---|---|---|---|---|
| 1 | Quick dip (recommended) | ~1 second per side | Flavorful but still holds shape | High |
| 2 | Standard dip | ~2–3 seconds per side | Softer crumb; still sliceable | Medium-High |
| 3 | Extended dip | ~5 seconds total | Noticeably wet; may smear | Medium |
| 4 | Soak (avoid) | ~10+ seconds | Watery base; liquid pooling | Low |
| 5 | Coffee + raspberry runoff | ~1–2 seconds per side | Best flavor, but watch sauce thickness | Medium-High |
| 6 | Thicker coffee (reduced) | ~1 second per side | More concentrated, less pooling | High |
| 7 | Coffee + extra vanilla steam | ~1 second per side | Aromatic boost without extra moisture | High |
Make the Raspberry Layer

The raspberry layer is where this recipe becomes distinctly “raspberry-tiramisu,” not just vanilla tiramisu with berries on top. Your goal is a sauce that’s flavorful, glossy, and slightly thick after chilling—so it stays between the cream and ladyfingers.
1. Cook raspberries with sugar
– Combine raspberries and granulated sugar in a saucepan over medium-low heat.
– Stir until the sugar dissolves and the mixture becomes glossy (typically 5–8 minutes depending on berry freshness).
2. Add optional brightness
– A small amount of lemon juice (about 1–2 tsp per cup of berries) sharpens the flavor and helps balance the sweetness.
– Lemon zest also works well if you want a more fragrant layer.
3. Choose your texture
– Strain for a seed-free, smooth raspberry layer.
– Leave seeds for a more rustic, punchy fruit profile—especially if you like the “speckled” look against cream.
4. Chill until it thickens slightly
– Transfer to a bowl and refrigerate 15–30 minutes so it cools and thickens just enough to resist mixing into the mascarpone.
Pro tip for better layering: If the raspberry mixture looks thin right after cooking, it will often thicken as it cools. Don’t skip chilling—warm fruit is one of the fastest routes to muddy tiramisu layers.
Prepare the Mascarpone Cream
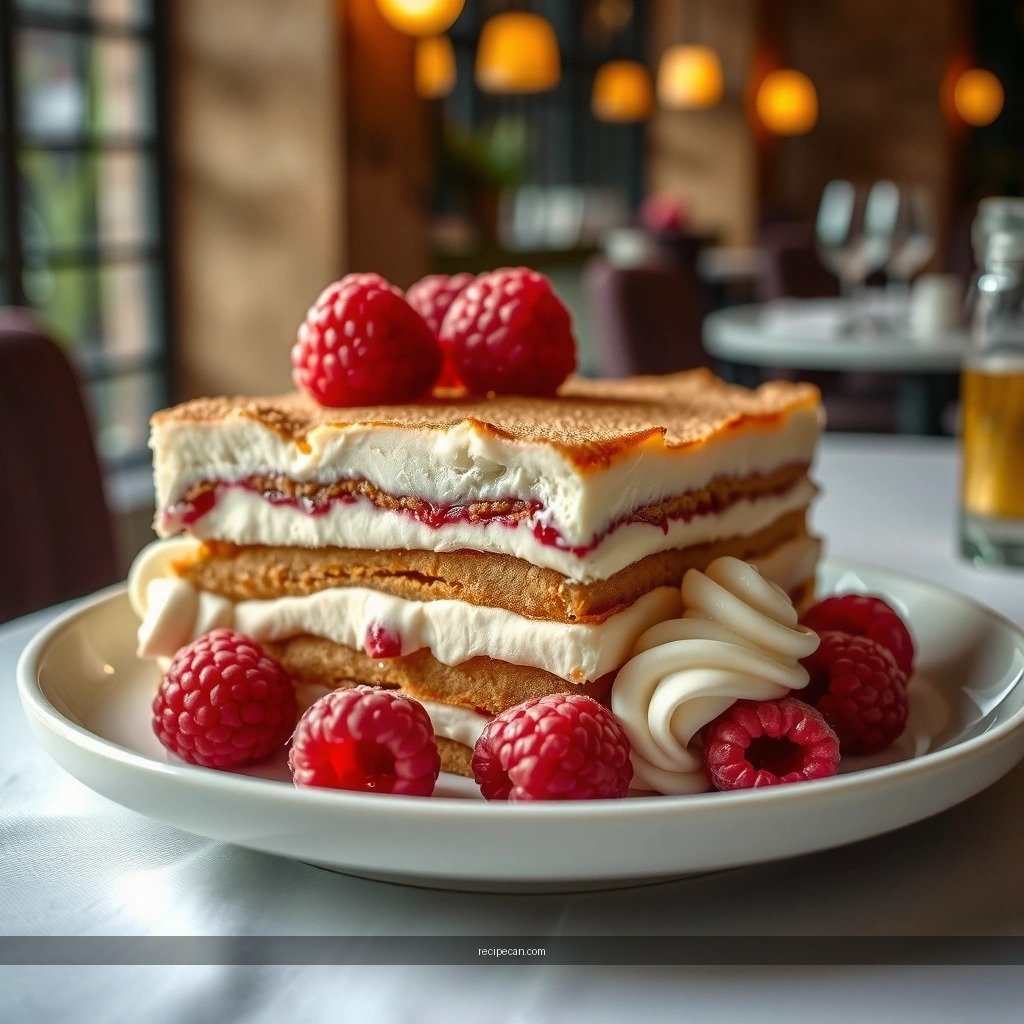
Mascarpone cream is the structural and sensory core of tiramisu. The “secret” isn’t just whisking—it’s controlling temperature, thickness, and sweetness so the cream supports the raspberry tang.
1. Whip mascarpone until smooth
– Use a mixer or whisk to smooth mascarpone in a bowl.
– Stop when it turns creamy and free of lumps—over-whipping can make it grainy.
2. Sweeten for balance
– Add powdered sugar or honey gradually to taste.
– With tart raspberries, you generally need slightly more sweetness than you would for berries like strawberries.
3. Add vanilla
– Mix in vanilla extract for the classic tiramisu profile.
4. Optional: fold in whipped cream
– For a lighter, more spoonable cream, whip cold heavy cream to soft peaks, then fold into mascarpone rather than beating aggressively.
– Folding preserves air without thinning the mixture.
5. Keep it cold
– Place the bowl over a cold water bath for brief mixing breaks, or refrigerate between steps.
– Cold mascarpone is thicker; room-temperature mascarpone can loosen quickly.
If you need a mascarpone substitute:
– High-fat cream cheese can work if you beat it until smooth and use a touch more vanilla and a little extra sugar to mimic mascarpone’s softer sweetness.
– Strained Greek yogurt creates tangier flavor and a firmer set; compensate by sweetening slightly and chilling well to prevent weeping.
Assemble Your Tiramisu Raspberry Layers
Assembly is where success becomes visible. Follow a disciplined routine: control liquid contact time, use chilled components, and build in consistent proportions.
1. Dip ladyfingers quickly
– Dip each side of a ladyfinger into cooled coffee for about 1 second per side.
– Lift and let excess drip briefly—don’t place wet cookies directly into the dish without a quick pause.
2. Start layering
– Layer pattern (repeat as needed):
ladyfingers → raspberry mixture → mascarpone cream
3. Spread evenly
– Use an offset spatula to create a consistent cream layer thickness.
– If your raspberry sauce is seed-heavy, consider spreading it slightly thinner to prevent pooling.
4. Smooth the top
– Finish with mascarpone cream on top.
– Smooth to seal the layers and create a clean finish for cocoa dusting or garnish.
Slicing-ready guidance: If you want perfect edges, assemble in a dish you can portion easily—like a straight-sided 8×8-inch (or similar) pan. Avoid overfilling; thick stacks can taste amazing but can be harder to cut cleanly.
Chill and Serve for Best Results
Tiramisu is a “resting dessert.” The refrigeration time is not optional—it’s when coffee hydrates ladyfingers properly, raspberry flavors meld, and the cream sets into a cohesive slice.
1. Refrigerate
– Chill at least 4–6 hours.
– For the best texture, chill overnight so each layer fully hydrates and firms up.
2. Finish right before serving
– Add fresh raspberries on top (or around the edges) for visual impact.
– Dust with unsweetened cocoa powder using a fine sieve to avoid clumps.
3. Slice with the right tool
– Use a warm knife (run under hot water, wipe dry) for cleaner cuts.
– Wipe the blade between slices—especially important for fruit-layer desserts where seeds can drag.
Serving note: Let the tiramisu sit at cool room temperature for 5–10 minutes before serving if your mascarpone texture feels very firm straight from the fridge.
Common Mistakes to Avoid
Even a great tiramisu recipe can fail if a few key variables go out of range. Here are the most common causes of watery layers, runny cream, or weak flavor.
– Over-soaking ladyfingers leads to watery tiramisu
– Fix: reduce dip time to ~1 second per side and lift to drain.
– Warm mascarpone or whipped cream can cause a runny texture
– Fix: keep cream cold and assemble quickly. If needed, refrigerate your mixture for 10 minutes between steps.
– Under-chilling reduces flavor depth and makes layers harder to set
– Fix: plan for at least 6 hours, preferably overnight.
– Raspberry layer left too warm
– Fix: chill the raspberry mixture until it thickens slightly before spreading.
– Not balancing sweetness
– Fix: taste the raspberry sauce—tart raspberries usually need enough sugar so they don’t dominate over the coffee and cream.
Tiramisu raspberry recipe success comes down to quick coffee dipping, a well-chilled raspberry layer, and cold, fluffy mascarpone cream.
When you keep the process measured—cold dairy, controlled liquids, and sufficient chilling—you’ll get the signature creamy texture without the sogginess that can derail fruit variations. Serve it at your next gathering, and you’ll find that the raspberry flavor reads as “fresh and modern,” not “just toppings.”
Make it today and share your best slice—then try swapping in different berry toppings (like blackberry or mixed berry) if you want to experiment.
In conclusion, this tiramisu raspberry recipe gives you a creamy mascarpone base with a glossy, tangy raspberry layer—built for clean slices and consistent texture. By following the key techniques (rapid coffee dipping, chilled raspberry sauce, cold mascarpone cream, and adequate refrigeration), you’ll achieve a crowd-pleasing dessert that tastes brighter than classic tiramisu while still delivering the comfort of coffee and custard-like richness.
Frequently Asked Questions
What’s the best tiramisu raspberry recipe for beginners?
A beginner-friendly tiramisu raspberry recipe uses simple layers: mascarpone cream, espresso-soaked ladyfingers, and a raspberry swirl or compote. Choose store-bought ladyfingers and make a quick raspberry filling by simmering berries with a little sugar and lemon juice. Chill the assembled dessert for at least 4 hours so the layers set and the tiramisu tastes balanced.
How do you make raspberry tiramisu without curdling the mascarpone?
To prevent curdling, keep the mascarpone mixture cool and avoid overmixing once eggs or dairy are combined. If your recipe includes whipped egg yolks or whole eggs, temper them gradually with warm sugar syrup and whisk until glossy, then fold gently into mascarpone. Using a stable base like mascarpone plus whipped cream (rather than hot dairy directly) helps create a smooth raspberry tiramisu texture.
Why do you need to use cold espresso (or let it cool) in a raspberry tiramisu recipe?
Letting espresso cool helps prevent the ladyfingers from becoming too soggy and keeps the mascarpone layer from separating. In a tiramisu raspberry recipe, the goal is flavor infusion, not soaking to the point of collapse. Dip each ladyfinger briefly, then layer immediately for clean slices and a professional-looking finish.
Which raspberries work best for tiramisu—fresh, frozen, or jam?
Fresh raspberries give the brightest flavor, while frozen raspberries are great year-round and release juice that naturally thickens a sauce. If you want the fastest option, raspberry jam can be folded into the cream or layered as a quick swirl, but it may be sweeter than fresh berries. For most tiramisu raspberry recipes, a homemade raspberry compote from berries (fresh or frozen) offers the best balance of tartness and sweetness.
What’s the best way to layer a raspberry tiramisu for even flavor in every bite?
Use alternating layers: mascarpone cream, quick espresso-dipped ladyfingers, and a thin ribbon of raspberry sauce, then repeat. Keep the raspberry layer consistent in thickness so each slice has both creamy and fruity flavor. After assembling, chill the dessert uncovered for 30 minutes to firm the top, then cover and refrigerate at least 4 hours before serving.
References
- Tiramisu
https://en.wikipedia.org/wiki/Tiramisu - Raspberry
https://en.wikipedia.org/wiki/Raspberry - Mascarpone
https://en.wikipedia.org/wiki/Mascarpone - Lady finger
https://en.wikipedia.org/wiki/Ladyfinger - Tiramisu | Meaning, Ingredients, Origin, Desserts, & Taste | Britannica
https://www.britannica.com/topic/tiramisu - https://www.cdc.gov/foodsafety/communication/eggs.html
https://www.cdc.gov/foodsafety/communication/eggs.html - https://pubmed.ncbi.nlm.nih.gov/?term=tiramisu
https://pubmed.ncbi.nlm.nih.gov/?term=tiramisu - Google Scholar Google Scholar
https://scholar.google.com/scholar?q=tiramisu+raspberry+recipe - Google Scholar Google Scholar
https://scholar.google.com/scholar?q=raspberry+mascarpone+dessert - Google Scholar Google Scholar
https://scholar.google.com/scholar?q=tiramisu+ladyfingers+mascarpone+coffee+savoiardi