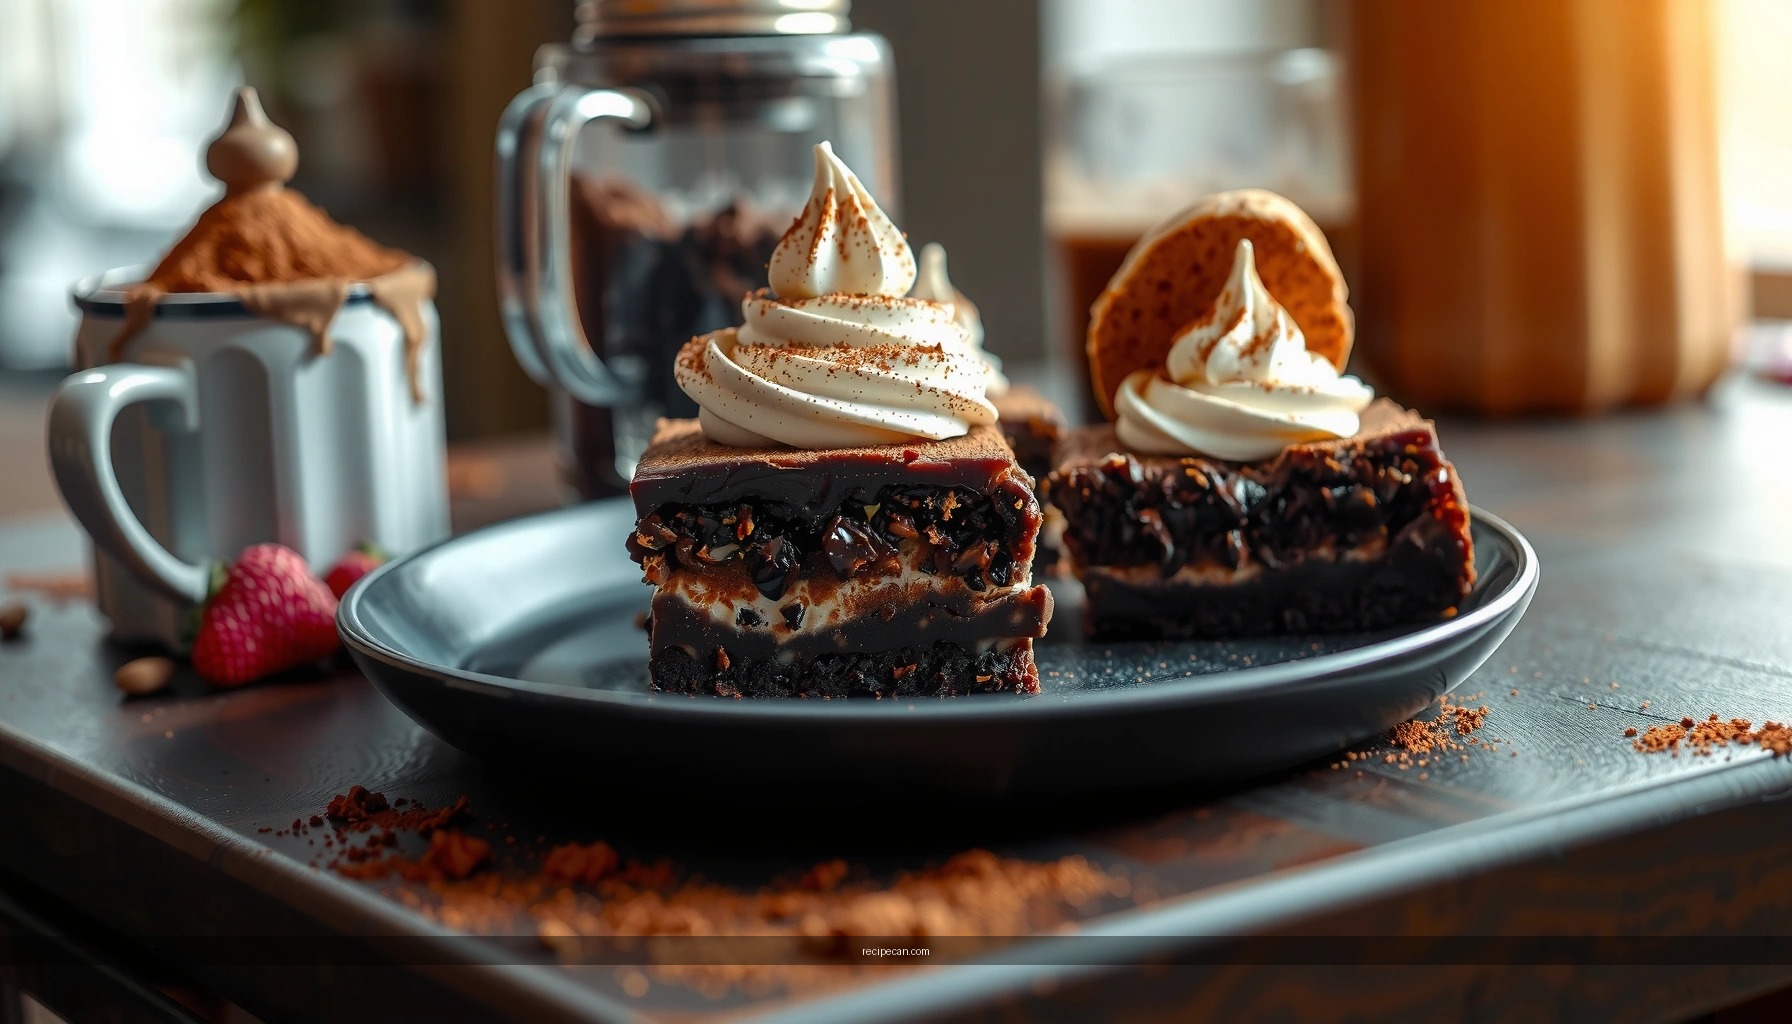
This tiramisu brownies recipe delivers the clear winner: ultra-fudgy chocolate brownies swirled with espresso-soaked mascarpone flavor and finished with cocoa for a true tiramisu bite. If you want a rich coffee-cocoa dessert that tastes like dessert—without the fuss of layering cake—this is the go-to method. Expect bold coffee notes, creamy tang, and clean, sliceable results every time.
You can make tiramisu brownies by baking a fudgy brownie base, layering a smooth mascarpone-style cream, and finishing with coffee notes and a generous cocoa dusting. This approach delivers the classic tiramisu flavors—espresso, creamy mascarpone, and cocoa—while keeping the bite unmistakably brownie-like, with a clean slice when chilled properly.
Fudgy Tiramisu Brownie Ingredients

– Use cocoa, espresso (or strong coffee), butter, and sugar for deep flavor.
– Add eggs and flour for a dense, chewy brownie texture.
– Gather mascarpone (or cream cheese), sugar, vanilla, and a splash of coffee for the cream layer.
To build truly “tiramisu meets brownie” flavor, plan your ingredients around two performance goals: (1) intense, chocolate-forward fudginess and (2) a stable, sliceable mascarpone layer that won’t liquefy into the brownie. For the brownie base, unsweetened cocoa powder does more than add color—it provides a dry, concentrated chocolate backbone that works with butter and eggs to create that dense, chewy crumb. For the tiramisu cream, mascarpone provides a silky tang; if you substitute cream cheese, choose a full-fat version and blend until completely smooth to avoid a grainy layer.
Ingredient strategy (what to buy and why):
– Espresso/strong coffee: Use brewed espresso or very strong coffee (e.g., double-strength). The goal is not bitterness—it’s *coffee aroma* that survives baking and cream chilling.
– Cocoa powder (unsweetened): Choose a high-quality Dutch-process or natural cocoa for a rounded chocolate flavor. Dutch-process tends to taste smoother in desserts.
– Mascarpone (or full-fat cream cheese): Mascarpone is lighter and more “tiramisu-authentic,” while cream cheese is more budget-friendly but needs thorough mixing.
– Vanilla: A small amount improves perceived sweetness and rounds off the coffee notes.
Ingredient Timing Tip (Quality Control)
If you can, measure all ingredients before starting and keep eggs at room temperature. Warmer eggs emulsify more easily, helping your brownie batter stay cohesive for a fudgy bake.
Quick Reference: Typical Yield
This recipe is designed for an 8×8-inch (20×20 cm) pan, yielding about 9–12 brownies depending on slice size.
—
Make the Brownie Base

– Melt and mix the wet ingredients, then fold in dry ingredients until just combined.
– Bake until the center is set but still fudgy (avoid overbaking).
– Cool slightly so the cream layer won’t melt.
Start with the brownie batter because it sets the texture foundation. The key is gentle mixing: you want to combine wet and dry ingredients just until the dry disappears. Overmixing develops gluten, which can shift a fudgy brownie toward a cakier texture.
Step-by-step approach (fudgy, not cakey):
1. Preheat your oven to 350°F (175°C). Line the pan with parchment so lifting and slicing is clean.
2. Melt butter with sugar and cocoa (or mix cocoa into the warm butter) until glossy. This dissolves sugar enough to reduce graininess.
3. Whisk in eggs one at a time, then stir in espresso/coffee and vanilla.
4. Fold in flour (and any salt if using) until no streaks remain.
5. Bake until the center looks set but still soft—typically 18–24 minutes depending on oven behavior and pan material.
6. Cool briefly (about 10–15 minutes) before adding the cream. If you add mascarpone while the brownies are too hot, you risk melting and losing clean layers.
How to tell “done” for fudginess:
– The edges should look slightly pulled away from the pan.
– The center should jiggle faintly like thick pudding.
– A toothpick may come out with moist crumbs, not wet batter.
—
Prepare the Mascarpone Topping

– Whisk mascarpone (or cream cheese) with sugar and vanilla until smooth.
– Fold in a little coffee for that authentic tiramisu note.
– Chill briefly to thicken for easier spreading.
This layer is where tiramisu personality comes through. You’re aiming for creamy, not runny. Whisk mascarpone until smooth, then season it with sugar and vanilla, and add a controlled amount of coffee for aroma and flavor.
Make it reliably sliceable:
1. Whisk mascarpone (or cream cheese) with sugar and vanilla until completely smooth.
2. Add a small amount of strong coffee (start with 1–2 tablespoons) and taste. Coffee should enhance—not dominate.
3. Chill 10–20 minutes so the topping thickens slightly. This helps you spread it evenly without digging into the brownie.
Why chilling matters:
Mascarpone softens quickly at room temperature. A brief chill firms the texture so the cream layer sits on top rather than absorbing into the brownie surface.
Flavor balancing guidance
– If your brownie already has strong coffee notes from the batter, keep the topping coffee subtle and let cocoa dusting deliver the finishing intensity.
– If you prefer a “coffee-forward” dessert, increase coffee in the topping gradually rather than making the brownie batter excessively bitter.
—
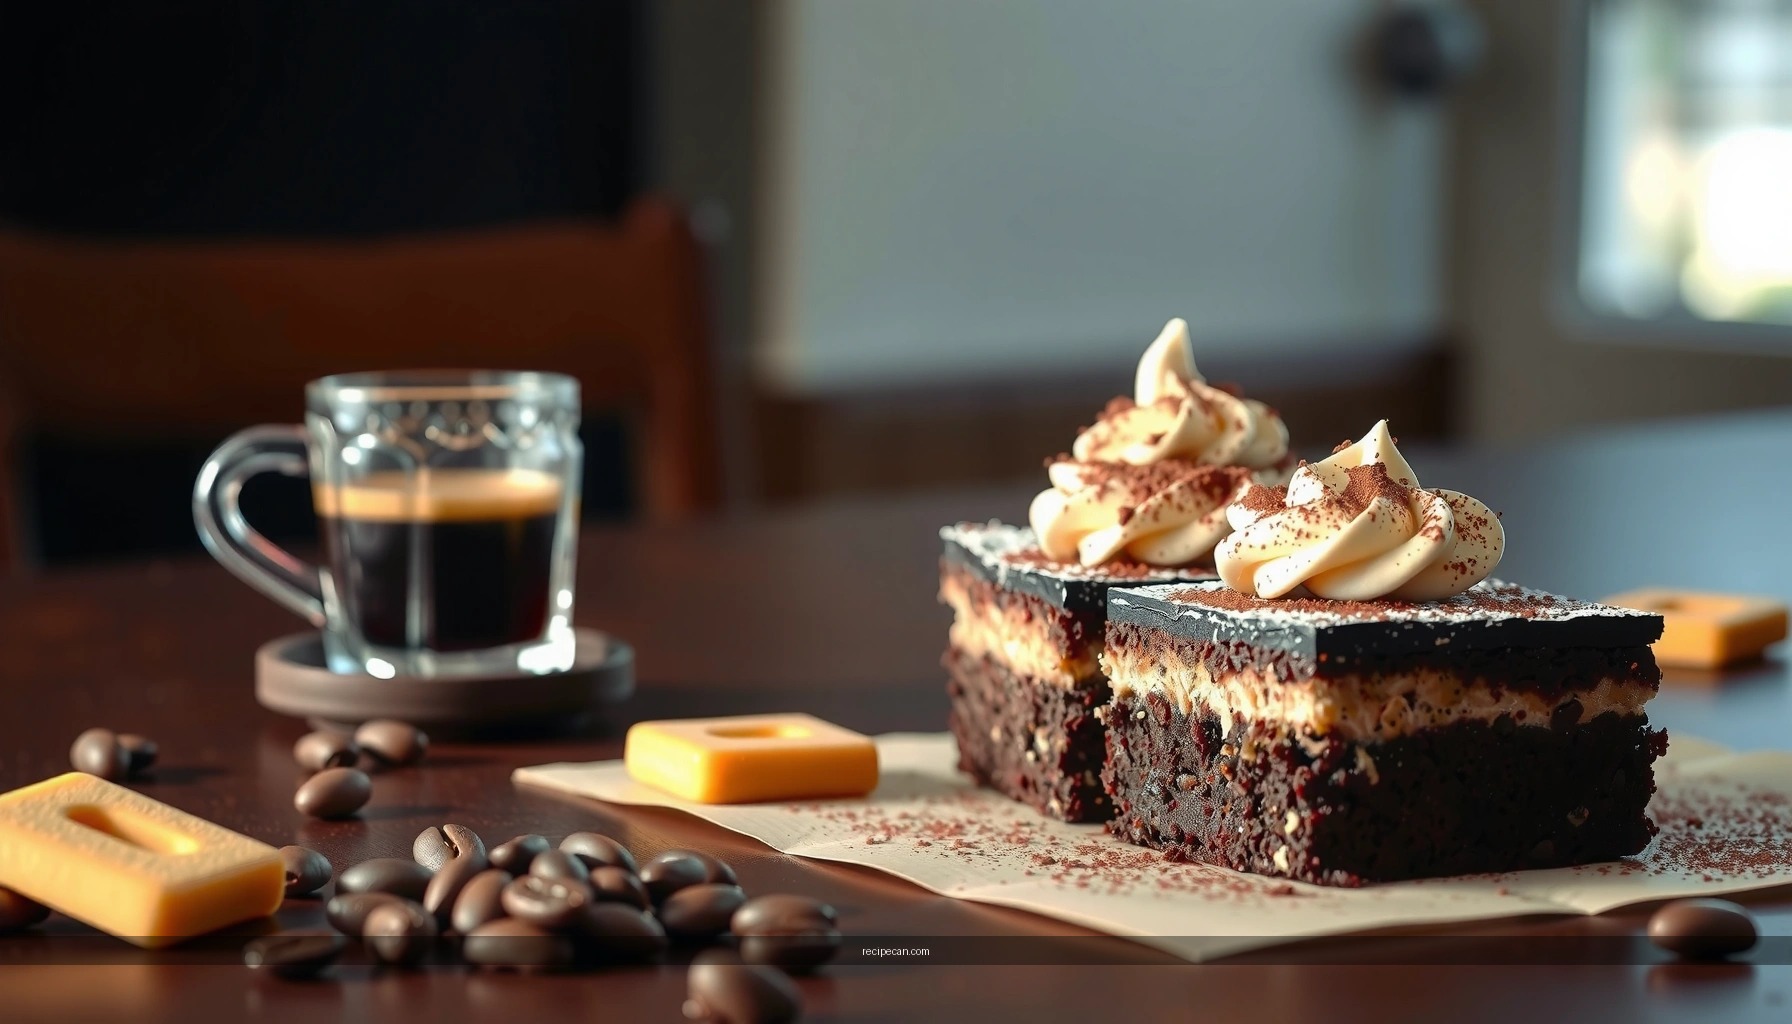
Assemble the Tiramisu Brownies
– Spread the brownie batter in the pan, then bake as directed.
– Once cooled, layer the mascarpone mixture over the top.
– Drizzle or brush with coffee syrup for the classic tiramisu soak.
Assembly is straightforward, but precision here affects your final presentation. The brownies need partial cooling before layering, and the cream needs controlled thickness so it doesn’t slip or ooze.
Order of operations that works:
1. After baking, let brownies cool until warm, not hot.
2. Spread mascarpone topping across the surface using an offset spatula.
3. Add a light coffee soak—this is where “tiramisu” becomes unmistakable.
Coffee syrup ideas (choose one):
– Instant coffee + sugar + hot water (stir until dissolved), then cool.
– Espresso reduction (stronger flavor, lighter dilution).
– Brewed coffee whisked with a touch of sugar for gentler sweetness.
Use a pastry brush or fork to drizzle lightly. The goal is aroma and moistness, not saturation. Over-soaking can thin the cream and blur the brownie edges.
—
Brownie Doneness Signs by Bake Time (8×8-inch pan)
| # | Bake time | Center look | Toothpick result | Best for |
|---|---|---|---|---|
| 1 | 15 minutes | Jiggly, under-set | Wet batter | Dipping-style |
| 2 | 18 minutes | Soft-set | Moist crumbs | Very fudgy |
| 3 | 20 minutes | Set edges, pudding center | Mostly clean w/ crumbs | Classic brownie |
| 4 | 22 minutes | Firming, less jiggle | Dry-ish crumbs | Chewier bite |
| 5 | 24 minutes | Mostly set | Mostly clean | Less fudgy |
| 6 | 26 minutes | Set through | Dry, no crumbs | Cakier texture |
| 7 | 28 minutes | Over-baked | Clean toothpick | Avoid |
—
Add the Classic Cocoa Finish
– Dust generously with cocoa powder right before serving.
– Optionally add shaved chocolate or espresso powder for extra intensity.
– Keep topping light so it doesn’t soak through too much.
The final cocoa dusting is more than decoration—it’s a flavor layer that protects texture. Cocoa powder absorbs a small amount of surface moisture and delivers a slightly bitter, dark finish that balances the cream’s sweetness.
Best practices for the cocoa finish:
– Dust right before serving, not hours earlier, to keep it looking elegant and prevent it from dissolving into the cream.
– Use a fine-mesh sieve for an even coat.
– For extra “tiramisu” intensity, sprinkle a small amount of espresso powder (not instant coffee granules) or add shaved chocolate curls.
Portioning insight:
Cocoa is powerful. If you find your cocoa taste feels muted, adjust the coffee flavor in the cream rather than adding so much cocoa that it turns gritty or muddy.
—
Tips for the Best Texture and Flavor
– Choose strong coffee/espresso to match tiramisu’s bold flavor.
– Don’t overbake—the fudgy center is key.
– Chill before slicing so the creamy layer sets neatly.
These brownies succeed when you treat them like two desserts in one: a fudgy brownie and a stable tiramisu cream.
Texture checkpoints:
– Fudgy center: Pull the brownies before they look fully “baked” in the middle. The residual heat finishes the set while cooling.
– Cream stability: Chill the mascarpone layer briefly and then chill the assembled brownies long enough to firm up—typically 2–4 hours for clean slices.
– Slice with control: Use a sharp knife warmed under hot water, wipe clean between cuts.
Flavor tuning (make it yours):
– More coffee, less sweetness: Reduce sugar slightly or keep sugar the same but use slightly stronger espresso.
– More chocolate impact: Increase cocoa in the brownie base by a small margin (e.g., 1 tablespoon) rather than adding extra chocolate chips, which can change the texture.
– Balanced tang: If the mascarpone tastes too mild, add a teaspoon of coffee or a tiny pinch of salt; salt improves flavor clarity.
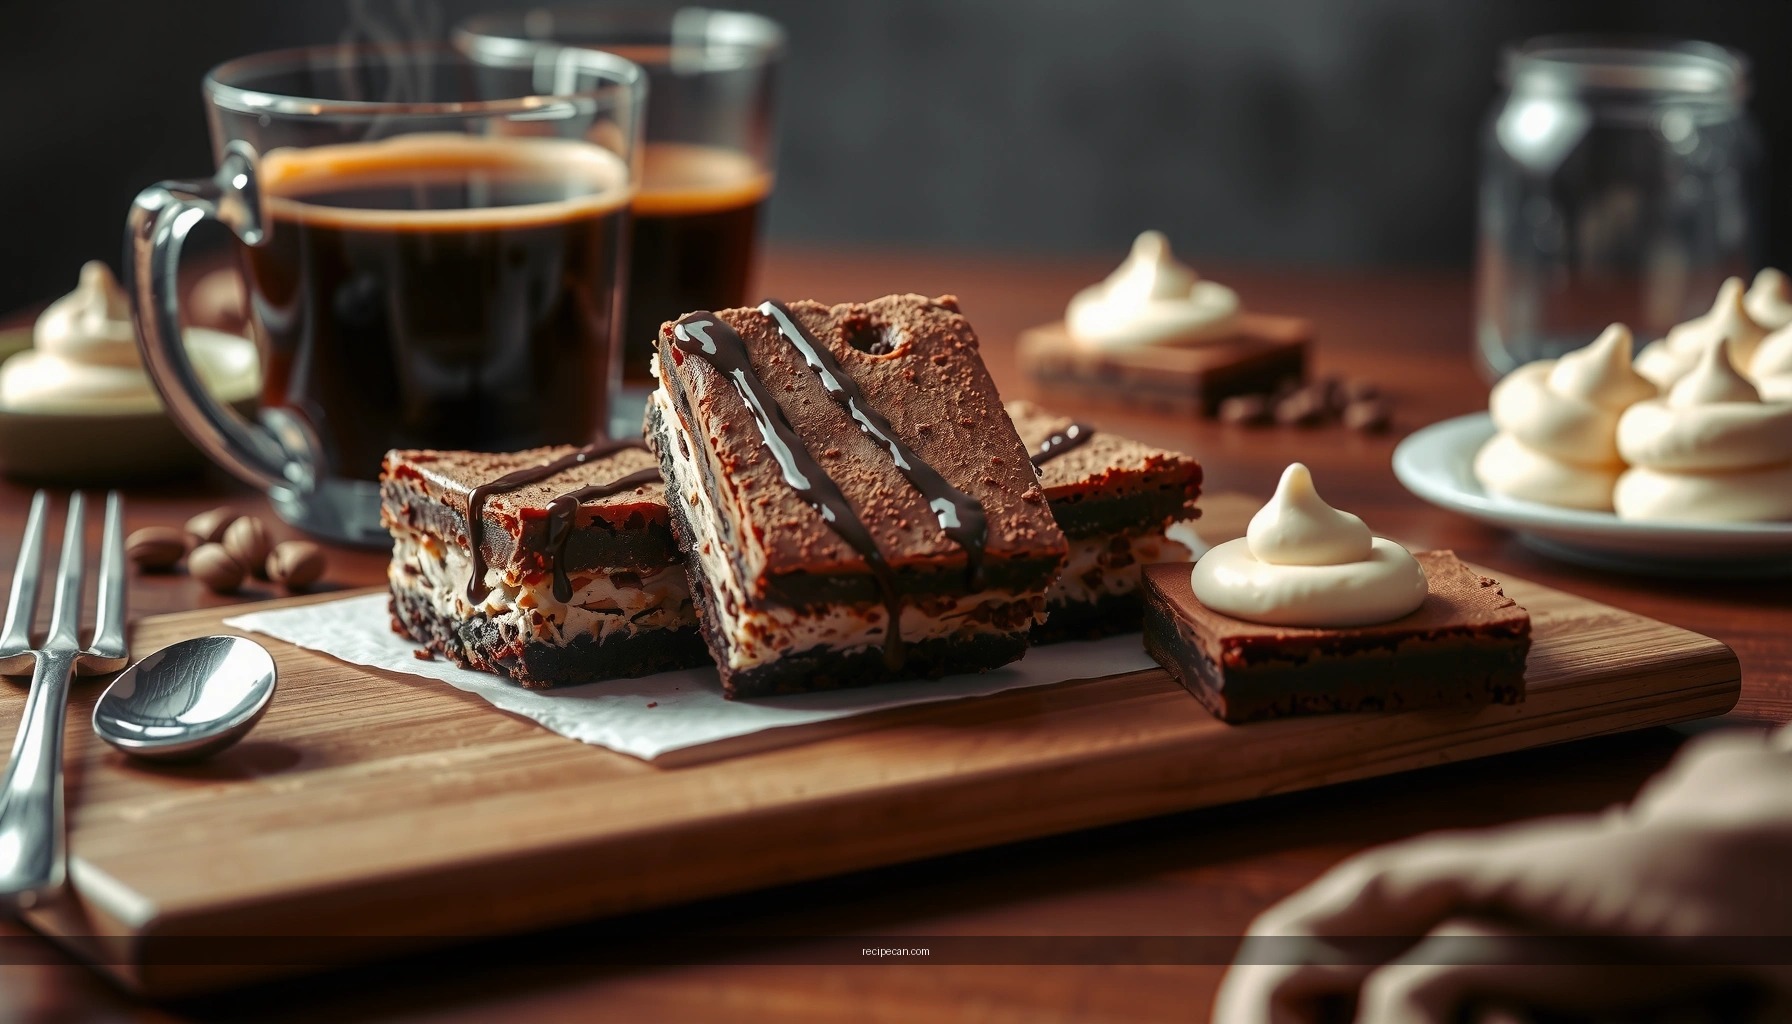
Serving idea for business-friendly presentation:
Plate brownies in uniform sizes and dust lightly. They’re visually consistent, which makes them ideal for meetings or catered dessert tables—especially when chilled and sliced cleanly.
—
Tiramisu brownies are all about combining a fudgy brownie base with a smooth mascarpone layer and finishing with coffee and cocoa. Bake for a set-but-soft center, spread the cream while the brownies are warm (not hot), and chill before slicing for the cleanest results. Make this recipe today, then taste and adjust the coffee strength to match your perfect tiramisu vibe.
Frequently Asked Questions
What are the key ingredients for a tiramisu brownies recipe?
A tiramisu brownies recipe typically uses cocoa or melted chocolate, sugar, eggs, butter, and flour as the brownie base. For the tiramisu element, you’ll want espresso (or strong coffee), mascarpone cheese, heavy cream (or whipping cream), sugar, and vanilla. Many recipes also include cocoa powder for dusting and optionally chocolate chips or instant espresso powder for extra coffee flavor.
How do you make tiramisu brownies without the mascarpone layer turning runny?
Use room-temperature mascarpone and beat it just until smooth, then fold in whipped cream gently to avoid thinning the mixture. Chill the mascarpone filling for 15–30 minutes before spreading so it holds shape on the brownie layer. For best results, don’t overbake the brownies—slightly fudgy brownies provide a more stable base that prevents the filling from sliding.
How do you incorporate espresso so the flavor tastes like classic tiramisu?
Brew strong espresso or use concentrated coffee, then mix it into a small amount of cocoa or sugar before drizzling or brushing it over the brownie layer. You can also stir a teaspoon of instant espresso powder into the brownie batter for a deeper tiramisu flavor. Let the assembled brownies sit for a few hours (or overnight) so the coffee mixture absorbs and the tiramisu brownies taste more integrated.
Why do tiramisu brownies often come out too bitter, and how can you fix it?
Bitterness usually comes from using very strong coffee, excess cocoa, or over-reducing espresso during preparation. To balance flavors, choose a moderate-strength espresso, reduce added cocoa in the brownie batter if needed, and add a touch more sugar to the mascarpone filling. Also, dust with cocoa lightly—too much cocoa powder on top can amplify bitterness.
Which baking method is best for chewy tiramisu brownies—glass pan, metal pan, or time adjustments?
Metal pans generally bake more quickly and can help keep brownies fudgy if you pull them slightly early, while glass dishes often require longer bake times and may dry out the edges. Start with the shortest recommended bake time and look for a center that’s set but still soft, with a toothpick coming out with moist crumbs. For consistent results, cool the brownies in the pan first, then refrigerate before slicing to keep the tiramisu layer clean and firm.
References
- Tiramisu
https://en.wikipedia.org/wiki/Tiramisu - Brownie
https://en.wikipedia.org/wiki/Brownie - Mascarpone
https://en.wikipedia.org/wiki/Mascarpone - Espresso
https://en.wikipedia.org/wiki/Espresso - Cocoa powder
https://en.wikipedia.org/wiki/Cocoa_powder - https://en.wikipedia.org/wiki/Ladyfinger_(biscuit
https://en.wikipedia.org/wiki/Ladyfinger_(biscuit - Coffee
https://en.wikipedia.org/wiki/Coffee - Google Scholar Google Scholar
https://scholar.google.com/scholar?q=Tiramisu+brownies+recipe - Google Scholar Google Scholar
https://scholar.google.com/scholar?q=tiramisu+brownies+mascarpone+espresso - Google Scholar Google Scholar
https://scholar.google.com/scholar?q=tiramisu+dessert+brownies+hybrid+recipe