Recipe tiramisu brownies deliver the clear win when you want rich, fudgy chocolate brownies that taste unmistakably like tiramisu and coffee in every bite. This recipe answers the practical question of how to get that espresso-soaked, creamy tiramisu flavor without turning the brownies cakey or dry. Expect a deep cocoa base, a coffee-kissed mascarpone layer, and a finish that tastes like dessert with dessert-level confidence.
Tiramisu brownies are the quickest way to combine fudgy chocolate brownie intensity with a creamy coffee “mascarpone-style” layer—without complex assembly. This recipe pairs a dense, chocolatey brownie base with a smooth coffee filling, then chills everything until clean slices reveal distinct layers and a classic tiramisu flavor profile.
Tiramisu is traditionally known for espresso-soaked components and a creamy mascarpone mixture, but the brownie format makes the dessert more practical: you get the same bold cocoa-and-coffee contrast in a single bake-and-layer process. Done well, these tiramisu brownies deliver three things businesslike kitchens value—repeatable texture (fudgy center), controlled sweetness, and dependable structure (chill time for sliceability).
Brownie Doneness Targets by Internal Temperature (Guidance)
| # | Doneness Stage | Internal Temp (°F) | Texture Outcome | Best For |
|---|---|---|---|---|
| 1 | Undercooked (Raw Center Risk) | 140–145 | Very wet, may collapse | ★ ★ ★ (Reheat-tuned) |
| 2 | Soft Fudge | 146–150 | Dense, gooey center | ★ ★ ★ ★ ☆ |
| 3 | Fudgy (Ideal for Layering) | 151–155 | Set edges, fudgy middle | ★ ★ ★ ★ ★ (Tiramisu Brownies) |
| 4 | Chewy Brownie | 156–160 | More structure, less goo | ★ ★ ★ ★ ☆ (Serve-faster) |
| 5 | Cakey-leaning | 161–165 | Drier crumb, less melt-in | ★ ★ ☆ ☆ ☆ |
| 6 | Dry / Overbaked | 166–170 | Harder bite, more crumble | ★ ★ ☆ (Not recommended) |
| 7 | Very Dry (Structural Browning) | 171–180 | Cakey, brittle crumb | ★ ☆ ☆ ☆ ☆ |
Choose Ingredients for Tiramisu Brownies

– Use cocoa or chocolate for a deep, fudgy brownie base
A fudgy brownie depends on fat and cocoa solids. For the richest chocolate profile, combine melted chocolate (or butter + chocolate) with unsweetened cocoa powder. The cocoa deepens flavor while the chocolate helps create a tender, melt-in structure—ideal once you add a creamy layer on top.
– Pick coffee (espresso or strong brewed coffee) to flavor both layers
Tiramisu brownies need coffee to be present in both taste and aroma. Use espresso for intensity or strong brewed coffee (made with a higher coffee-to-water ratio) for a rounded flavor. Consistency matters: brew the coffee and measure it so the mascarpone-style filling isn’t runny or overly thick.
High-level planning tip: decide early whether you want a bold café-style bite or a gentler mocha profile. That decision determines your coffee strength and how much cocoa you use in the brownie batter.
Filling ingredient logic (why it works): mascarpone provides tang and creaminess, while sugar stabilizes texture and supports browning reactions indirectly (by influencing moisture). Coffee adds acidity and bitterness that balance chocolate sweetness—so you’re not just making “brownies with coffee,” you’re recreating tiramisu’s signature contrast.
Make the Fudgy Brownie Base

– Mix batter until just combined for a dense, chewy texture
Overmixing develops gluten, which can shift a brownie from fudgy to cakey. Mix only until dry ingredients disappear and the batter looks glossy and cohesive. If you fold gently, you preserve the batter’s thick consistency—this thickness is a key predictor of fudginess after baking.
– Bake until set around the edges but still slightly soft in the center
The brownie base must hold up under slicing *and* under a creamy tiramisu-style layer. Bake to “set edges, soft center.” If you use an instant-read thermometer, target an internal temperature around 151–155°F for classic fudgy tiramisu brownies (see table above). Without a thermometer, look for a matte top with a few moist crumbs on a toothpick—avoid dry, fully clean toothpicks.
Operational best practice: line your pan with parchment and preheat fully. Heat stability improves layer integrity—especially because chilled filling relies on the brownie being cool before assembly.
Browning + structure controls
1. Fat ratio: too little fat leads to dryness and brittle slicing.
2. Leavening minimalism: classic fudgy brownie batter usually uses minimal baking powder (or none).
3. Cooling before layering: warm brownies can melt or thin the filling, causing seepage and loss of sharp layers.
Create the Creamy Tiramisu Layer

– Whisk mascarpone (or cream cheese) with sugar and coffee for smooth filling
For a true mascarpone feel, use mascarpone and whisk it with sugar until smooth. Add coffee gradually so the filling stays emulsified and silky rather than curdled or separated. If you substitute cream cheese, soften it fully and whisk thoroughly to avoid lumps—lumps create uneven texture and can create pockets that become watery when chilled.
– Fold in whipped cream or lightly whipped egg mixture for a lighter texture
Layer stability and mouthfeel both improve when you incorporate air carefully. Whipped cream makes the filling airy and spoonable; a lightly whipped egg mixture (or optional egg-based approach) yields a custard-like richness. Fold rather than stir vigorously: folding protects the aerated structure and prevents the filling from becoming grainy.
Texture target: when spread, the filling should hold a gentle mound and spread slowly. If it looks too loose, chill briefly before layering; if it looks too thick, stir in a teaspoon of coffee at a time to restore spreadability.
Food-safety note for coffee flavors
Coffee itself isn’t a safety concern, but dairy fillings require proper chilling. Keep the filling and assembled dessert refrigerated and serve within recommended timeframes. If you add eggs, ensure they’re fully cooked or handled according to safe dessert practices used in your kitchen.
Layer and Assemble for Best Flavor
– Cool brownies completely before spreading the filling
Layering on warm brownies invites mixing. Let the brownie base cool to room temperature so the mascarpone-style layer stays distinct. This is also where aroma development happens: cooling allows chocolate to set while coffee notes bloom rather than bake out.
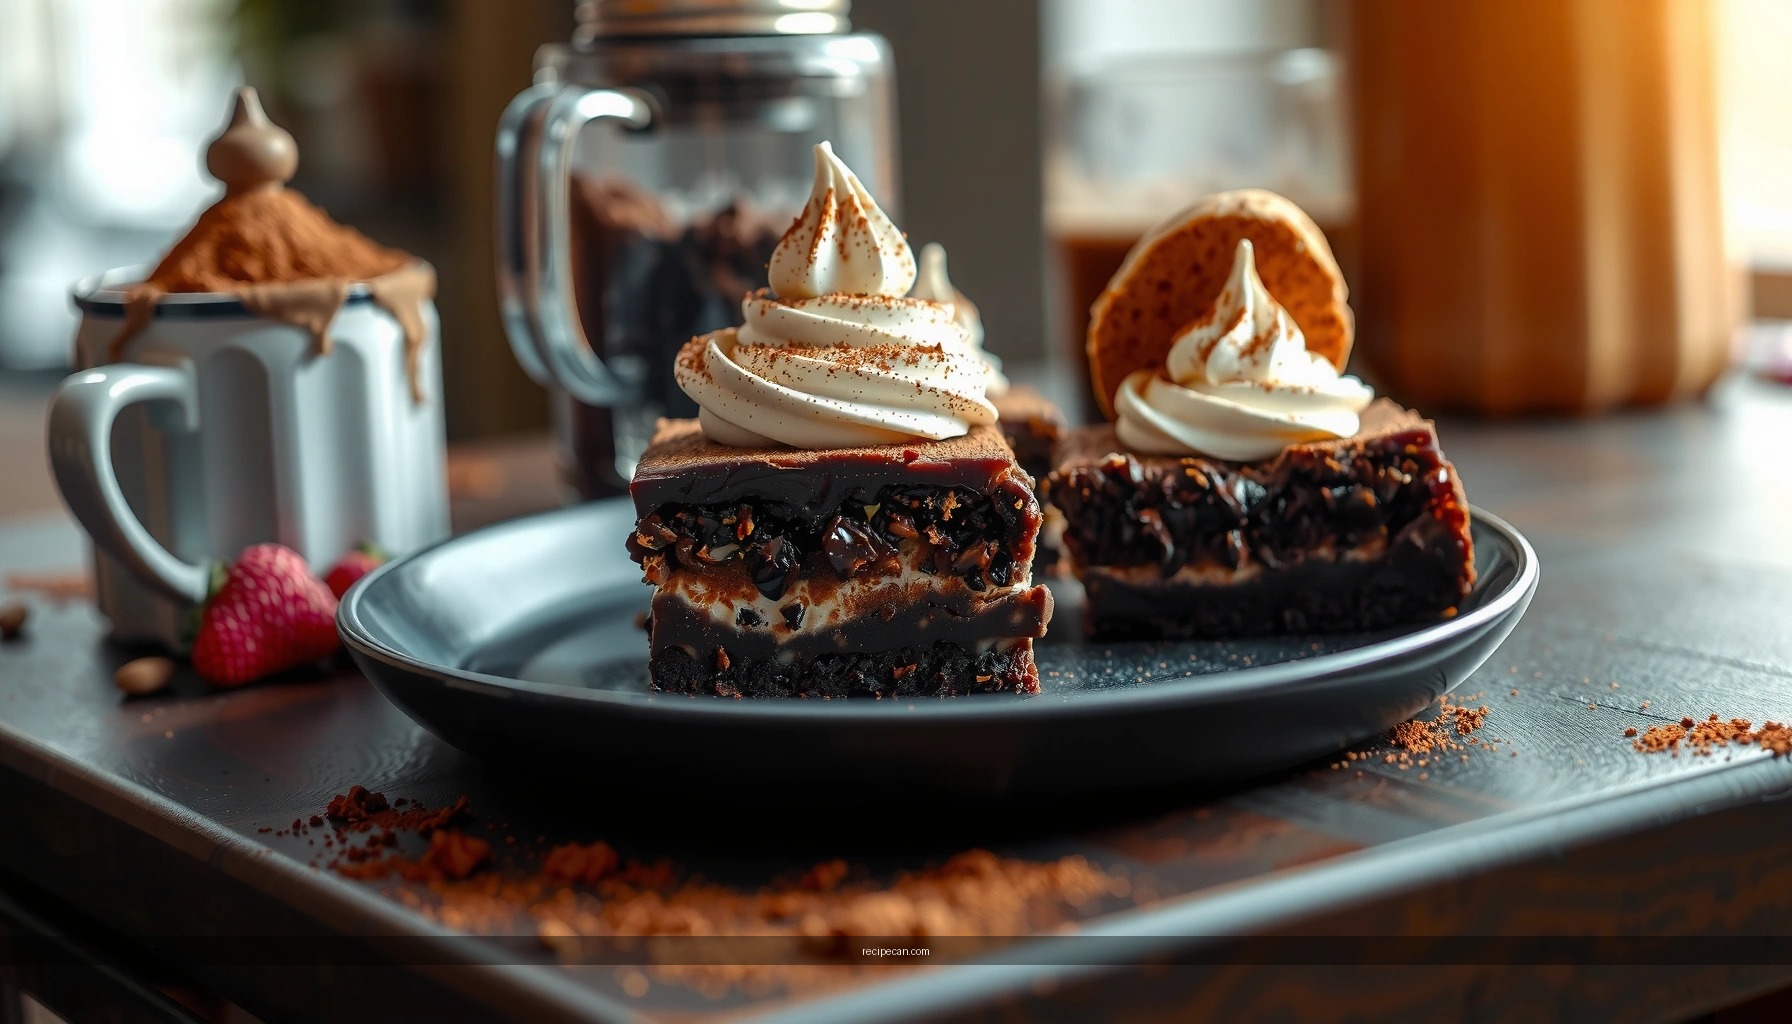
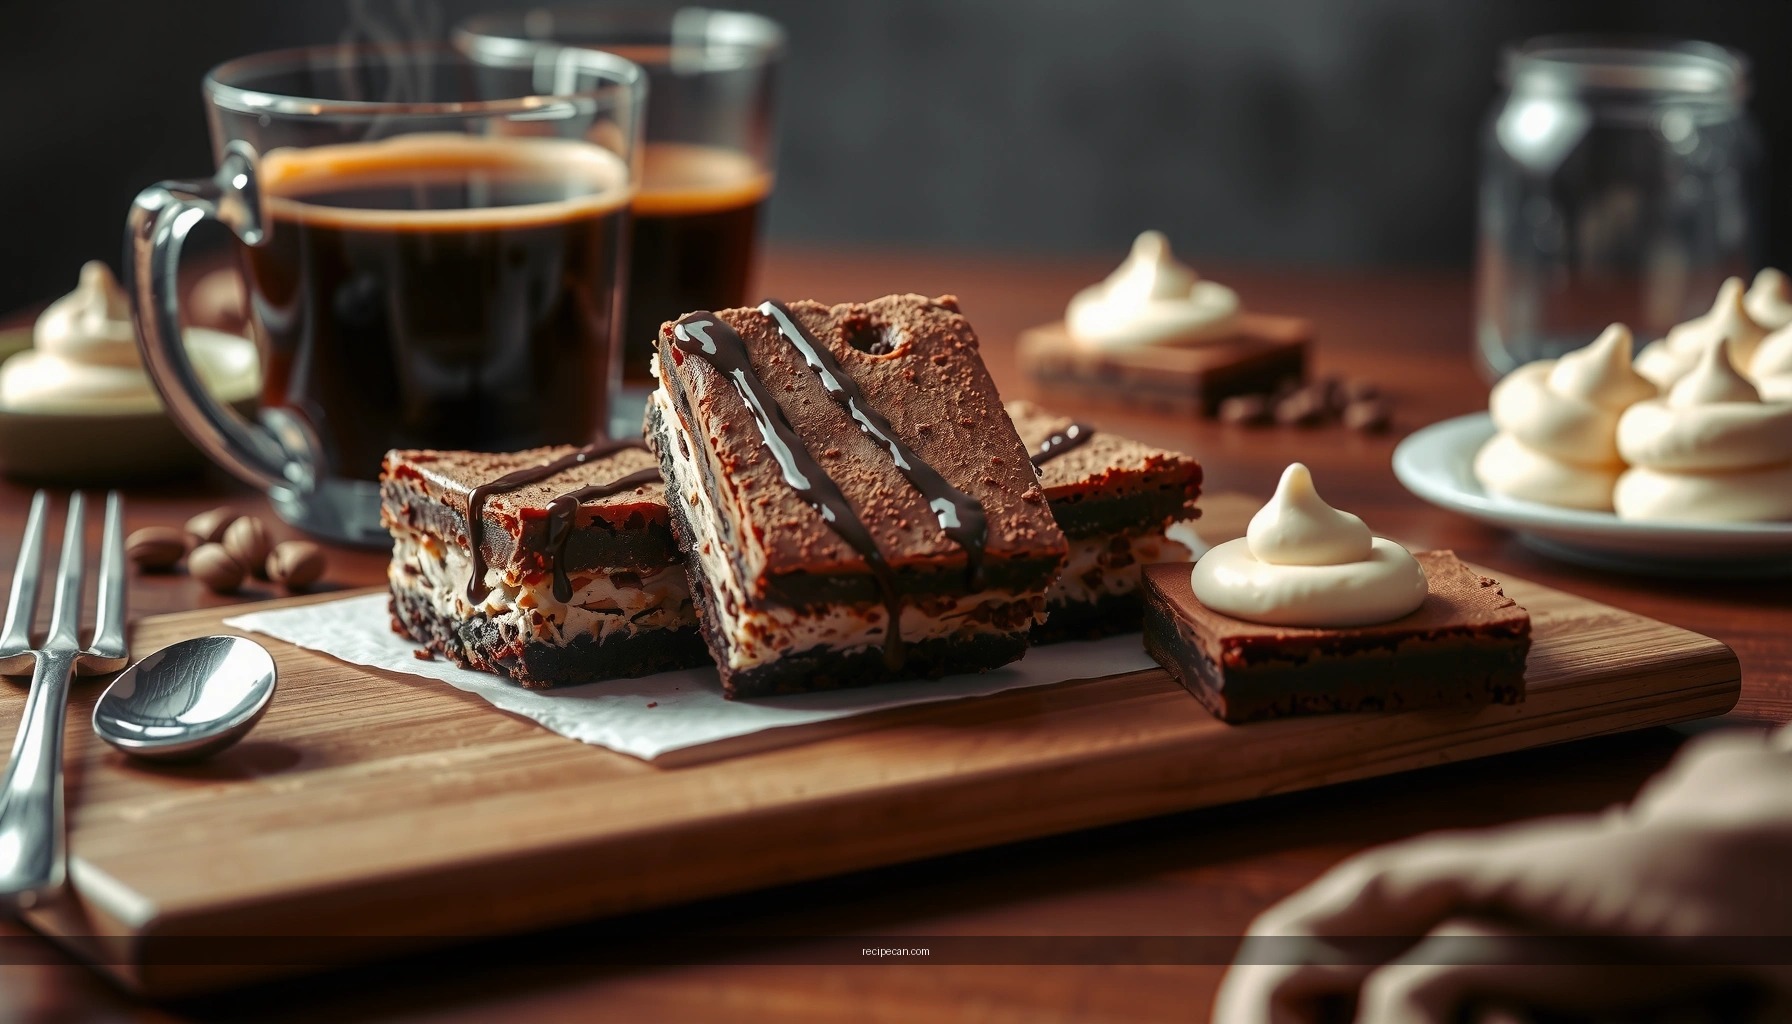
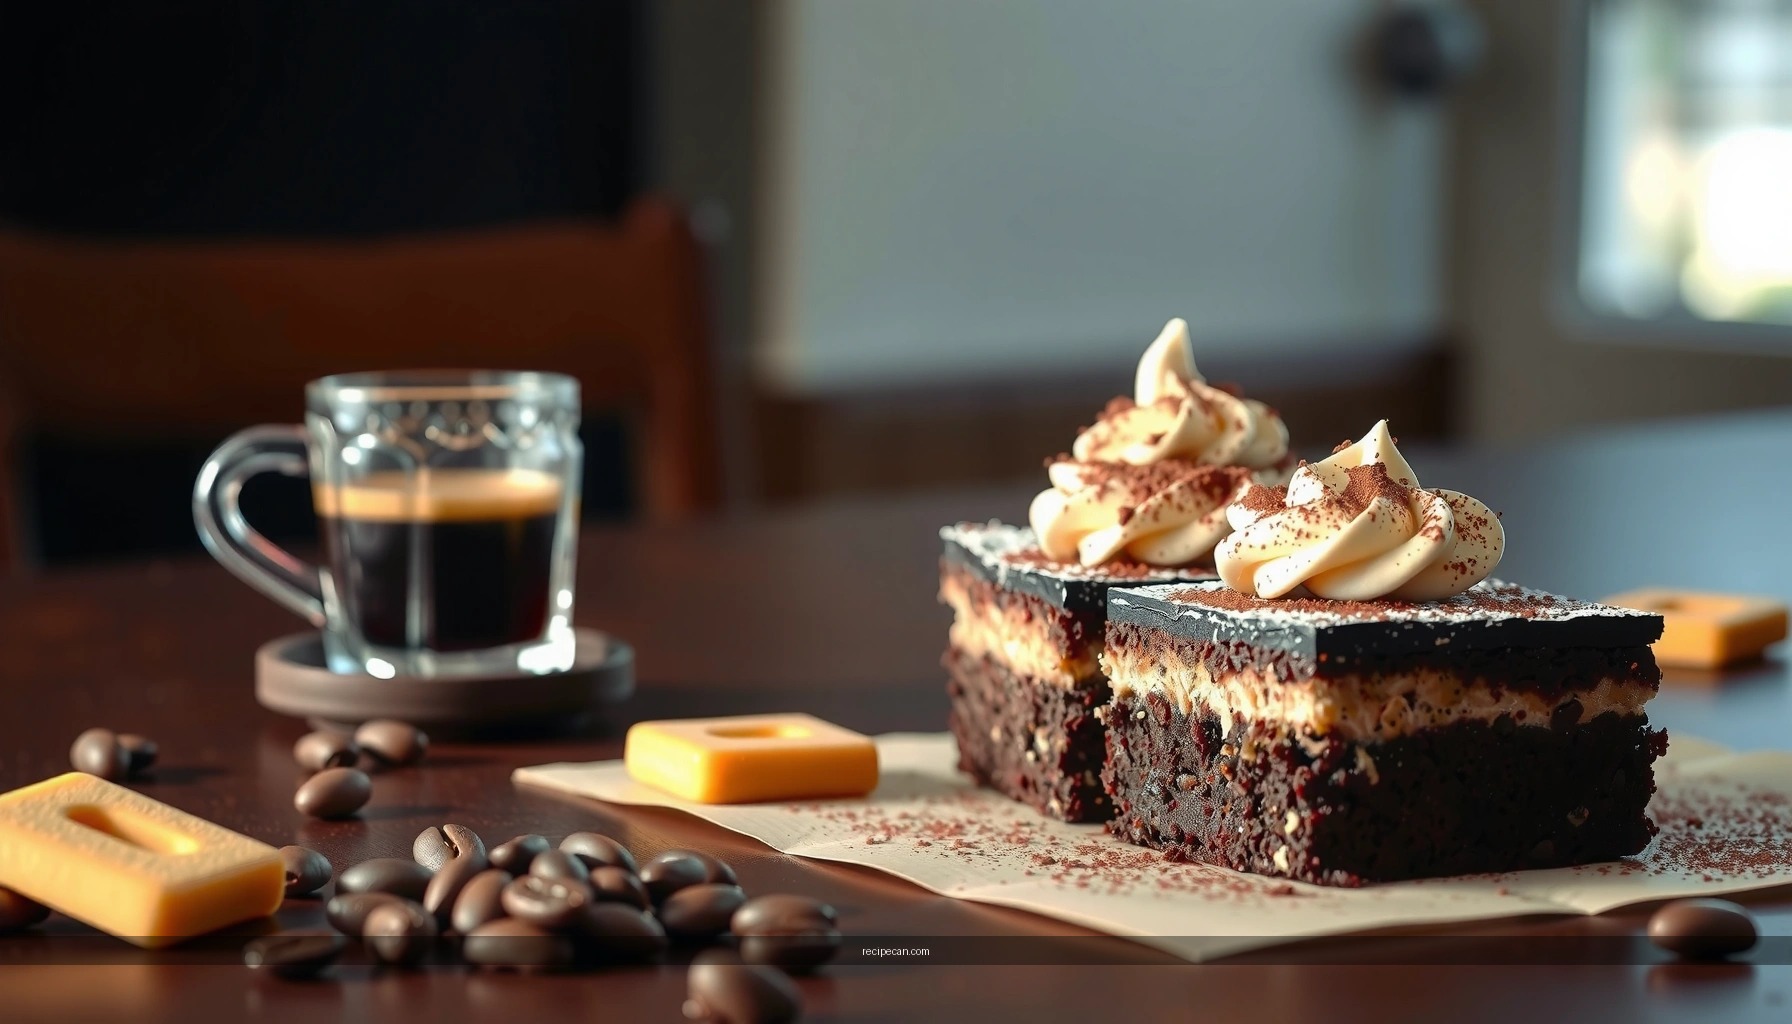
– Repeat layers (if desired) and finish with cocoa powder and chocolate shavings
A single layer is classic, but repeating layers increases perceived “tiramisu effect” because the contrast is more frequent per bite. Finish with:
– Unsweetened cocoa powder for the tiramisu visual and bitterness
– Chocolate shavings for texture and a polished café presentation
Assembly workflow:
1. Cut parchment tabs to lift brownies cleanly later.
2. Spread filling evenly to the pan edges (use an offset spatula).
3. If stacking layers, spread filling consistently and chill between layers for set-up.
Strategic thickness guidance (practical perspective)
A brownie that’s too thin becomes overwhelmed by filling; a brownie that’s too thick can mute the creamy coffee component. For most 8×8-inch pans, a fudgy base and a moderate filling thickness create the best balance of richness and structural integrity.
Pan Size Impact on Layer Thickness (8×8 vs 9×9)
| # | Pan | Surface Area (in²) | Using Same Volume | Resulting Layer Thickness |
|---|---|---|---|---|
| 1 | 8×8 inch | 64 | Baseline | Optimal thickness |
| 2 | 9×9 inch | 81 | Less coverage | ~21% thinner layers |
| 3 | 7×11 inch | 77 | Near 8×8 coverage | Slightly thinner, still balanced |
| 4 | 9×13 inch | 117 | Much larger coverage | ~45% thinner layers |
| 5 | 6×6 inch | 36 | Thicker coverage | ~78% thicker layers (bigger bake time) |
Chill, Slice, and Serve
– Chill for at least 2–4 hours so the layers set cleanly
Chilling is not optional for sliceable tiramisu brownies. Refrigeration firms the filling and re-solidifies fats, which sharpens the boundary between the brownie base and the cream layer. Two hours works for many home fridges; four hours produces cleaner squares for events.
– Slice with a warm knife for neat squares and minimal crumbling
For businesslike presentation, use a sharp knife warmed under hot water and wiped between cuts. This reduces drag on the brownie crumb and prevents the creamy layer from smearing.
Serving recommendations:
– Bring to cool room temperature for 10–15 minutes if you want a softer, more mousse-like mouthfeel.
– Store covered in the refrigerator. Cocoa topping is best added right before serving to preserve texture.
Optional Variations to Try
– Add coffee-soaked ladyfingers between brownie and cream layers
This variation brings tiramisu’s “soaked” character forward. Use espresso (or strong coffee) and soak briefly—too much liquid can cause sogginess and structural collapse. Think controlled hydration: damp, not drenched.
– Swap flavor with rum extract or use decaf coffee for less bite
Rum extract adds a classic tiramisu-adjacent aroma that complements chocolate without overpowering. For a less intense flavor profile, choose decaf coffee so you still get coffee notes and crema-like bitterness balance while reducing caffeine impact.
For teams planning ahead: the coffee-soaked element can be prepared the day before, and the assembled brownies can be chilled overnight for even stronger flavor integration.
Tiramisu brownies are all about pairing a fudgy chocolate bake with a creamy coffee mascarpone layer, then chilling until perfectly sliceable. By choosing strong coffee, baking the brownie to a fudgy doneness target, whisking a smooth coffee filling, and assembling only after full cooling, you’ll consistently achieve distinct tiramisu layers with a professional café finish.
Frequently Asked Questions
What are tiramisu brownies, and how do they differ from classic tiramisu?
Tiramisu brownies are a fudgy chocolate brownie base layered or swirled with mascarpone-style cream and coffee flavor, then often finished with cocoa powder. Unlike classic tiramisu (which uses ladyfingers), this version bakes the chocolate into a brownie for a richer, denser texture. You still get the signature coffee-and-cream tiramisu taste, but in a more sliceable, bake-friendly dessert form.
How do you make tiramisu brownies without curdling the mascarpone layer?
Use room-temperature mascarpone and cream cheese (if using) and avoid adding hot ingredients directly into the dairy. When adding espresso or coffee, cool it first, then mix gently until smooth to keep the tiramisu brownies layer creamy. If your recipe includes eggs, temper them by slowly mixing warm coffee or syrup into the yolks before combining with the rest.
Why does my tiramisu brownie taste too bitter or too strong, and how can I fix it?
Bitter flavor usually comes from using very strong espresso, under-sweetening, or using too much cocoa without balancing sugar. To fix tiramisu brownies, reduce the coffee intensity (use cooled brewed coffee or a milder espresso) and increase sweetness slightly with sugar or a touch of sweetened condensed milk. If you already baked, dusting with extra cocoa plus a light drizzle of coffee syrup can soften harsh bitterness and enhance the tiramisu flavor.
What’s the best way to assemble tiramisu brownies for clean layers and easy slicing?
Allow your brownie layer to cool completely before adding the mascarpone mixture, since warm brownies can melt and blend the layers. For clean slices, spread the cream in an even layer and refrigerate at least 2–4 hours (or until firm) before cutting. Use a sharp warm knife (run under hot water, then wipe) to get neat edges and distinct tiramisu brownie layers.
Which cocoa powder and coffee should you use for the most authentic tiramisu brownie flavor?
For tiramisu brownies, use unsweetened cocoa powder (like Dutch-process or natural cocoa) for a deep chocolate finish, and dust generously right before serving. For coffee, choose brewed espresso or strong coffee that’s cooled to room temperature; avoid boiling-hot coffee to protect the creamy layer. If you want a more “tiramisu” aroma, consider using instant espresso powder in the coffee mixture for consistent flavor throughout the brownies.
References
- Tiramisu
https://en.wikipedia.org/wiki/Tiramisu - Brownie
https://en.wikipedia.org/wiki/Brownie - Mascarpone
https://en.wikipedia.org/wiki/Mascarpone - Cocoa powder
https://en.wikipedia.org/wiki/Cocoa_powder - Tiramisu | Meaning, Ingredients, Origin, Desserts, & Taste | Britannica
https://www.britannica.com/topic/tiramisu - Google Scholar Google Scholar
https://scholar.google.com/scholar?q=tiramis%C3%B9+brownies+recipe - Google Scholar Google Scholar
https://scholar.google.com/scholar?q=tiramisu+brownie+coffee+mascarpone+chocolate - Google Scholar Google Scholar
https://scholar.google.com/scholar?q=coffee+espresso+flavor+chocolate+dessert+science - Google Scholar Google Scholar
https://scholar.google.com/scholar?q=recipe+tiramisu+brownies - recipe tiramisu brownies – Search results
https://en.wikipedia.org/wiki/Special:Search?search=recipe+tiramisu+brownies