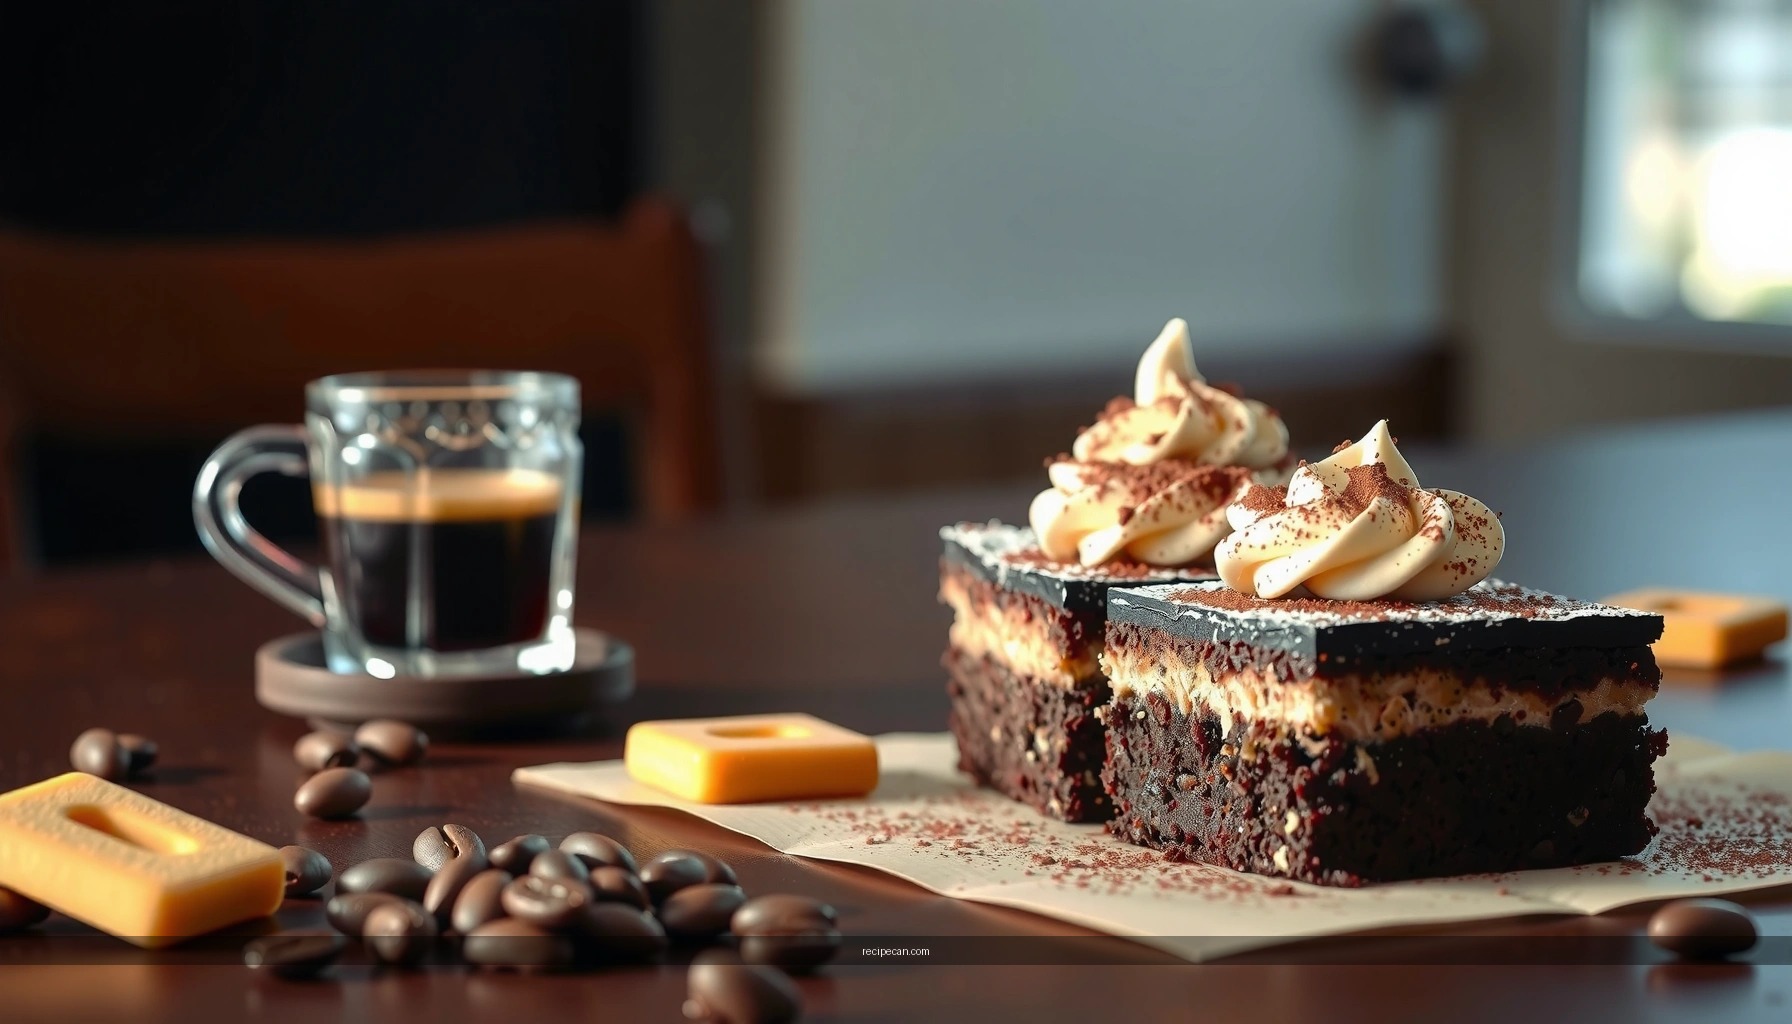
This tiramisu brownie recipe delivers the exact payoff: rich, creamy brownies with coffee flavor and a mascarpone-style layer that tastes like tiramisu in bar form. You’ll learn how to make it step by step with simple ingredients, so you get a dense, fudgy center and a clean cocoa finish every time. If you want one “winner” dessert—tiramisu brownies that are both indulgent and easy—this is it.
Bake fudgy chocolate brownies, then top them with a smooth mascarpone coffee layer and chill until set—so you get classic tiramisu flavor with the chew of a brownie. This guide walks you through exact ingredients, timing, and texture targets to help you nail a fudgy center, a creamy finish, and clean, sliceable squares every time.
Tiramisu brownies come together by baking fudgy brownies and topping them with an easy mascarpone coffee layer, then chilling until the flavors meld. Follow the steps above for the right bake time, smooth cream, and clean slices—then make them your own with a favorite chocolate or coffee twist.
Fudgy Brownie Base

To build a true tiramisu brownie, start with a dense, high-cocoa brownie that can hold a creamy topping without turning cakey or collapsing. The most reliable approach is to use both cocoa powder and melted chocolate: cocoa contributes deep chocolate notes, while melted chocolate adds richness and a glossy, fudgy structure. In practice, this combination gives you that “chewy center” feel people expect from brownies while still providing enough stability for the mascarpone layer.
What to focus on (and why)
– Use cocoa + melted chocolate for deep, rich flavor
Cocoa powder boosts chocolate intensity and color. Melted chocolate increases fat and cocoa butter content, which softens the crumb and improves moisture retention—crucial for a fudgy texture.
– Mix just until combined to keep the brownies dense and moist
Overmixing develops too much gluten (from flour) and can introduce excess aeration (from vigorous mixing), which pushes brownies toward cake-like texture. For best results, stir until you no longer see dry streaks.
Core method (practical and dependable)
1. Preheat to 325°F (163°C) for even, lower-temperature fudginess.
2. Melt chocolate with butter (or butter + a small amount of neutral oil if you prefer extra sheen).
3. Whisk eggs and sugar until the mixture looks smooth and slightly thickened (not whipped to ribbon stage).
4. Fold in cocoa and flour and stop as soon as the batter is uniform.
5. Bake in a lined pan until the edges look set and the center still appears slightly underdone.
Texture target: When you gently shake the pan, the center should jiggle like set pudding—not slosh like raw batter. This is the key to “fudgy” in the finished tiramisu brownie.
Timing guide for the base
– Pan size matters: 8×8-inch yields thicker brownies (usually 22–28 minutes at 325°F).
– 9×9-inch yields thinner brownies (often 18–23 minutes at the same temperature).
Pull them when the center is still soft, because the brownies continue to firm as they cool.
Mascarpone Coffee Layer

The mascarpone layer is where your tiramisu brownie becomes “tiramisu” instead of simply “brownies with cream.” Mascarpone brings a thick, tangy creaminess that pairs perfectly with espresso. The trick is to whisk just enough to smooth it—then portion your liquid carefully so the topping doesn’t thin out.
What to focus on (and why)
– Whisk mascarpone with sugar until smooth and creamy
Mascarpone is naturally thick but can be lumpy if rushed. Whisking with sugar hydrates and loosens it into a uniform, spreadable cream—ideal for even coverage.
– Add espresso (or strong coffee) and a splash of vanilla for flavor
Coffee liquid controls bitterness and aroma. Use strong, cooled espresso so you avoid thinning from warmth and prevent “curdling” effects in dairy.
Practical build for best results
1. Cool your coffee first. Warm espresso can soften mascarpone more than expected.
2. Whisk mascarpone + sugar until glossy and smooth.
3. Add espresso and vanilla gradually, mixing until cohesive.
4. Spread onto warm (not hot) brownies.
If the brownies are too hot, the cream can become runny; if too cold, it won’t settle smoothly.
Stability note: If you want a slightly firmer layer for super-clean slices, chill the mascarpone layer for 10–15 minutes before spreading.
Assembly: Classic Tiramisu Style

Classic tiramisu flavors come from coffee-soaked textures, cocoa dusting, and the visual contrast between dark brownie and creamy topping. With brownies, the “soak” is different than ladyfingers—you’re not dipping cookies; you’re laying a coffee-flavored cream on top of a brownie base. That means your success depends on even spreading and right chilling time so the flavors meld.
What to focus on (and why)
– Spread the coffee-soaked mascarpone layer evenly over warm brownies
Even coverage prevents watery pockets and creates consistent chew-to-cream balance in every bite.
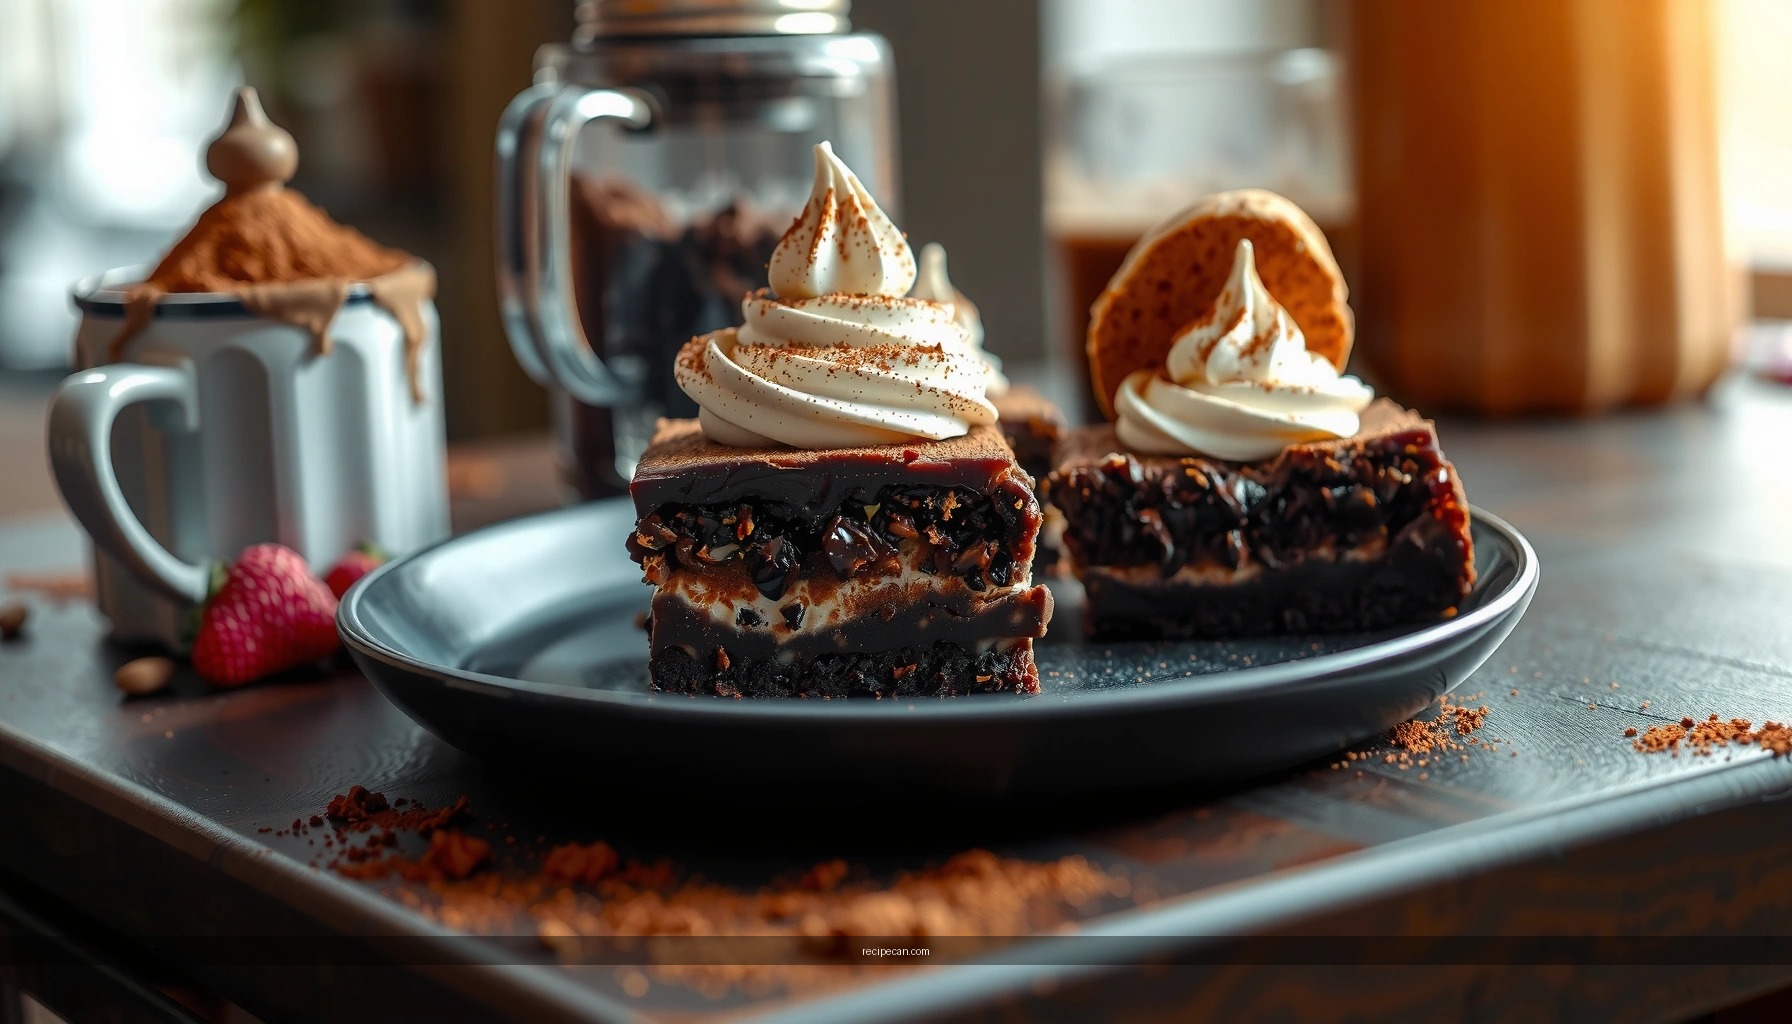
– Dust with cocoa and add optional chocolate shavings or espresso powder
Cocoa dusting mimics the tiramisu finish and prevents a “too-sweet” perception by adding roast bitterness on the top layer.
Assembly checklist (step-by-step)
1. Bake brownies to fudgy doneness; cool until warm (often 15–25 minutes after baking).
2. Stir mascarpone layer to restore spreadability.
3. Spread evenly—an offset spatula helps you level the top.
4. Optional coffee drizzle (recommended for extra tiramisu vibe):
Mix 1–2 tbsp strong coffee with 1 tsp sugar, then lightly drizzle over the mascarpone surface before cocoa dusting.
5. Dust with cocoa powder (unsweetened). Use a small sieve for an even coat.
6. Chill to set: at least 2–4 hours for clean slices; overnight for maximum flavor integration.
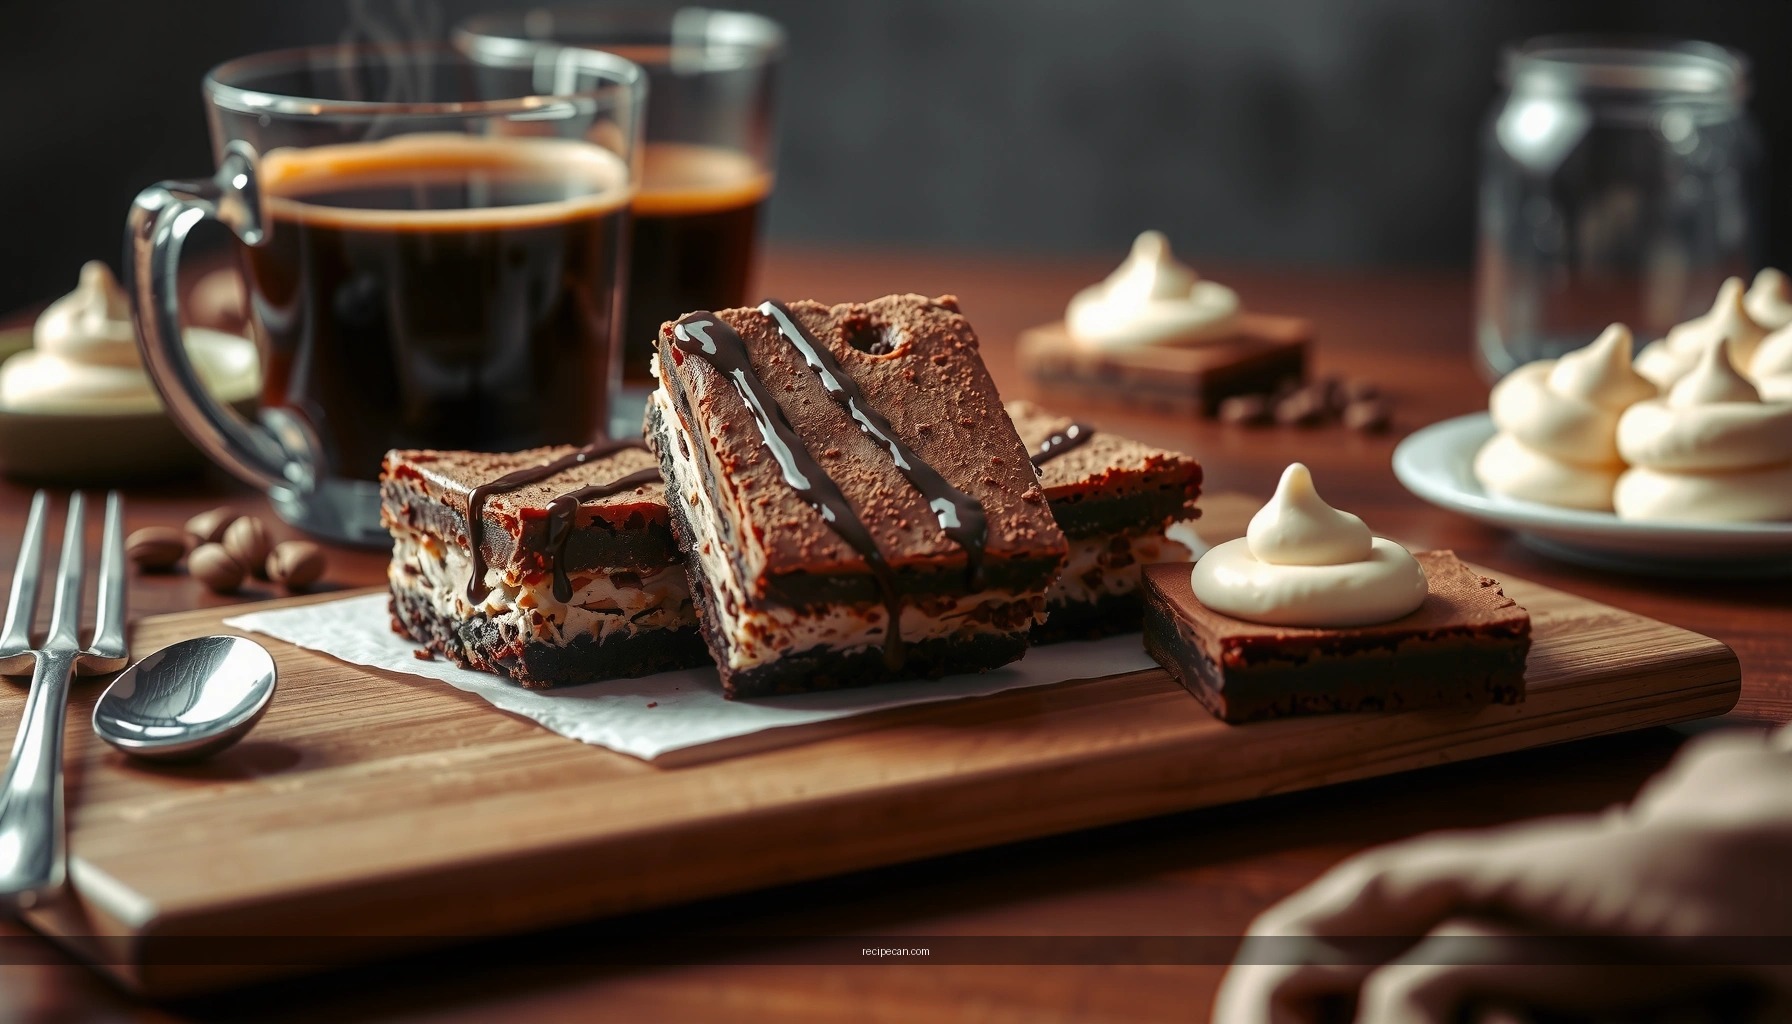
Visual reference: what “ideal” looks like
Tiramisu Brownie Results by Chilling Time (8×8 Pan, 12 Squares)
| # | Chill Duration | Layer Set | Slice Cleanliness | Flavor Melding | Overall Rating |
|---|---|---|---|---|---|
| 1 | 1 hour | Partially set | 6/10 | Low | ★★★☆☆ |
| 2 | 2 hours | Mostly set | 7/10 | Moderate | ★★★★☆ |
| 3 | 3 hours | Set | 8/10 | Good | ★★★★☆ |
| 4 | 4 hours | Firm set | 9/10 | Very good | ★★★★★ |
| 5 | Overnight (12–14 hrs) | Fully set | 9/10 | Best | ★★★★★ |
| 6 | 24 hours | Firm (slightly drier) | 8/10 | Very good | ★★★★☆ |
| 7 | Frozen 1 hour (rapid set) | Set quickly | 7/10 | Moderate | ★★★☆☆ |
Baking Tips for the Perfect Texture
A tiramisu brownie is only as good as its bake and cooling sequence. If you overbake, the brownies become dry and the mascarpone layer can feel like a topping rather than a cohesive dessert. If you underbake too far, the base can be gummy or collapse when sliced.
What to focus on (and why)
– Don’t overbake—pull the brownies when the center is still slightly soft
Residual heat is your friend. Properly timed underbaking creates the fudgy structure that stays pleasant after chilling.
– Let the pan cool before chilling for clean, sliceable squares
Cooling stabilizes the brownie crumb. Chilling immediately without cooling can cause uneven contraction and messy edges.
Troubleshooting (fast, actionable)
– Brownies are too cakey: You likely baked too long or mixed too vigorously after adding flour. Next time, reduce bake time by 2–4 minutes.
– Brownies are too wet in the center: You pulled too early or the pan was larger/thinner than expected. Bake 2 minutes longer next round, and check jiggle.
– Cream looks runny after assembly: Brownies may have been too hot, or coffee wasn’t cooled. Cool the brownie base more and use room-temperature coffee.
Cooling workflow that works
– Bake → cool in pan 15–25 minutes → spread mascarpone → chill 2–4 hours minimum.
Make-Ahead and Storage
This dessert is designed for planning. The flavor integration improves as the layers set, making tiramisu brownies an excellent choice for gatherings, office events, or meal-prep-friendly hosting.
Best timing
– Best after chilling 2–4 hours (or overnight) for set layers
Two hours often sets the layer enough for slicing; overnight delivers the most cohesive “tiramisu” flavor.
– If serving the same day: Bake early, cool and assemble mid-day, then chill before dinner.
Storage guidance
– Store airtight in the fridge up to 3–4 days
Keep brownies covered to prevent cocoa from absorbing fridge odors. Airtight storage also preserves mascarpone cream texture.
Serving tip
For the cleanest presentation, dust with cocoa right before serving (or lightly dust earlier and top again for a fresh look).
Variations to Customize Your Tiramisu Brownies
Once you’ve mastered the core recipe, small adjustments let you tailor intensity, sweetness, and aroma without losing structure.
– Swap in dark chocolate or add chocolate chips for extra richness
Dark chocolate boosts cocoa intensity and pairs naturally with espresso. Chocolate chips add bursts of melty pockets, increasing perceived richness.
– Make it boozy with a small splash of coffee liqueur (optional)
Coffee liqueur (used sparingly) adds caramelized coffee notes typical of tiramisu. Start with 1–2 tablespoons so the mascarpone stays stable and not overly loose.
Other customization ideas (optional):
– More intense coffee: Use finely ground espresso brewed extra-strong, cooled to room temp.
– Lower sweetness: Reduce sugar in the mascarpone layer by 1–2 tablespoons; cocoa and espresso balance the flavor.
– Texture contrast: Add chopped toasted hazelnuts or almond crumbs to the brownie batter for a premium finish.
Quick ingredient and process rationale (for consistent outcomes)
Even without changing the recipe, understanding the “why” helps you execute reliably:
– Fats (butter + chocolate) + controlled mixing = fudgy crumb
– Sugar + whisking = smooth mascarpone
– Coffee at room temperature = stable cream
– Chill time = set layers and melded tiramisu flavor
If you keep those four variables aligned—bake doneness, mix level, coffee temperature, and chilling duration—you’ll consistently produce tiramisu brownies that taste intentional rather than improvised.
Tiramisu Brownie Recipe: Rich, Creamy, and Easy to Make
By baking fudgy brownies first, then layering a smooth mascarpone coffee mixture on top, you get the best of both worlds: chewy chocolate base plus classic tiramisu cream. Focus on deep chocolate flavor, mix minimally for density, spread the mascarpone evenly, and chill long enough to set the layers—then use cocoa dusting (and optional espresso powder or chocolate shavings) to finish like a true tiramisu. With these steps and texture targets, you can confidently deliver clean slices, rich flavor, and a reliably impressive dessert every time.
Frequently Asked Questions
What makes a tiramisu brownie different from regular chocolate brownies?
A tiramisu brownie typically combines a rich cocoa brownie base with classic tiramisu flavors like espresso, coffee-soaked layers, and mascarpone or cream cheese. Instead of only chocolate, you get a creamy “tiramisu” topping that adds tang, sweetness, and a custard-like texture. The result is a dessert that tastes like tiramisu but has the dense, fudgy bite of brownies.
How do you make tiramisu brownies with the right texture (fudgy center, not cake-like)?
For fudgy tiramisu brownie texture, use the right brownie-to-chocolate ratio and avoid overbaking; pull the brownies when the center is set but still looks slightly underdone. Let the baked brownies cool completely before adding mascarpone frosting or chilling them, since heat can cause the cream to thin or separate. If you’re adding espresso, keep it concentrated and don’t oversaturate—too much liquid can make the brownies gummy.
Which mascarpone substitute works best if you can’t find mascarpone for tiramisu brownies?
Cream cheese is the most common mascarpone substitute because it provides similar tang and creamy thickness. For best results, soften the cream cheese, then mix it with a bit of sour cream or Greek yogurt to mimic mascarpone’s smoother, lighter texture. If you use a very sour or loose yogurt, strain it first to prevent your tiramisu brownie topping from becoming watery.
Why do my tiramisu brownies taste bitter, and how can I fix it?
Bitterness usually comes from overly dark cocoa, espresso that’s too strong, or over-reducing coffee. To balance tiramisu flavors, use a moderate amount of espresso, add a little extra sugar to the cream layer, and ensure the brownie batter has enough fat (butter or chocolate) to soften harsh notes. You can also fix bitterness by adding vanilla or a small pinch of salt, which improves chocolate flavor without making it taste salty.
Best way to store tiramisu brownies so they stay fresh and the layers don’t dry out?
Store tiramisu brownies in an airtight container in the refrigerator, ideally covered to prevent the mascarpone layer from drying out. Let them chill for at least a few hours before serving so the espresso flavor melds and the brownie sets cleanly. For best taste and texture, bring them to room temperature for 10–20 minutes before eating, especially if the cream feels too firm straight from the fridge.
References
- Google Scholar Google Scholar
https://scholar.google.com/scholar?q=tiramisu+brownie+recipe - Google Scholar Google Scholar
https://scholar.google.com/scholar?q=tiramisu+mascarpone+brownies - Google Scholar Google Scholar
https://scholar.google.com/scholar?q=brownie+recipe+cocoa+espresso+tiramisu - Tiramisu
https://en.wikipedia.org/wiki/Tiramisu - Brownie
https://en.wikipedia.org/wiki/Brownie - Mascarpone
https://en.wikipedia.org/wiki/Mascarpone - Lady finger
https://en.wikipedia.org/wiki/Ladyfinger - Cocoa powder
https://en.wikipedia.org/wiki/Cocoa_powder - List of liqueur brands
https://en.wikipedia.org/wiki/Coffee_liqueur - Espresso
https://en.wikipedia.org/wiki/Espresso