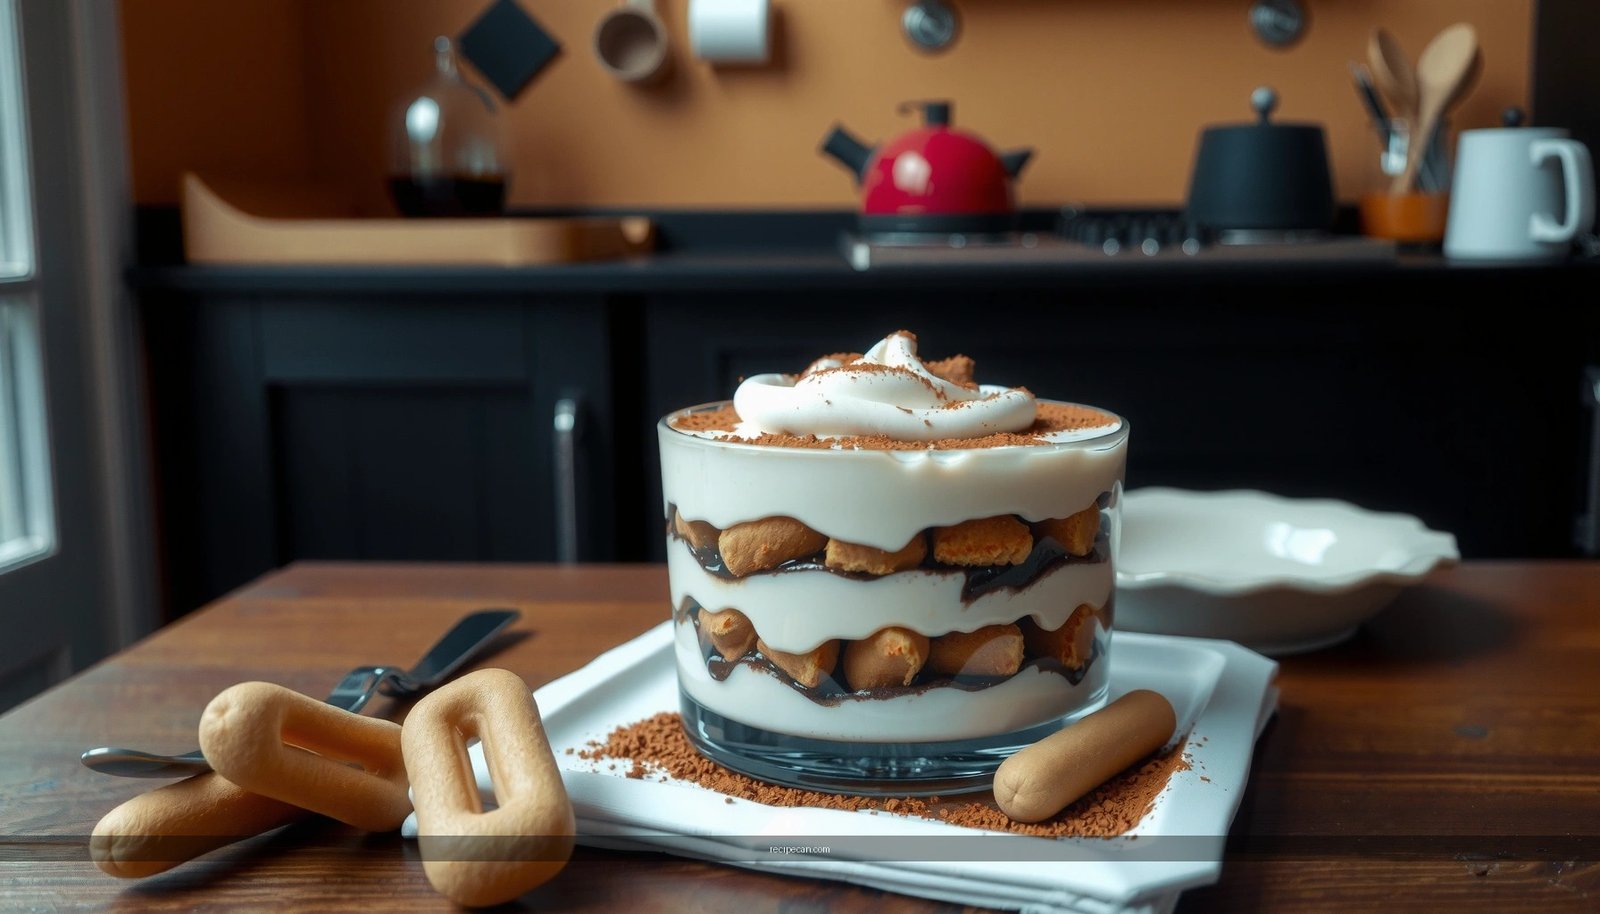
Get the classic Italian recipe for tiramisu dessert with no baking required—layers of espresso-soaked savoiardi and mascarpone that set up cleanly. This method answers whether you can make authentic-tasting tiramisu without an oven and still get the signature creamy, coffee-forward texture in every slice. Follow these exact steps for a no-bake version that’s reliable for weeknight prep yet impressive enough for company.
Make classic tiramisu at home by building espresso-soaked ladyfingers and a thick mascarpone cream, then chilling long enough for clean slices. If you follow the key technique—brief dipping (not soaking) and a properly aerated, spoonable filling—your no-bake tiramisu will set with the signature creamy texture and strong coffee flavor.
Tiramisu’s reputation can make it feel delicate, but the method is straightforward: control the espresso contact time, stabilize the cream, assemble in even layers, and give the dessert enough refrigeration time. Below, you’ll get a reliable, businesslike process you can repeat—complete with guidance for egg-based filling and practical storage and serving.
Tiramisu Performance Guide: Chilling Time & Slice Readiness
| # | Target Outcome | Chill Time | Texture Set Level | Slice Cleanliness | Result Score |
|---|---|---|---|---|---|
| 1 | Quick Service (still creamy) | 2 hours | Soft | ★★☆☆☆ | 4/10 |
| 2 | Best for small gatherings | 4 hours | Firming | ★★★☆☆ | 6/10 |
| 3 | Balanced structure & creaminess | 6 hours | Set | ★★★★☆ | 8/10 |
| 4 | Party-ready clean slices | 8 hours | Well set | ★★★★☆ | 9/10 |
| 5 | Traditional overnight finish | 12–16 hours | Firm & sliceable | ★★★★★ | 10/10 |
| 6 | Cream may feel tighter | 24 hours | Very firm | ★★★★☆ | 9/10 |
| 7 | Don’t expect peak texture | 48 hours | Slightly condensed | ★★★☆☆ | 7/10 |
Ingredients for Tiramisu Dessert

Classic Italian tiramisu is built on a few non-negotiable components: coffee, ladyfingers, and a mascarpone-based cream. The rest is refinement—controlling sweetness, alcohol notes, and egg handling to match your comfort level.
– Ladyfingers (savoiardi): Choose crisp, dry ladyfingers so they hold shape after a quick espresso dip. Fresh or soft varieties can collapse faster and blur the layer definition.
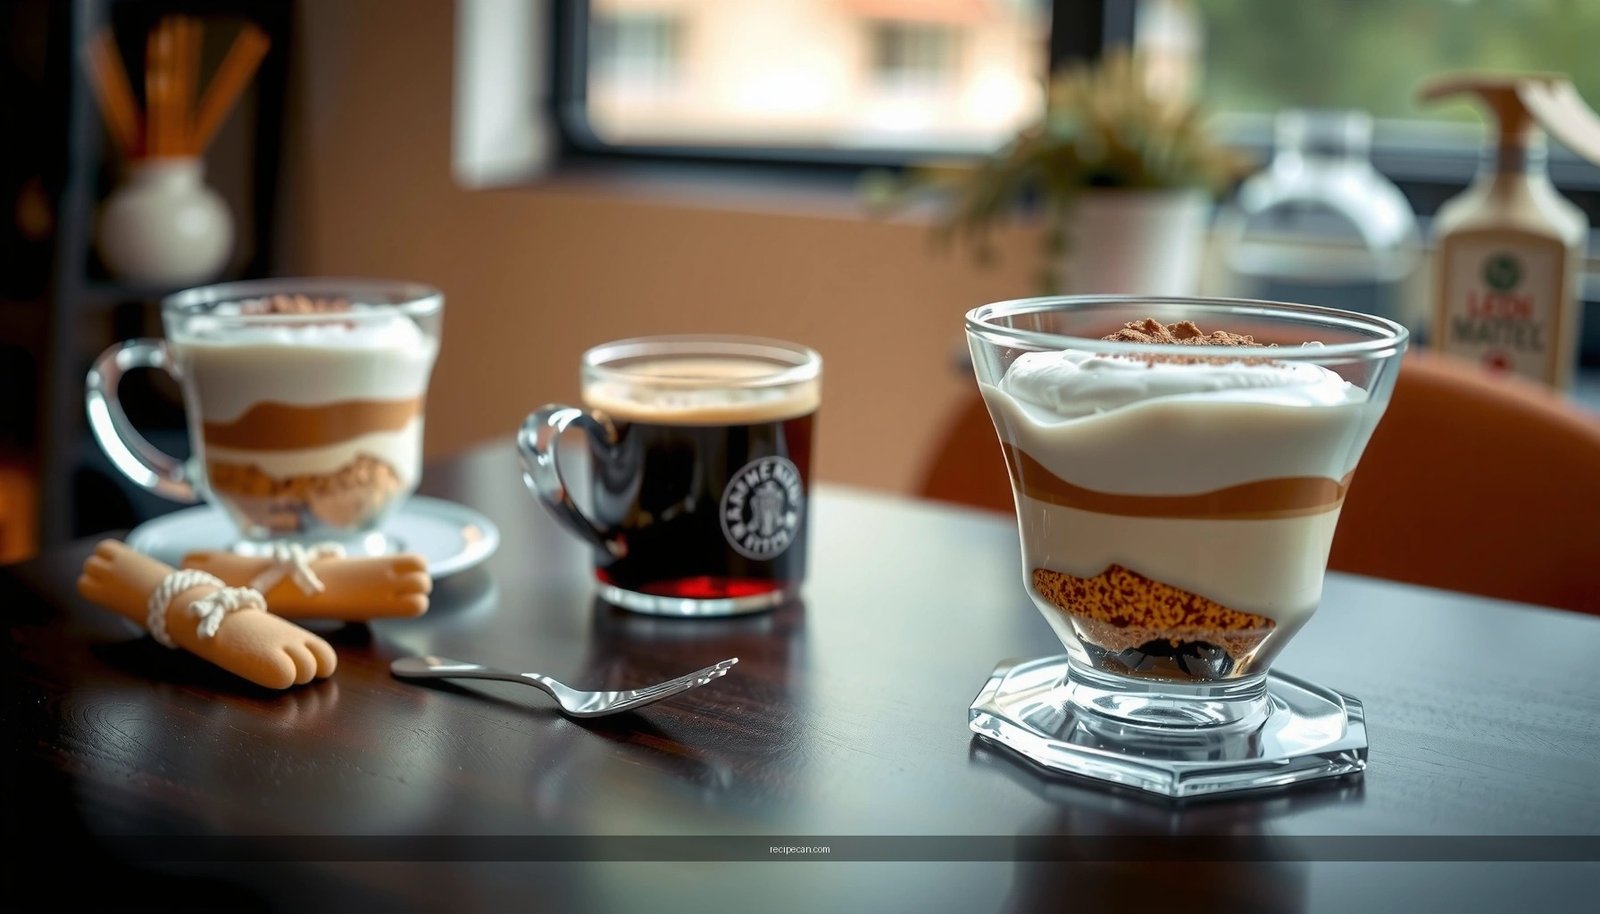
– Espresso (or strong coffee): Use espresso for intensity and minimal bitterness, or brew a strong pot coffee and concentrate it slightly (e.g., use a smaller ratio) to mimic espresso strength.
– Mascarpone: This is the cream’s backbone. Look for mascarpone labeled as “premium” or “whipping-friendly” (varies by brand). Too-watery mascarpone can make the filling lose body.
– Eggs and sugar (for a classic filling): Many classic recipes use egg yolks + sugar for richness, and optionally egg whites for lift. If you’re cautious about raw eggs, use pasteurized eggs or a reputable pasteurized alternative.
– Cocoa powder: Use unsweetened cocoa for the correct balance against coffee and cream. For visual payoff, plan to dust right before serving.
– Optional flavorings: Vanilla extract and dark rum (or coffee liqueur) can deepen the coffee profile. Add rum sparingly—its role is aroma, not dominance.
Practical note: If you’re aiming for clean slices, ingredient consistency matters as much as the recipe itself. Mascarpone temperature (cool, not cold-hard) and evenly measured sugar are especially important for a stable, sliceable no-bake tiramisu.
Make the Espresso Soaking Base

The soaking step determines whether your tiramisu tastes balanced—or turns soggy. The goal is flavor transfer, not saturation.
– Brew strong espresso and cool it: Hot espresso can soften ladyfingers too aggressively and may destabilize the cream. Cool to room temperature, or slightly cool (about lukewarm is fine).
– Brief dip, controlled contact time: Dip ladyfingers quickly—typically 1–3 seconds per side. If the cookies start to bend or fall apart immediately, your coffee is too hot or your ladyfingers are too delicate.
– Use a shallow bowl and work in batches: This keeps your dip time consistent and prevents overexposure.
– Optional flavor additions: A small splash of rum or vanilla into the espresso base can create a fuller coffee aroma. Stir well and taste: the base should taste slightly stronger than you want in the final dessert, because chilling and cream mellow it.
Multiple perspectives (and what they mean in practice):
– Classic approach favors espresso concentration and minimal alcohol, keeping coffee forward.
– Modern home-cook approach often blends espresso with a small amount of sweetener or liqueur for wider appeal. If you do, reduce added sugar in the cream slightly to avoid an overly sweet tiramisu.
– Allergy/egg-conscious approach focuses on pasteurized eggs or alternative methods; the soaking base remains the same because it doesn’t affect egg safety.
Whip the Mascarpone Cream

Your cream should be rich, thick, and stable enough to hold layers without running. This is where technique beats shortcuts.
– Beat yolks and sugar until smooth: Yolks plus sugar should turn paler and more cohesive. This improves texture and helps the filling feel silkier rather than grainy.
– Fold in mascarpone: Folding is key—don’t aggressively whip after mascarpone goes in. Overmixing can lead to a dense, slightly greasy mouthfeel.
– Whip egg whites (if using) to airy peaks: If you incorporate whites, whip until they form soft to medium peaks. Too stiff can make the cream feel heavy or rubbery.
– Gently combine: Fold egg whites into the mascarpone mixture in stages to keep air pockets. These pockets contribute to the “cloud-like” texture many people associate with high-quality Italian tiramisu.
– Consistency check: The cream should be thick and spoonable—if it slowly mounds and doesn’t immediately spread, you’re on track. If it looks too runny, refrigerate briefly (10–15 minutes) to firm before assembling.
Analytical troubleshooting:
– If your cream curdles, your yolk step may have been too hot (or ingredients were too warm). Next time, keep mixing at room temperature and avoid overheating any bain-marie attempts unless your method explicitly heats.
– If your cream breaks or looks watery, mascarpone may be too warm or egg components may not have been properly emulsified. Chilling can help, but prevention is better than rescue.
– If your cream doesn’t set, you may be under-whipping whites (if used) or not chilling long enough. Refer to the chilling performance table above.
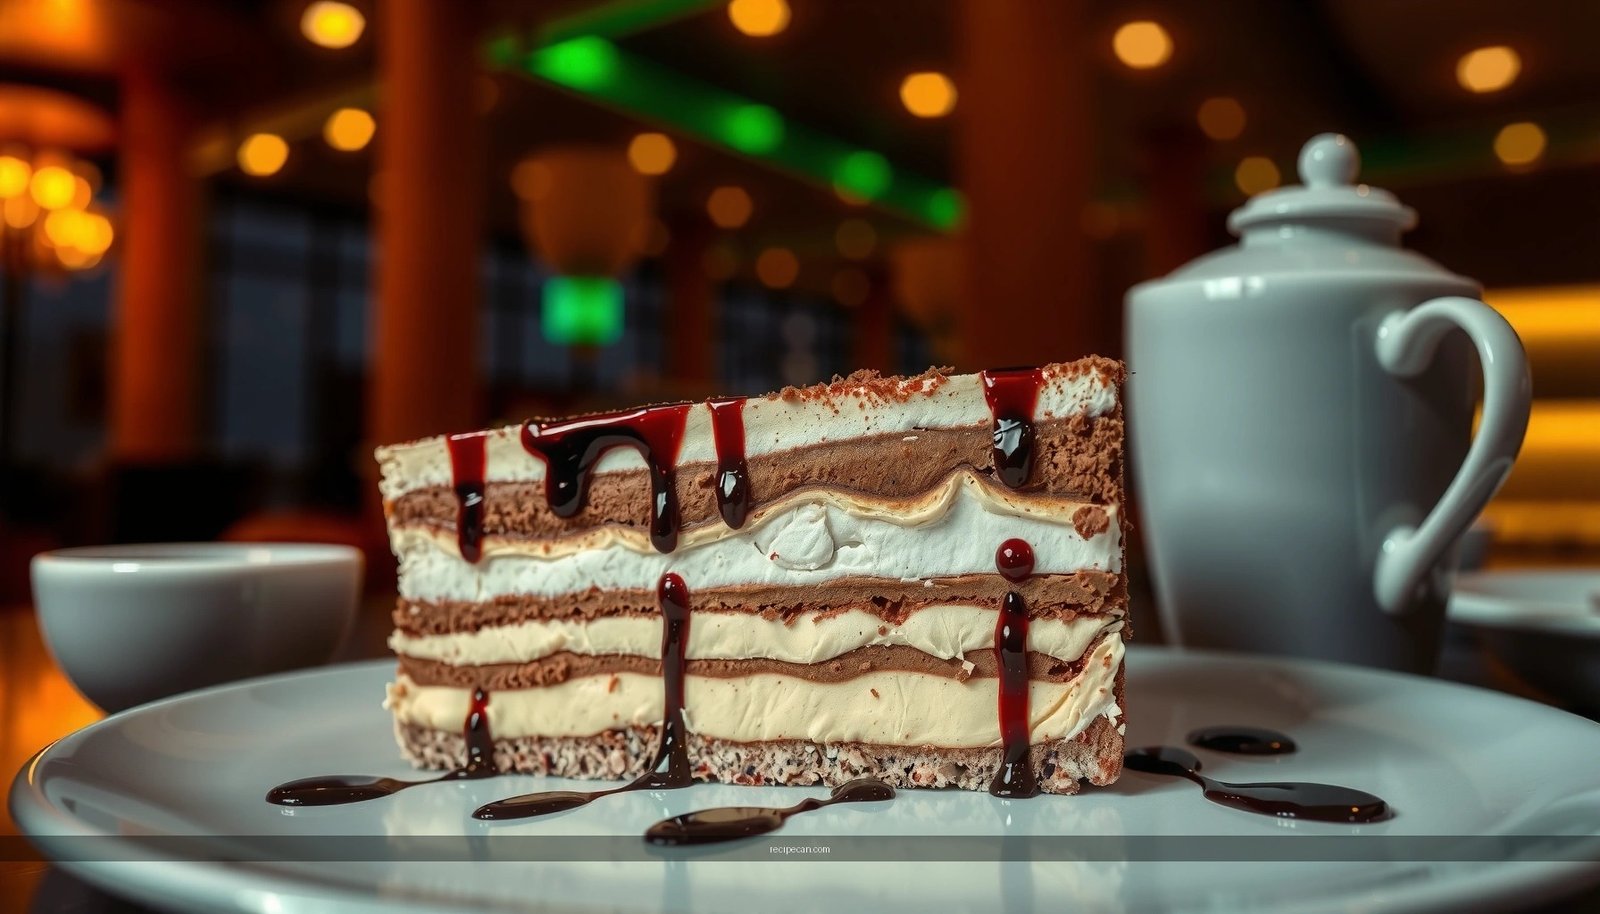
Assemble the Tiramisu Layers
Assembly is where you earn the “classic” part of classic tiramisu: clear stratification, even distribution, and a top that sets uniformly.
– Layer soaked ladyfingers, then mascarpone cream: Repeat until the dish is filled. Aim for consistent spacing and avoid compressing the layers—pressing can squeeze coffee into the cream and reduce slice definition.
– Smooth the top layer: Spread to the edges so it chills evenly. Lumps at the top can create uneven cooling and cause cosmetic streaking.
– Work neatly for cleaner cuts: Wipe the rim of your dish if cream smears up the sides. Side streaks don’t ruin flavor, but they visually distract from clean serving portions.
– Plan your portioning: Choose a dish size that matches the number of servings you want. A too-large dish can produce thin layers (coffee feels muted; slices taste airy). A too-small dish can make the dessert overly tall and harder to cut neatly.
Quality control tip: Lift and taste one bite before serving (from the sample bowl, if you portion). You should taste: coffee on the front, mascarpone sweetness in the middle, and cocoa bitterness on the finish—well balanced and not aggressively wet.
Chill and Set for Best Texture
Tiramisu is a no-bake dessert, but it is not a “no-chill” dessert. Refrigeration is what turns layered ingredients into a cohesive slice.
– Refrigerate at least 4–6 hours: This gives the cream time to firm and helps flavors meld.
– Overnight is best: Many cooks find 12–16 hours produces the most reliable slicing performance and peak texture.
– Cover the dish: Use plastic wrap or an airtight cover. Exposure can dry out the top layer and dull the cocoa finish.
– Serve cold for signature texture: Letting tiramisu warm slightly can soften the structure. For best results, serve straight from the fridge.
The table above reflects a practical range of chilling outcomes, helping you schedule tiramisu for events without guessing. In production terms, chilling time is your “process control” variable.
Serving and Storage Tips
The final steps—cocoa, storage, and timing—make the difference between “tasty” and “impressively classic.”
– Dust generously with cocoa right before serving: Cocoa absorbs moisture over time and can form a damp layer. A fresh dust keeps the appearance crisp and the aroma more vivid.
– Store covered in the fridge for 1–2 days: Flavor typically stays strong, and texture remains good for a short window. After that, the ladyfingers can soften further, and slice definition declines.
– Freeze only if needed: Freezing can slightly change cream texture (often becoming softer and less airy). If you must freeze, wrap well and thaw overnight in the fridge to minimize condensation.
Service etiquette for best results:
– Use a sharp knife and wipe between cuts for clean edges.
– Consider portioning in advance if you’re serving at a business gathering—consistent slices improve perceived quality and reduce downtime.
After chilling, your tiramisu dessert should be creamy, firm enough to slice, and rich in coffee flavor. Follow the soaking and whipping steps closely, then chill until fully set—then dust with cocoa and serve. Try it today and let the classic Italian no-bake layers do the heavy lifting.
Tiramisu succeeds when you treat it like a controlled process: cool espresso, brief dipping, thick and stable mascarpone cream, even layer assembly, and sufficient refrigeration for clean slices. With the guidance above—especially mastering soaking time and chilling—you’ll get a reliably classic, restaurant-worthy dessert every time.
Frequently Asked Questions
What is the best classic tiramisu recipe using mascarpone and espresso?
A classic tiramisu recipe layers espresso-soaked ladyfingers with a mascarpone mixture made from mascarpone, eggs (or pasteurized eggs), sugar, and sometimes vanilla. To build it, dip each ladyfinger briefly in strong cooled espresso, then layer it with the mascarpone cream in a dish. Finish with a generous dusting of cocoa powder on top before chilling so the flavors blend and the dessert sets.
How do you make tiramisu without raw eggs while keeping it creamy?
If you want tiramisu without raw eggs, use pasteurized eggs or replace the egg component with a safe alternative like a cooked zabaglione-style base. Another option is to use store-bought mascarpone whipped with sugar plus a stabilized ingredient such as whipped cream folded in for structure. Either way, chill the tiramisu at least 4 hours (overnight is best) so the texture becomes thick, creamy, and sliceable.
Which ladyfingers should you use for tiramisu to avoid sogginess?
For tiramisu, use dry, classic Italian ladyfingers (savoiardi) that are made to absorb liquid without turning to mush. Dip them quickly—just 1–2 seconds per side in espresso—so they stay intact and form clean layers. If your espresso is very strong, let it cool completely and use a lighter dip to keep the tiramisu from becoming runny.
Why does tiramisu sometimes turn watery, and how can you fix it?
Watery tiramisu usually happens when ladyfingers are soaked too long, the espresso is hot, or the mascarpone mixture is too loose from under-whipping or overmixing. Let espresso cool, dip briefly, and ensure your mascarpone mixture reaches a thick, smooth consistency before assembling. After assembling, chill thoroughly—at least 4–6 hours—so the dessert firms up and the layers set properly.
How long should you chill tiramisu, and when is it ready to serve?
Tiramisu is best after chilling for at least 4 hours, because the mascarpone cream hydrates and the flavors in the espresso dessert meld together. For the best texture and clean slices, chill overnight in the refrigerator. If you serve too early, the layers may separate and the tiramisu can feel loose instead of creamy and firm.
References
- Tiramisu
https://en.wikipedia.org/wiki/Tiramisu - Tiramisu | Meaning, Ingredients, Origin, Desserts, & Taste | Britannica
https://www.britannica.com/topic/tiramisu - https://www.bbc.co.uk/search?q=tiramisu%20recipe
https://www.bbc.co.uk/search?q=tiramisu%20recipe - https://www.theguardian.com/search?q=tiramisu%20recipe
https://www.theguardian.com/search?q=tiramisu%20recipe - https://www.nytimes.com/search?query=tiramisu%20recipe
https://www.nytimes.com/search?query=tiramisu%20recipe - https://pubmed.ncbi.nlm.nih.gov/?term=tiramisu
https://pubmed.ncbi.nlm.nih.gov/?term=tiramisu - https://www.sciencedirect.com/search?qs=tiramisu%20recipe
https://www.sciencedirect.com/search?qs=tiramisu%20recipe - Google Scholar Google Scholar
https://scholar.google.com/scholar?q=tiramisu+recipe - Google Scholar Google Scholar
https://scholar.google.com/scholar?q=tiramis%C3%B9+ingredients+mascarpone+egg+safety - Google Scholar Google Scholar
https://scholar.google.com/scholar?q=coffee+cocoa+tiramisu+formulation+caffeine