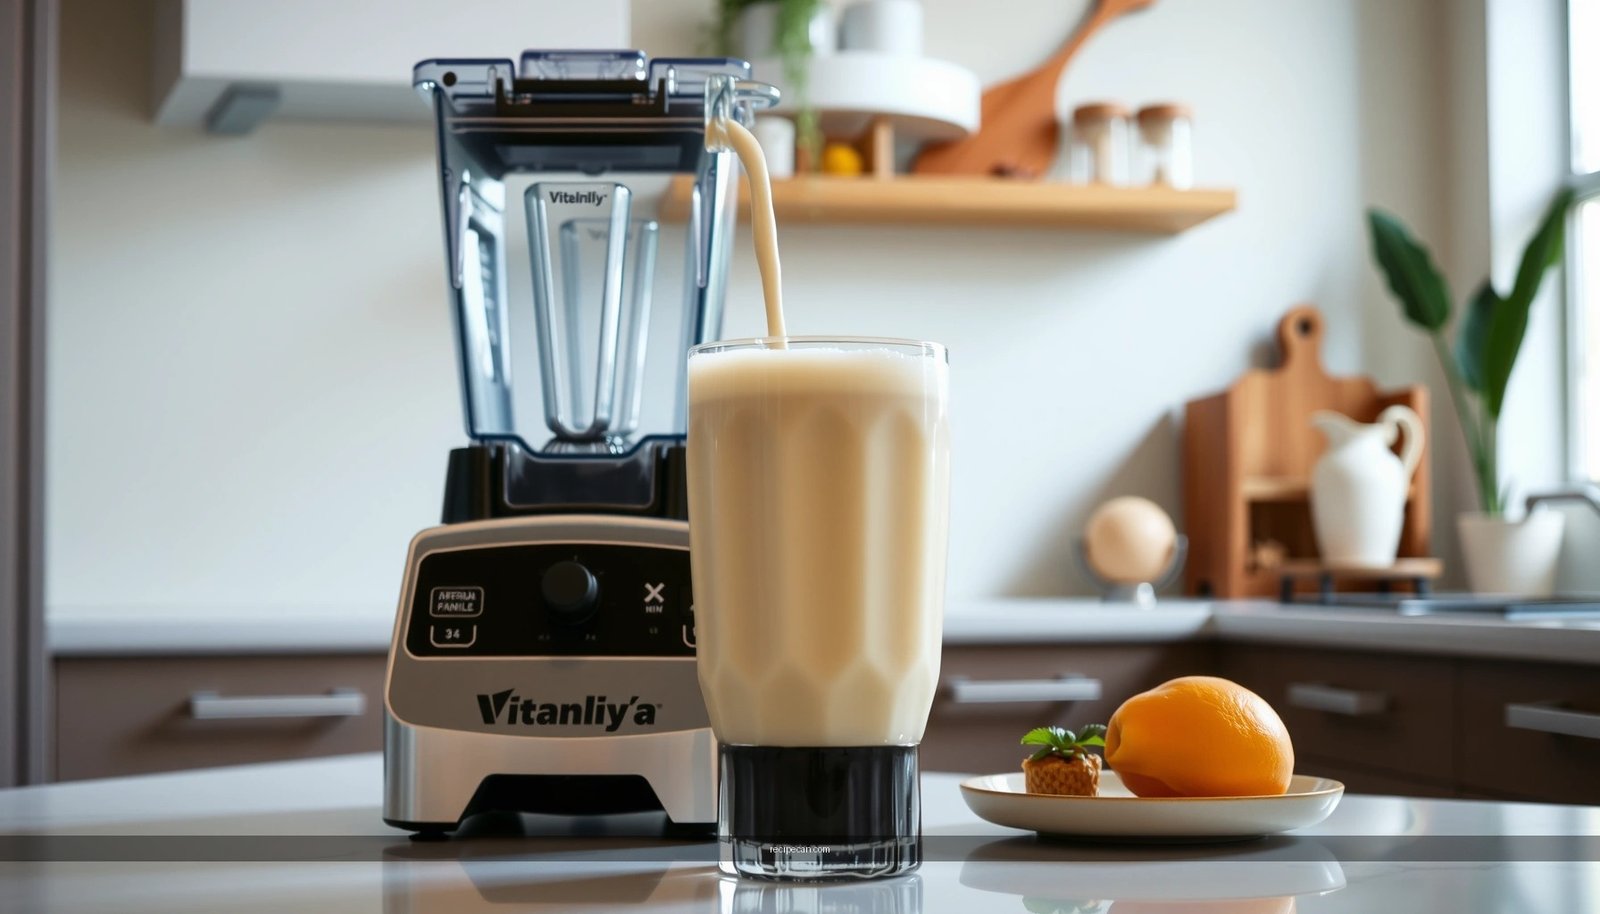
Need a Milkshake Vitamix recipe that delivers a thick, creamy result in minutes? This guide shows exactly how to blend a classic milkshake in your Vitamix—so you get smooth texture without lumps, icy grit, or overblending. Follow the step-by-step process and you’ll know what speed, timing, and ingredient ratios produce the best shake.
A milkshake Vitamix recipe is the fastest way to get a thick, smooth milkshake at home—blend your ingredients until silky, cold, and consistent. With the right base, measured add-ins, and a repeatable blending method, you can produce “shop-style” texture in minutes while fine-tuning thickness, sweetness, and flavor to your exact preference.
A Vitamix is particularly strong for milkshakes because it can pulverize ice and frozen ingredients into an even, spoonable consistency—without the gritty texture that sometimes happens in less powerful blenders. Below is a practical, analytical approach you can reuse every time, whether you’re making classic vanilla, rich chocolate, or a fruit-forward protein milkshake.
—
Choose Your Milkshake Base
Selecting the base is the most important “engineering” decision in any milkshake Vitamix recipe. Creaminess isn’t just about calories—it’s about fat content, protein structure, and how well ingredients emulsify when blended.
– Pick your milk (dairy or alternative) for the right creaminess
Dairy milk tends to deliver classic mouthfeel because its fat and lactose help create a stable emulsion. If you use alternatives, choose ones engineered for blending:
– Whole milk: richest texture and best classic results
– 2% milk: slightly lighter but still thick with enough ice cream
– Oat milk: very creamy and forgiving in Vitamix blending
– Almond milk: can work well, but you’ll often need extra ice cream or a thicker frozen component
Practical rule: If your base is low-fat or watery, you must compensate with more frozen dairy or less liquid.
– Add ice or frozen ingredients to keep it thick
For thick milkshakes, “ice” should be considered a tool, not the foundation. The most reliable method is to use frozen ingredients (ice cream, frozen yogurt, frozen fruit) so the blender has solid matter to grind into a smooth slurry. Cubed ice can help, but it also risks over-dilution if you end up adding extra liquid later.
Practical rule: Aim for a blend that pours slowly—think “thick custard,” not “drink.”
– Match sweetness to your flavor (chocolate, vanilla, fruit)
Sweetness should align with flavor intensity. Chocolate milkshakes often taste balanced with slightly less added sugar because cocoa adds perceived bitterness and depth. Fruit milkshakes need attention too: frozen berries can taste tarter after blending due to acidity.
Practical rule: Start with modest sweetness (especially if your ice cream is already sweet), then adjust by adding a small amount of syrup, honey, or a touch of vanilla.
—
Milk & Frozen Base Choices: Typical Milkshake Results (1 drink / ~450–500 ml)
| # | Base Option | Best Texture Goal | Blend Time (sec) | Expected Thickness Score |
|---|---|---|---|---|
| 1 | Whole milk + vanilla ice cream | Classic spoonable | 35–45 | 9/10 |
| 2 | 2% milk + frozen custard | Dense & smooth | 40–50 | 8/10 |
| 3 | Oat milk + vanilla frozen yogurt | Creamy, slightly tangy | 45–55 | 8/10 |
| 4 | Almond milk + ice cream (reduced dairy) | Thick but lighter mouthfeel | 40–50 | 7/10 |
| 5 | Greek yogurt + milk (for thicker smoothies) | High-protein body | 35–45 | 8/10 |
| 6 | Coconut milk + sorbet (no dairy) | Icy-leaning, sweet texture | 50–60 | 6/10 |
| 7 | Milk + only crushed ice (minimal ice cream) | Slushy, not classic | 30–40 | 5/10 |
—
Add Creamy Flavor Ingredients
Once your base is set, flavor ingredients determine whether your milkshake Vitamix recipe tastes “balanced” or “one-note.” Think in layers: body first, then aroma, then depth.
– Use ice cream, frozen yogurt, or a banana for body
Body ingredients create thickness through fat and solids. Ice cream and frozen yogurt bring fat and emulsifiers that help the shake feel luxurious even when blended quickly. Banana adds natural sweetness and starch, which thickens texture without requiring extra dairy fat.
Practical rule: If you’re using fruit, pair it with some frozen dairy (or frozen yogurt) to prevent a thin, watery result.
– Include a flavor booster (cocoa powder, vanilla, or peanut butter)
Boosters amplify flavor without dramatically changing liquid ratios:
– Cocoa powder: deepen chocolate notes; blend thoroughly to avoid clumps
– Vanilla: rounds sweetness and reduces perceived “sharpness” in dairy alternatives
– Peanut butter: adds fat and savory depth; use a moderate amount so it doesn’t overpower
Practical rule: Start with small measures (e.g., 1–2 tablespoons) and increase next batch—Vitamix blends quickly, so over-adding is harder to correct.
– Consider a pinch of salt to enhance taste
Salt improves flavor perception by reducing bitterness and making sweetness read cleaner. This is a common “pro” move in food development.
Practical rule: Add a tiny pinch (not more) to chocolate shakes and peanut butter blends.
—
Blend with Your Vitamix for Best Texture
Texture comes from process. In a milkshake Vitamix recipe, your blending method controls how fast the ice/frozen solids break down and how smooth the final emulsion becomes.
– Start low to combine, then blend on higher speed
Beginning on low helps pull ingredients toward the blades evenly and prevents splatter. Then increase speed to pulverize ice and reach a uniform texture.
– Blend until smooth and no ice chunks remain
Stop only when the shake looks consistent and glossy. If you see small icy specks, it usually means the ingredients haven’t fully broken down—continue blending briefly.
– Use a tamper if needed to keep ingredients moving
Some thick blends can cling to the walls, especially when using minimal liquid. If your model supports it, use the tamper carefully to guide the mixture back toward the blades—this is essential for a smooth, “restaurant” finish.
Operational benchmark (typical): Many thick milkshakes reach ideal texture in roughly 35–60 seconds, depending on ice/frozen ingredient type and starting temperature.
—
Get the Thickness Just Right
Thickness is where most milkshake Vitamix recipes succeed or fail—because small changes in liquid-to-frozen ratio have outsized effects.
– Thicken with more ice cream or less liquid
If you want a “thick shake” that holds a spoon mark, reduce milk slightly or increase ice cream by a few tablespoons. Remember: fat thickens, and fewer liquids means less dilution during blending.
– Thin with a splash of milk and re-blend briefly
If it’s too thick, add a small splash (for example, 1–2 tablespoons at a time), then blend for 10–15 seconds until incorporated. This prevents over-thinning.
– Let it sit 1–2 minutes for a thicker finish
Many shakes improve after a short rest as ice crystals fully hydrate and the mixture stabilizes. If your shake is borderline thin, waiting can save you from adding more frozen ingredients.
Analytical tip: If the shake gets too thin shortly after blending, your starting mixture likely had excess liquid relative to frozen solids.
—
Easy Customization Ideas
Customization is where you can turn a single milkshake Vitamix recipe into a repeatable menu—without changing fundamentals. Use the same base process, then swap flavor components.
– Chocolate: cocoa + chocolate syrup or espresso
Cocoa powder provides structure; syrup adds sweetness and shine. A small amount of espresso (or strong coffee concentrate) boosts chocolate flavor and reduces “flat” sweetness.
– Fruit: frozen berries or mango + a bit of yogurt
Frozen berries give brightness and a “berry-dairy” profile. Mango adds tropical sweetness. A bit of yogurt improves tang balance and helps stabilize texture, especially with dairy alternatives.
– Protein or healthier options: Greek yogurt or milk + banana
For higher protein, Greek yogurt increases body and improves creaminess even when you use less ice cream. For a lighter option, banana + milk can create a thick blend—but consider adding frozen fruit for consistency.
Actionable approach: Pick one customization direction and adjust gradually. For example, if adding espresso, start small—coffee can dominate quickly.
—
Serve and Enjoy Like a Classic Milkshake
Serving is not an afterthought—temperature and timing affect texture and perceived creaminess.
– Pour immediately for the best texture and consistency
Milkshakes typically thicken as they warm slightly and settle. Pouring right after blending gives you the smoothest, most uniform texture.
– Top with whipped cream, sprinkles, or crushed cookies
Texture contrast matters. Whipped cream adds lightness, while cookies add crunch and flavor complexity that complements chocolate and vanilla shakes.
– Use the same Vitamix formula for quick batch variations
If you’re serving a group, measure your base ratios once and replicate. Change only the flavor layer (cocoa, fruit, nut butter) so every batch reaches the same thickness target.
—
Suggested “Creamy Blend in Minutes” Method (Quick Reference)
Use this as your repeatable workflow:
1. Add milk (or alternative) + your chosen frozen dairy/fruit/body ingredient.
2. Add flavor boosters (cocoa, vanilla, peanut butter) and a pinch of salt when appropriate.
3. Blend low to start, then high until completely smooth.
4. Adjust thickness: small increments of milk or more frozen ingredient.
5. Pour immediately; top and serve.
If you follow this structure, you’ll consistently land a thick, smooth result—exactly what people expect from a classic milkshake.
—
A quick blend in your Vitamix is all you need for a creamy milkshake every time. Choose a base that delivers the right creaminess, add body and flavor in balanced layers, and use a controlled blending method to eliminate ice grain. Then fine-tune thickness with small milk/ice-cream adjustments, serve immediately for best texture, and test one customization idea—chocolate, fruit, or protein-forward—for your next perfectly blended batch.
References
- Google Scholar Google Scholar
https://scholar.google.com/scholar?q=milkshake+nutrition+dairy+sugar - Google Scholar Google Scholar
https://scholar.google.com/scholar?q=milkshake+added+sugars+health+outcomes - Google Scholar Google Scholar
https://scholar.google.com/scholar?q=blender+processing+mixed+dairy+drink+milk+nutrient+bioavailability - Milkshake
https://en.wikipedia.org/wiki/Milkshake - https://fdc.nal.usda.gov/search/?query=milkshake%2C%20vanilla
https://fdc.nal.usda.gov/search/?query=milkshake%2C%20vanilla - https://www.cdc.gov/nutrition/added-sugars/index.html
https://www.cdc.gov/nutrition/added-sugars/index.html - Healthy diet
https://www.who.int/news-room/fact-sheets/detail/healthy-diet - Calcium – Health Professional Fact Sheet
https://ods.od.nih.gov/factsheets/Calcium-HealthProfessional/ - https://pubmed.ncbi.nlm.nih.gov/?term=milkshake
https://pubmed.ncbi.nlm.nih.gov/?term=milkshake - milkshake | Nature Search Results
https://www.nature.com/search?q=milkshake


