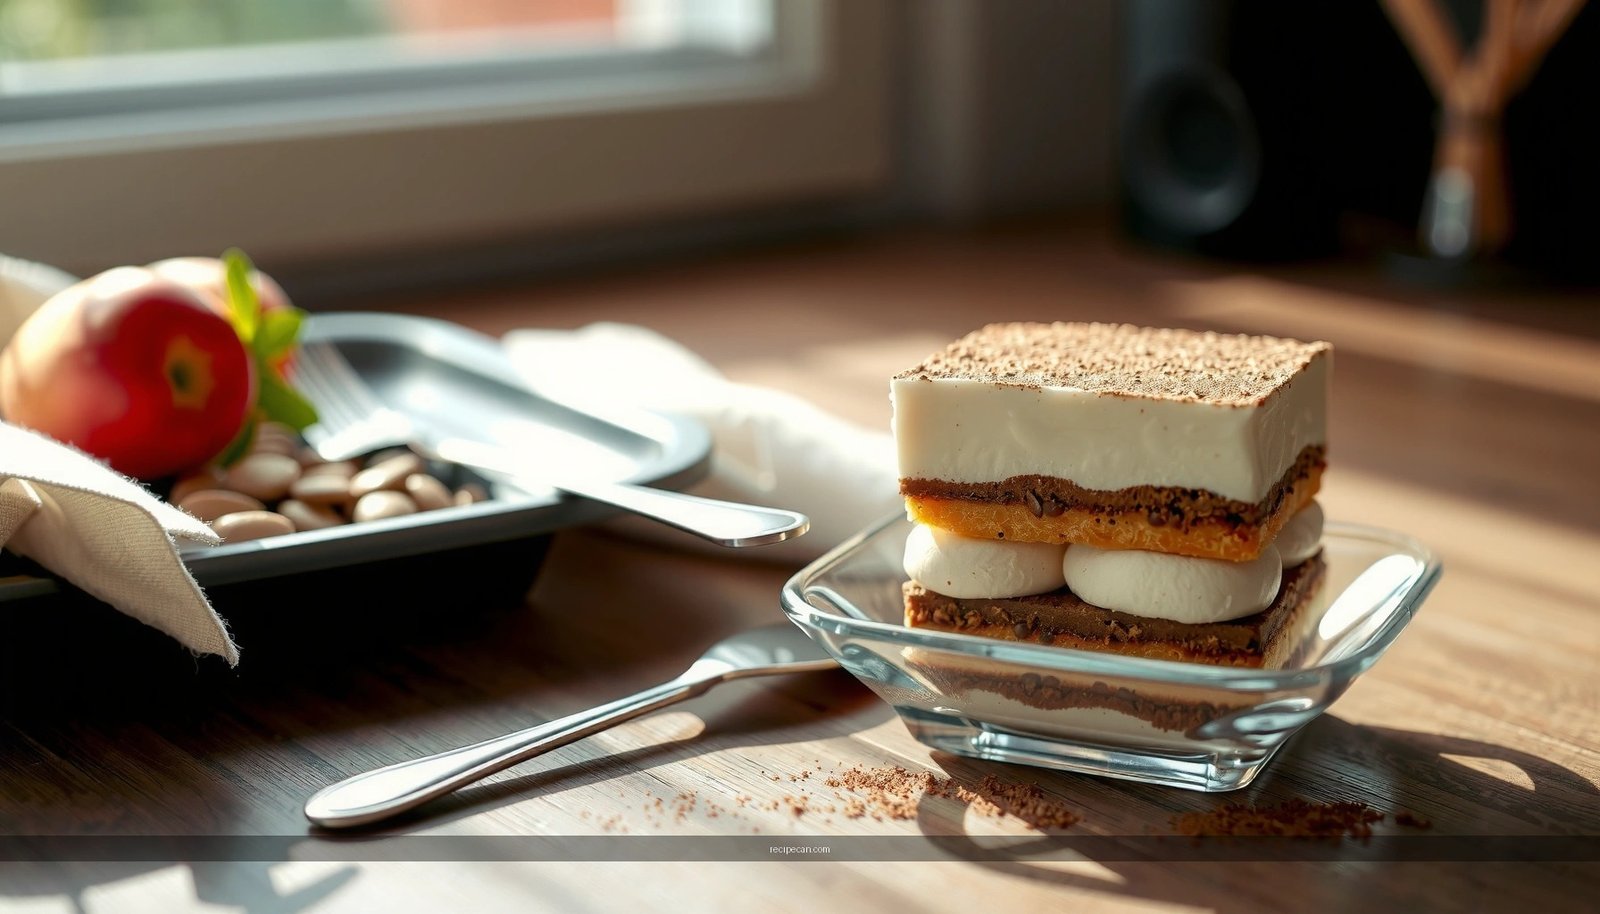
If you’re searching for the best lemon tiramisu recipe, this bright, creamy dessert delivers the winner: tangy lemon flavor layered over a rich mascarpone base with an easy assembly. You’ll get a straightforward method that makes lemon tiramisu feel impressive without complicated steps or hard-to-find ingredients. Follow the directions and you’ll produce a clean, refreshing tiramisu that holds its shape and tastes like summer.
This lemon tiramisu recipe delivers a fresh, tangy dessert with a creamy mascarpone filling and perfectly layered texture—no complicated baking required. You’ll build it with lemon zest and juice in the cream, layer softened ladyfingers, then chill until the flavors meld into a bright, spoonable classic.
Ingredients You’ll Need for Lemon Tiramisu

A lemon tiramisu is essentially a structural equation: acid + cream + soak + time. When those components are balanced, the result is light, bright, and sliceable. Here’s a practical ingredient list that supports consistent layering and an excellent set after chilling.
– Mascarpone (the creamy base): Choose full-fat mascarpone for stable, thick texture.
– Eggs (or egg-free option):
– Egg-based version: separated eggs for whipped structure.
– Egg-free version: use stabilized whipped cream or crème fraîche style approaches (still achieving lift).
– Sugar: Sweetens the lemon and helps the filling hold its shape.
– Fresh lemon: both zest (aroma) and juice (tang).
– Ladyfingers: traditional base for tiramisu layers; look for ones that absorb but don’t crumble.
– Brewed coffee or lemon-soaked alternative:
– For a true lemon-forward dessert, use a lemon soak (see section below).
– For a hybrid, you can use coffee lightly with lemon zest.
– Optional flavor enhancers: limoncello for an aromatic Italian-style profile, or vanilla for warmth that rounds out acidity.
For best results, plan for about 2–4 hours active time plus 4–6 hours chilling. That chill is not optional—it’s what turns separate layers into cohesive dessert.
Typical Lemon Tiramisu Build: Soak-to-Set Time Guidance
| # | Stage | Target Time | What You’re Achieving | Quality Impact |
|---|---|---|---|---|
| 1 | Lemon zest & juice prep | 8–12 min | Max aroma extraction | High ★★★★★ |
| 2 | Mascarpone mixing | 5–7 min | Smooth, thick base | High ★★★★☆ |
| 3 | Egg-whites/cream whipping | 3–5 min | Light, airy structure | Very High ★★★★★ |
| 4 | Ladyfinger dipping | 1–2 sec each side | Softened, not soggy | High ★★★★☆ |
| 5 | First chill (optional) | 45–60 min | Sets layers for cleaner topping | Medium-High ★★★☆☆ |
| 6 | Final chill | 4–6 hours | Thickens cream, melds flavors | Very High ★★★★★ |
| 7 | Best serving window | 6–18 hours | Peak balance, ideal slice | High ★★★★☆ |
Make the Lemon Cream (Mascarpone Filling)

The lemon cream is where your lemon tiramisu earns its personality. Creaminess comes from mascarpone; lift comes from whipping; tang comes from zest and juice.
1. Mix mascarpone with sugar
Start by whisking mascarpone with sugar until smooth and glossy. This step prevents graininess and ensures lemon flavors distribute evenly.
2. Add zest first, then juice
– Zest delivers aroma oils that remain vibrant even after chilling.
– Juice delivers acidity and cuts through the richness.
Add juice gradually—start with about half, taste, and adjust. Different lemons vary dramatically.
3. Whip in structure (egg whites or cream)
Folding is the critical technique. If you’re using an egg-based method, whip egg whites to soft peaks, then fold gently into the mascarpone mixture. For an egg-free option, whip cream until it holds soft peaks and fold similarly.
The objective is a filling that is thick enough to hold layers yet light enough to avoid a dense, cheesecake-like bite.
4. Taste and recalibrate
A professional approach is to ask: Does it taste like lemon dessert or lemon cleaner?
– Too sharp? Add a little more sugar or a touch more mascarpone.
– Too mild? Add extra zest rather than more juice (zest increases “lemon presence” without thinning).
The cream should be smooth and spoonable with a gentle “gravity”—it should slowly settle, not run.
Prepare the Soak and Layer the Tiramisu

Layering is the engineering phase. You need the ladyfingers to soften and flavor without collapsing. That’s why the soak time is measured in seconds, not minutes.
1. Make a lemon-soak (or coffee-lemon hybrid)
A lemon soak can be as simple as: lemon juice + water + sugar, optionally with a splash of limoncello. Stir until sugar dissolves.
If using coffee, keep it relatively light; strong coffee can mute the citrus notes.
2. Dip ladyfingers briefly
Dip each side for 1–2 seconds. You’re looking for surface wetting, not saturation. If your ladyfingers are very dry, increase to the low end consistently (still short). A consistent technique prevents patchy texture.
3. Layer for even portions
– Place the first layer of dipped ladyfingers in your dish.
– Spread lemon cream in an even layer—an offset spatula helps.
– Repeat until you reach your final topping layer.
4. Smooth the final layer
Finish with a smooth top because it’s the visual anchor. After smoothing, tap the dish lightly on the counter to level the interior and remove trapped air pockets.
For clean results, use a dish size that fits your ladyfingers without forcing gaps. Uneven spacing increases the risk of under-soaked edges.
Assemble and Chill for the Best Texture
Chilling turns your assembled components into a unified dessert. Think of it as the “flavor integration window” plus the “texture set.”
– Refrigerate at least 4–6 hours
This is the minimum range where the cream thickens and the ladyfingers fully hydrate.
– Overnight is better
After 8–18 hours, lemon flavor becomes rounder and the cream-ladyfinger interface stabilizes for a neat slice.
– Cover the dish
Tiramisu can absorb fridge odors. Cover tightly with plastic wrap or a lid to protect aroma integrity.
– Serve cold
Warmth loosens the structure. For best mouthfeel, remove from the refrigerator shortly before serving and portion promptly.
A helpful workflow for a serving timeline:
– Assemble in the afternoon.
– Chill through dinner.
– Garnish right before serving (to keep zest aromatic and toppings fresh).
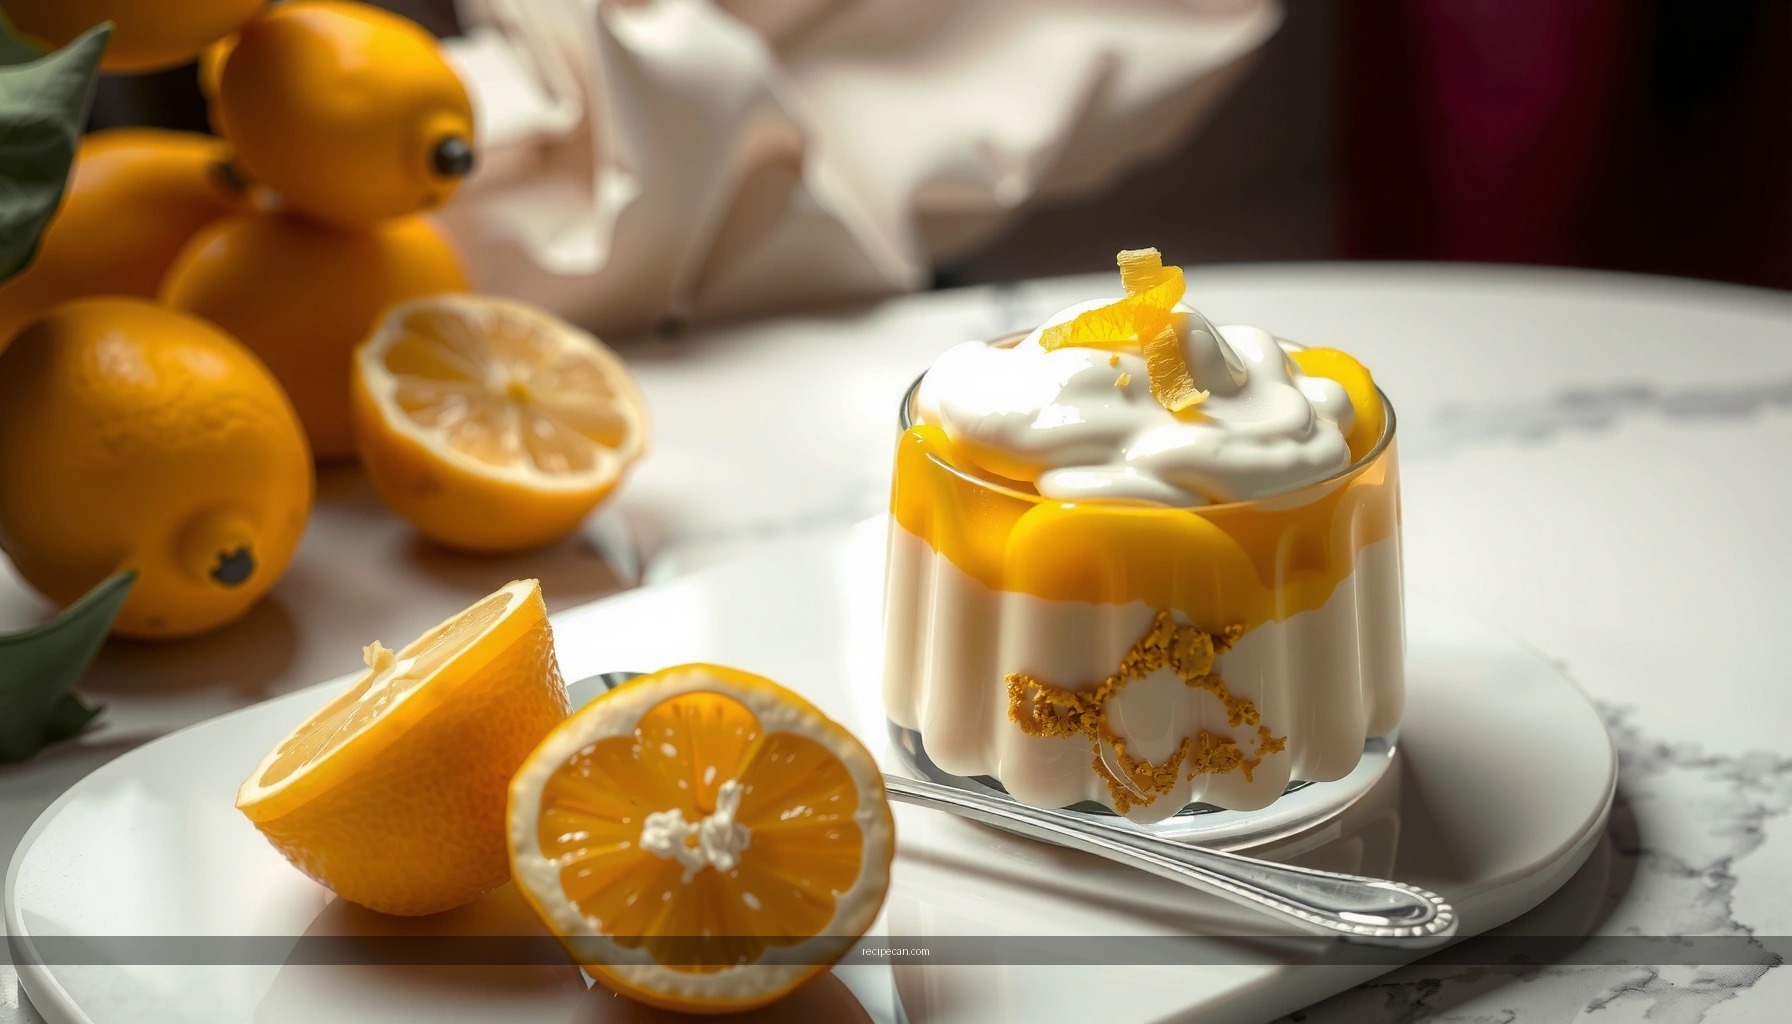
Serving Tips and Flavor Variations
Once your lemon tiramisu is set, presentation and personalization bring it over the top.
– Extra lemon zest (finely grated): adds immediate fragrance.
– Shaved chocolate: creates bittersweet contrast against bright citrus.
– Fresh berries (especially raspberries): provide color and an acidic counterpoint.
Limoncello variation
– Replace part of the soak liquid with limoncello for a more adult, aromatic profile.
– Start conservatively; limoncello is flavorful, so a little goes a long way.
Vanilla enhancement
– Add a small amount of vanilla to the cream or soak to soften the sharpness of lemon and create a bakery-style depth.
Gluten-free adaptation
– Use gluten-free ladyfingers and proceed the same way with dipping and chilling.
– If your gluten-free ladyfingers are more fragile, dip even more briefly (closer to 1 second) and ensure the cream layer is thick enough to prevent cracking.
These variations don’t change the core method; they adjust flavor notes and texture resilience.
Troubleshooting Common Lemon Tiramisu Issues
Even a great recipe depends on technique. Here are the most common issues and what to do—fast, practical fixes rather than vague advice.
– Problem: Filling is too runny
Fix: Chill longer (at least 6 hours), and confirm the cream was fully whipped/whites were properly incorporated. If the mixture looks loose after folding, it likely needs more whipping or gentler folding next time to retain air.
– Problem: Dessert tastes too sour
Fix: Balance with a bit more sugar (preferably added gradually) or increase mascarpone slightly in future batches. You can also enhance vanilla or add a hint of zest to bring “lemon aroma” without more acidity.
– Problem: Ladyfingers are too soggy
Fix: Shorten the dipping time and keep the soak liquid cold. Soggy results almost always come from over-dipping or using a soak that’s too strong in flavor and too hot in temperature.
– Problem: Layers look uneven or slide
Fix: Ensure the cream is thick before layering and consider a short initial chill (45–60 minutes) before the final topping for better structural hold.
Lemon tiramisu is about balance: tangy lemon flavor, creamy mascarpone layers, and a long chill for the perfect set. Follow the ingredient list, make a smooth lemon cream, layer carefully, and refrigerate until firm—then garnish and serve.
If you tell me whether you want an egg-based version (with whipped egg whites) or an egg-free version, I can tailor the method and ingredient ratios to match your exact preferences and dietary needs.
Frequently Asked Questions
What is a lemon tiramisu and how is it different from classic tiramisu?
Lemon tiramisu is a refreshing twist on classic Italian tiramisu that uses lemon juice and lemon zest instead of (or alongside) coffee flavors. The mascarpone filling stays creamy, while the lemon flavor is often balanced with sugar and sometimes a limoncello or vanilla note. Instead of coffee-soaked ladyfingers, many recipes use lemon syrup or a light lemon-citrus soak for a bright, dessert-like finish.
How do you make lemon tiramisu without curdling the mascarpone filling?
To avoid curdling or graininess, keep ingredients at a similar cool temperature and whip gently rather than overheating. If you add lemon juice, whisk it into mascarpone gradually and consider using zest for stronger lemon flavor with less acidity. For extra stability, use room-temperature mascarpone and fold lemon mixture into the whipped cream or egg base slowly, stopping as soon as it looks smooth.
Why do lemon tiramisus sometimes taste too sour or too runny, and how can you fix it?
Too much lemon juice or insufficient sugar can make lemon tiramisu taste sharp, while thin soaking liquid or warm cream can cause runniness. Balance acidity by adjusting sugar to your palate and using zest to boost lemon aroma without extra acidity. For texture, let the mascarpone mixture chill, use a moderate amount of lemon syrup, and avoid soaking ladyfingers too long—just until pliable.
Which ladyfingers work best for lemon tiramisu—store-bought or homemade?
Store-bought ladyfingers are the most convenient option and typically soak evenly for lemon tiramisu. Look for firm, dry ladyfingers that absorb syrup without falling apart immediately, since the lemon soak is usually lighter than coffee. Homemade ladyfingers can work great if you can control thickness and moisture, but they should be fully cooled and not too soft so the layers hold during chilling.
What’s the best way to assemble and chill a lemon tiramisu for clean layers and strong flavor?
Assemble in a shallow dish or individual cups so you get even layers of mascarpone and lemon syrup-soaked ladyfingers. Spread a thin, even layer each time and aim for consistent thickness to prevent sinking or sliding. Chill lemon tiramisu for at least 4–6 hours (or overnight) so the ladyfingers fully absorb the lemon tiramisu flavors while the filling sets into a creamy, sliceable texture.
References
- Google Scholar Google Scholar
https://scholar.google.com/scholar?q=lemon+tiramisu+recipe - Google Scholar Google Scholar
https://scholar.google.com/scholar?q=tiramisu+lemon+mascarpone+ladyfingers - Google Scholar Google Scholar
https://scholar.google.com/scholar?q=lemon+curd+tiramisu+cold+dessert+emulsion - Tiramisu | Meaning, Ingredients, Origin, Desserts, & Taste | Britannica
https://www.britannica.com/topic/tiramisu - Tiramisu
https://en.wikipedia.org/wiki/Tiramisu - Mascarpone
https://en.wikipedia.org/wiki/Mascarpone - Fruit curd
https://en.wikipedia.org/wiki/Lemon_curd - https://en.wikipedia.org/wiki/Ladyfinger_(biscuit
https://en.wikipedia.org/wiki/Ladyfinger_(biscuit - Lemon
https://en.wikipedia.org/wiki/Lemon - Custard
https://en.wikipedia.org/wiki/Custard