If you’re searching for a lady finger tiramisu recipe with classic no-bake steps, this is the version that delivers clean layers and a set, sliceable texture without using the oven. You’ll get the exact soak method for ladyfingers, the dependable mascarpone filling ratio, and the fastest way to assemble and chill for best flavor. Choose this approach when you want the classic tiramisu taste—ready by the time the coffee cools.
If you want classic, creamy lady finger tiramisu with no baking, assemble quickly, dip the savoiardi briefly, and chill long enough to set the mascarpone filling. This recipe delivers the traditional espresso-soaked layers and a stable custard-style cream—so you get clean slices instead of soggy results.
Ingredients for Lady Finger Tiramisu

A traditional lady finger tiramisu is built from five core components: ladyfingers (savoiardi), espresso, mascarpone, eggs (or a dependable egg-free alternative), and cocoa. Using the right ingredients—and measuring with purpose—helps you control texture, sweetness, and moisture.
– Mascarpone (for creamy body): Choose a full-fat mascarpone for the best spoonable texture.
– Eggs: Use fresh, ideally pasteurized eggs for food safety and a stable custard-style cream.
– Sugar: Balances the bitterness of espresso and cocoa.
– Espresso: Strong, concentrated coffee flavor is essential—weak coffee will taste watery once chilled.
– Cocoa powder: Unsweetened cocoa for a classic bittersweet top layer.
Ladyfingers selection
– Savoiardi (ladyfingers) should be firm, dry, and capable of absorbing liquid without collapsing instantly. Avoid very soft packaged cookies labeled “tiramisu biscuits” unless they specify savoiardi-style.
Optional flavor add-ins
– Vanilla (extract or paste) for rounder aroma
– Dark rum (or a rum syrup) for classic depth
– Flavored espresso *or* a small amount of espresso concentrate for extra intensity (not both—too much can overpower mascarpone)
Tiramisu Ingredient Moisture Targets (Classic Style)
| # | Component | Goal Texture After Chilling | Practical Target | Moisture Risk |
|---|---|---|---|---|
| 1 | Savoiardi (ladyfingers) | Tender, intact, sliceable | Dip 1–2 seconds/side | Low |
| 2 | Espresso soak liquid | Flavor-forward, not pooled | Cool to warm, not hot | Low |
| 3 | Mascarpone cream | Holds peaks, smooth spoon texture | Stabilized for slicing | Low |
| 4 | Layer thickness | Even distribution; no wet edges | ~1 cm ladyfinger layer | Medium |
| 5 | Chill time | Set structure; balanced moisture | 4–6 hours min | Medium |
| 6 | Cocoa finishing | Dry, aromatic top; no clumps | Right before serving | Low |
| 7 | Rum/booze amount | Deep aroma without liquefying layers | 1–2 tbsp per batch | Medium |
Make the Mascarpone Cream

The hallmark of a classic lady finger tiramisu is a custard-style cream that feels silky, not runny. To achieve that, you need two stages: (1) smooth the mascarpone, then (2) incorporate a sweetened egg mixture correctly.
1) Whip mascarpone just enough
Mascarpone can look lumpy straight from the tub. Whipping it lightly smooths the texture without over-aerating. Over-whipping may make the cream too airy, then unstable after chilling.
2) Prepare the sweetened egg mixture
For the classic method, whisk egg yolks with sugar until glossy and pale, then gently incorporate mascarpone. Some cooks add a brief heat step to reduce raw-egg flavor concerns—especially useful for business or event service. If you prefer an egg-free approach, use a no-custard method: stabilized dairy cream + mascarpone with a safe thickener (commonly gelatin or another stabilizer). The goal is the same—structure that slices cleanly.
3) Fold gently
When combining, fold rather than beat. Folding keeps the mixture light and maintains a smooth, creamy consistency. The correct moment is when everything looks uniform, with no streaks of yolk.
Quality checks
– The cream should mound slightly on a spoon.
– It should spread, not pour.
– If it looks thin, give it time to firm in the fridge before assembling.
Brew and Prepare Espresso Soak

Classic tiramisu flavor relies on strong espresso and controlled dipping. If you rush this step, the result is usually soggy ladyfingers or a watery base.
1) Brew strong espresso (or strong coffee)
Brew the espresso hot for extraction, then let it cool slightly before soaking. Hot coffee can soften ladyfingers too quickly and can also affect cream texture if layers warm up.
2) Dip ladyfingers quickly
The most important no-bake technique: dip, don’t soak. Aim for flavor absorption with minimal structural damage.
– Dip each side for about 1–2 seconds.
– Lay immediately on a clean tray so excess liquid doesn’t puddle.
– Work in small batches so the cookie surfaces stay fresh rather than fully saturated.
3) Add rum or vanilla if desired
A small splash of rum (or a touch of vanilla) intensifies aroma and rounds the bitterness of espresso. Use it deliberately:
– Add toward the end of the espresso cooling process.
– Keep quantity modest to avoid thinning the soak too much.
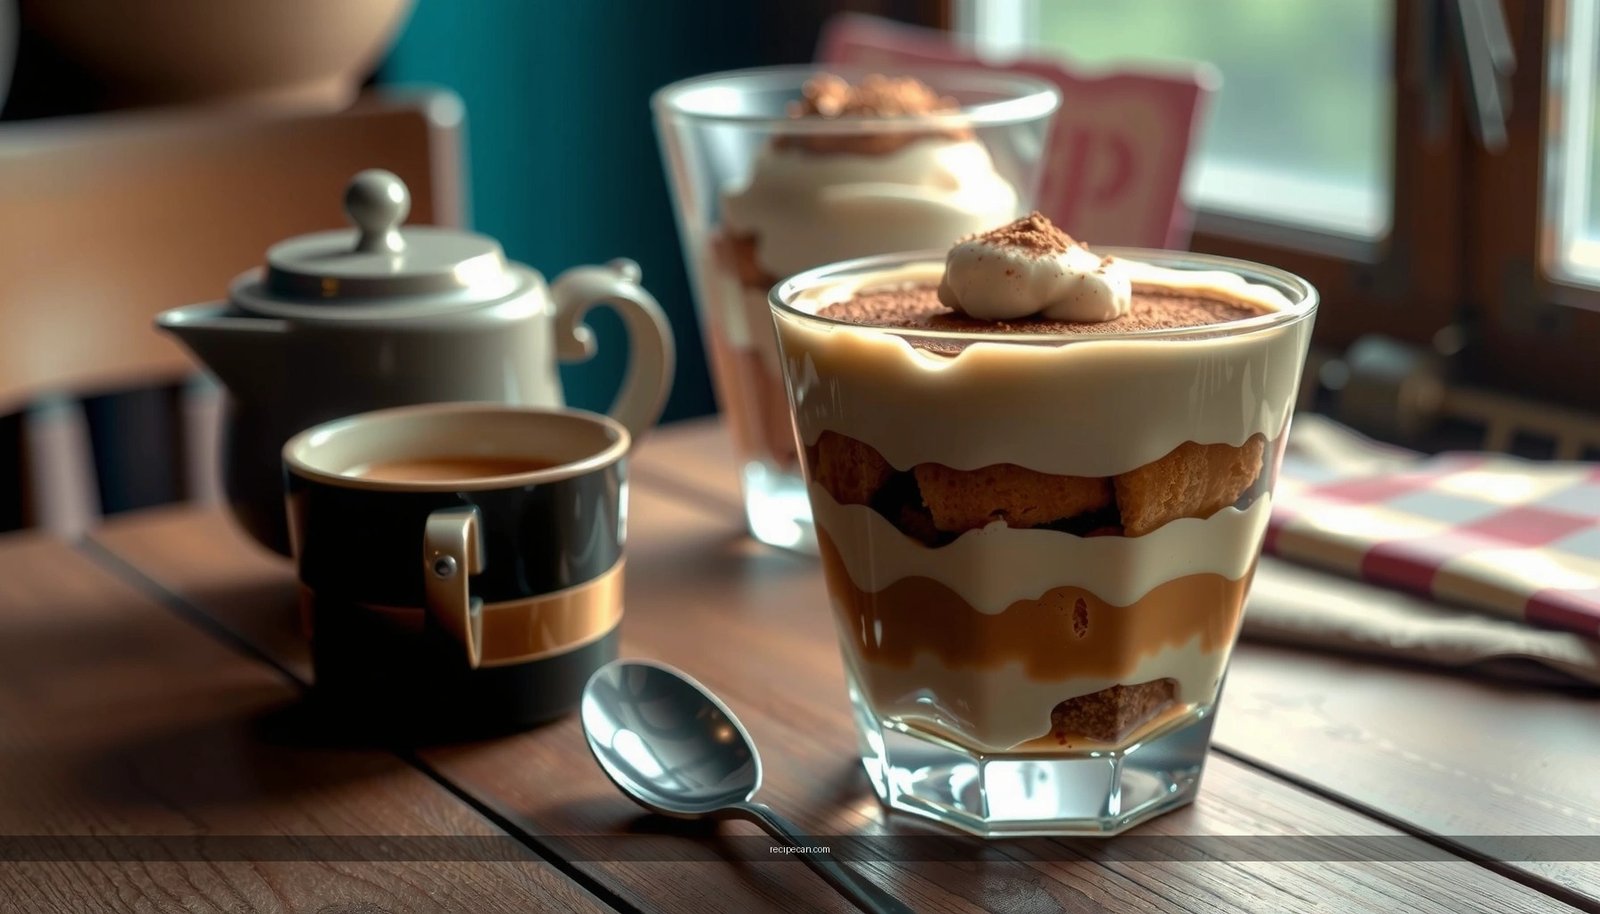
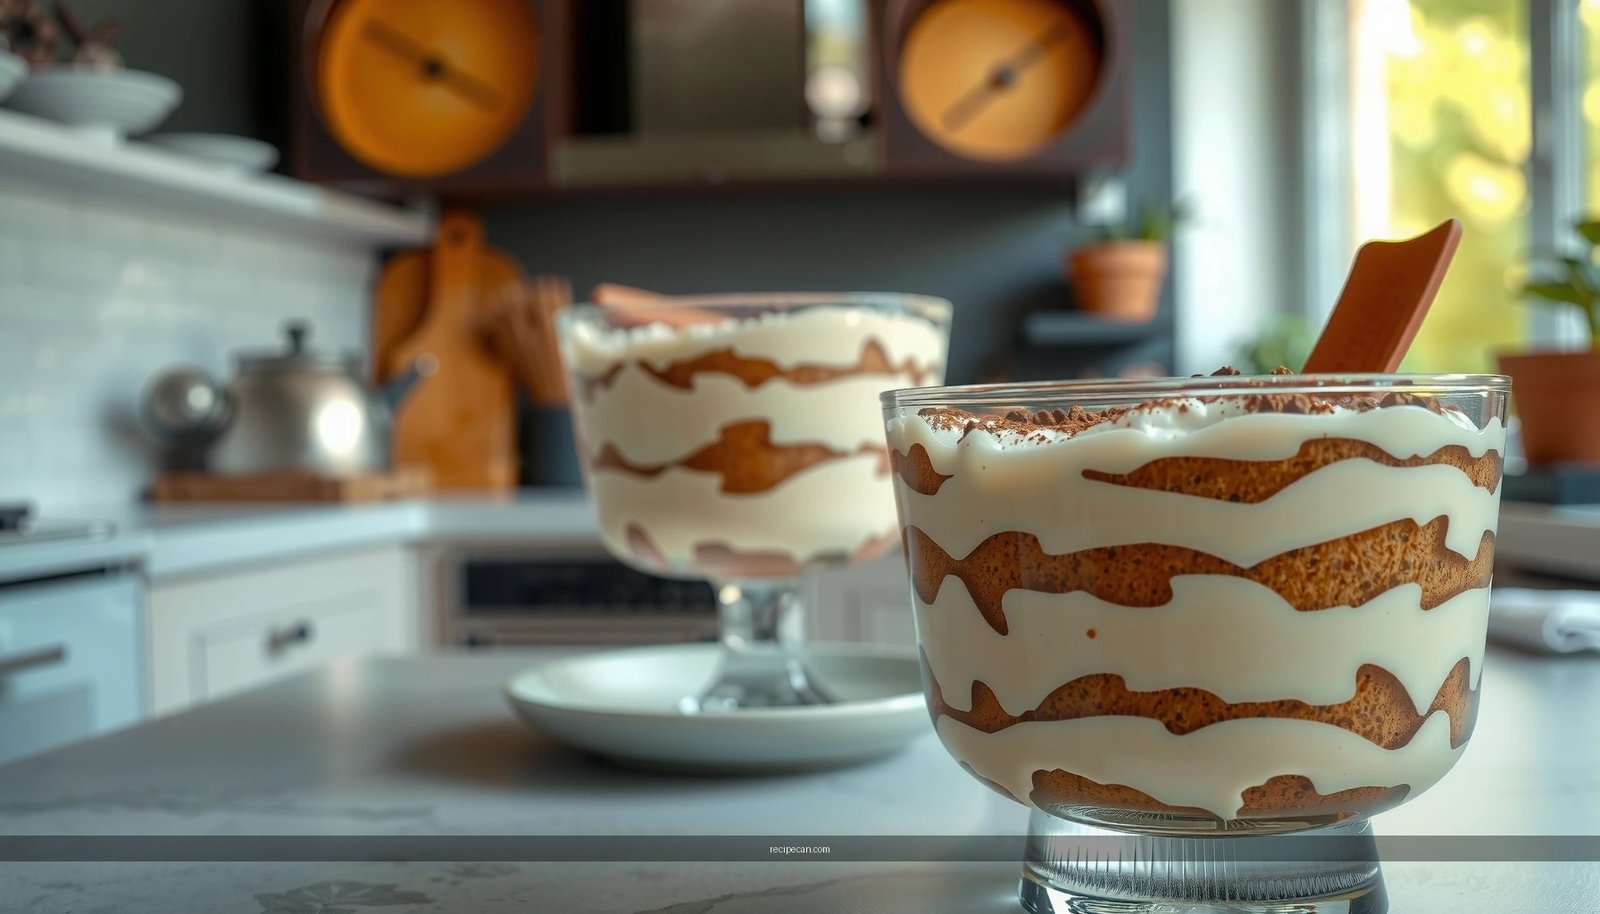
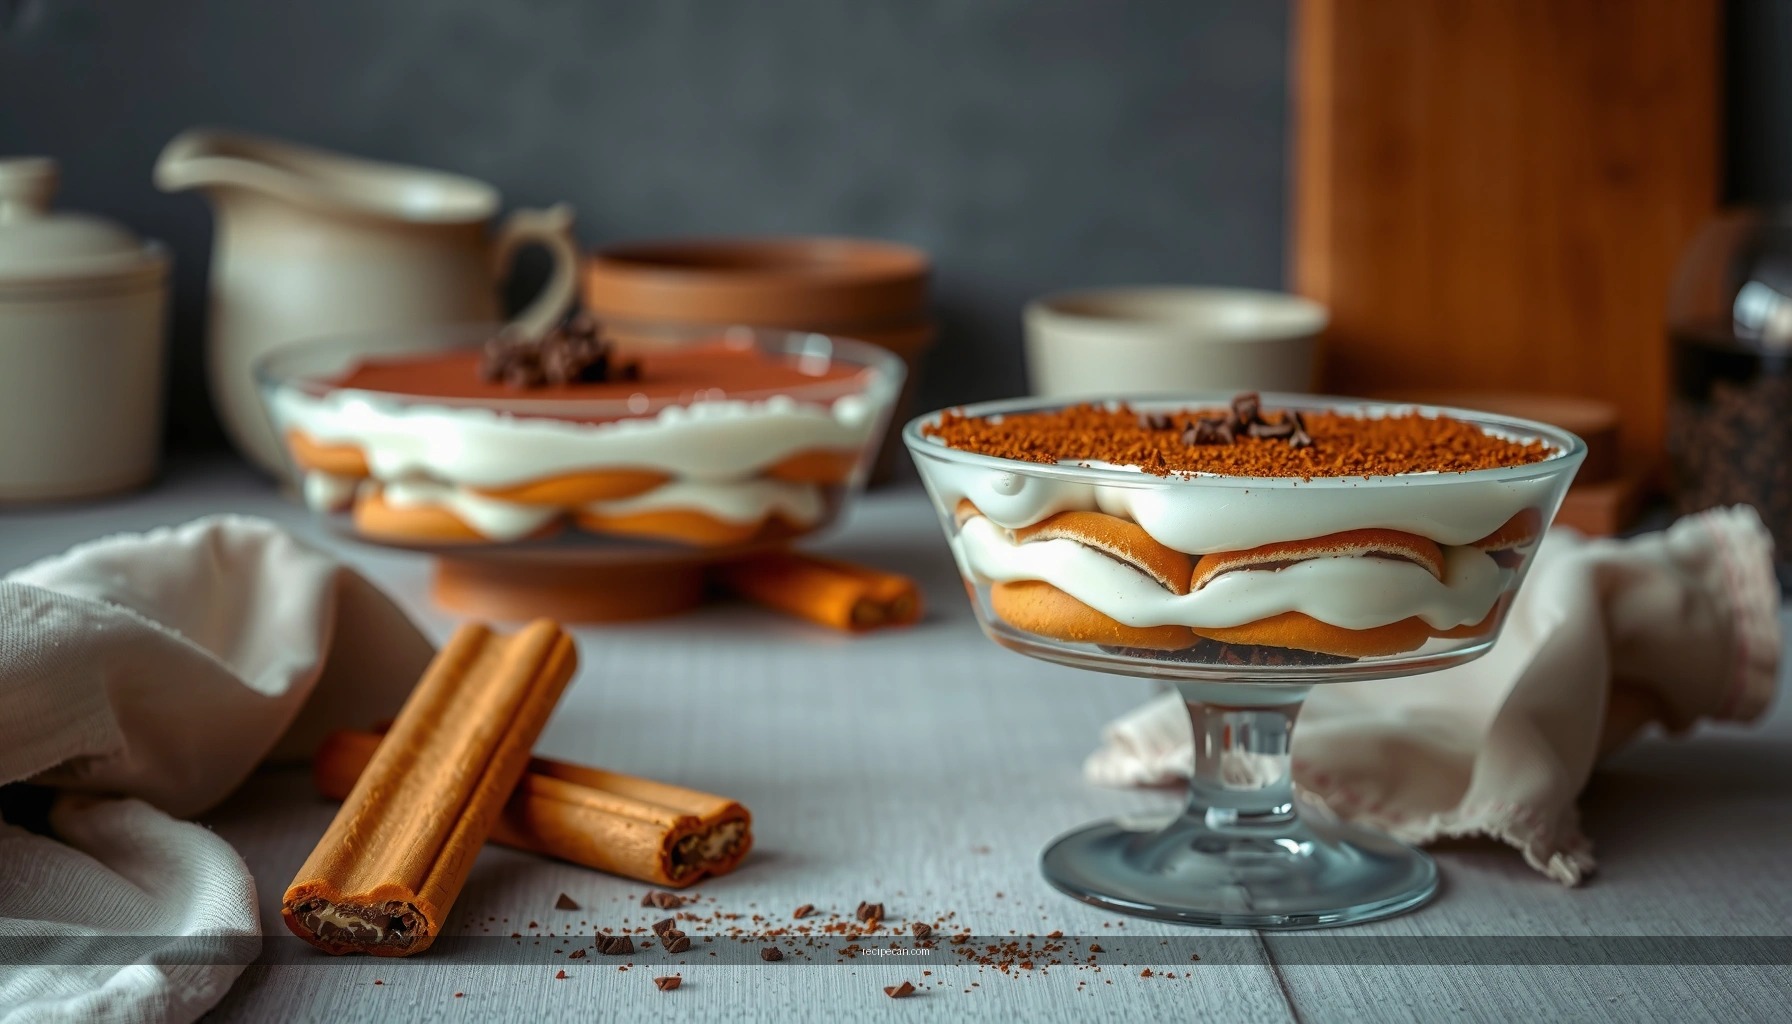
Assemble the Lady Finger Tiramisu Layers
Assembly is where your texture control becomes visible. Think in terms of even moisture distribution and stable cream coverage.
1) Start with a barrier layer
For most serving dishes, begin with a light layer of mascarpone (just enough to keep ladyfingers from sticking and to prevent direct contact with any dish residue).
2) Layer dipped ladyfingers with cream
Place dipped ladyfingers in a single, even row. Spread mascarpone cream over them with an offset spatula to cover edges—this is what keeps slices cohesive.
3) Repeat for 2–3 layers
Two layers work best for smaller pans; three layers deliver a higher “classic” profile. If your dish is deep, two layers with slightly thicker cream may prevent over-saturation and reduce risk of watery pooling at the bottom.
4) Smooth the top layer
Smooth the final mascarpone layer carefully. Your top surface is the visual finish, so spend extra time here. If needed, chill briefly between layers to keep cream firm and easier to spread.
Event-ready tip: If you’re transporting tiramisu, assemble close to service time and keep it refrigerated until travel. The structure firms as it chills, which improves slice integrity.
Chill and Set for the Best Texture
The “no-bake” part doesn’t mean “no waiting.” Chilling is what transforms separate layers into a unified dessert with balanced moisture.
Refrigerate at least 4–6 hours
Overnight (8–12 hours) is even better. During this time:
– Ladyfingers hydrate gradually.
– Espresso flavor disperses through the cream.
– Mascarpone and egg mixture firm up to create clean, defined slices.
Avoid freezing
Freezing can disrupt mascarpone emulsion and cause grainy texture upon thawing. If you must plan ahead, refrigerate rather than freeze.
Add cocoa right before serving
Cocoa looks best when applied fresh—earlier application can absorb moisture and turn patchy or dull. Right before service:
– Sift cocoa over a chilled surface.
– Use a fine sieve to avoid clumps.
Serving Tips and Storage
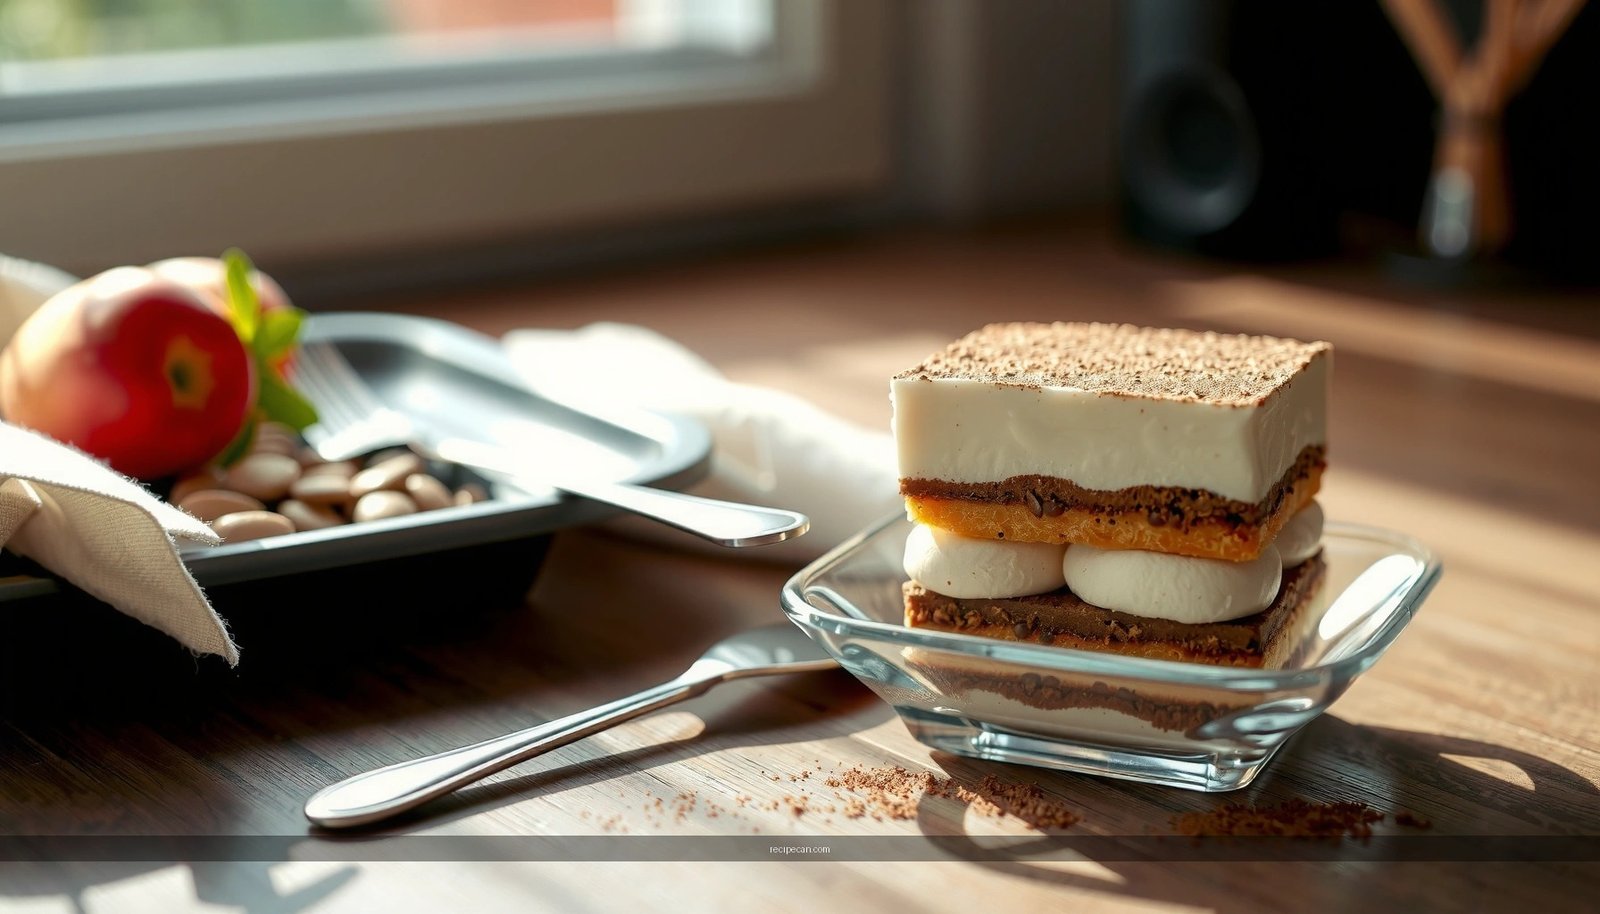
When you serve lady finger tiramisu, clean cuts and proper storage are what preserve the original texture you worked hard to create.
Slice cleanly
– Use a sharp knife and wipe the blade between cuts.
– For neat edges, dip the knife in warm water, then wipe dry—this reduces drag through cream layers.
Storage guidance
– Cover and refrigerate for up to 2–3 days.
– Flavor often deepens after chilling, but the texture can become slightly softer as ladyfingers continue absorbing moisture over time.
Make-ahead strategy
If you’re hosting, assemble the tiramisu the day before. Add cocoa on the day of service. This approach ensures both food safety and top-quality presentation.
This lady finger tiramisu recipe is all about three things: a smooth mascarpone cream, quick espresso dipping, and proper chilling. Follow the steps carefully, assemble with even layers, and give it enough refrigerator time to set—then finish with cocoa and serve. Make a batch this week, and share your favorite twist, like extra espresso intensity or a rum-free version.
Frequently Asked Questions
What is a classic lady finger tiramisu recipe, and what ingredients do I need?
A classic lady finger tiramisu recipe uses ladyfingers soaked in espresso, layered with a mascarpone-egg mixture, and finished with cocoa powder. You’ll typically need mascarpone cheese, eggs (or pasteurized eggs), sugar, strong brewed espresso, ladyfingers, and unsweetened cocoa. Some versions add vanilla extract and a pinch of salt to balance the sweetness and enhance the coffee flavor.
How do I prevent ladyfingers from getting soggy in tiramisu?
Dip or quickly soak ladyfingers in espresso—usually 1–2 seconds per side—so they absorb flavor without becoming mushy. If your espresso is warm, reduce soaking time and let the tiramisu set in the fridge so the layers firm up. You can also use less liquid in the mascarpone mixture and avoid over-stirring, which helps maintain creamy texture rather than watery layers.
Which coffee should I use for lady finger tiramisu?
Use strong brewed espresso or very concentrated coffee for the best lady finger tiramisu flavor, since the cookies and cream soften the intensity. Freshly brewed espresso generally gives the richest taste, but instant espresso can work if you dissolve it well in water and cool slightly before soaking. For a smoother profile, choose medium-dark roast and avoid overly bitter coffee that can overpower the mascarpone.
Why does tiramisu taste best after chilling, and how long should I refrigerate it?
Lady finger tiramisu tastes better after chilling because the flavors meld and the ladyfingers fully absorb the espresso while staying sliceable. For best texture, refrigerate at least 4–6 hours, and ideally overnight, so the layers set and the cream firms up. If you serve too soon, the dessert may feel loose and the coffee flavor won’t be as evenly distributed.
What’s the best way to make a no-bake lady finger tiramisu recipe safely with raw eggs?
If you want to avoid raw eggs, use pasteurized eggs or cook the egg mixture gently (or use a reliable no-egg mascarpone method) to create a safer mascarpone cream. Tempering warm espresso is not the same as cooking the eggs—so follow a method specifically designed for no-bake tiramisu. Regardless of method, keep the tiramisu refrigerated and serve within 1–2 days for the best quality and food safety.
References
- Tiramisu
https://en.wikipedia.org/wiki/Tiramisu - Ladyfingers (biscuits)
https://en.wikipedia.org/wiki/Savoiardi - https://en.wikipedia.org/wiki/Ladyfinger_(biscuit
https://en.wikipedia.org/wiki/Ladyfinger_(biscuit - Mascarpone
https://en.wikipedia.org/wiki/Mascarpone - Espresso
https://en.wikipedia.org/wiki/Espresso - Marsala
https://en.wikipedia.org/wiki/Marsala - Tiramisu | Meaning, Ingredients, Origin, Desserts, & Taste | Britannica
https://www.britannica.com/topic/tiramisu - Google Scholar Google Scholar
https://scholar.google.com/scholar?q=ladyfingers+tiramisu+recipe - Google Scholar Google Scholar
https://scholar.google.com/scholar?q=savoiardi+%28ladyfingers%29+tiramisu - Google Scholar Google Scholar
https://scholar.google.com/scholar?q=mascarpone+egg+yolks+tiramisu+preparation